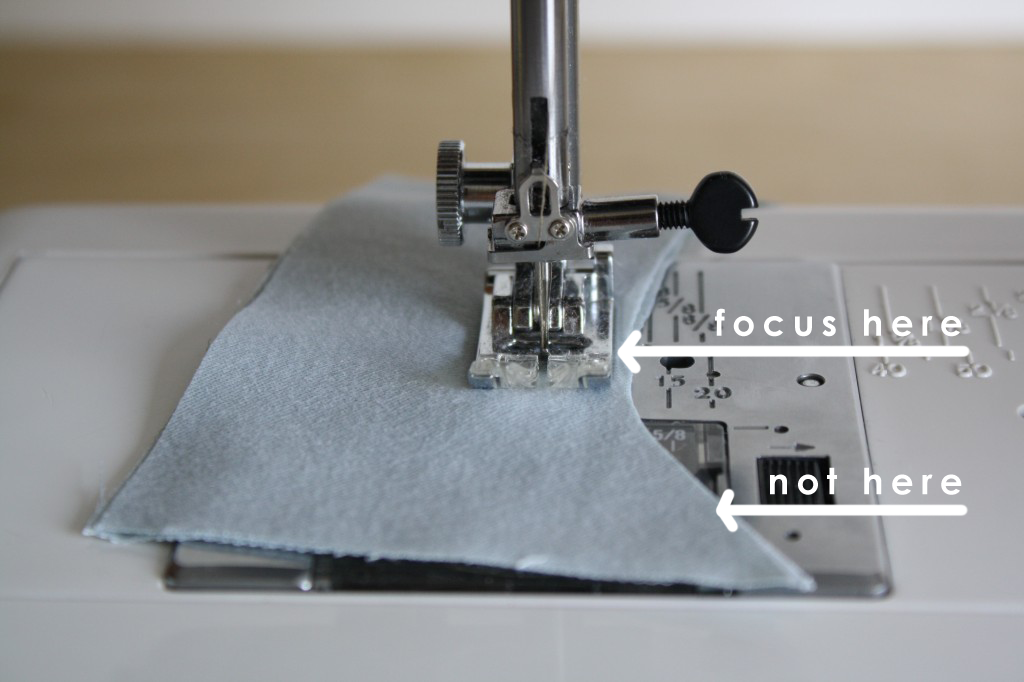
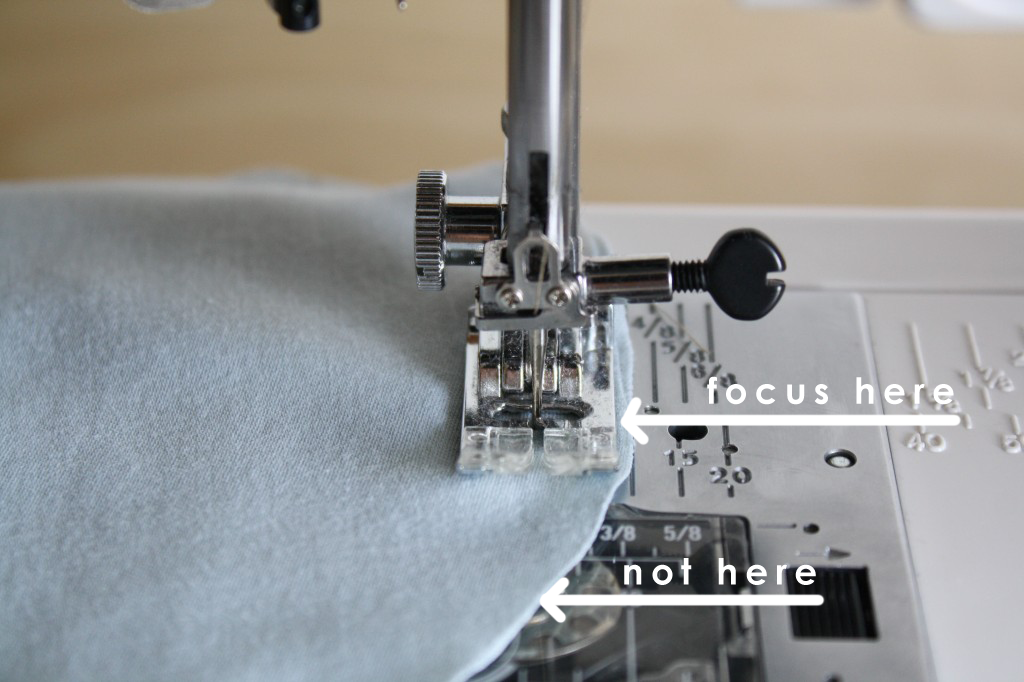
When sewing on a curve, your hands should be steering your fabric left or right (not pushing it through, just steering). It can be confusing where to line up the edge of your fabric on the needle plate to get the right seam allowance. All that matters is the point right across from your needle. As long as you keep that point lined up at the right marking, you’re golden!
Take your time, there’s no rush. If you’re nervous, you can always try “sewing” your curve without thread for practice a few times. Sewing a beautiful curve does you no good if you don’t clip and notch it properly. Just remember you want to clip to not through the stitching.
For the practice samples, take 3 sample squares and lay them on top of each other with right-sides-up. Cut a curved line down the middle through all three layers. Pair them up with right-sides-together: one concave set, one convex set, and one opposing set.
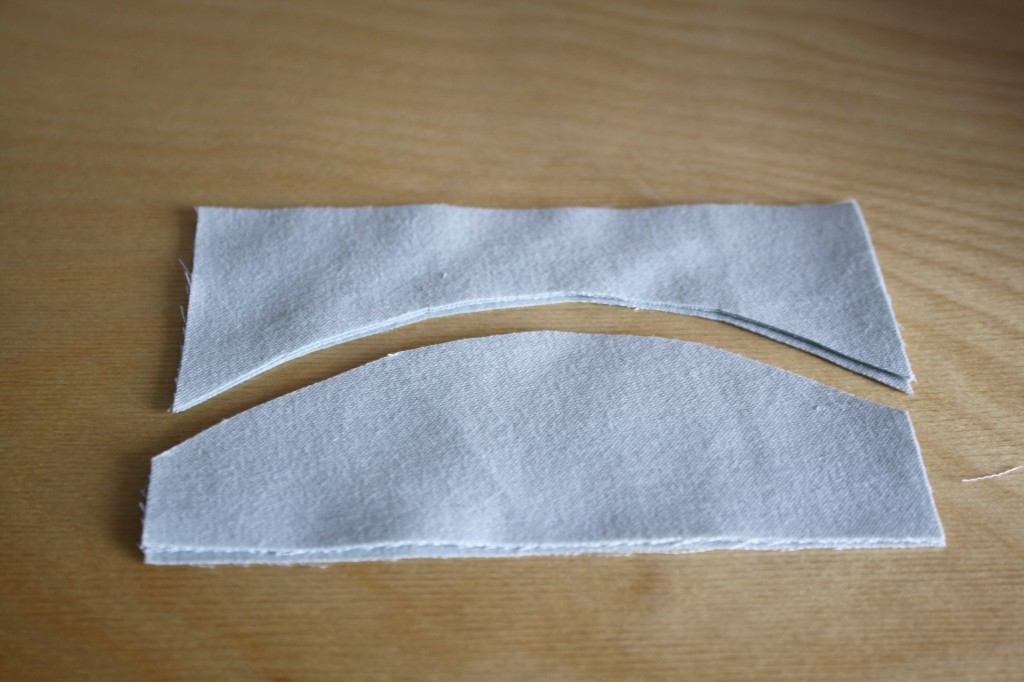
CONCAVE CURVE
Find the concave sample set. These look like someone is sucking in their tummy (if you have a hard time remembering, imagine walking into a cave).
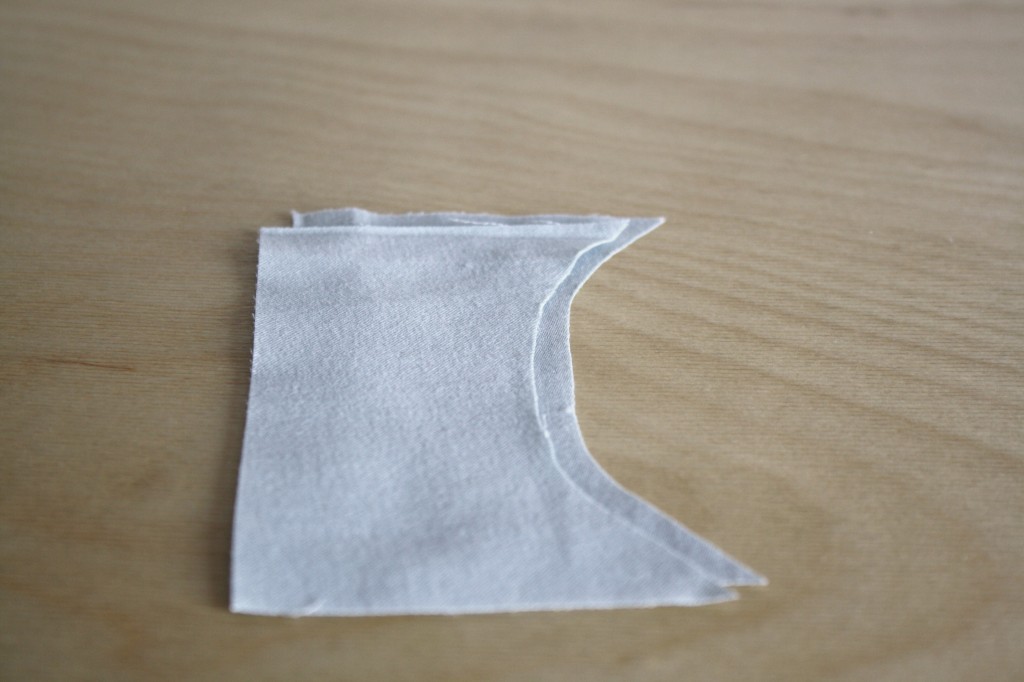
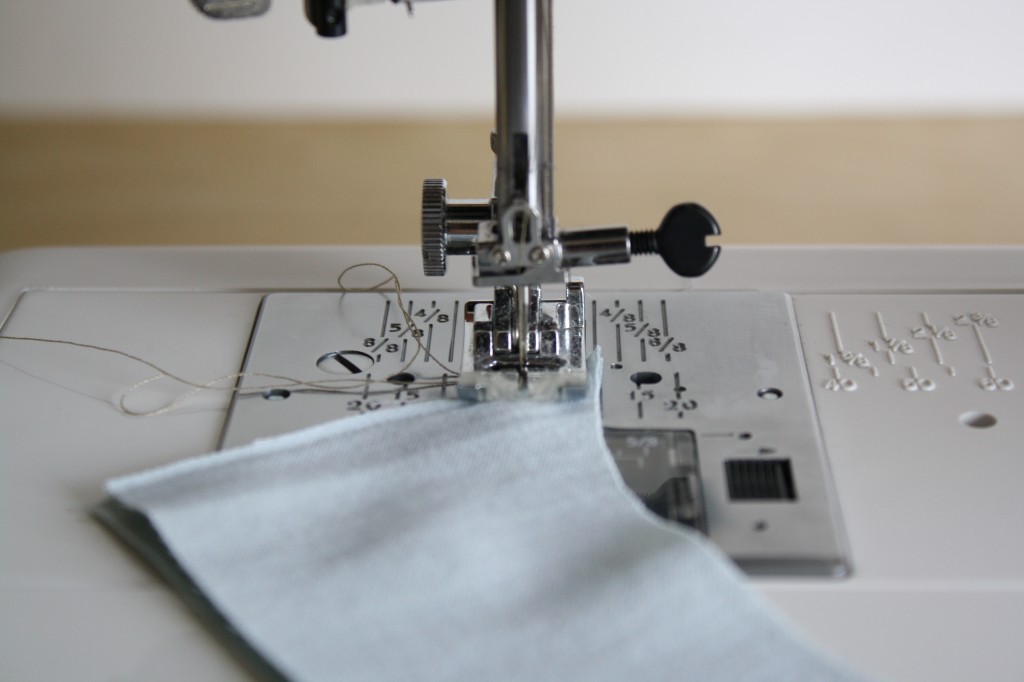
The edge approaching the needle will look like it is too far away from the needle, don’t worry about that. All that matters is that the point directly next to the needle is lined up where you want it for the right seam allowance. Remember to use your hands to steer the fabric in a curve motion, you don’t need to push it through.
When the seam is sewn it won’t lay flat when you turn your fabric because there is less fabric at the edge of the seam allowance than there is at the seam. It will look scrunched.
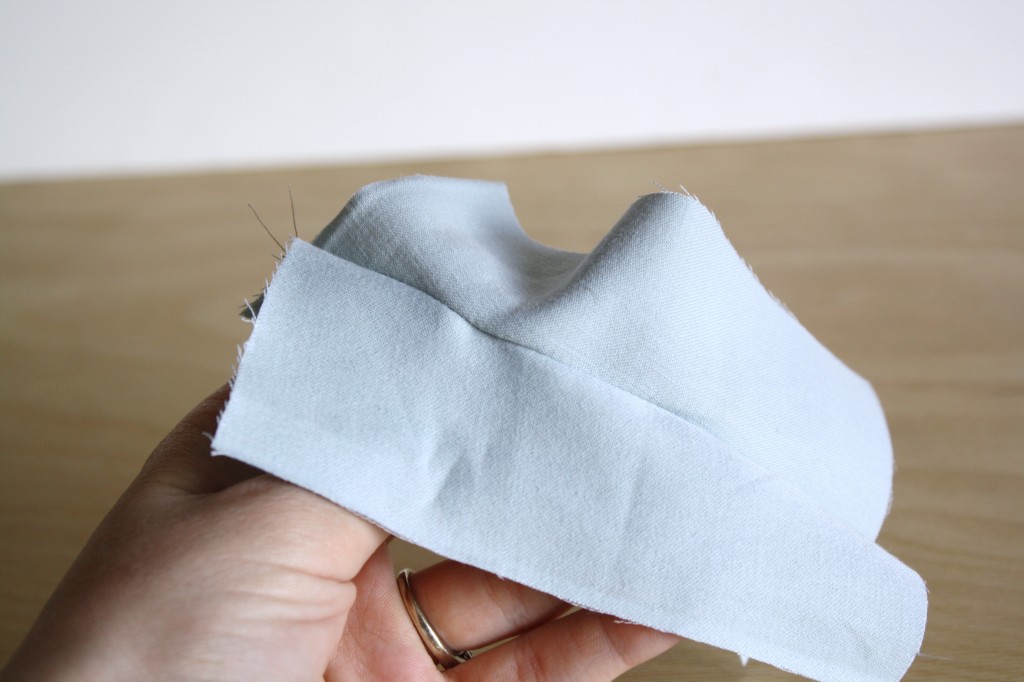
It will pull the seam in and pucker. To avoid this, clip into the seam allowance along the curve. This helps it “stretch” to the length of the stitching so it can lay flat.
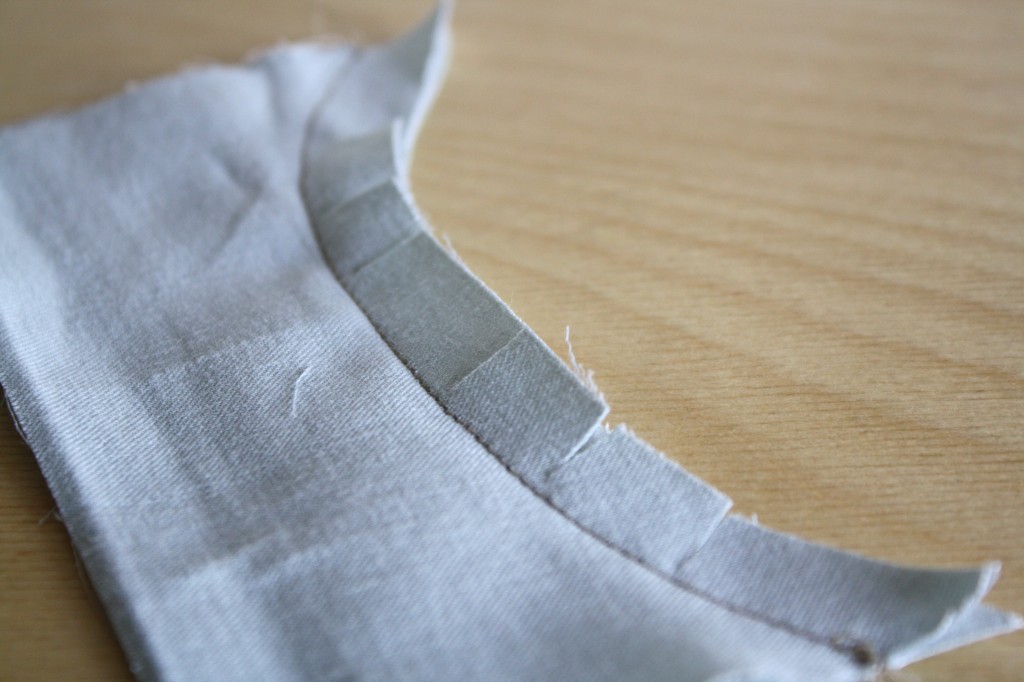
Turn and press.
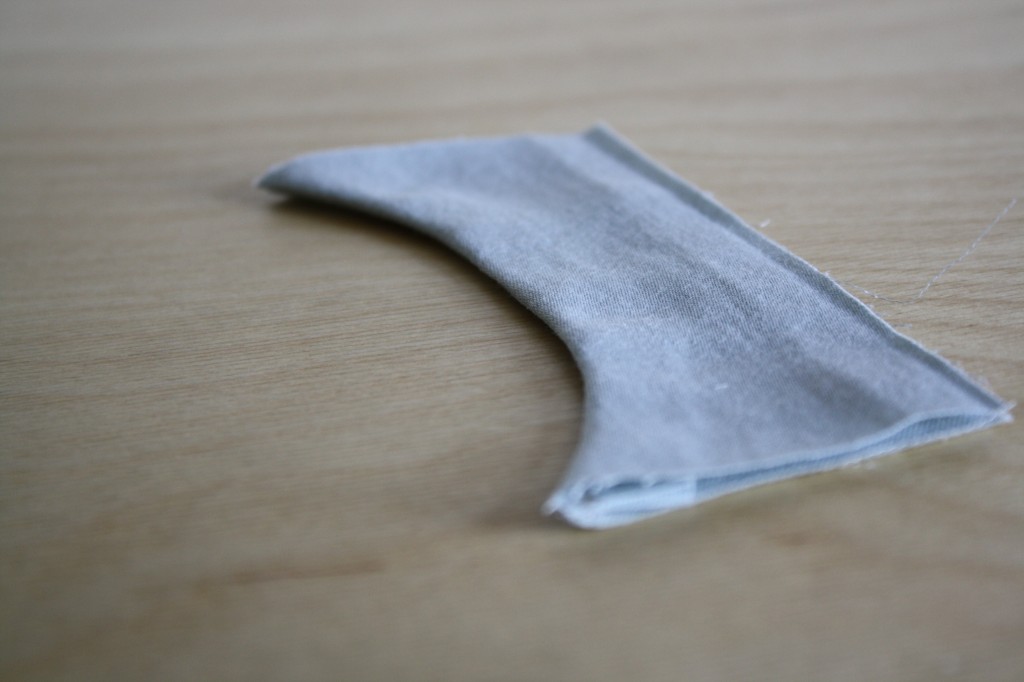
CONVEX CURVE
Find the convex sample set. These look like a pregnant belly.
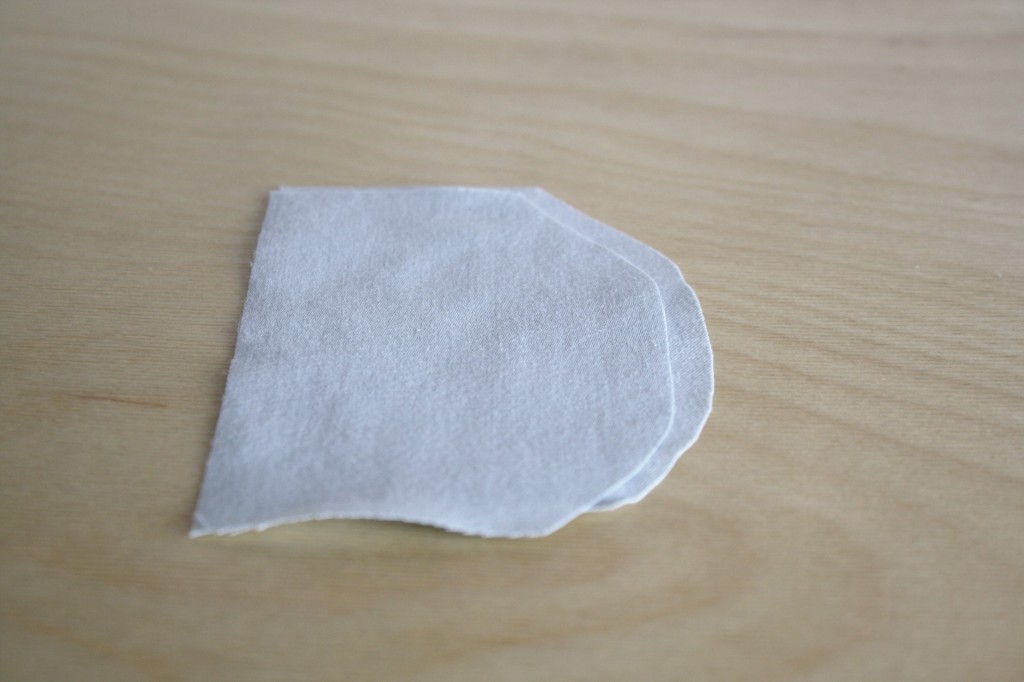
The edge approaching the needle will look like it is aimed underneath the presser foot, don’t worry about that. All that matters is that the edge directly next to the needle is lined up where you want it for the right seam allowance. Remember to use your hands to steer the fabric in a curve motion, you don’t need to push it through.
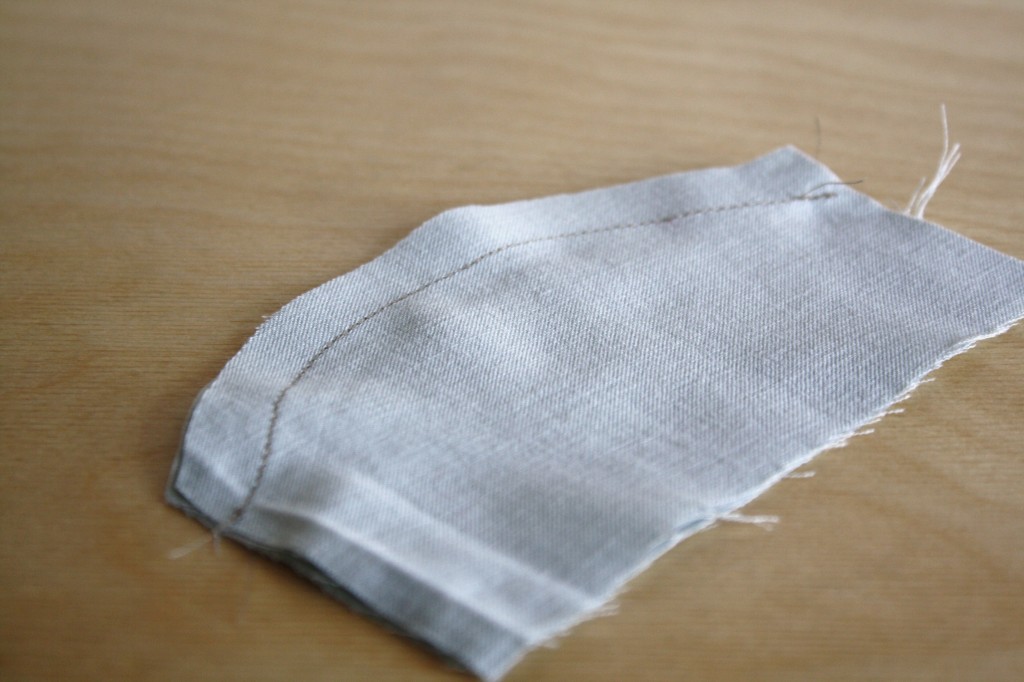
When the seam is sewn it won’t lay flat when you turn your fabric because there is more fabric at the edge of the seam allowance than there is at the seam. It will look bunchy.
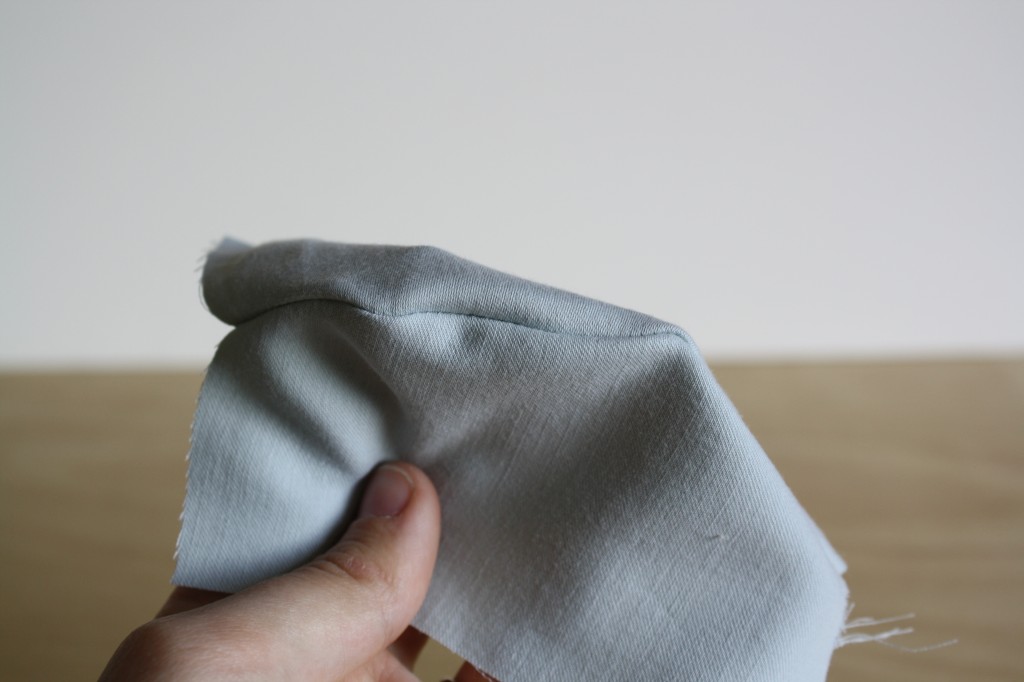
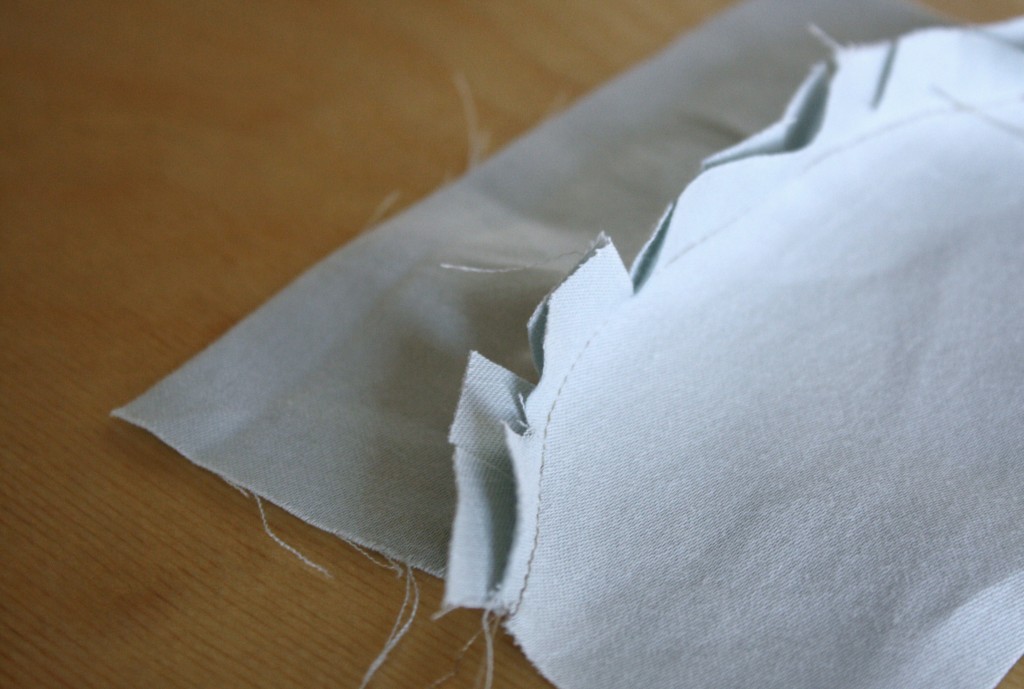
To avoid this, clip notches into the seam allowance. This removes some of the fabric so it can lay flat.
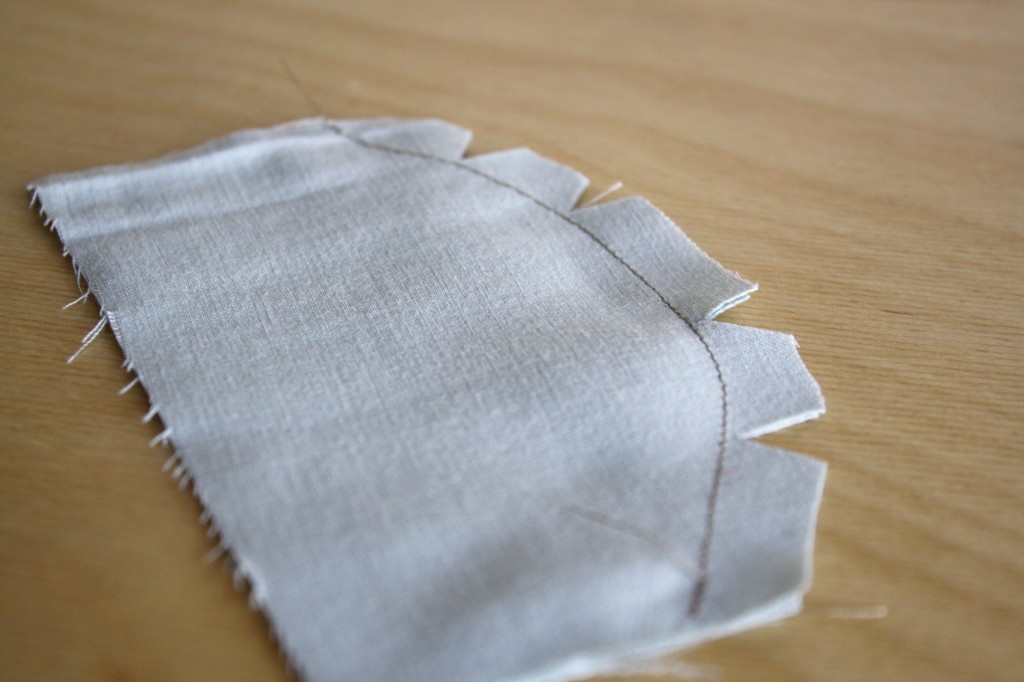
Turn and Press.
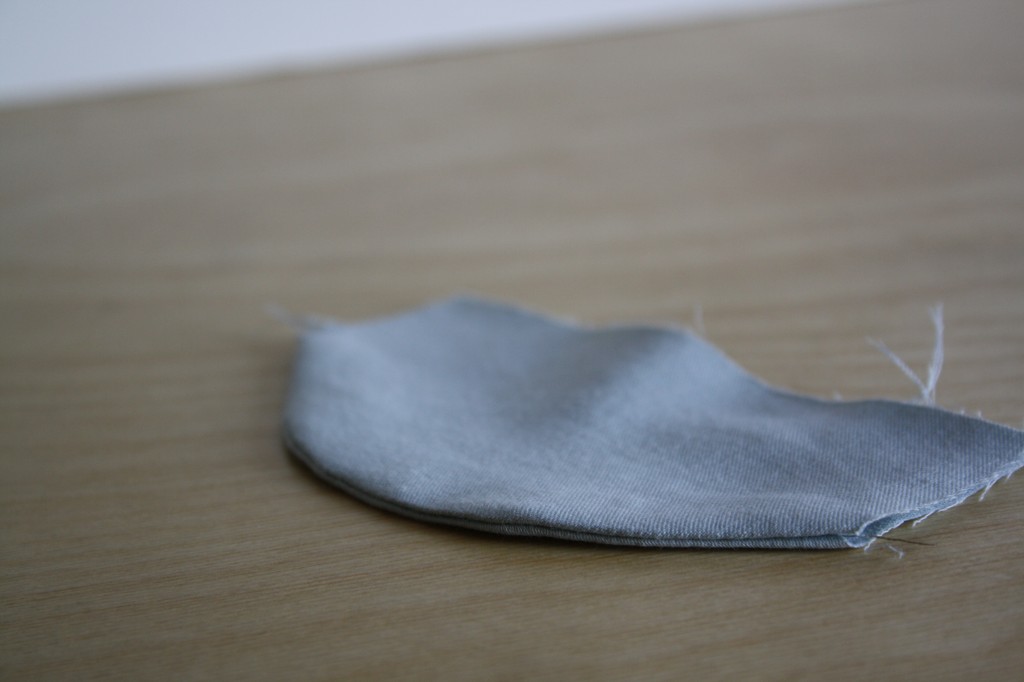
OPPOSING CURVES
Sometimes, like when setting in a sleeve, the edges curve in opposite directions when you line the pieces up with right sides together.
Find the opposing sample set. There will be one convex and one concave curve. Line them up with RIGHT-SIDES-TOGETHER and pin them at the center.
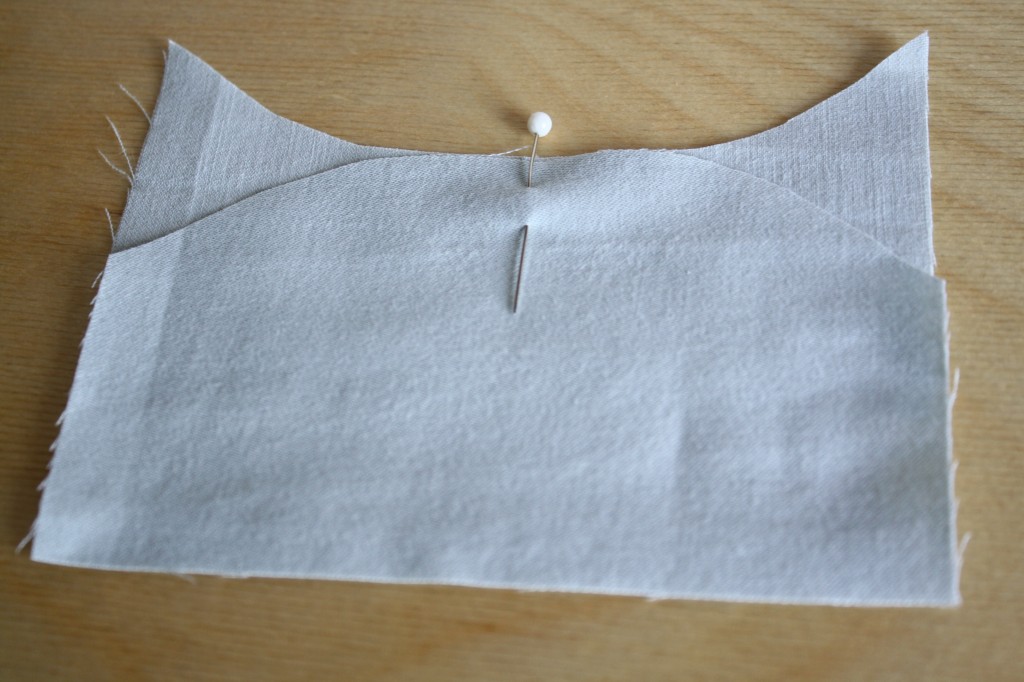
Pull the convex curve up to the concave curve and pin along both sides.
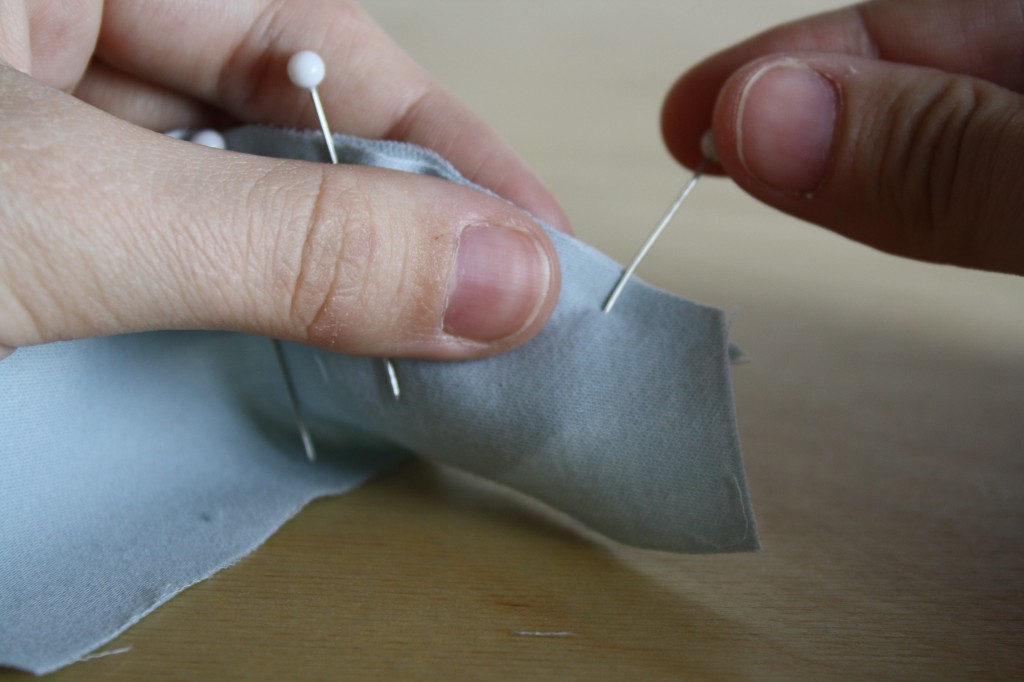
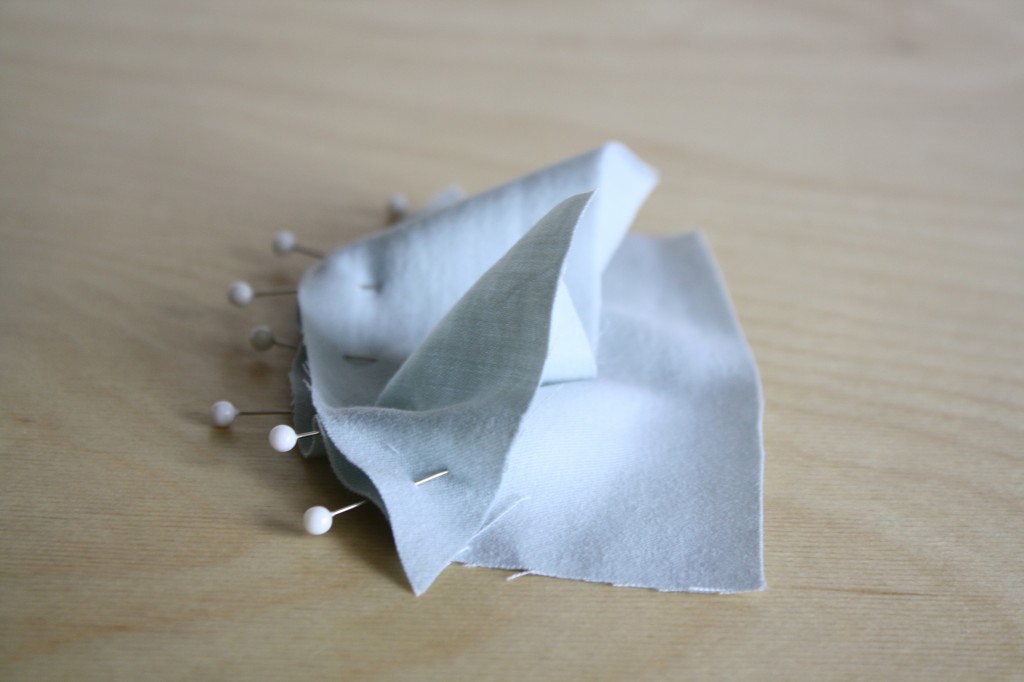
As you sew, straighten the edge slightly to help visualize the seam allowance (straightening the edge is NOT advised for the other two methods).
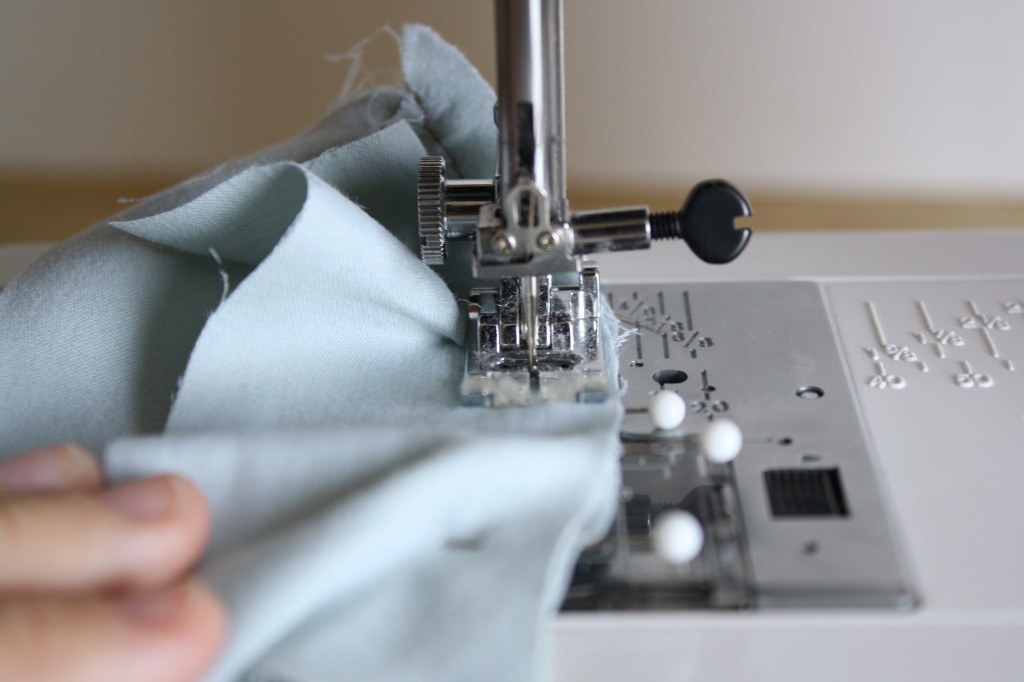
The fabric to the left and right of the needle will bunch because of the curves, just make sure it doesn’t pucker underneath the needle. You can push the fabric out of the way as you sew if you need to.
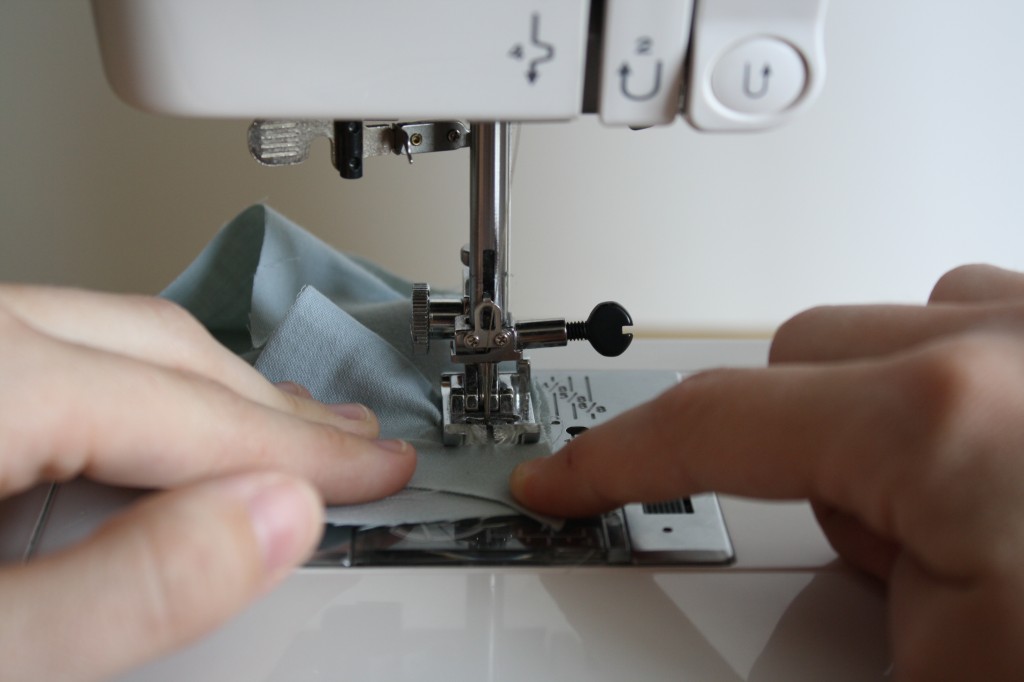
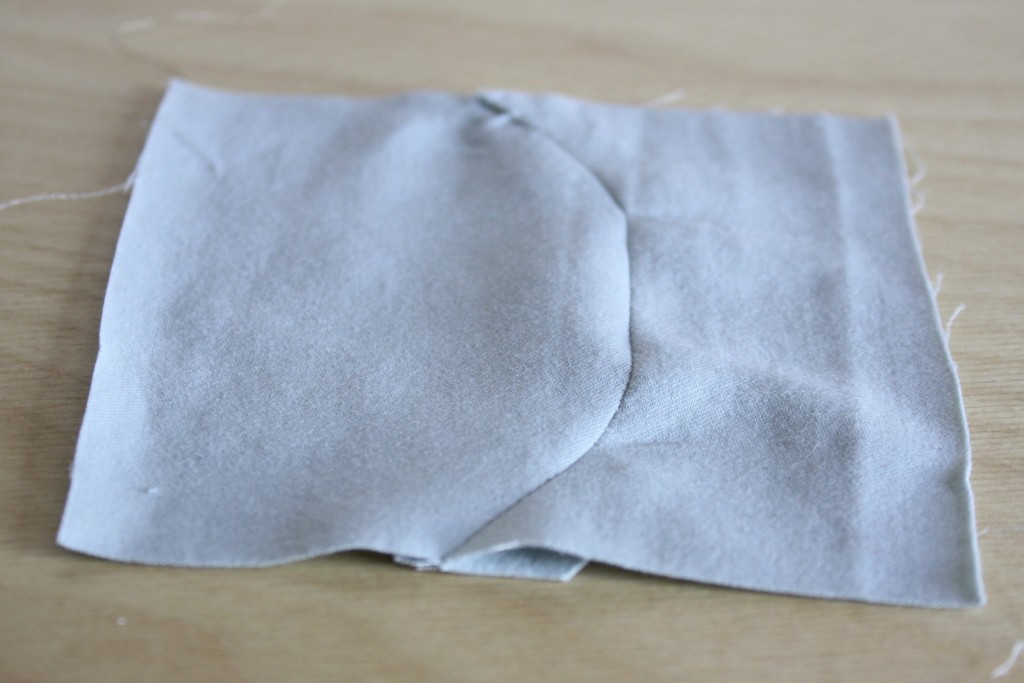
For some projects, like sewing in a sleeve, you shouldn’t need to clip or notch because you want the shape it gives. However, if you want the curve to lay flat, you will want to clip the concave seam allowance and notch the convex side of the seam allowance.
HOMEWORK
[…] got a bit more technical in the Sewing on a Curve lesson in the Intermediate Sewing Techniques course than we’ll get in this lesson. […]
Thank you so much for sharing your knowledge,this is great info and so easy to understand x x
love iiiiiiiiiiiiiiiiiiiiiiiiiiiiiiiiiiiiiiiiiiiiiiiiiiiiiiiiitttttttttttttttttttttttttttttttttttt