THIS LESSON IS PART OF THE SEWING WITH KIDS E-COURSE
Sewing on a curve is even more tricky than sewing a straight line.
I got a bit more technical in the Sewing on a Curve lesson in the Intermediate Sewing Techniques course than we’ll get in this lesson. Honestly, it’s okay if their curves aren’t perfect. Most sewing projects at their sewing level have plenty of wiggle room for error as they sew.
LESSON PREPARATION
Print out the swirvy curvy template for practice.
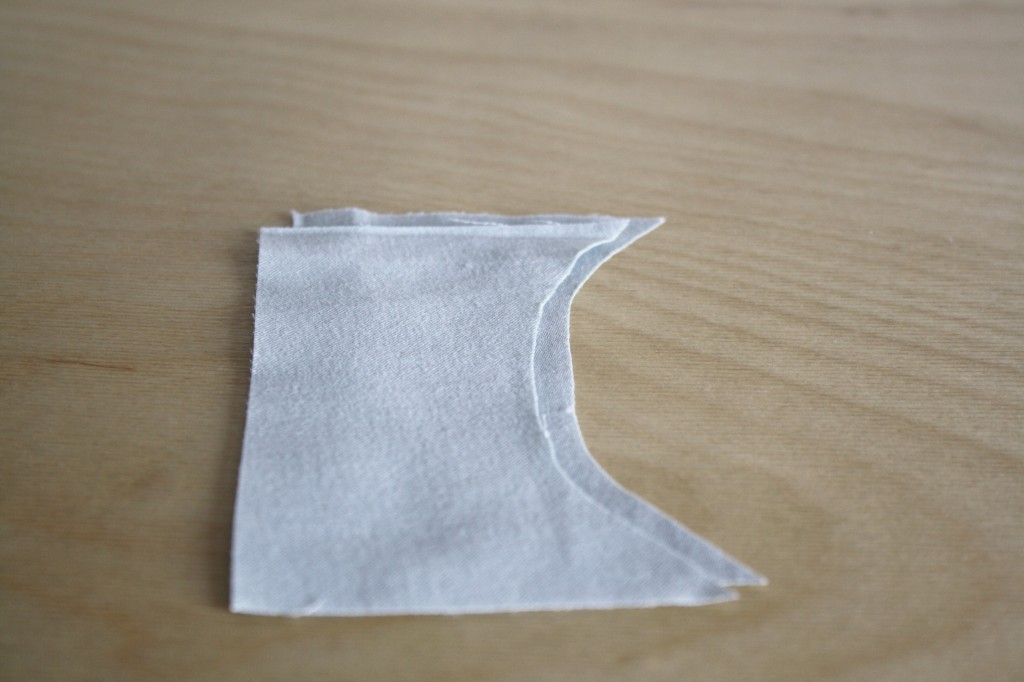
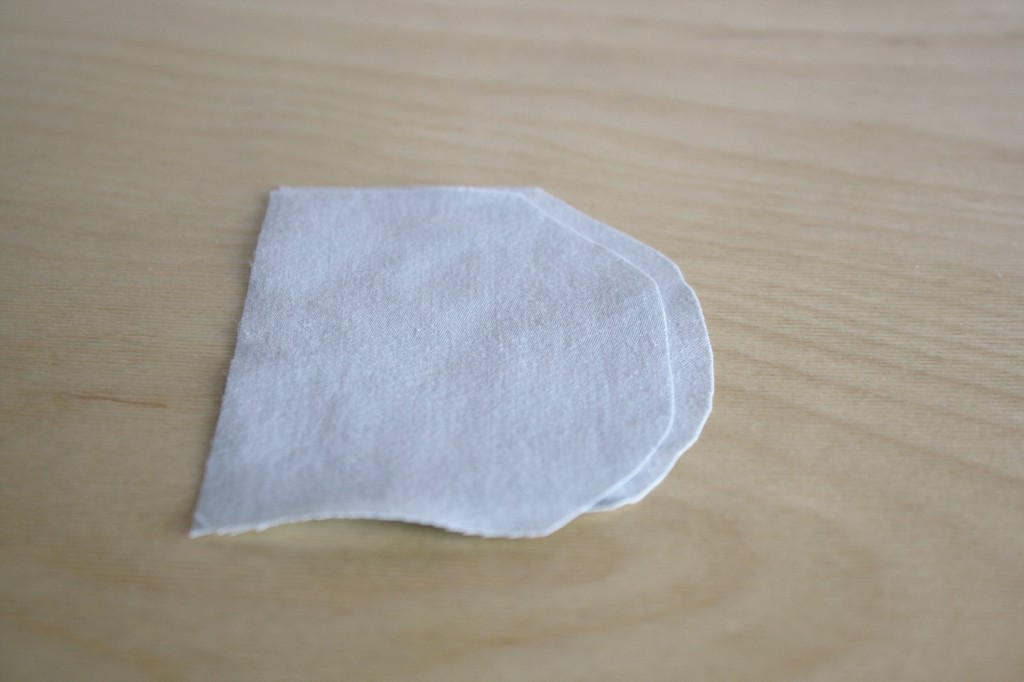
Cut out two pieces of scrap fabric with a concave curve, and two with a convex curve, for practice.
DEMONSTRATION
First, you guessed it, show them how you sew on a curve. Let them see you direct the fabric this way and that with your hands, reminding them that they don’t need to push, just steer. Relate sewing on a curve to turning a corner on their bike. They’ll want to slow down, time it just right, and steer to either the left, or to the right.
If you need to refer to the sewing on a curve lesson in the introduction to sewing course, you can find it here:
Let them practice on paper first, fabric second. Print out the Swirvy Curvy Template, or draw your own curved lines onto a piece of paper. Let them use that as a guide to help them practice sewing on a curve. Let them try it a few times, and keep their best work to display in their sample book.
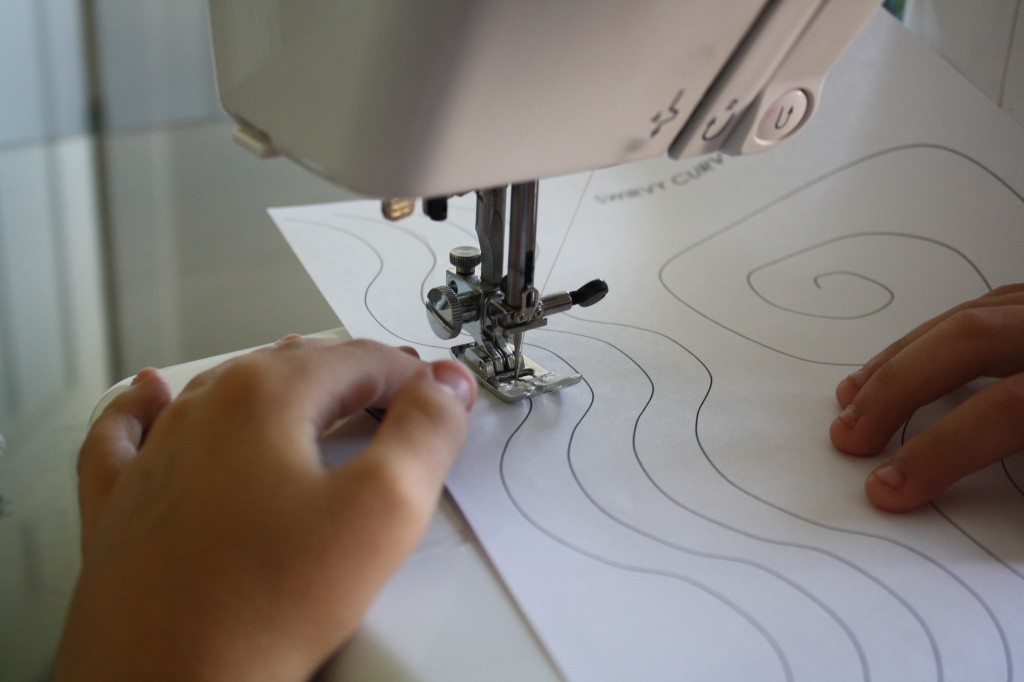
Almost always, they will naturally try to turn their fabric the wrong way when they first approach a curve, it’s completely alright to get in there and help them guide as they sew. Just warn them to sew very slowly.
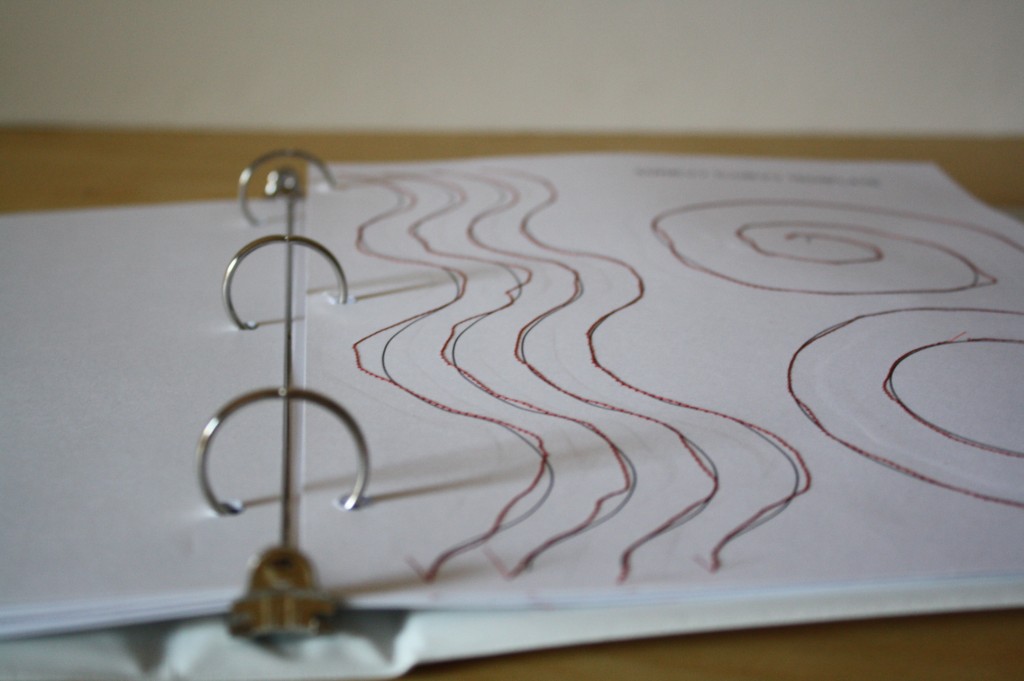
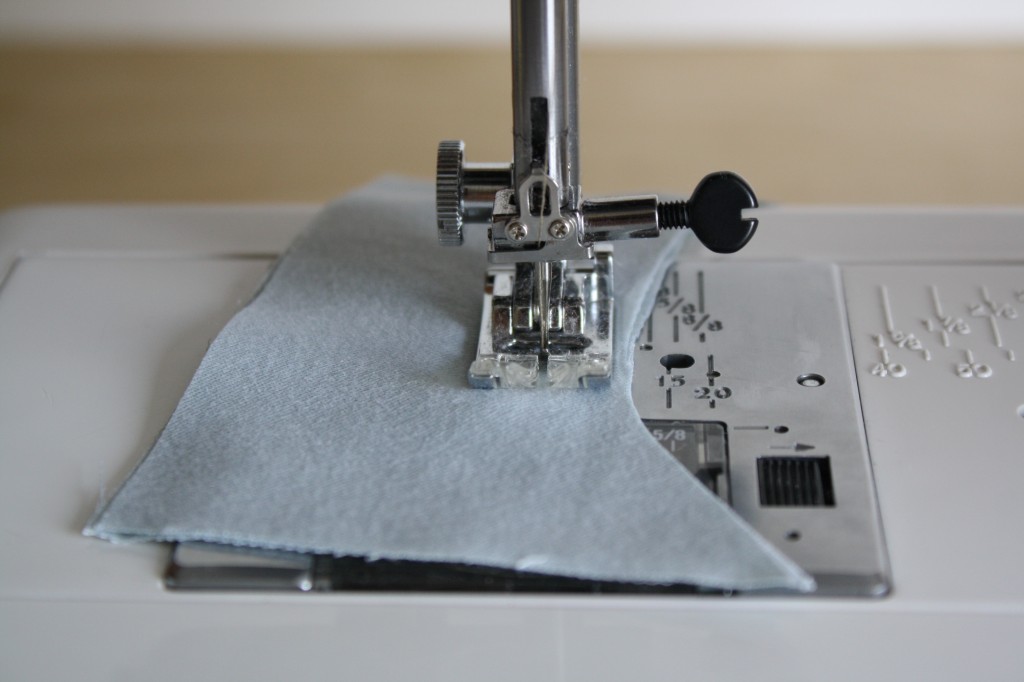
Now get out the curve samples. Once they’ve practiced sewing curvy lines, they can practice on fabric, using a 5/8″ seam allowance. This can be confusing because the fabric won’t line up at the 5/8″ marking (which we marked with masking tape earlier). All that matters is that when the fabric is going past the needle, the edge is lined up at the 5/8″ marking. To emphasize this, draw an arrow on the masking tape right in line with the needle to show them where the edge of the fabric should line up.
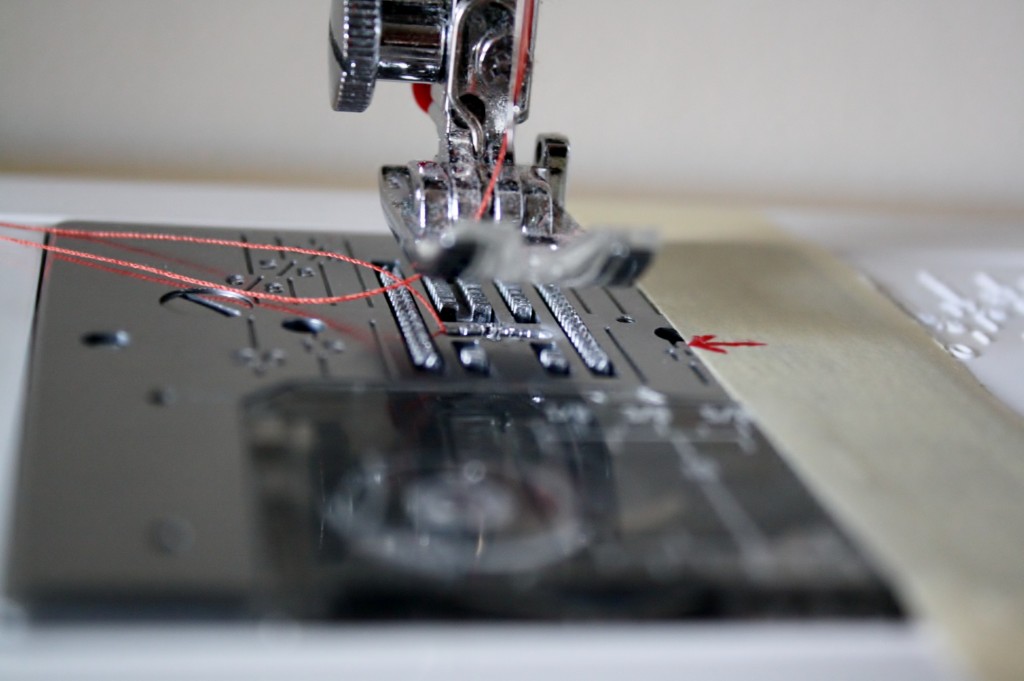
Let them try sewing along the concave curve using a 5/8″ seam allowance.

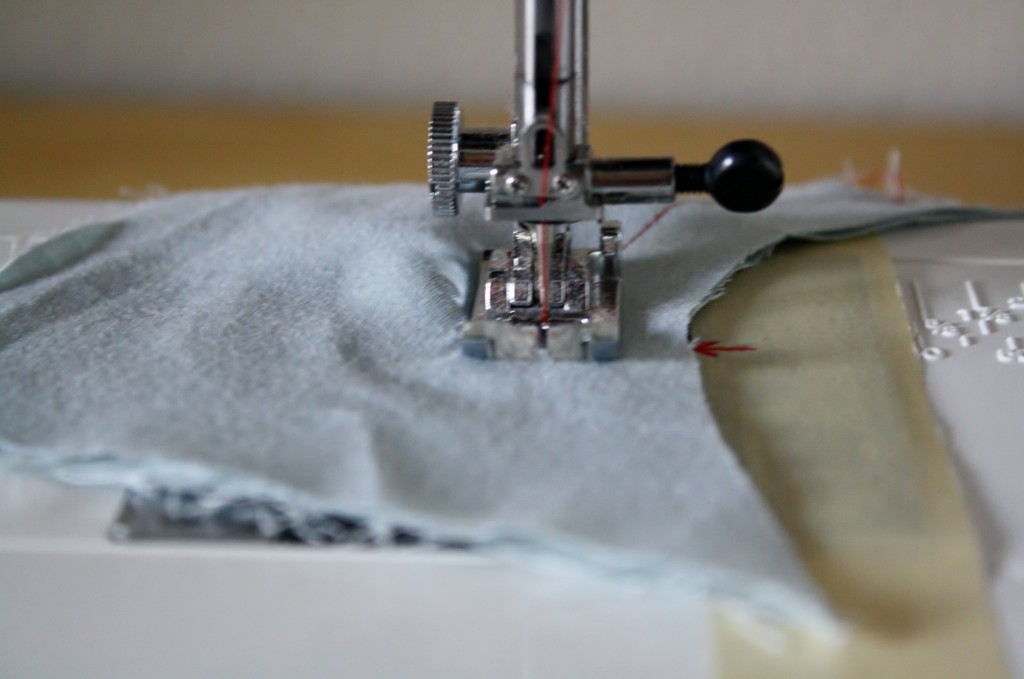
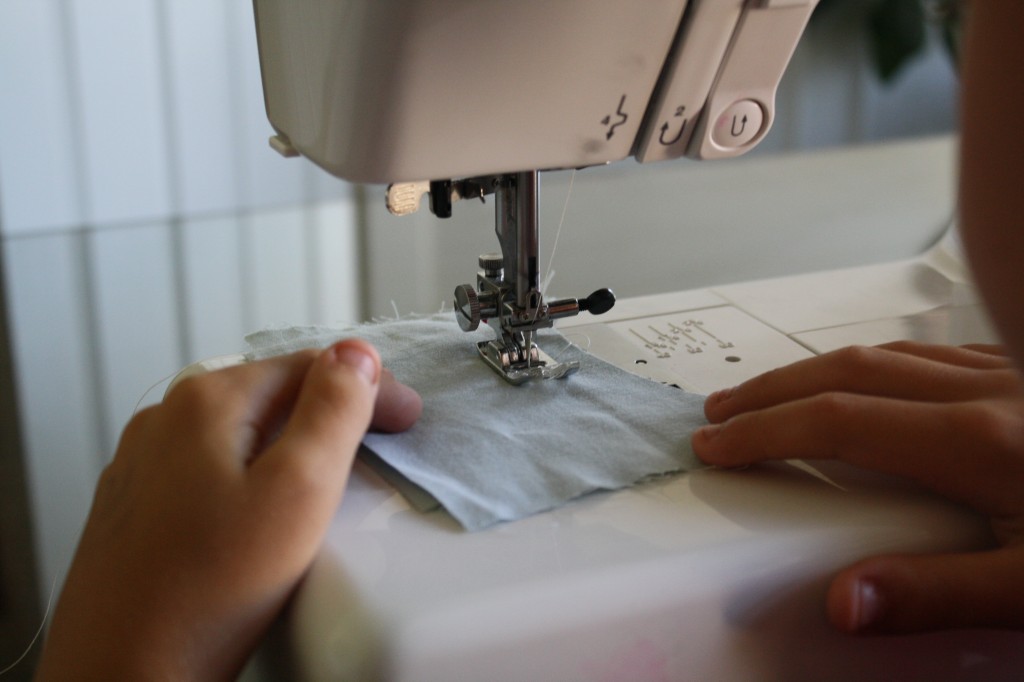
Repeat with the convex samples.

Once both samples have been sewn (even if they aren’t perfect), they can add them to the sample book.
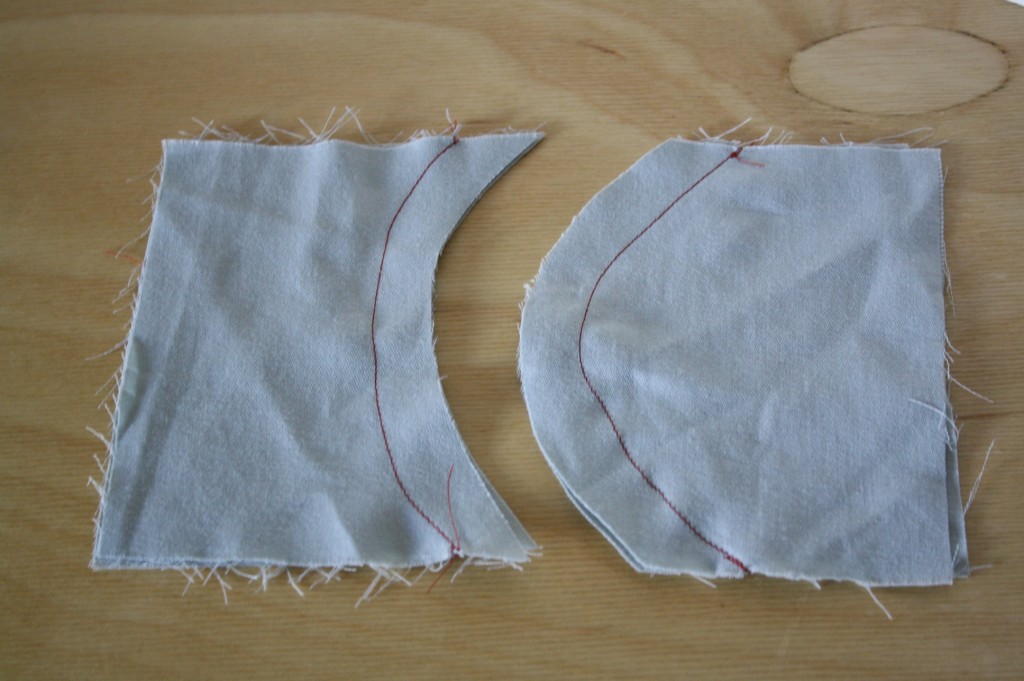
If you think they’ll understand clipping and notching, you can teach them, but if it might take the fun out of it, it’s okay if they learn that another time. None of the projects in this course will be ruined if they don’t clip and notch their corners and curves!
HOMEWORK
