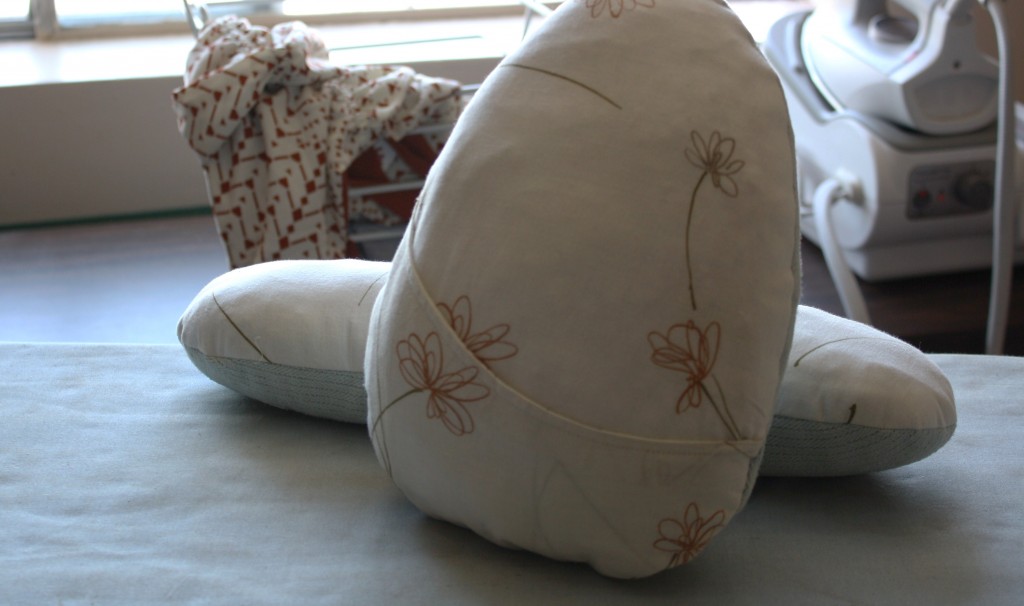
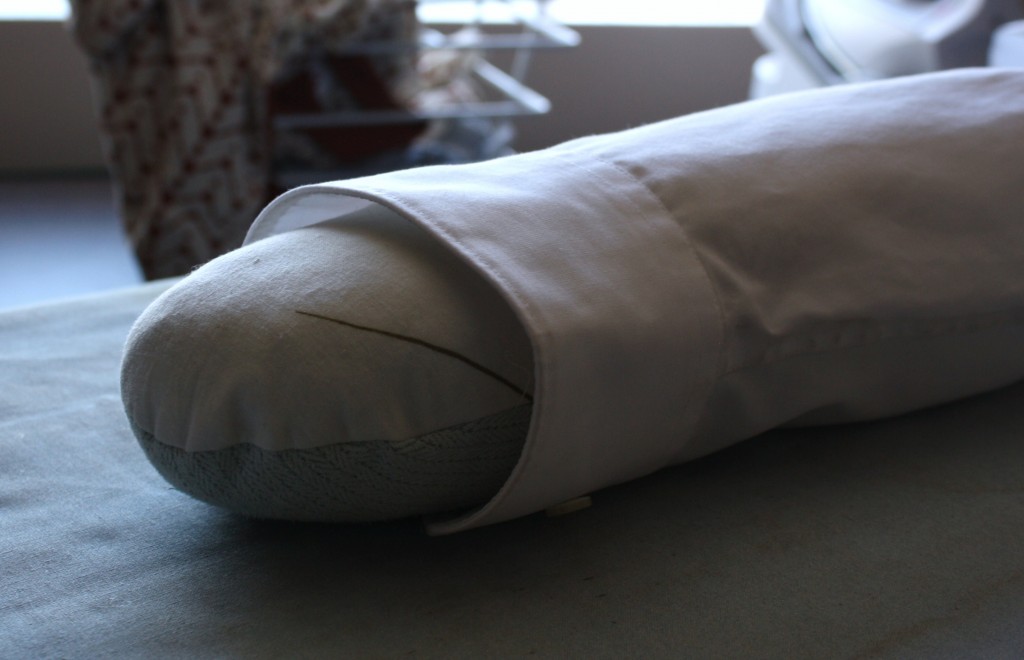
Sleeves can be tricky to iron, especially if you’re hoping to avoid having a crease down the length of the arm. With a sleeve roll, you can iron one layer of the sleeve at a time.
PREPARING THE PATTERN FOR THE SLEEVE ROLL
1. Trace a bowl onto the tracing paper.
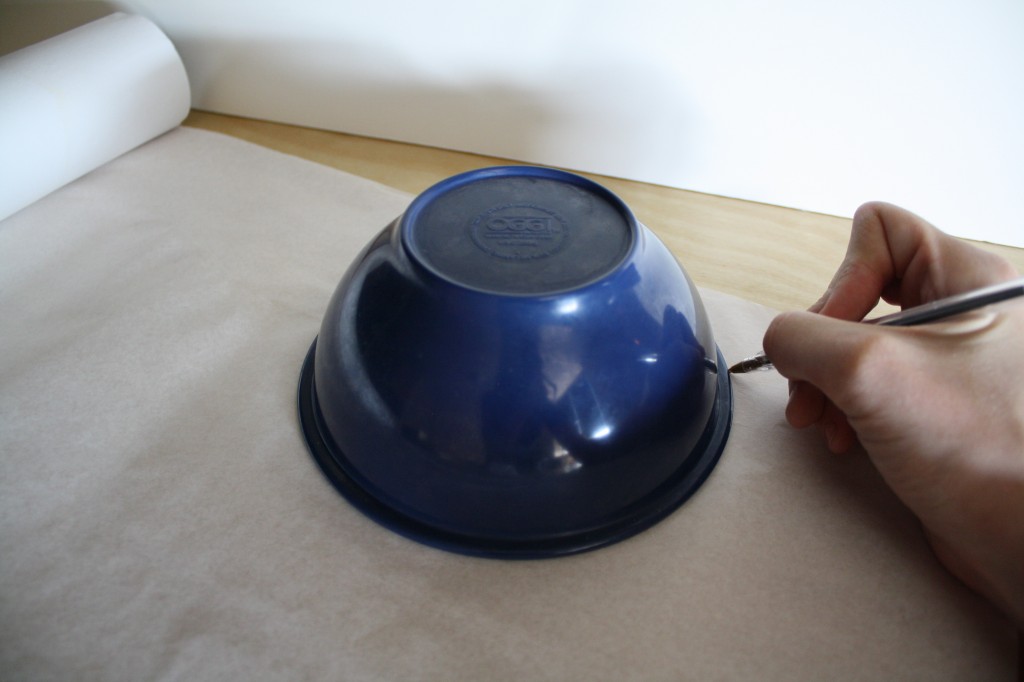
2. Trace the cup again 12-15″ from the first tracing and connect the two circles with straight lines on the sides.
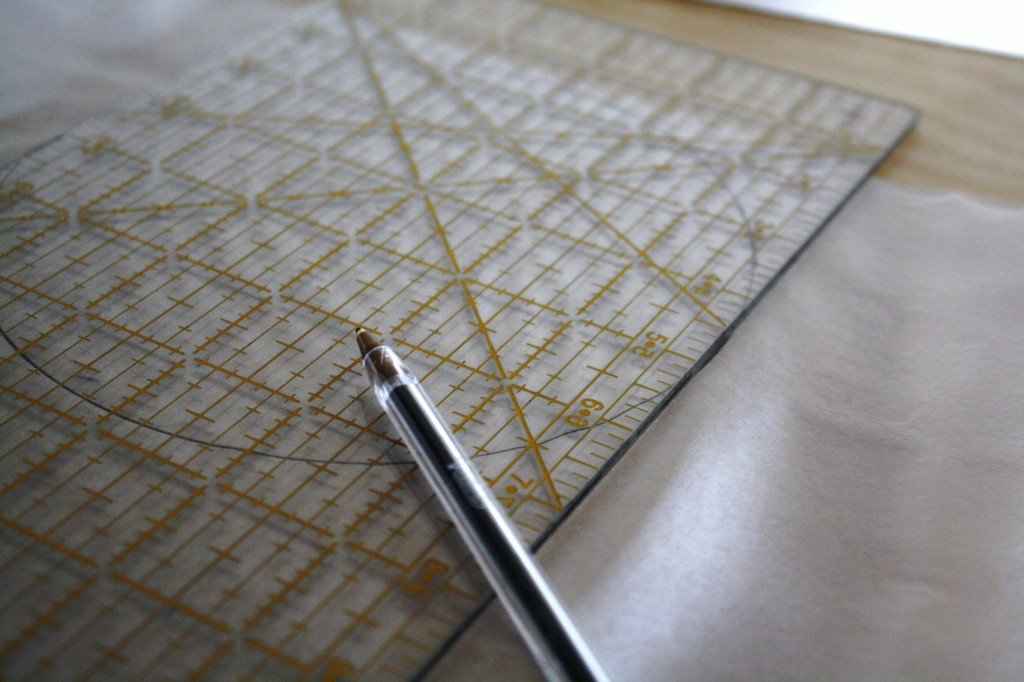
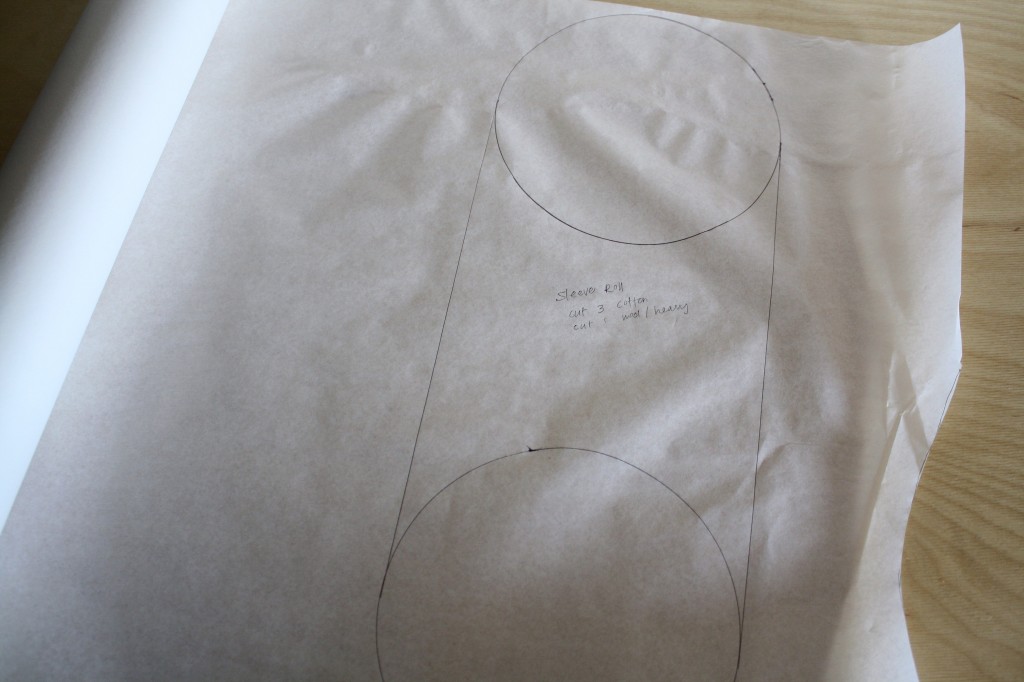
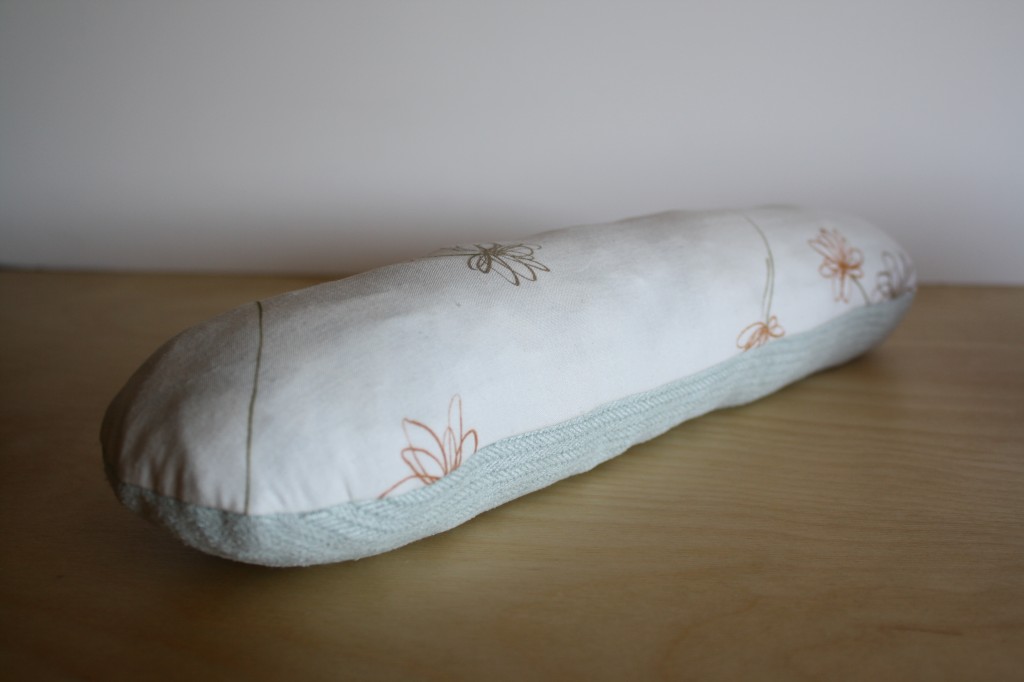
3. Cut out 2 sleeve roll pieces from the fabric of your choice, 1 side being basic quilter’s cotton, and one side being heavier like home decor or flannel. Cut two pieces of cotton for the lining as well (that’s 4 pieces in total).
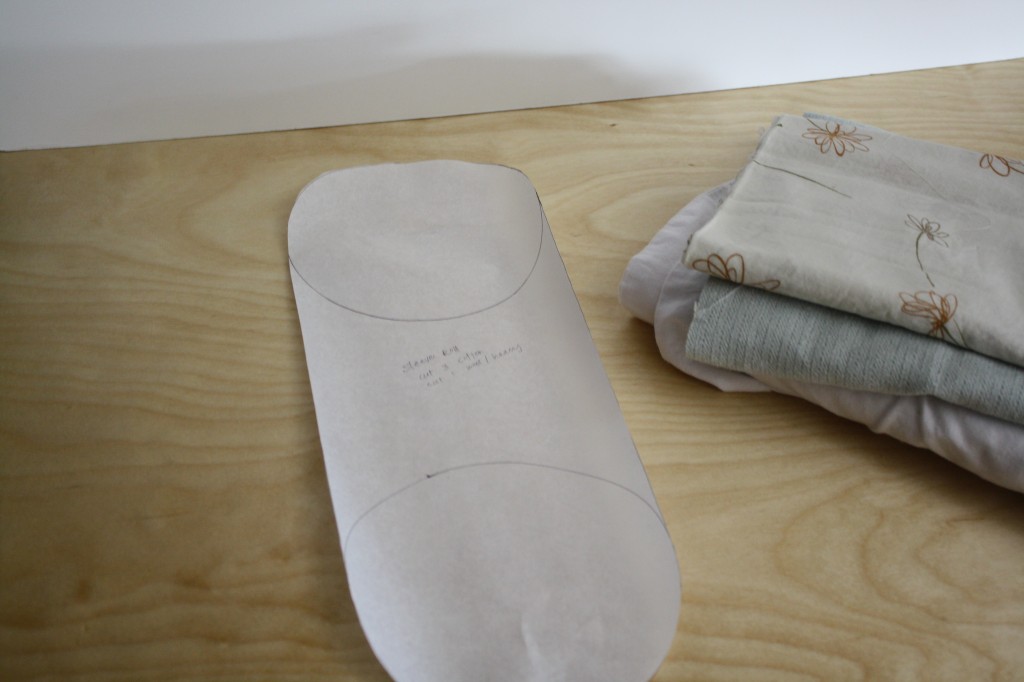
SLEEVE ROLL SEWING INSTRUCTIONS
1. Line all 4 sleeve roll pieces together, with the right sides facing the middle (so the bottom 2 pieces will be right-side-up, and the top 2 pieces will be right-side-down).
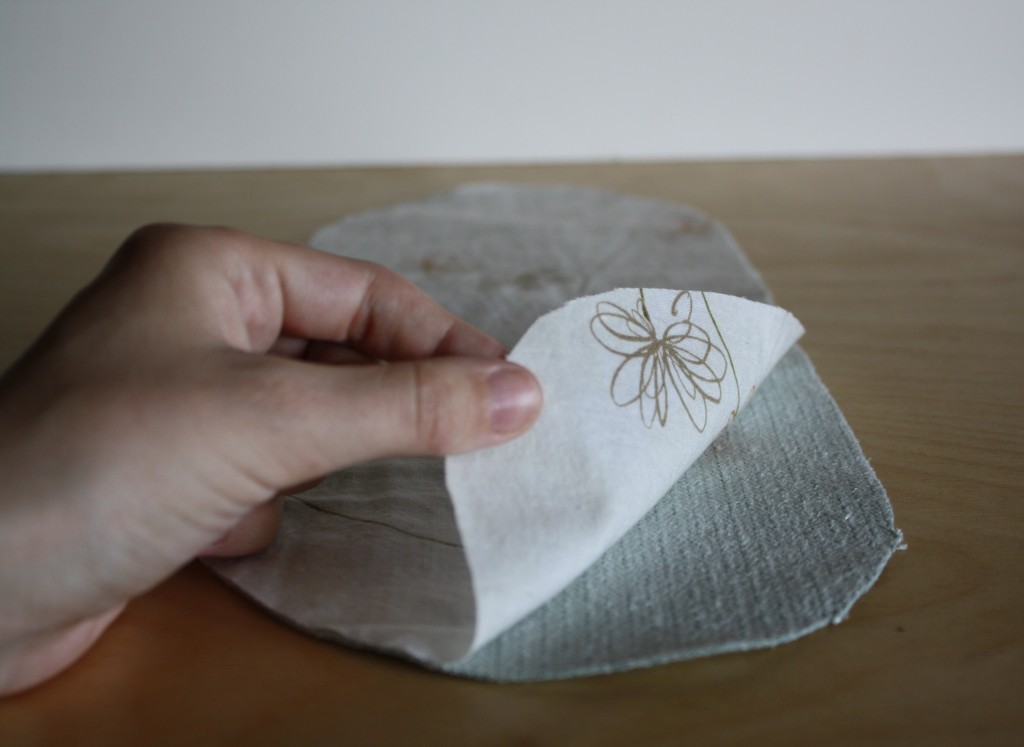
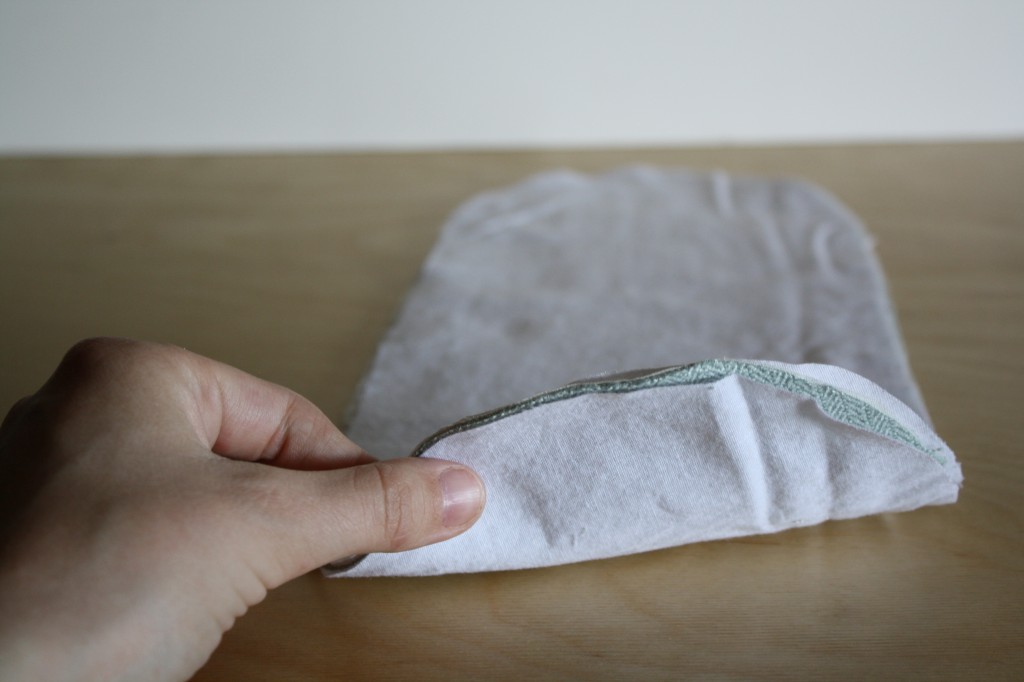
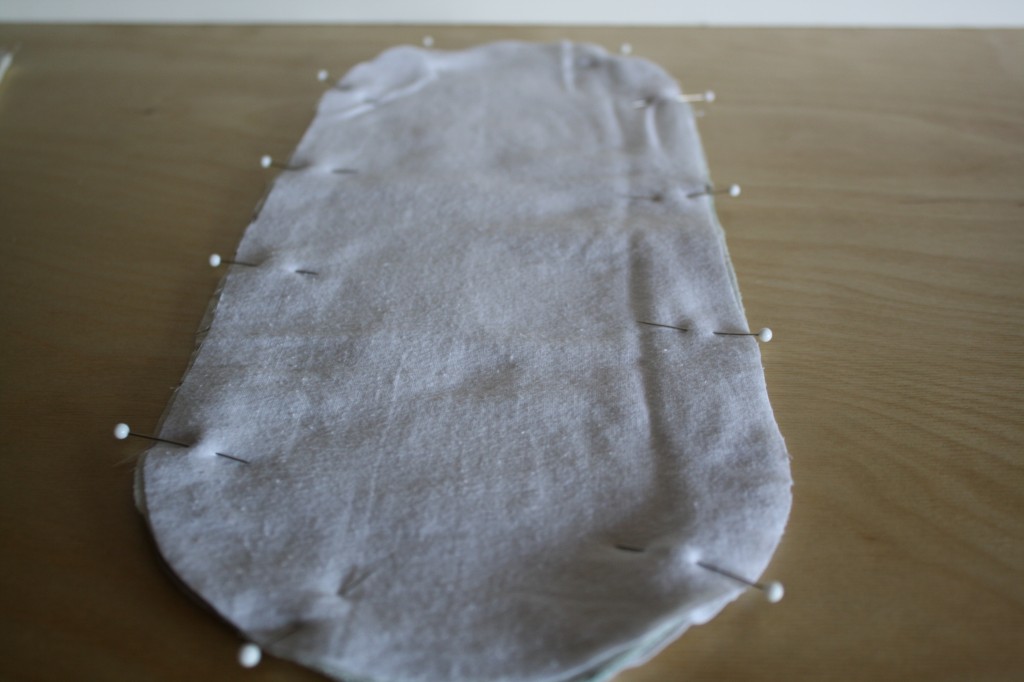
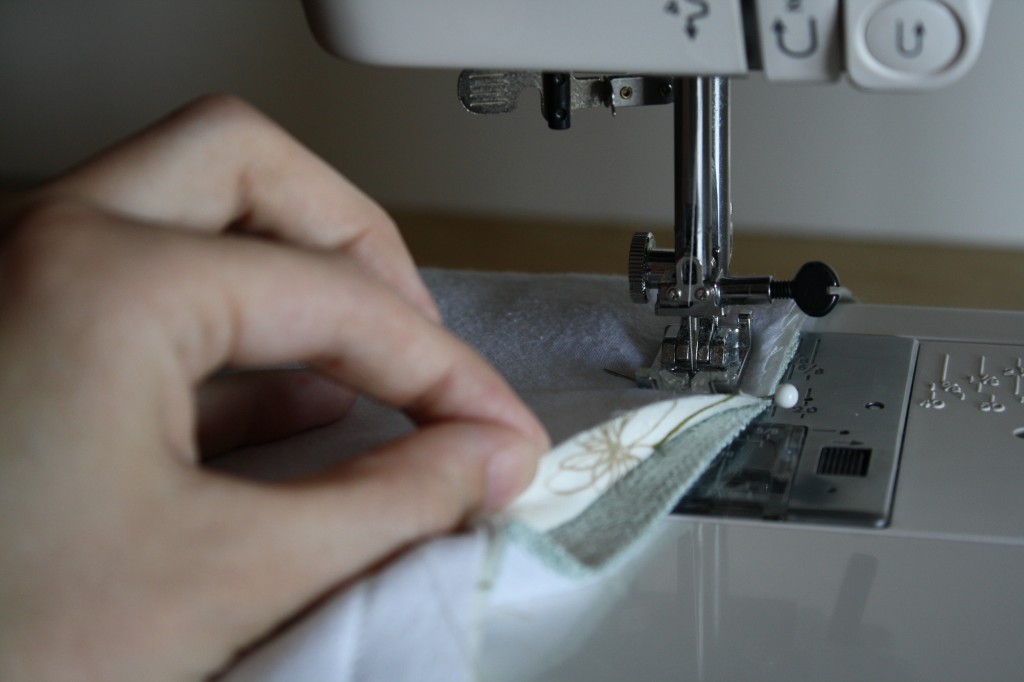
2. Stitch all the way around the edges, but leave a 2 or 3″ opening one one of the straight edges.
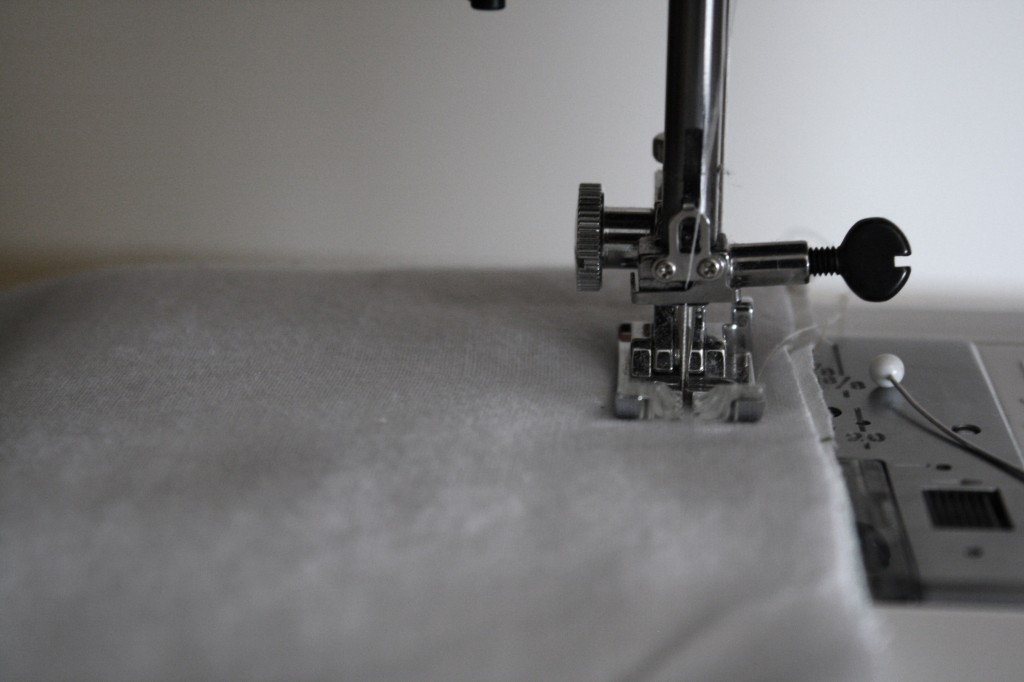
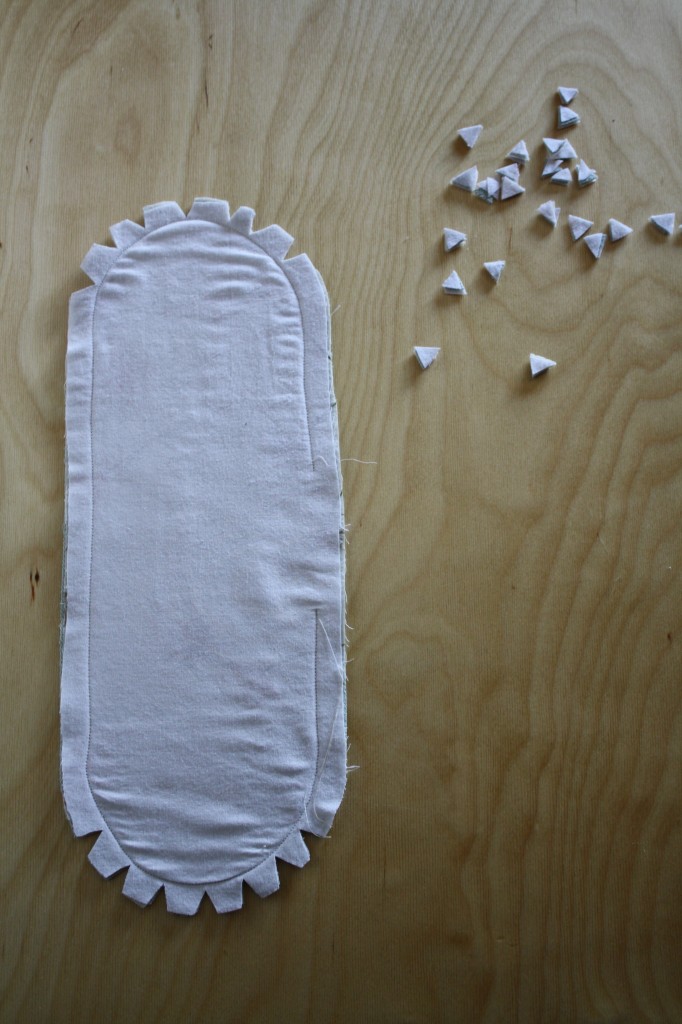
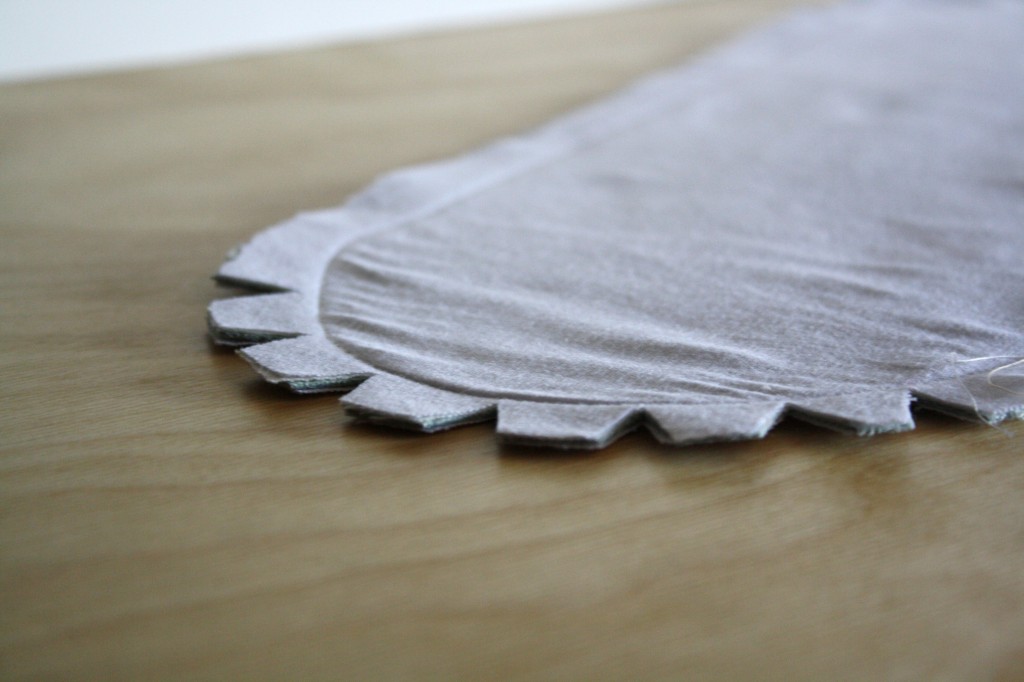
3. Notch the curved seam allowance.
4. Turn right-side-out.
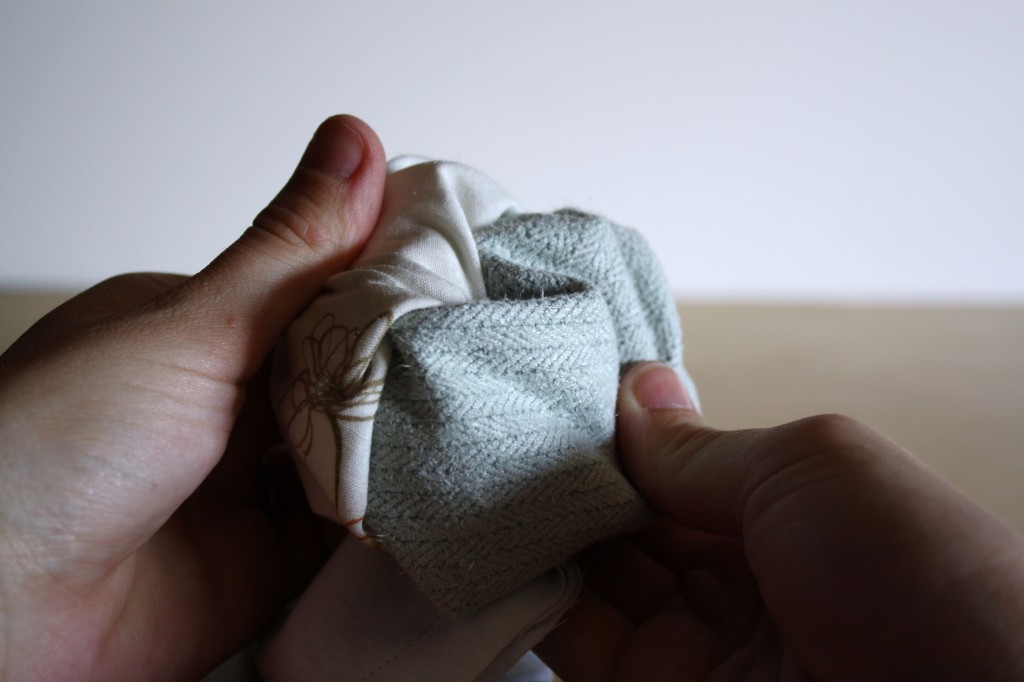
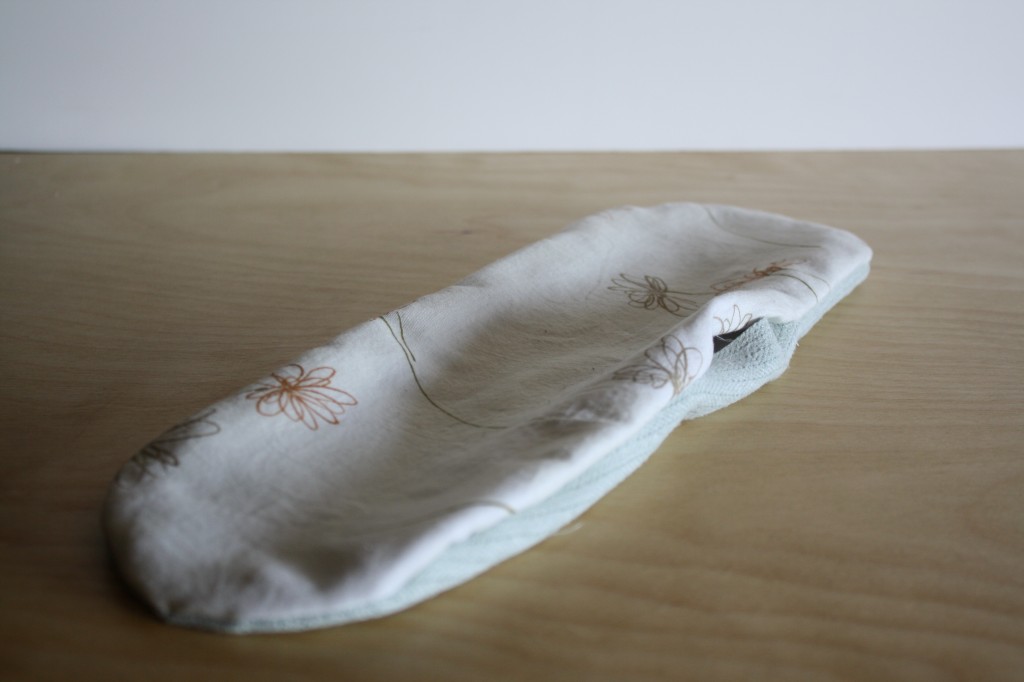
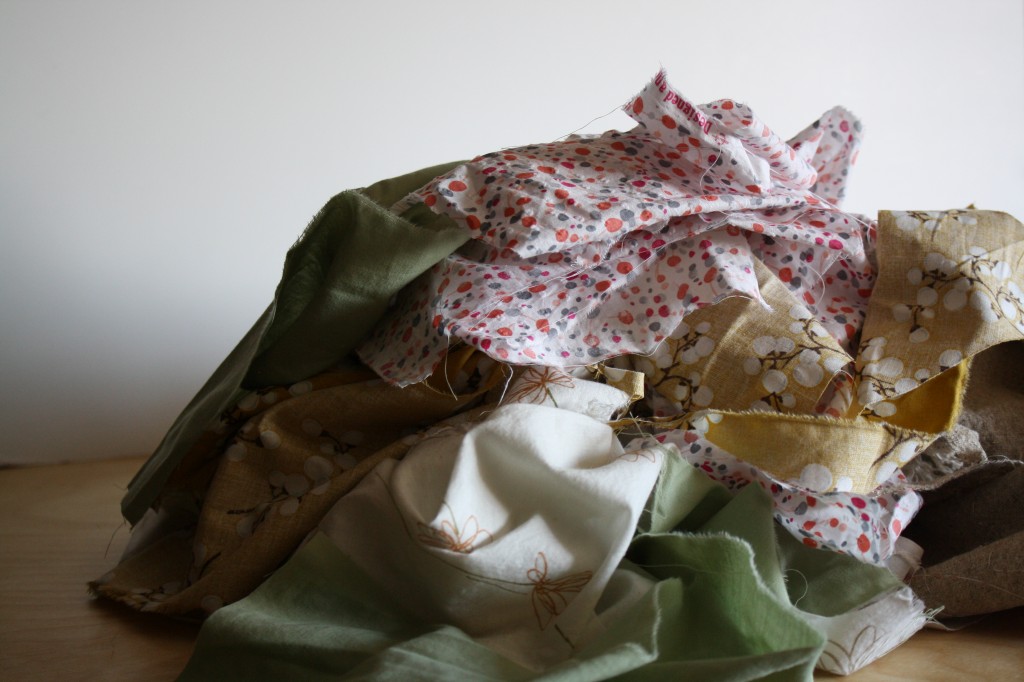
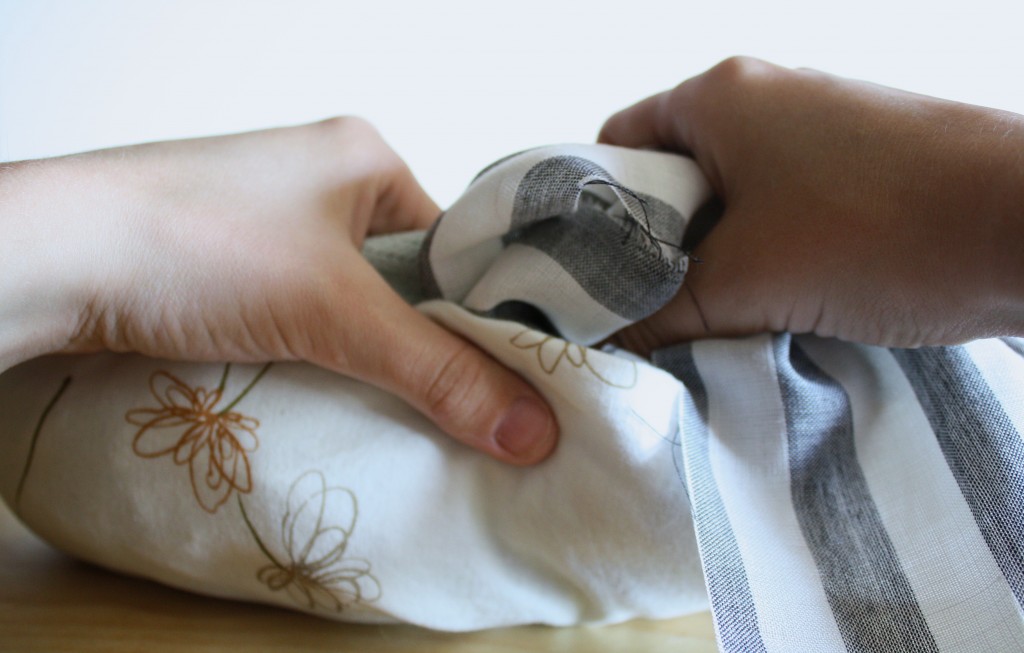
4. Stuff very tightly with fabric scraps.
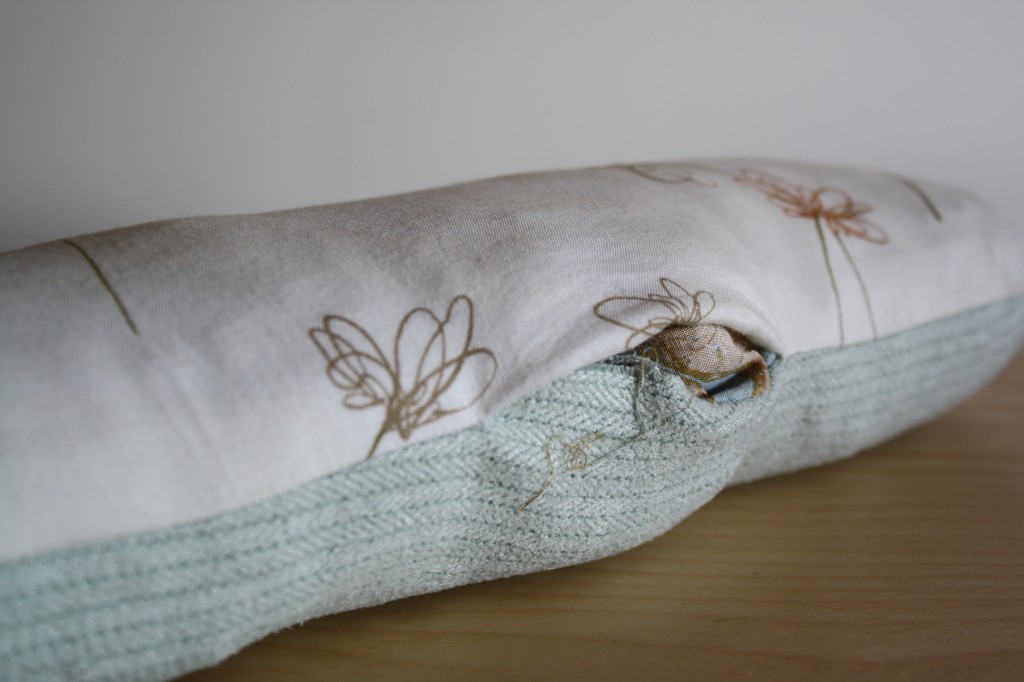
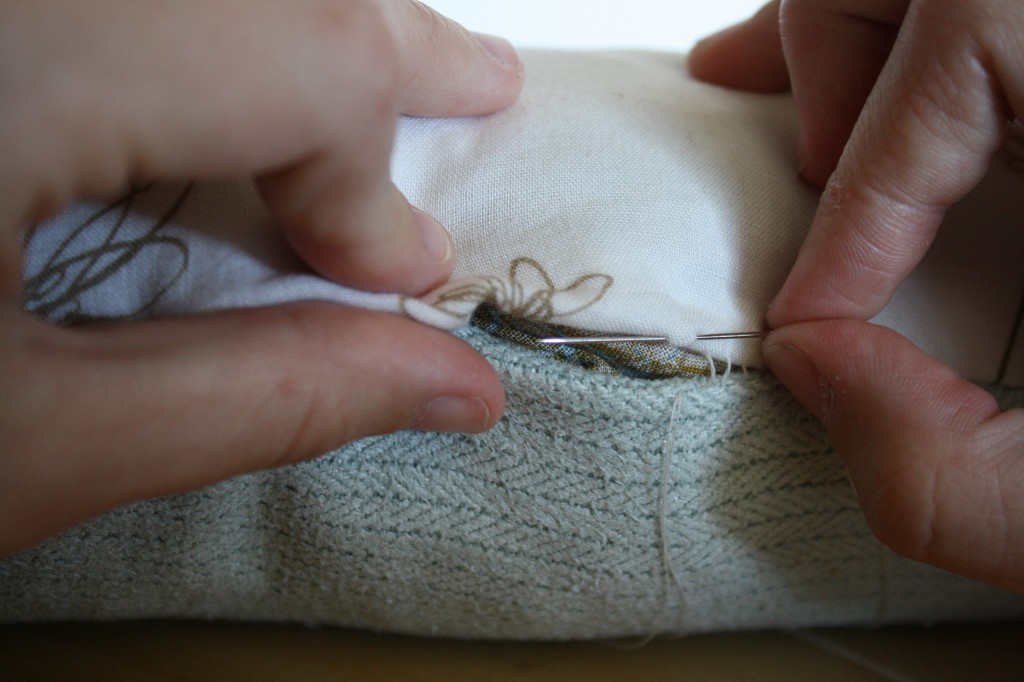
5. Use a ladder stitch to close the opening, using doubled thread or embroidery floss.
