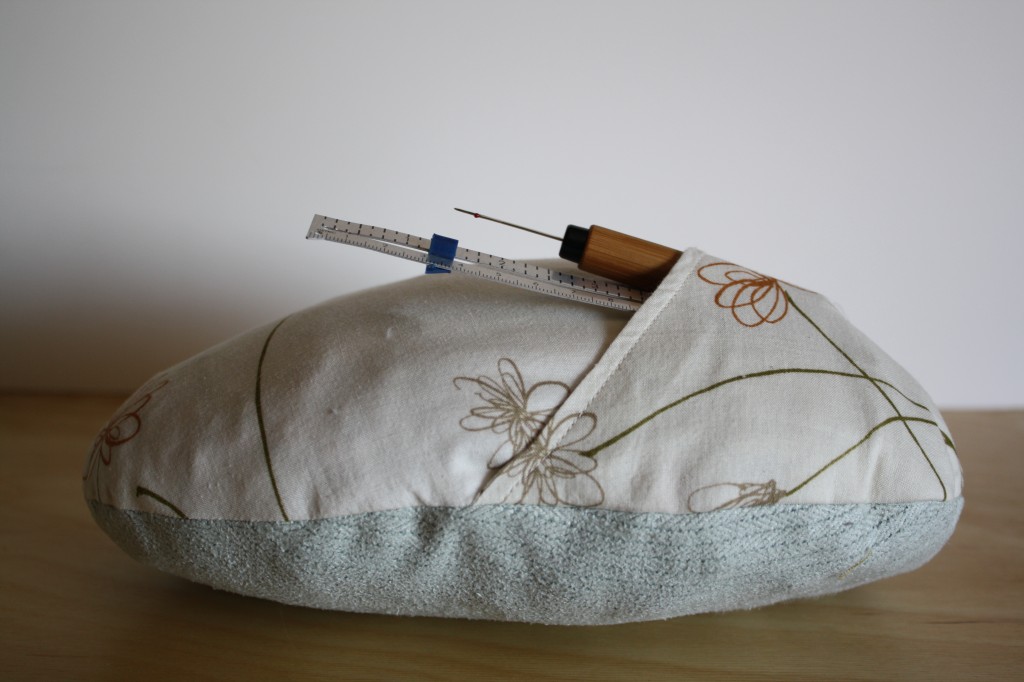
I’m pretty sure in Hell everyone is doomed to iron men’s dress shirts for eternity. It is just that miserable, right? But, ironing shapely items is practically painless with a ham and roll. Not the dinner kind, the ironing kind. Although, ironing with food in hand would probably lift some stress as well.
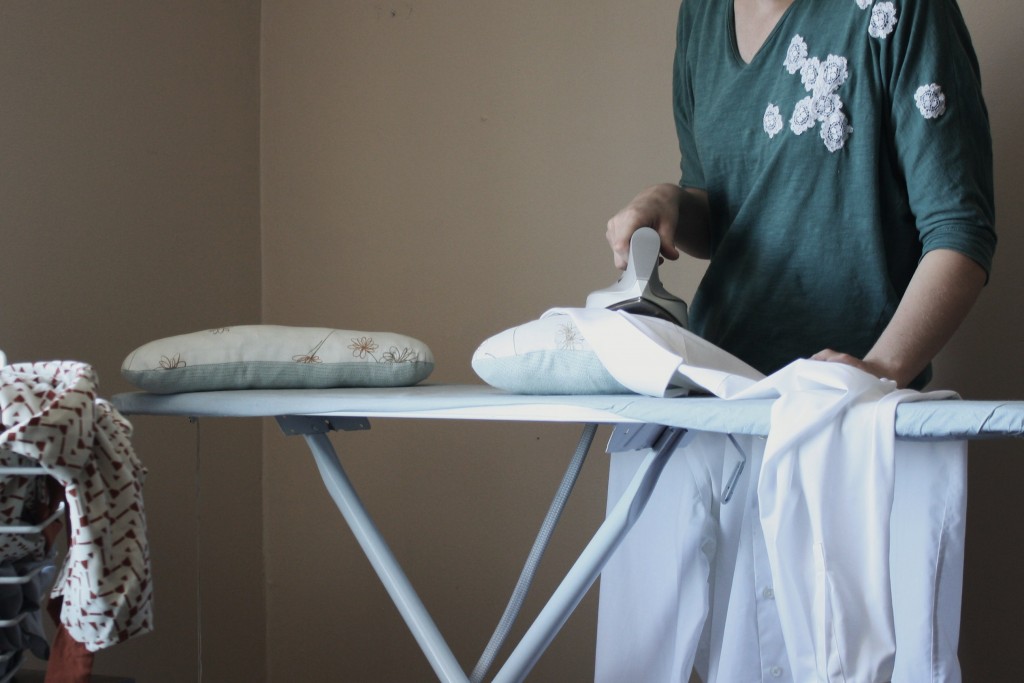
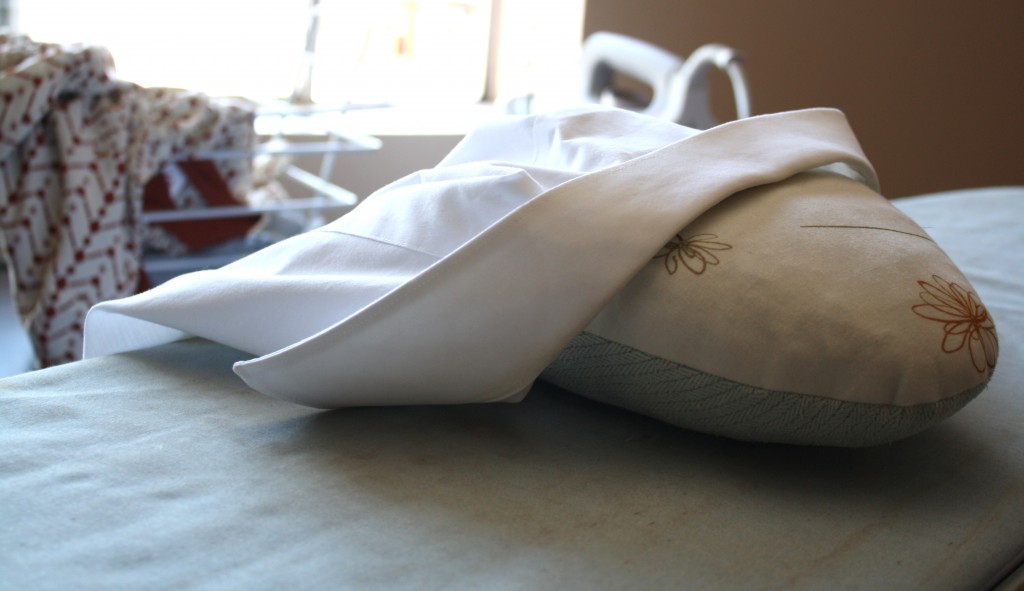
If you’ve never used a tailor’s ham or sleeve roll before, you’re going to shower me with virtual kisses, which I will gladly waft in the direction of the brilliant soul who invented them.
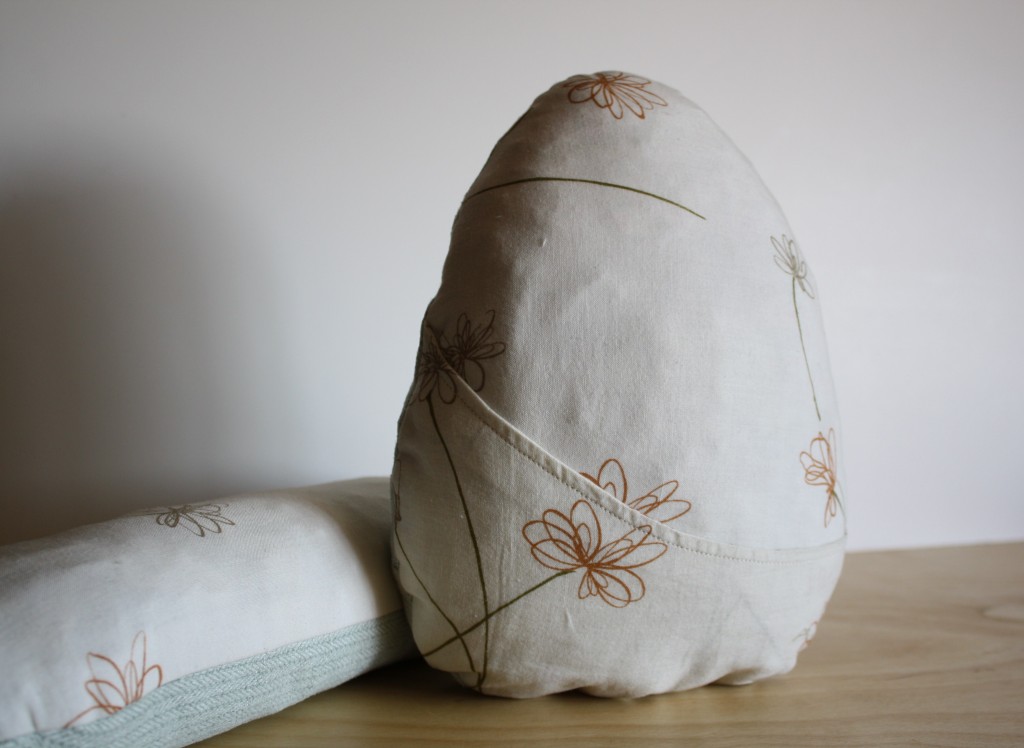
MATERIALS NEEDED
1/4 yard fabric for ham, 1 side cotton- 1 side flannel/wool/heavy home decor
Matching thread
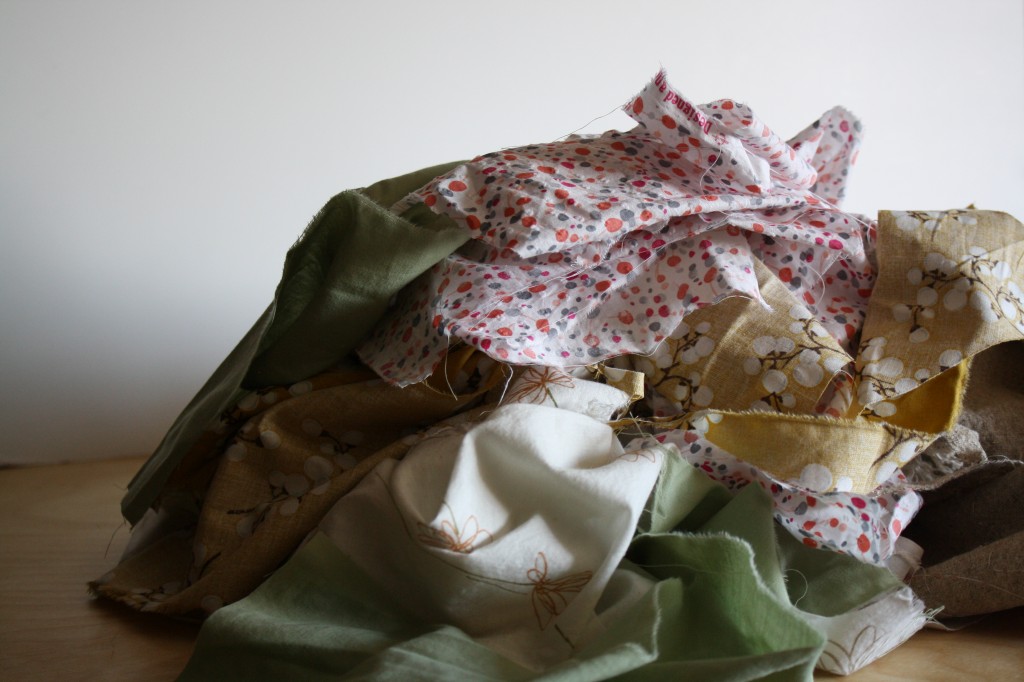
Heaping mound of fabric scraps, ripped into strips
PREPARING THE PATTERN FOR THE HAM
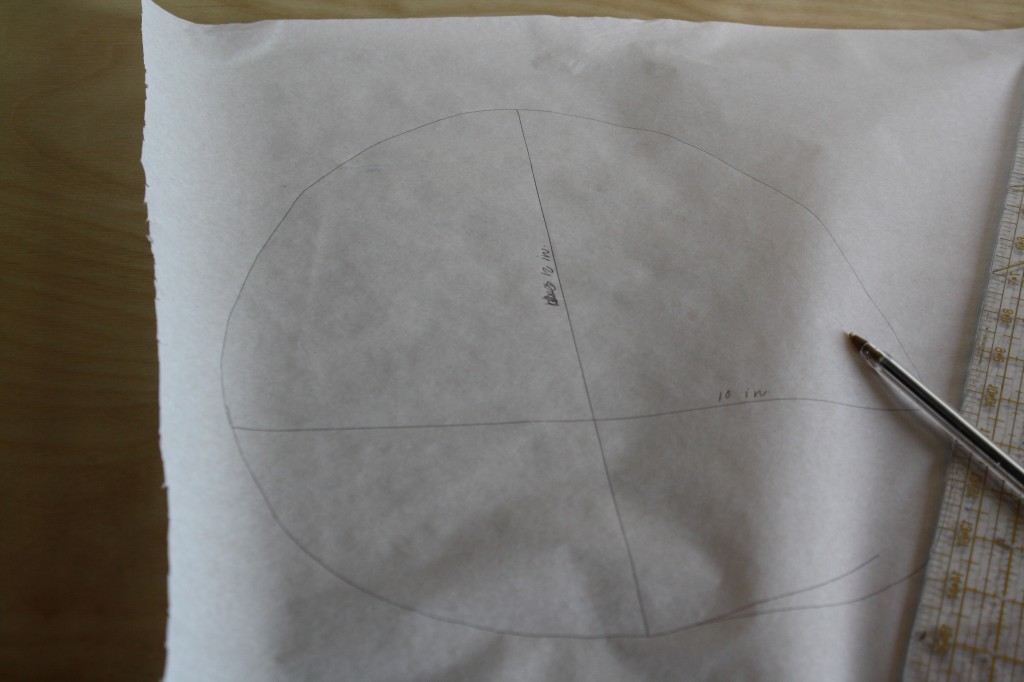
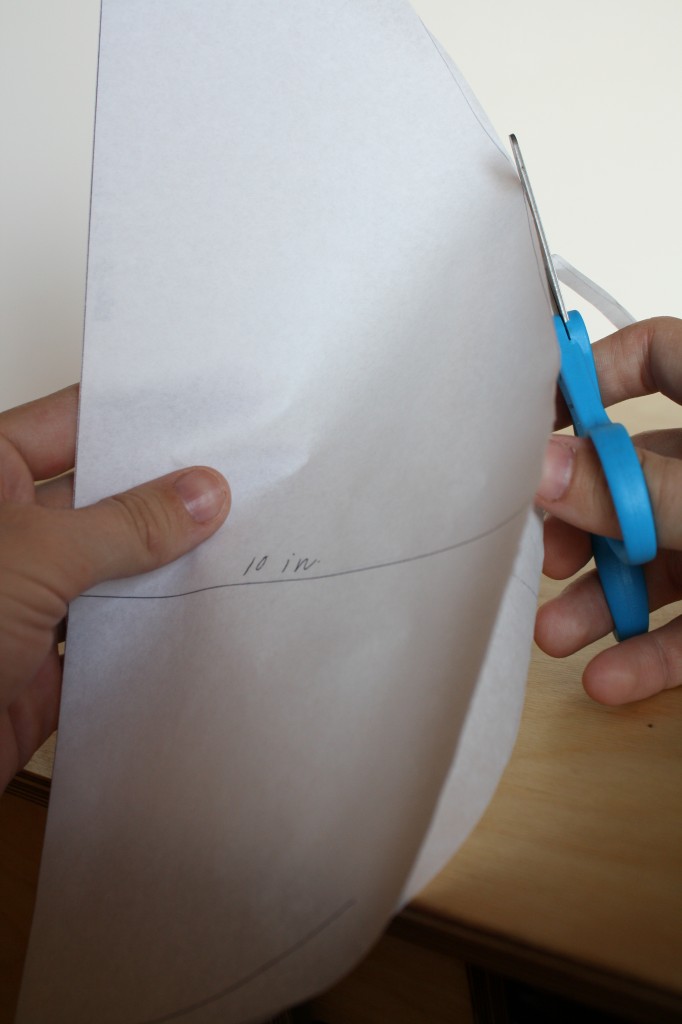
1. Take your tracing paper, and draw an egg-like shape. (height: 12″, width: 10″). This is your ham pattern piece, cut it out. Fold the ham pattern in half and even the sides with a pair of paper scissors.
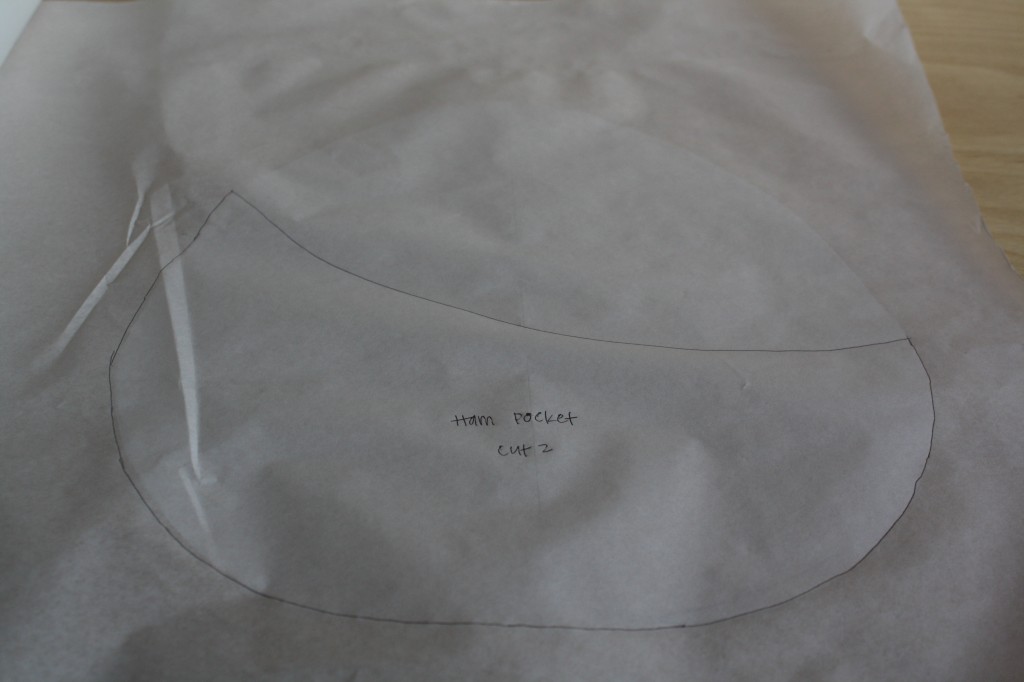
2. If you choose to add a pocket to the ham, trace another piece the same size as the ham piece, with a curve from about the top third to the bottom third of the pattern.
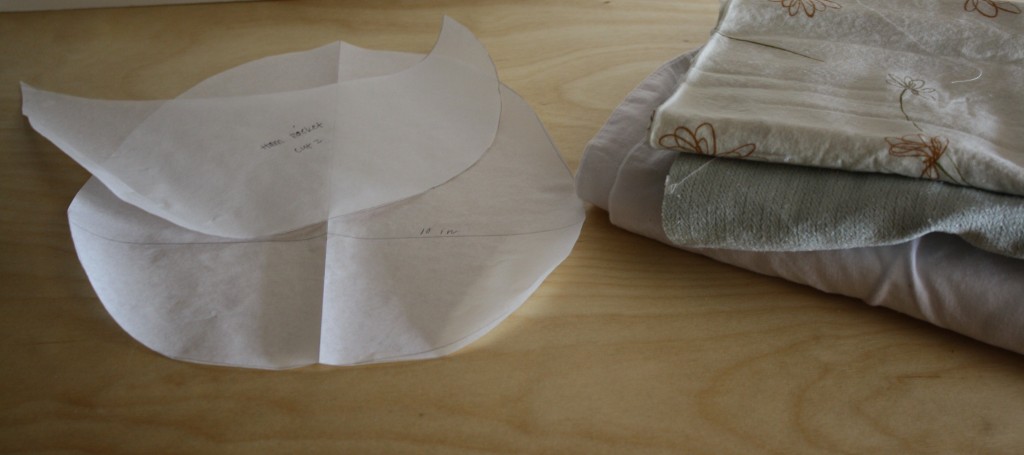
3. Cut out 2 ham pieces from the fabric of your choice, 1 side being basic quilter’s cotton, and one side being heavier like home decor or flannel. Cut two pieces of cotton for the lining as well (that’s 4 pieces in total). Then cut out 2 pocket pieces from the fabric of your choice (optional).
HAM SEWING INSTRUCTIONS
All machine sewing for the ham and sleeve roll should be done using a 5/8″ seam allowance.
1. Match up the two pocket pieces with right-sides-together an sew along the top of the pocket (the curve that doesn’t match the other ham pieces).
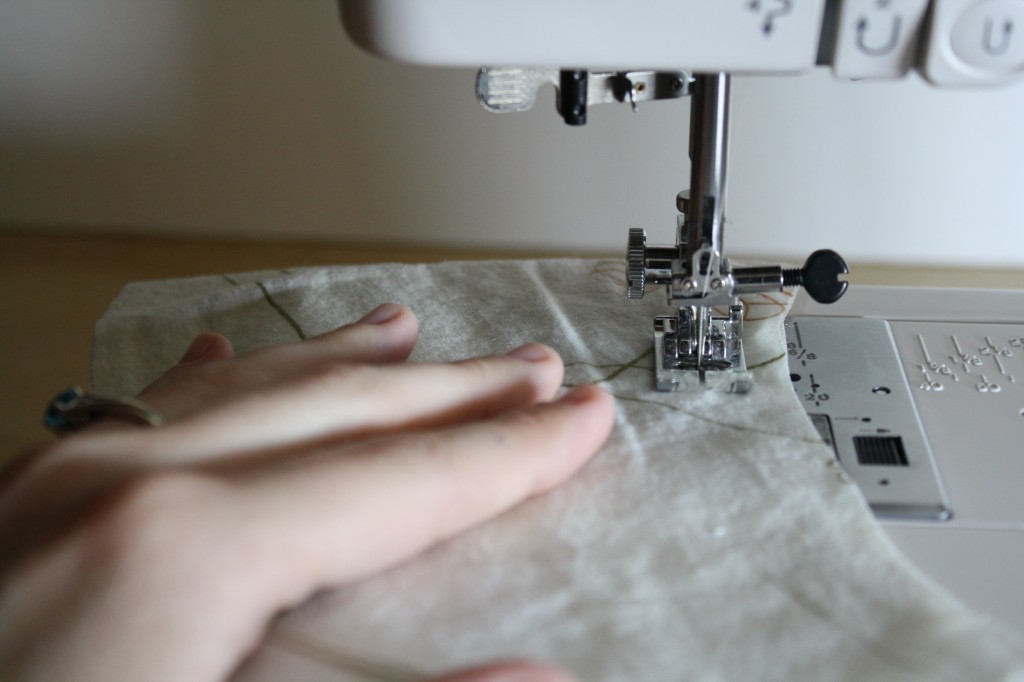
2. Clip into the seam every 1/2″ or so to help it lay flat.
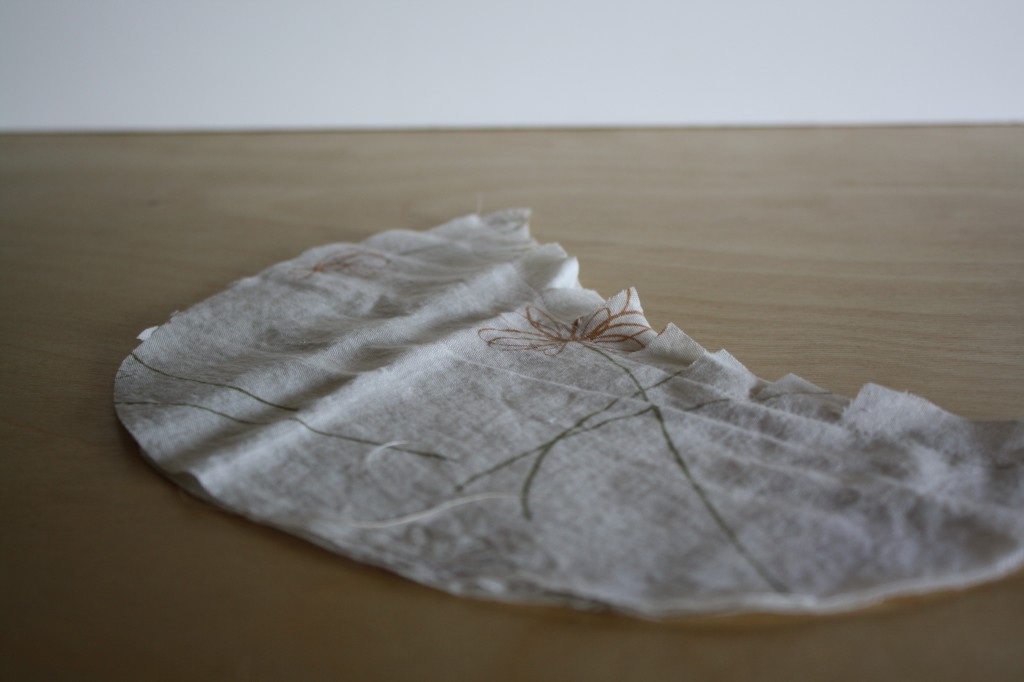
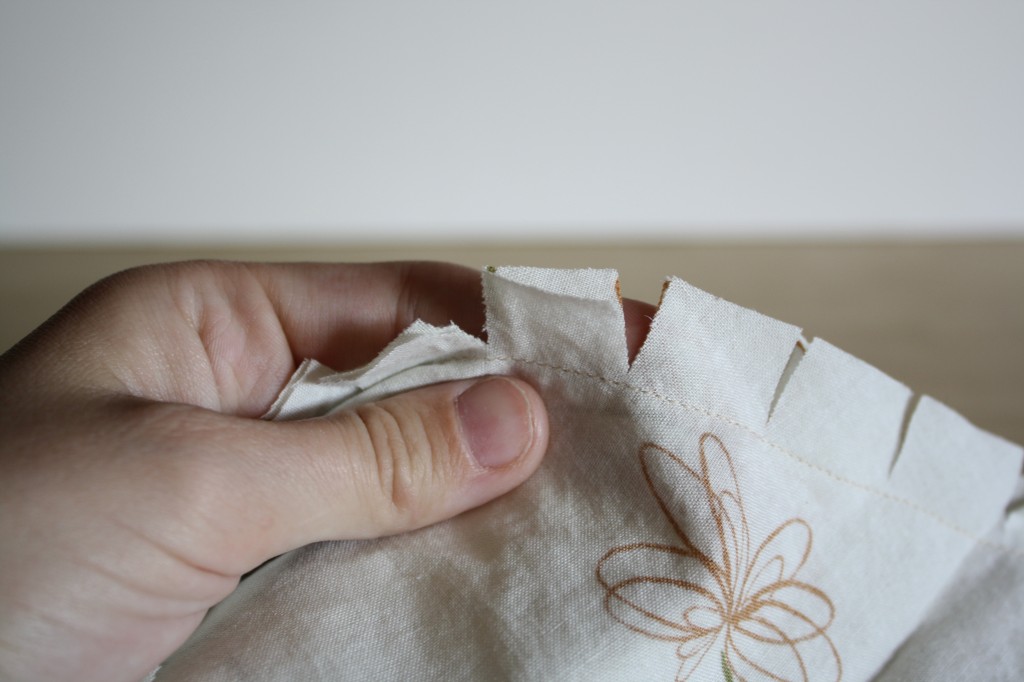
3. Turn the pocket right side out, press the seam flat, and top stitch along the pressed edge of the pocket.
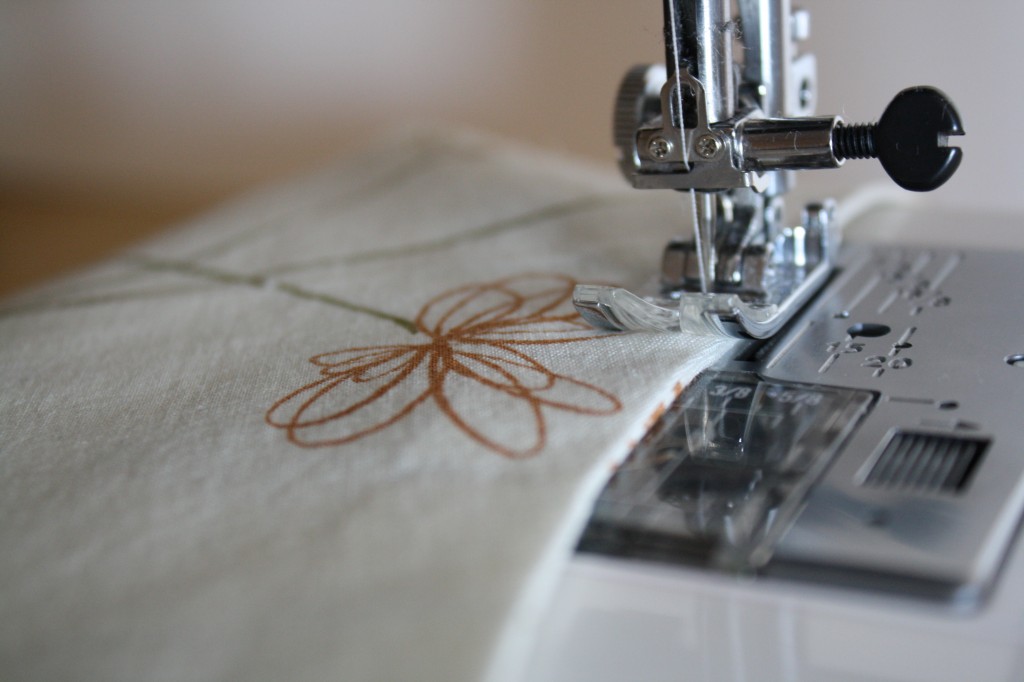
4. Line the pocket up with 2 ham pieces, all with the right sides up: (from bottom to top) liner, outer ham piece, pocket. Baste all the way around the outer edges using a 1/4″ seam allowance.
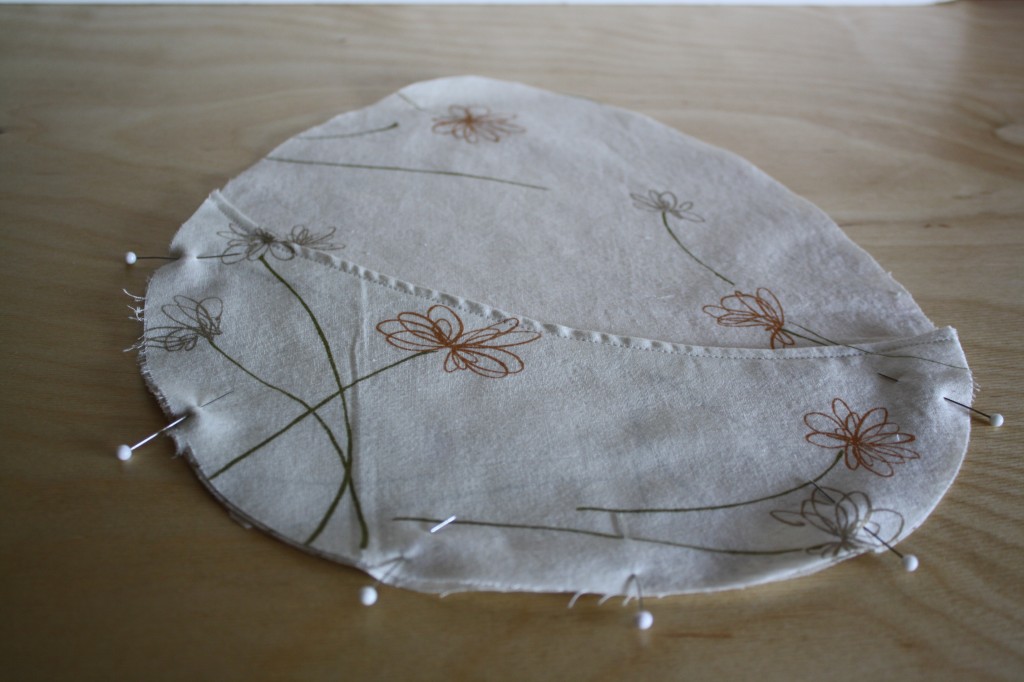
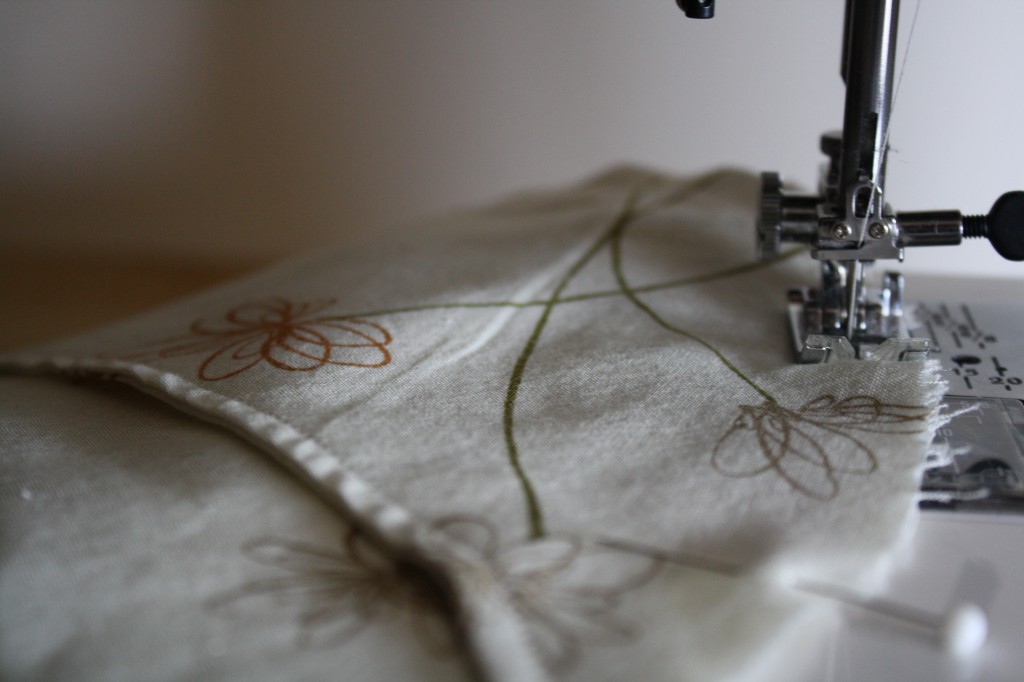
5. Lay the pocketed ham piece right-side up, and layer the other ham pieces on top of it with the RIGHT-SIDES FACING DOWN. Pin.
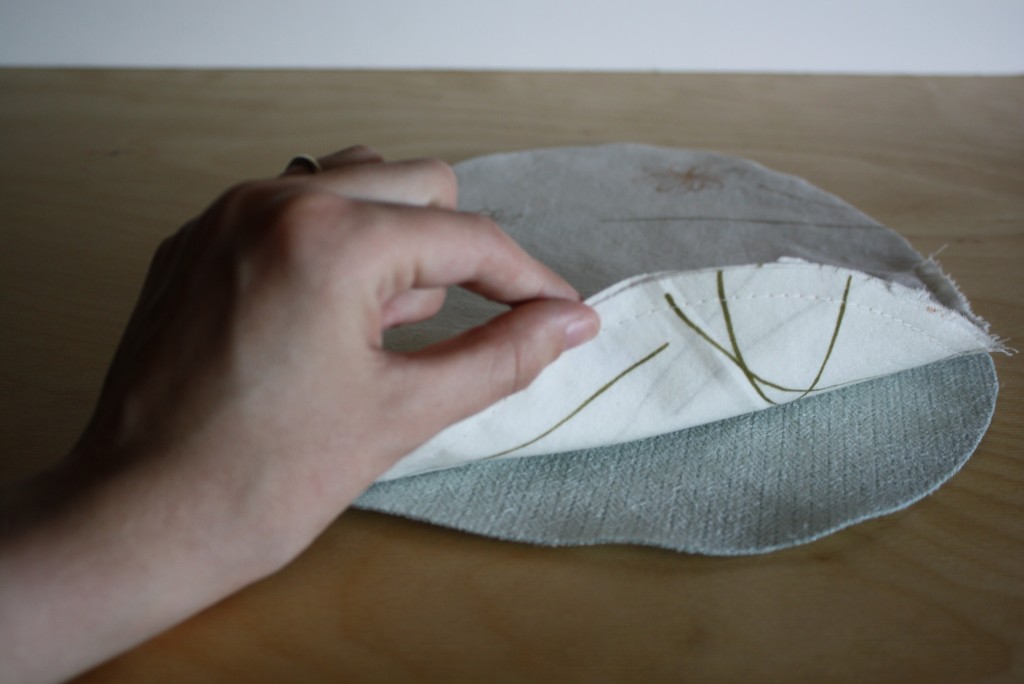
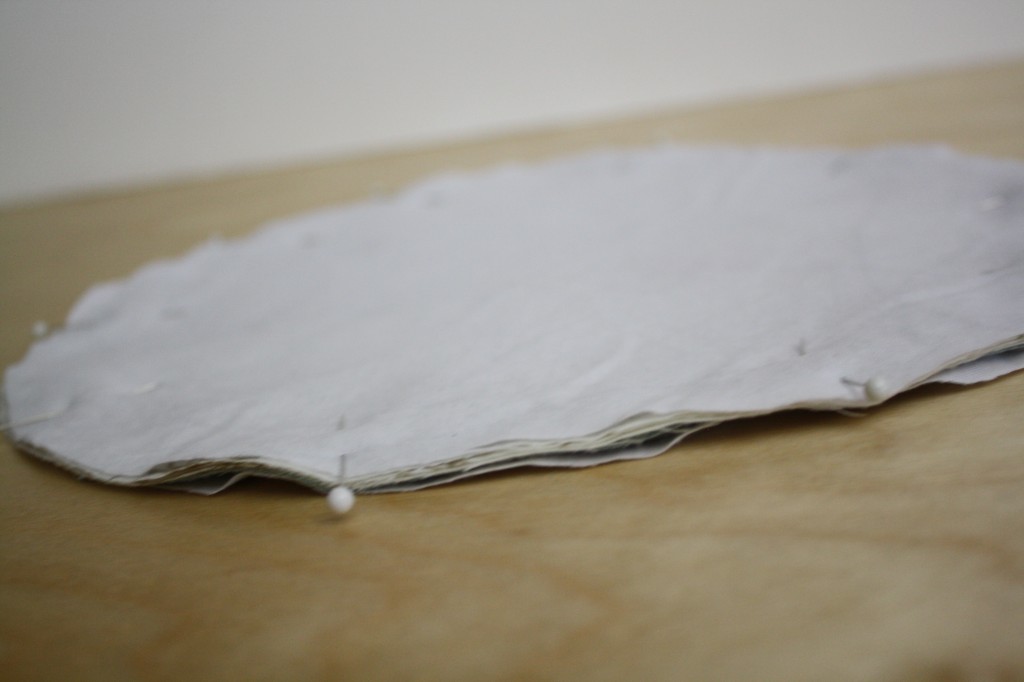
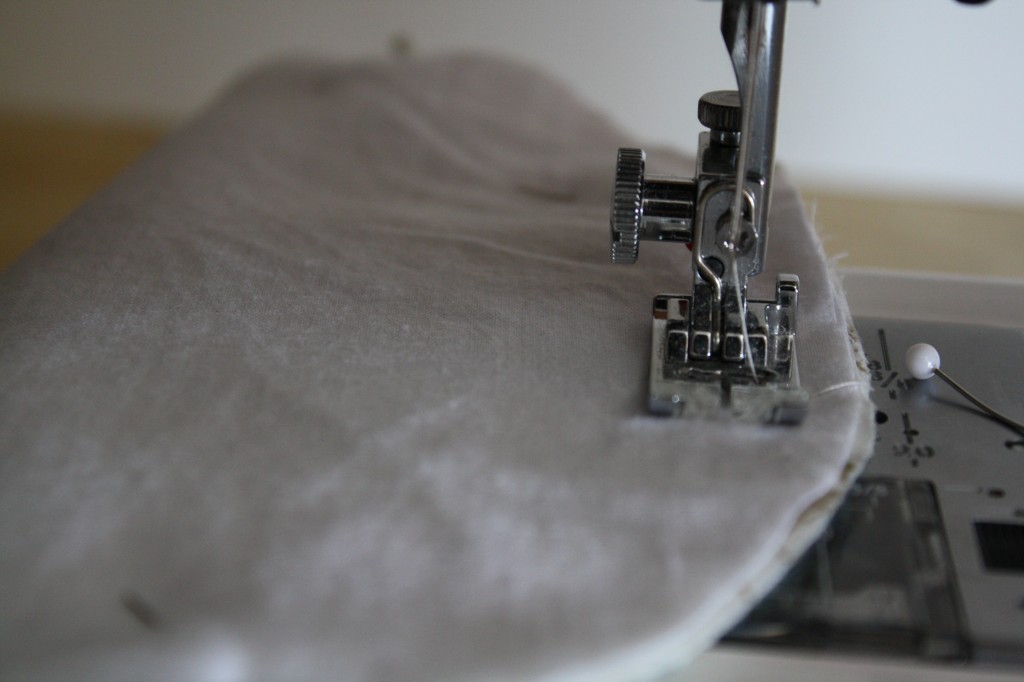
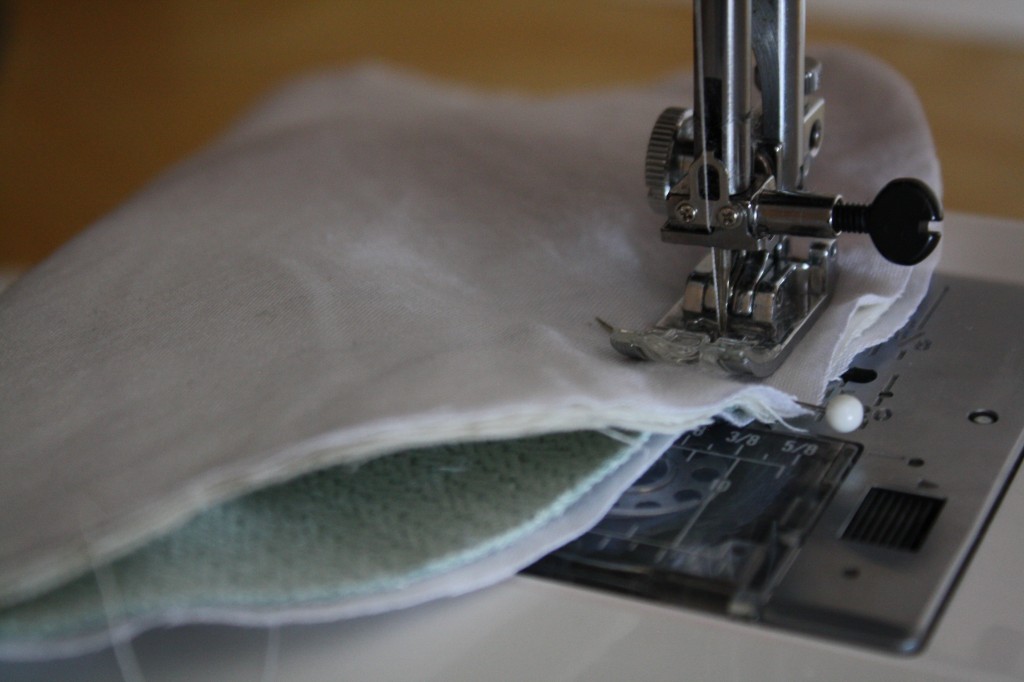
6. Use a 5/8″ seam allowance to sew around the edges, leaving a 3 or 4″ opening.
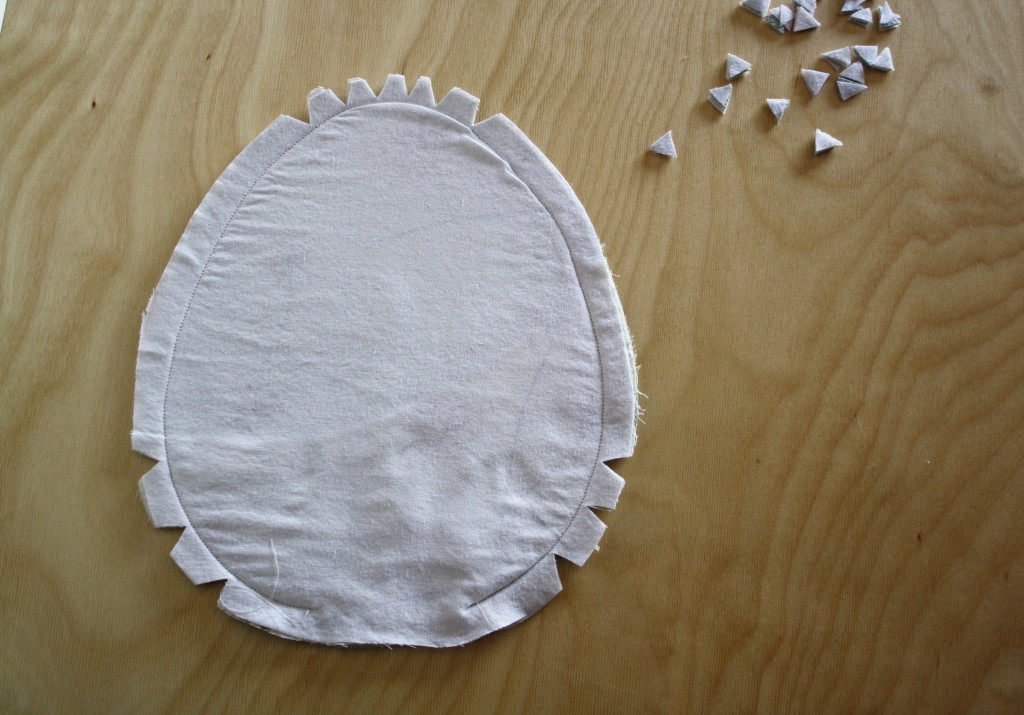
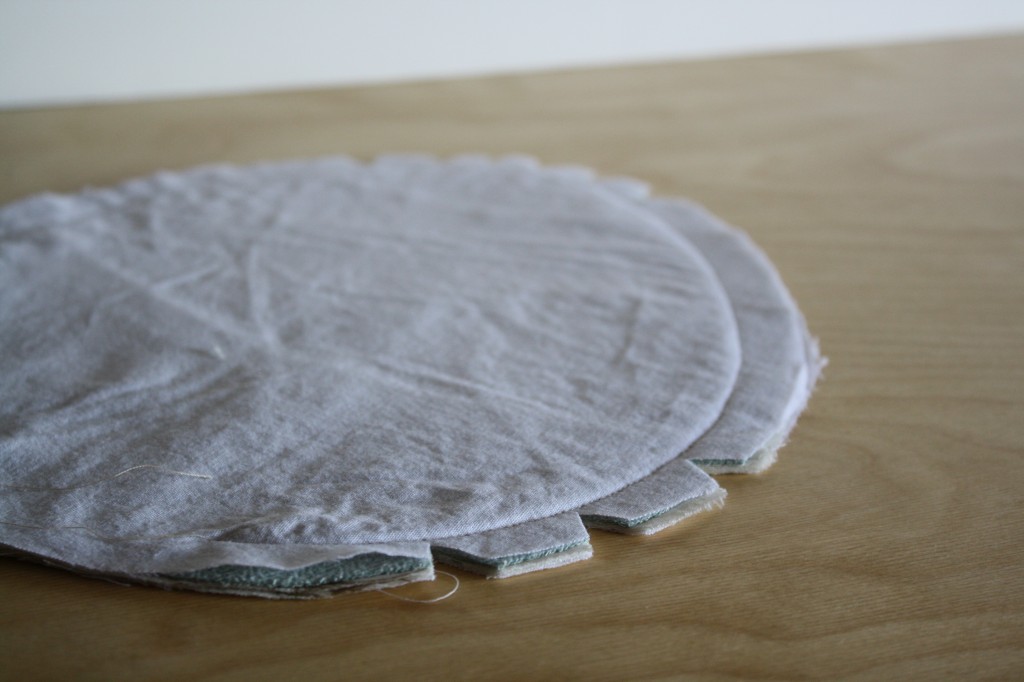
7. Notch the curved seam allowance.
8. Turn right-side-out.
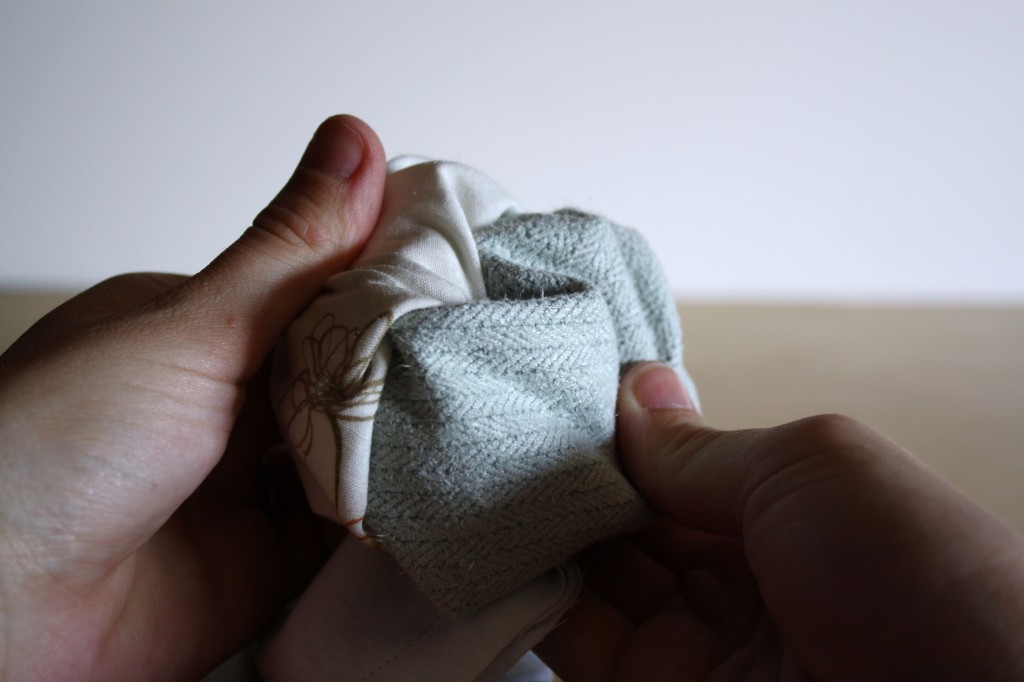
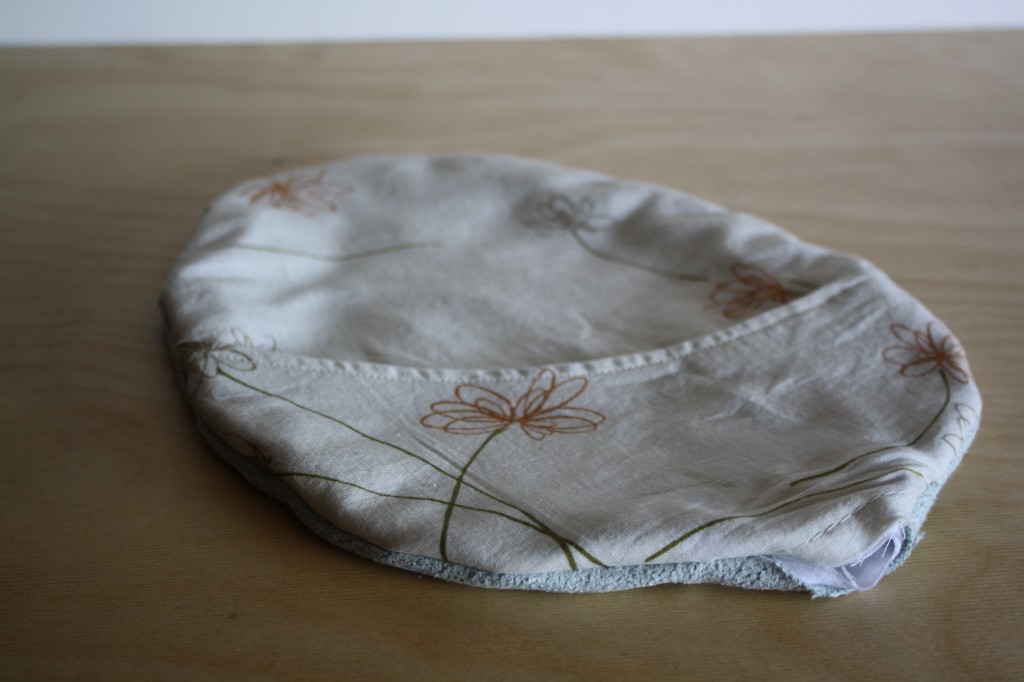
9. Stuff very tightly with fabric scraps.
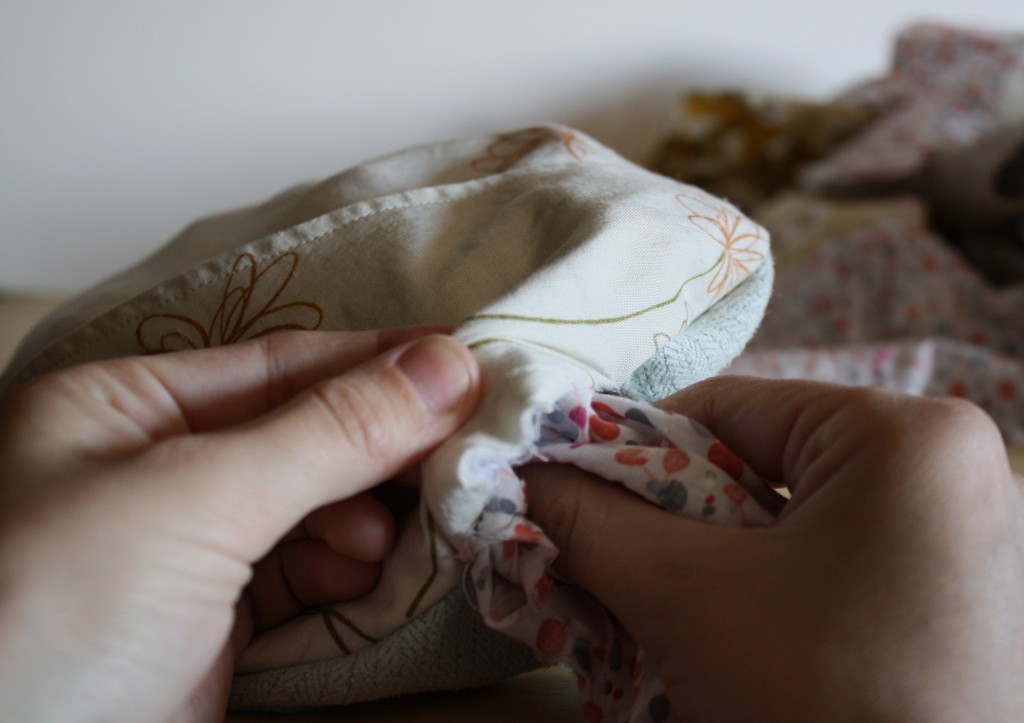
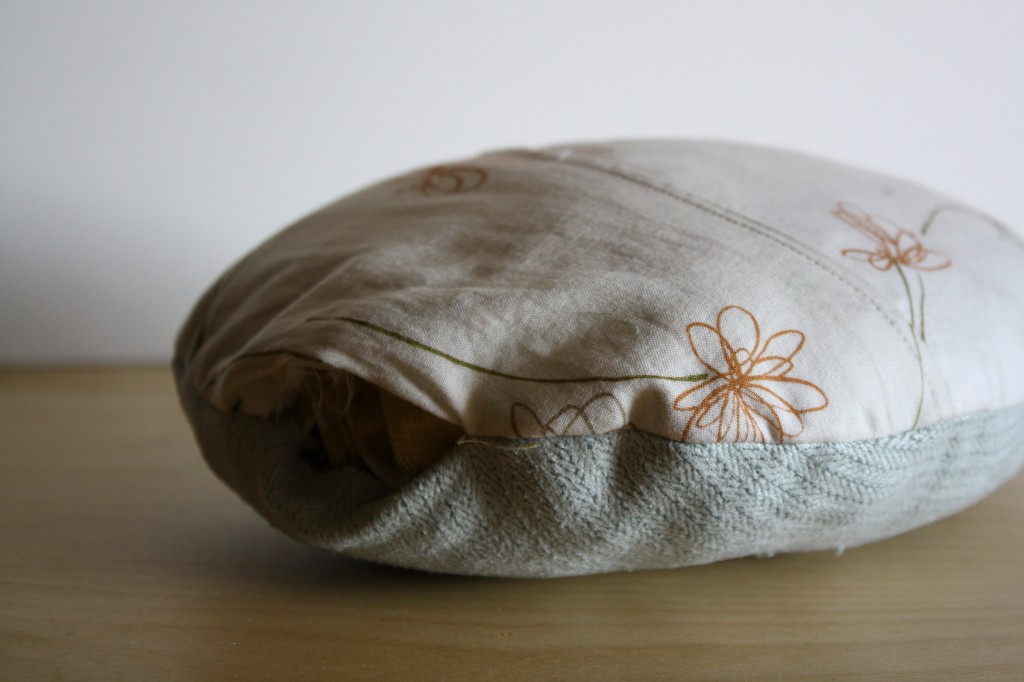
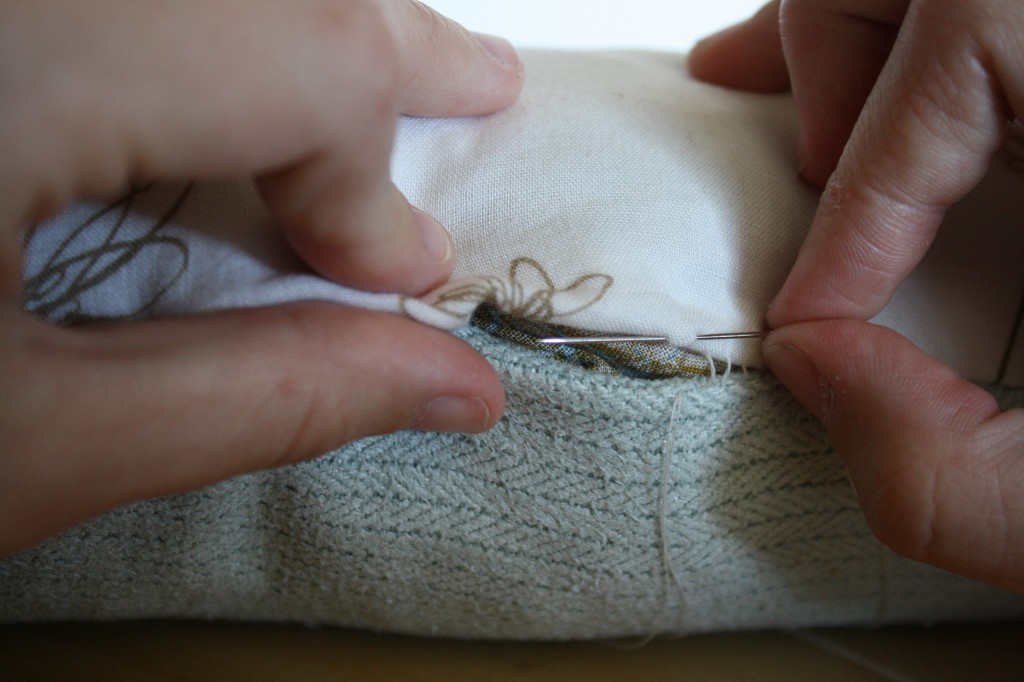
10. Use a ladder stitch to close the opening, using doubled thread or embroidery floss.
Now you might even enjoy that pesky pile of shirts that need ironed. Maybe.
