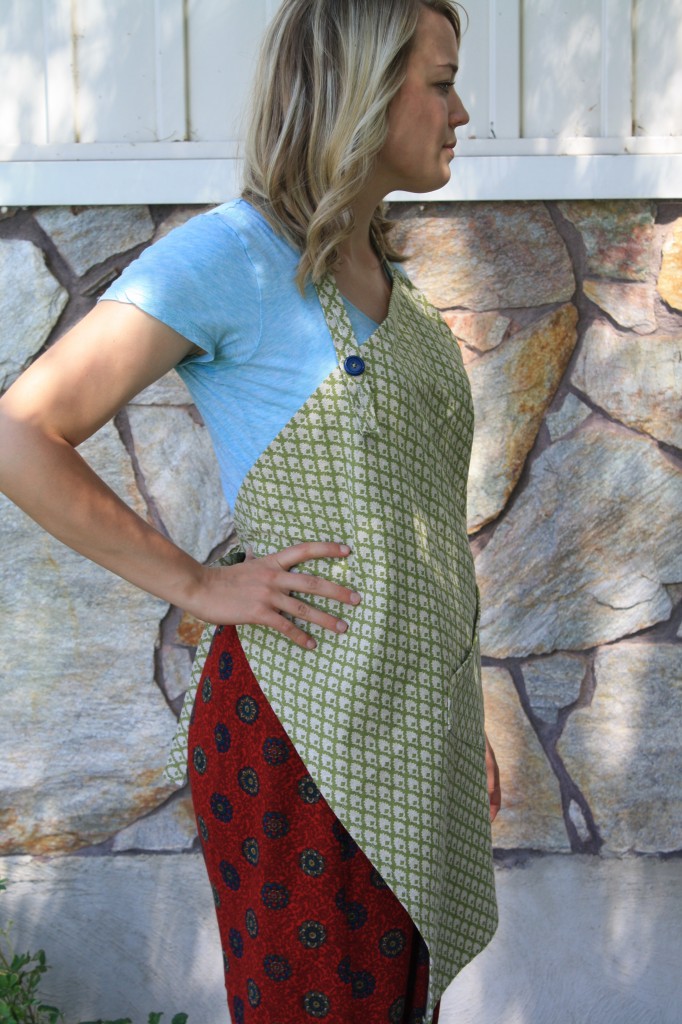
Without a buttonhole feature on a sewing machine, or a buttonhole presser foot, it can seem daunting to make a buttonhole. It’s really not so bad to make a buttonhole manually. Before making a buttonhole, you need to know what size it should be. Pick your button to determine the size of the buttonhole.
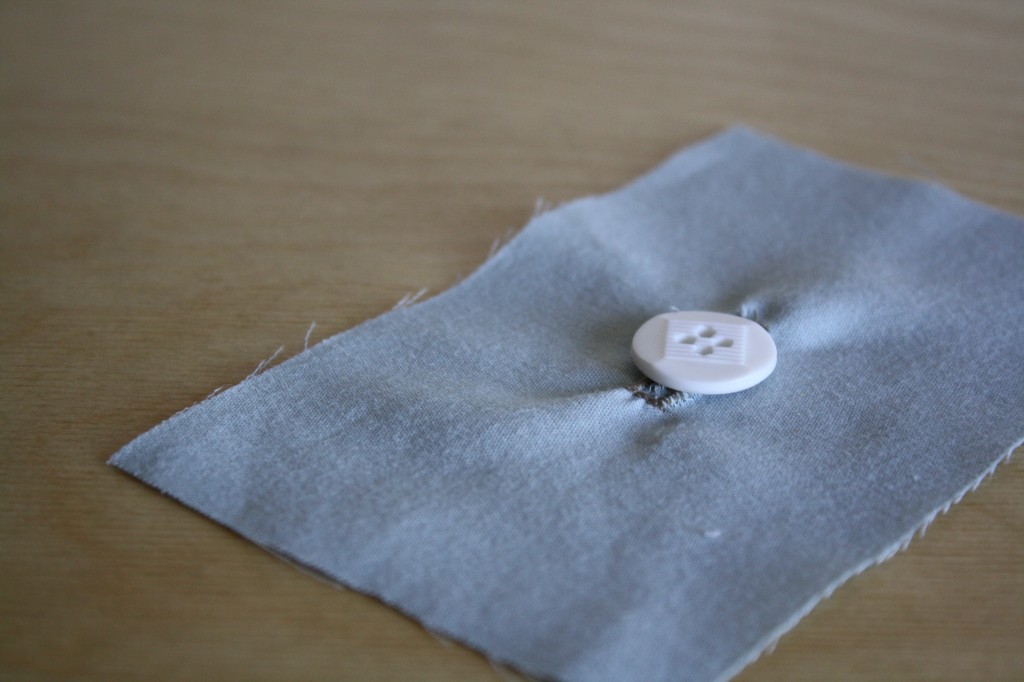
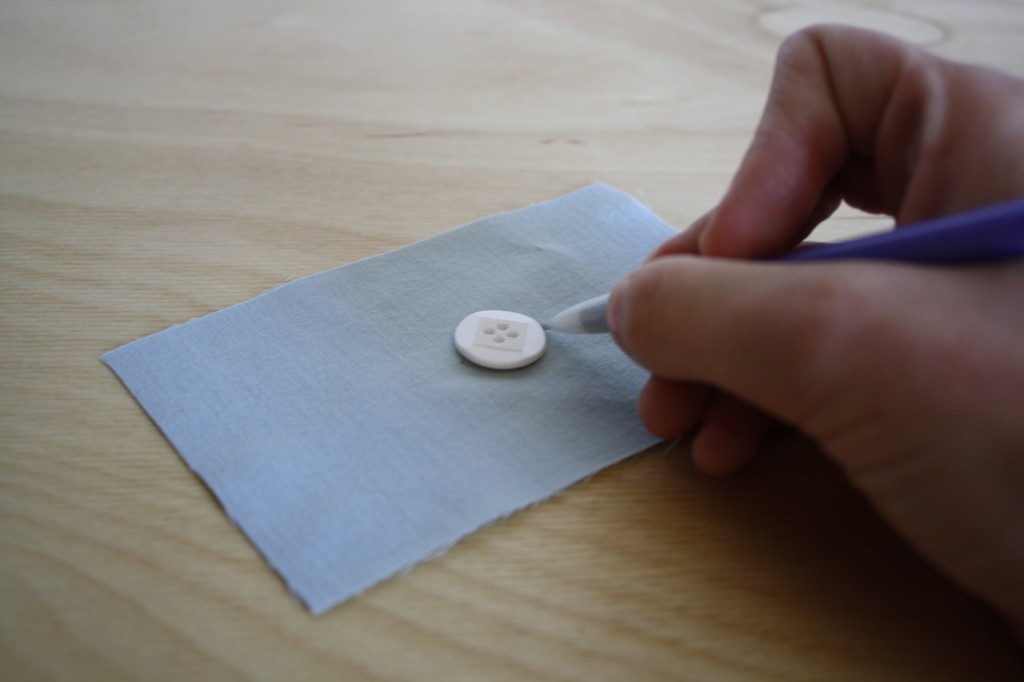
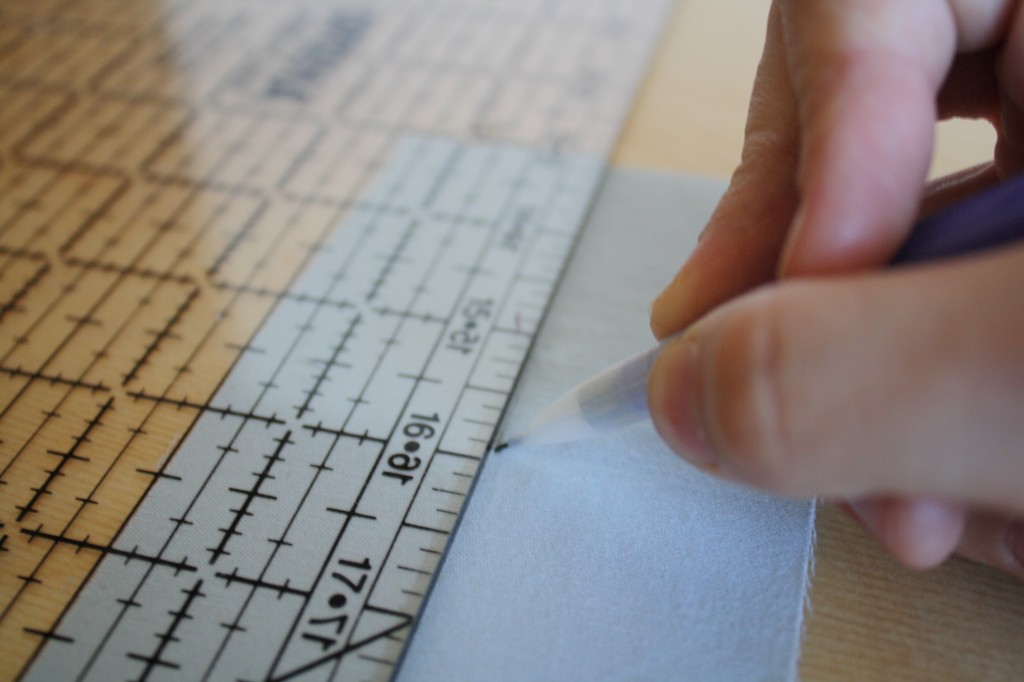
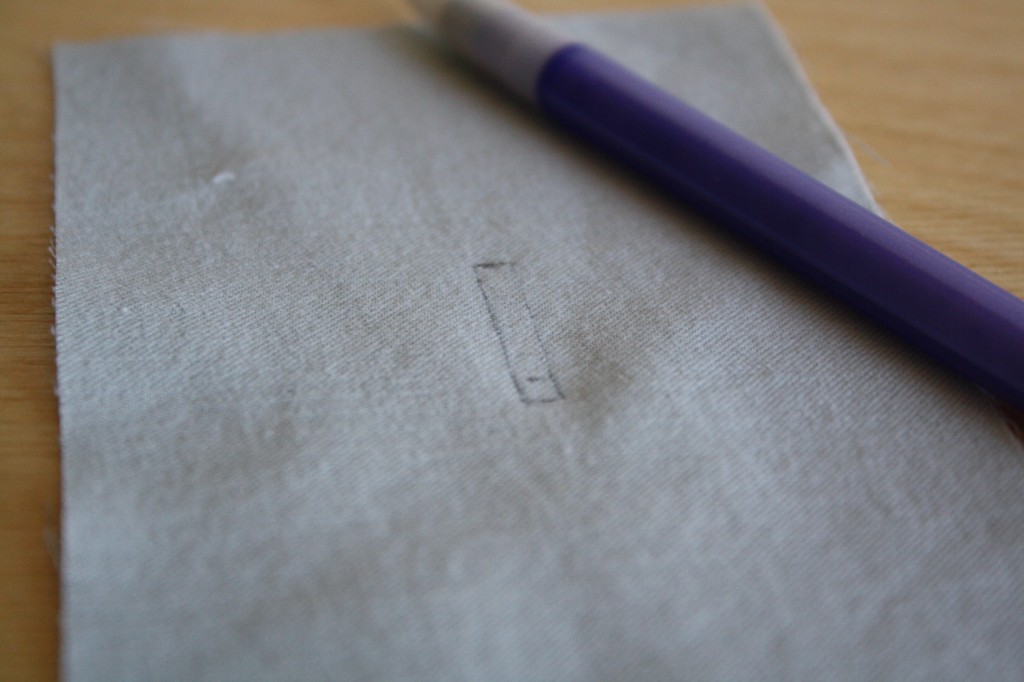
Place the button where you want the buttonhole of the sample rectangle and mark the top and bottom with a pencil or fabric marker. Use a ruler to draw a straight line connecting the two dots, adding about 1/8″ to the length for a more some wiggle room. Move the ruler over about 1/8″ to the right and draw another line the same size. Then draw small lines at the top and bottom to make a rectangle. This is your buttonhole template.
Set the sewing machine to a zig zag stitch and practice on a piece of scrap fabric (not the sample) to adjust the width and length. A medium width (mine is set at 3) and a short length (mine is set at 0.5) will create a secure zig zag for the sides of the buttonhole. When you find the zig zag setting that works for you, fill the setting numbers into the blanks on the “Manual Buttonhole” sample page.
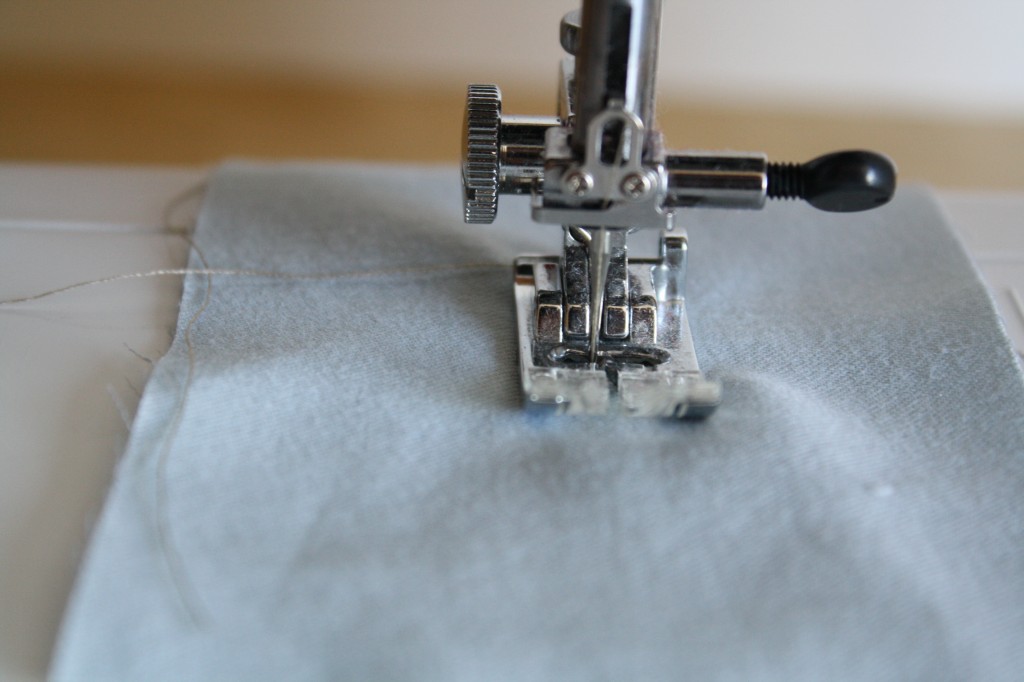
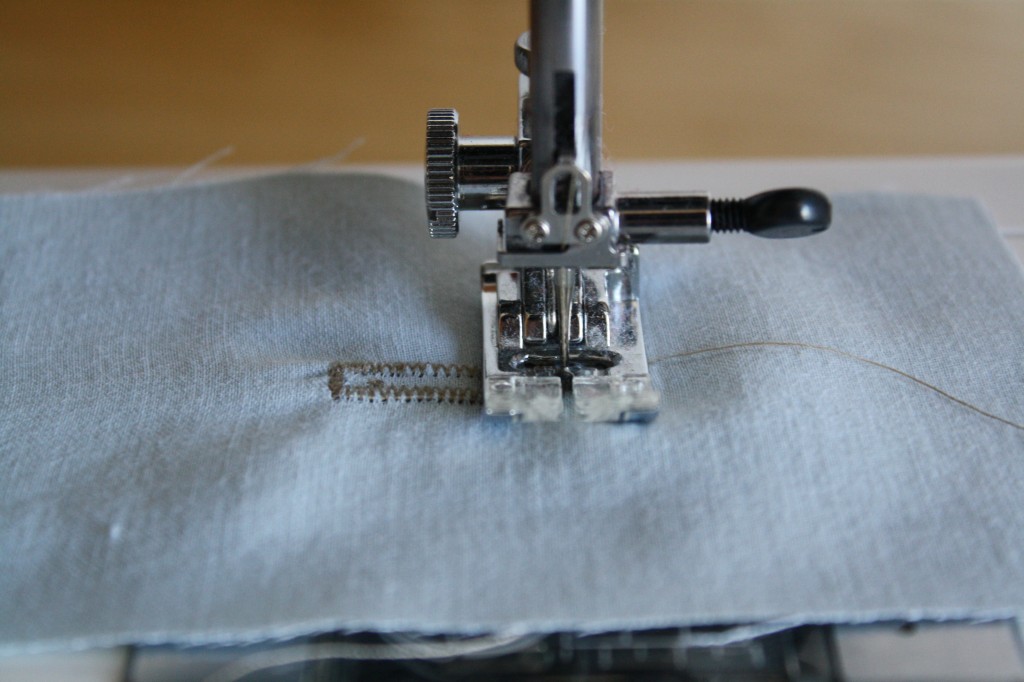
Center the first line you drew under the presser foot and stitch the zig-zag down to the bottom of that line, using the settings you determined earlier.
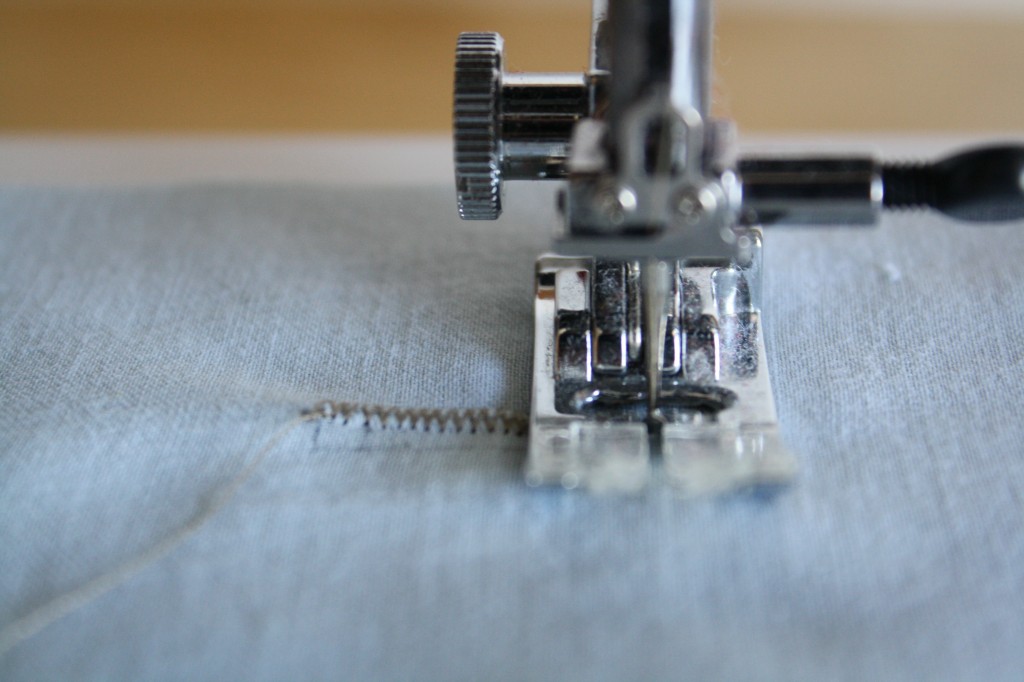
Adjust the stitch width back to the standard straight stitch setting, and pivot the fabric to sew the small bar stitching at the top of the buttonhole. Slowly stitch a straight line from end to the other (about 2 or 3 stitches). Reverse and sew this line 4 or 5 times, until it feels thick and secure.
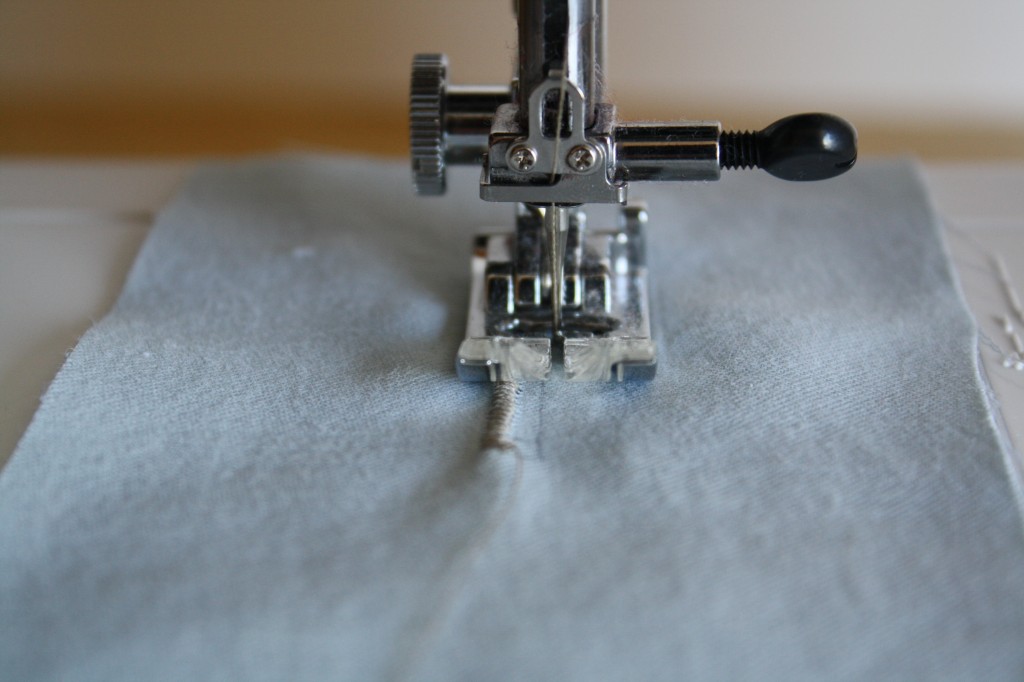
Pivot the fabric again, and set the machine back to the zig zag settings, and sew down the second long line. Once again, sew a straight line, reinforced 4 or 5 times to finish the buttonhole. Clip the thread tails.
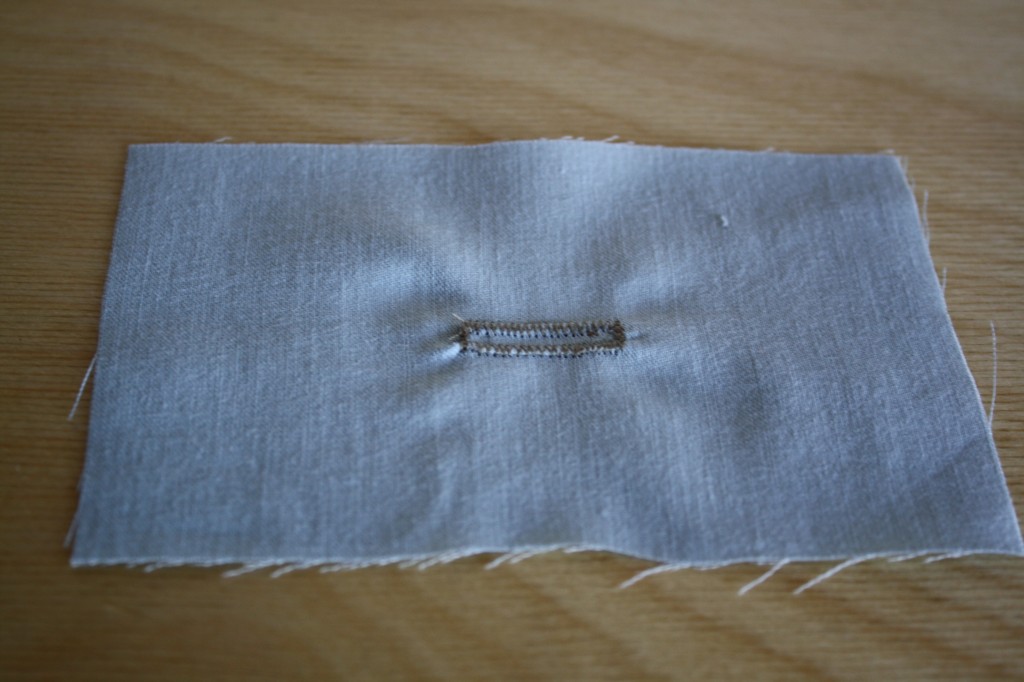
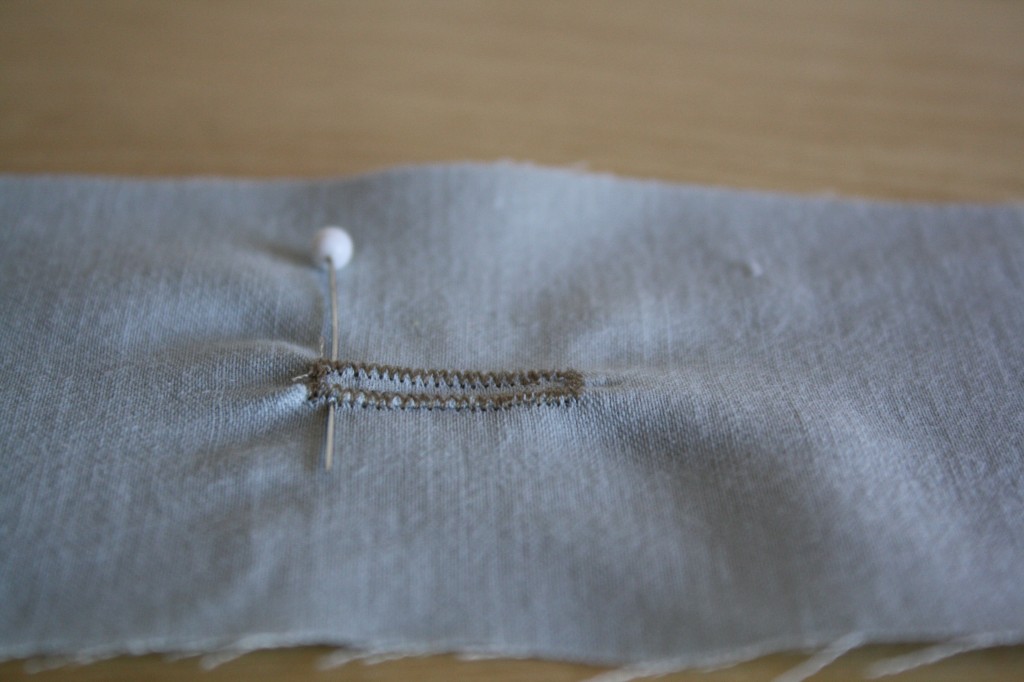
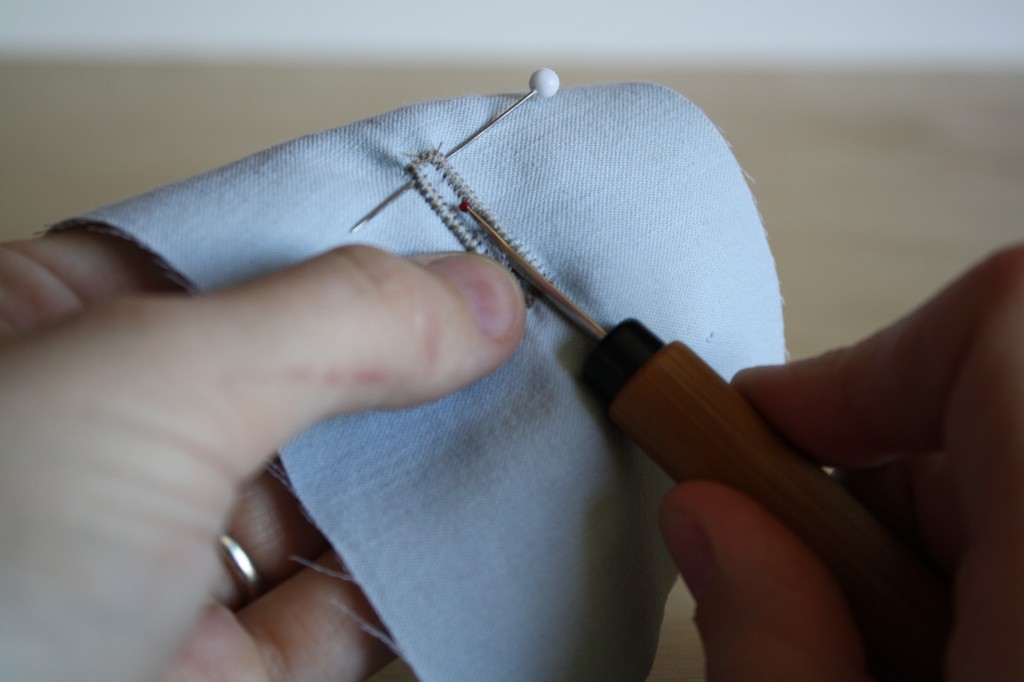
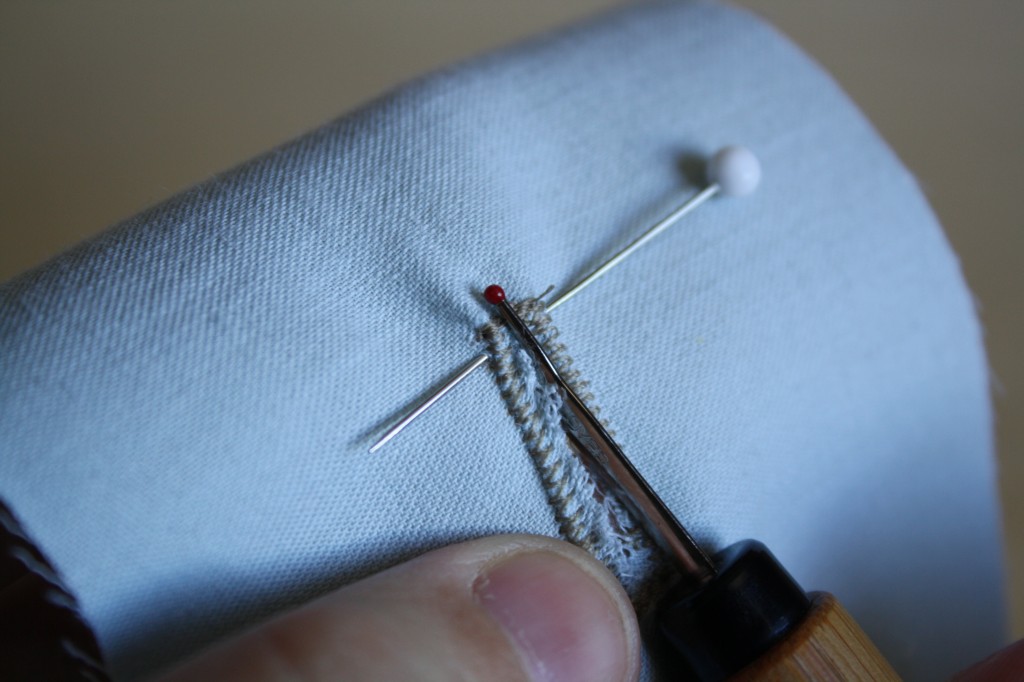
Place a straight pin just inside one end and use a seam ripper to cut a hole inside of the buttonhole. The straight pin helps to prevent cutting through the stitching at the end.
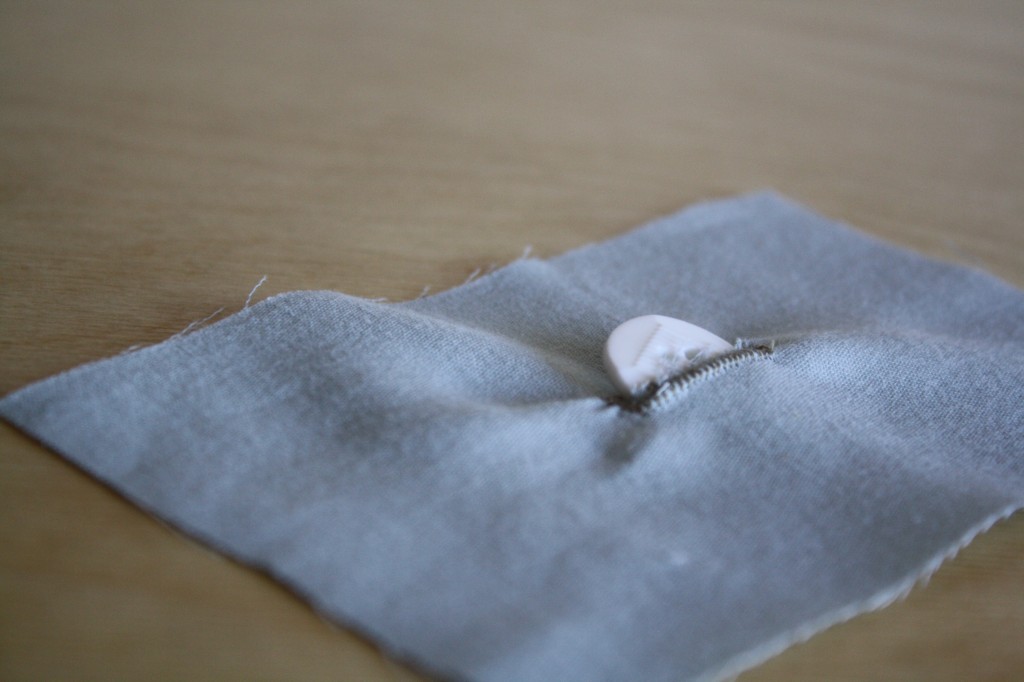
Now all that’s left is to make sure your button fits through!

Not the buttonhole tutorial you were looking for? Try these:
HOMEWORK
