
I used to make standard aprons, embellishing them with appliques and ruffles. I made them because they were “in” and people would buy them, but not because I particularly liked them like that. One day, while fabric shopping, I found something that was exactly what I’d want for an apron. The problem was, it was a remnant, and I was worried there wouldn’t be enough.

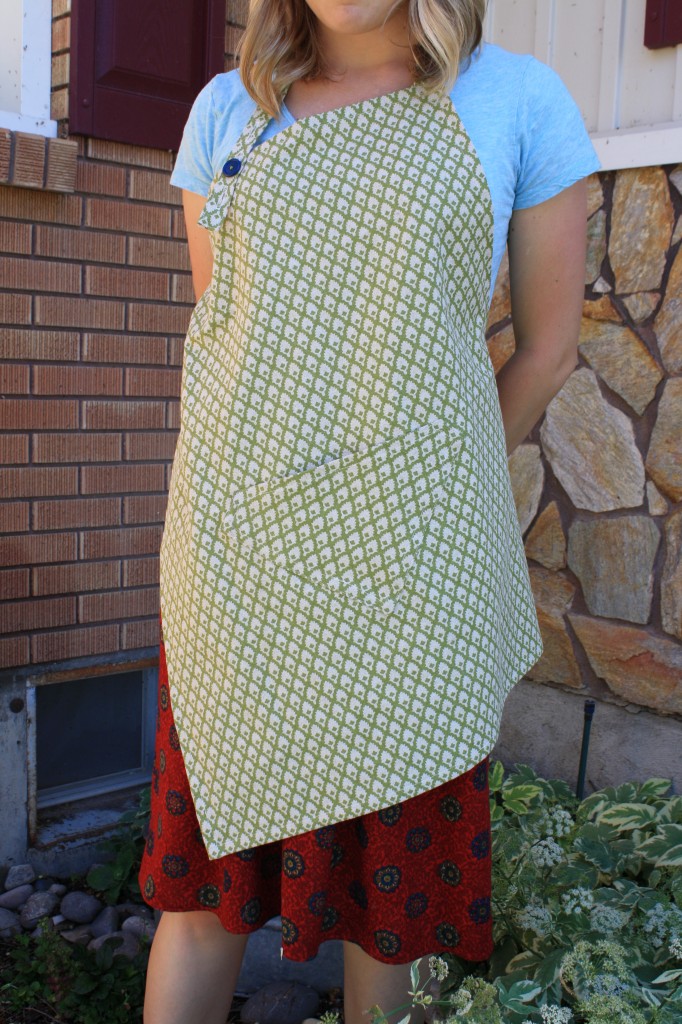
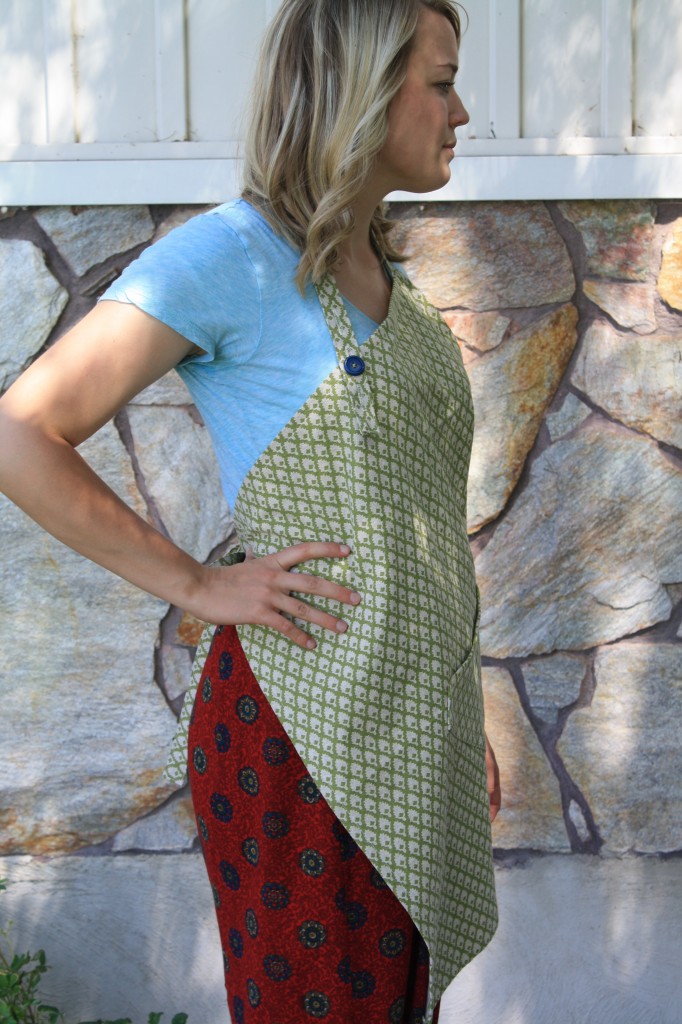
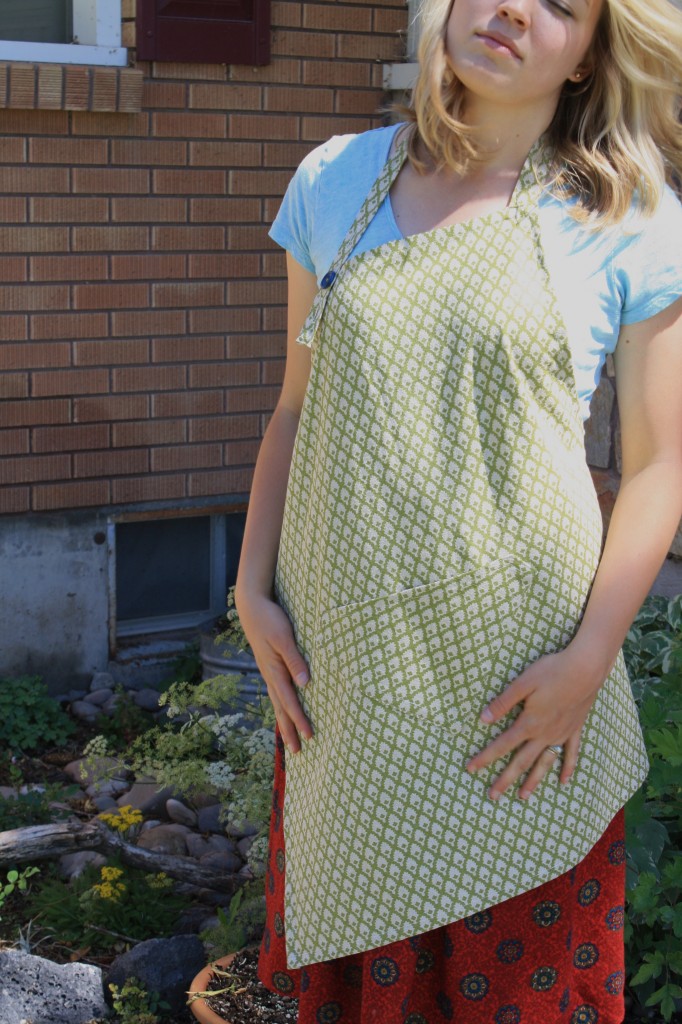
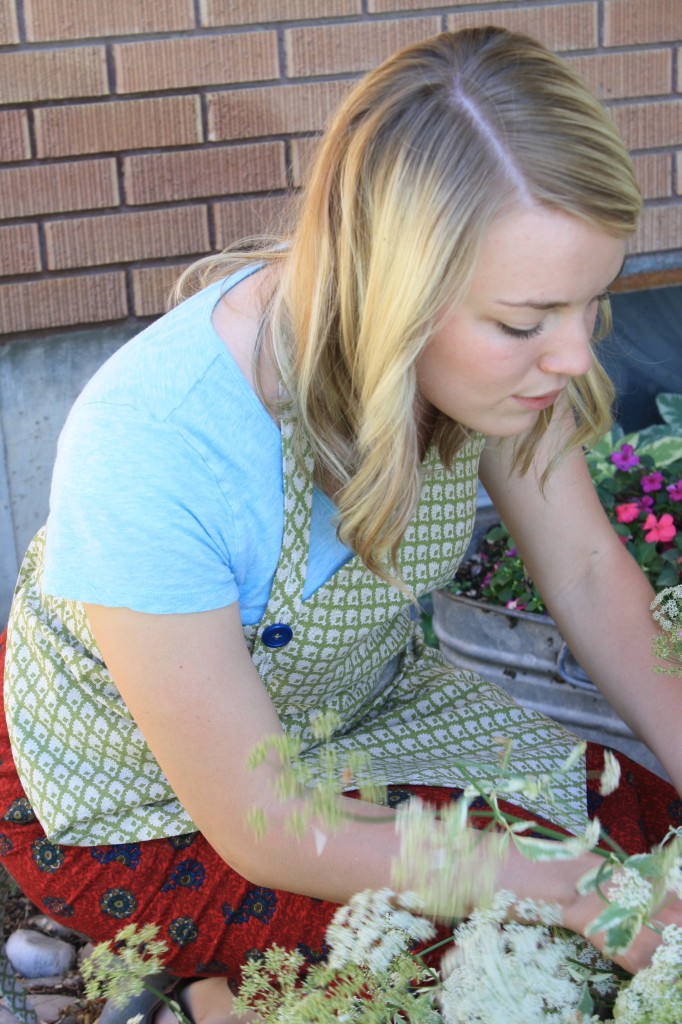
Taking a chance, I bought it anyway. After I preshrunk it, the piece was even smaller than it had been originally, and there wasn’t enough for my pattern. For a few days I kept going back to that piece of fabric and draping it over myself imagining it as an apron. Finally I stopped wallowing, and decided that if it was that important to me, I’d make it work. So I envisioned every possible layout to cut an apron out. Nothing. I stood in front of a full-length mirror and draped from my shoulders one more time. It was so close, and then it hit me. If I just tipped it at a slight angle, it would work! And so became the asymmetrical apron.
I’ve made dozens of them since. The nearly-square shape makes them really easy to make, and everybody loves them. Simple and unique. I like to make them with thick, home decor fabric, because they feel sturdy and tend to lay better.
MATERIALS NEEDED
pattern
1 1/4 yds fabric
1 button
matching thread
SIZING CHART
Waist Measurement:
27-32″ Small
32-36″ Medium
36″ ↑ Large
INSTRUCTIONS
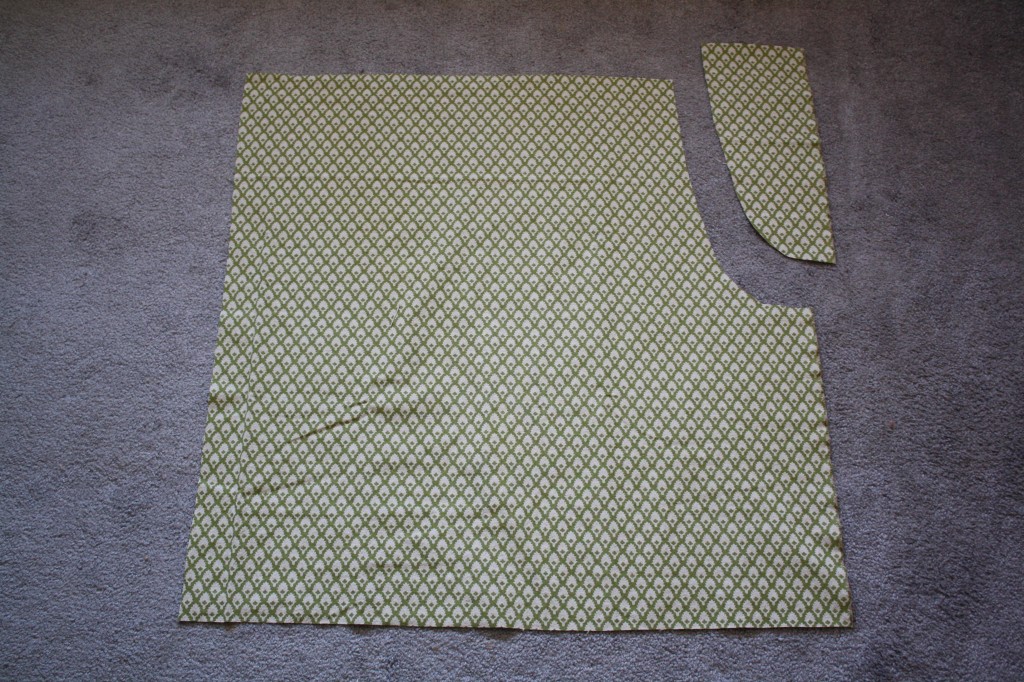
1. Cut the fabric out according to the instructions found on the printable PDF pattern. The dotted boxes give cutting instructions for the apron piece (which is a simple square) and the straps (waist and neck). Line the corner cutout at the top-right corner of the fabric and cut.
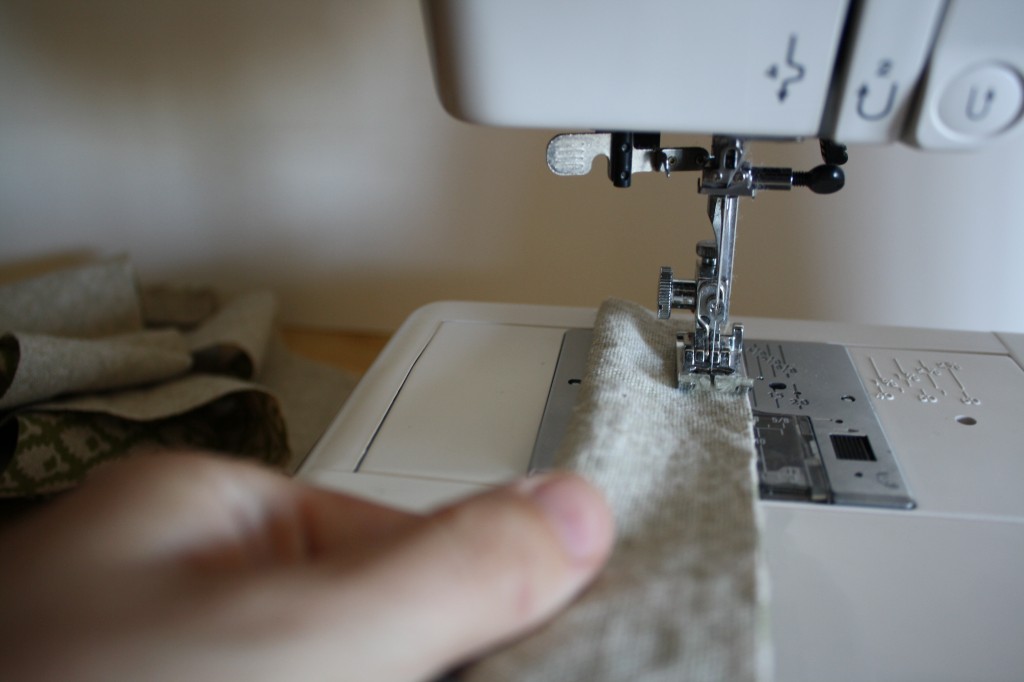
2. Fold the 3″ strips in half lengthwise with right-sides-together and sew down the length of the strap guiding the raw edges on the edge of the presser foot. This creates a long tube.
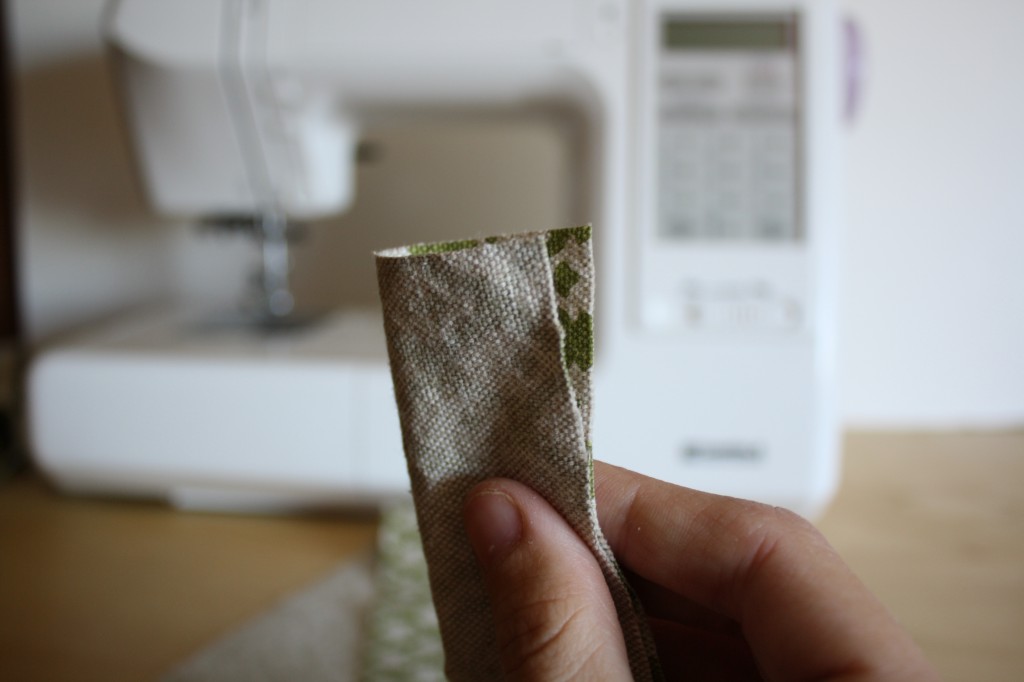
3. Hook a safety pin to one tip and feed it through the inside, scrunching and pulling at the fabric, to turn the tube right-side-out. Press each strap flat (there should be 3 total).
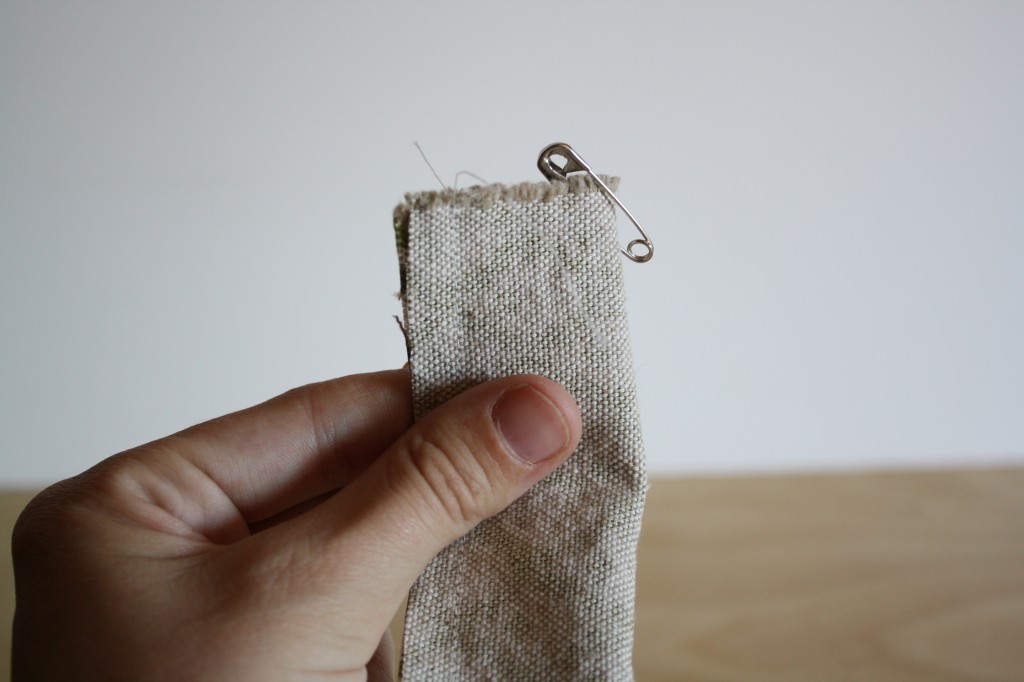
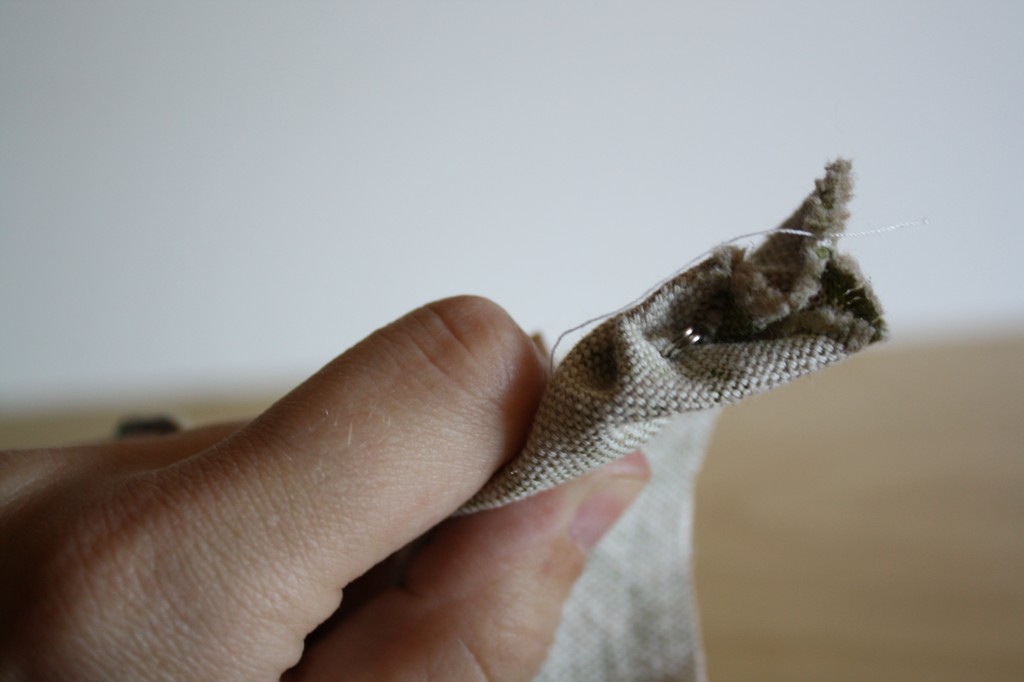
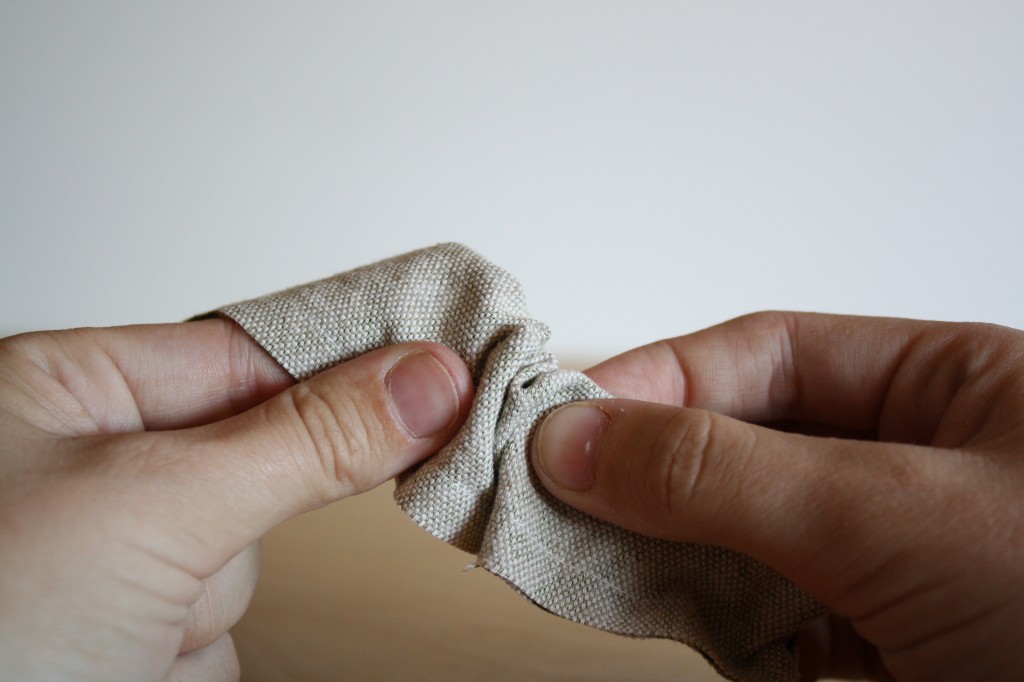
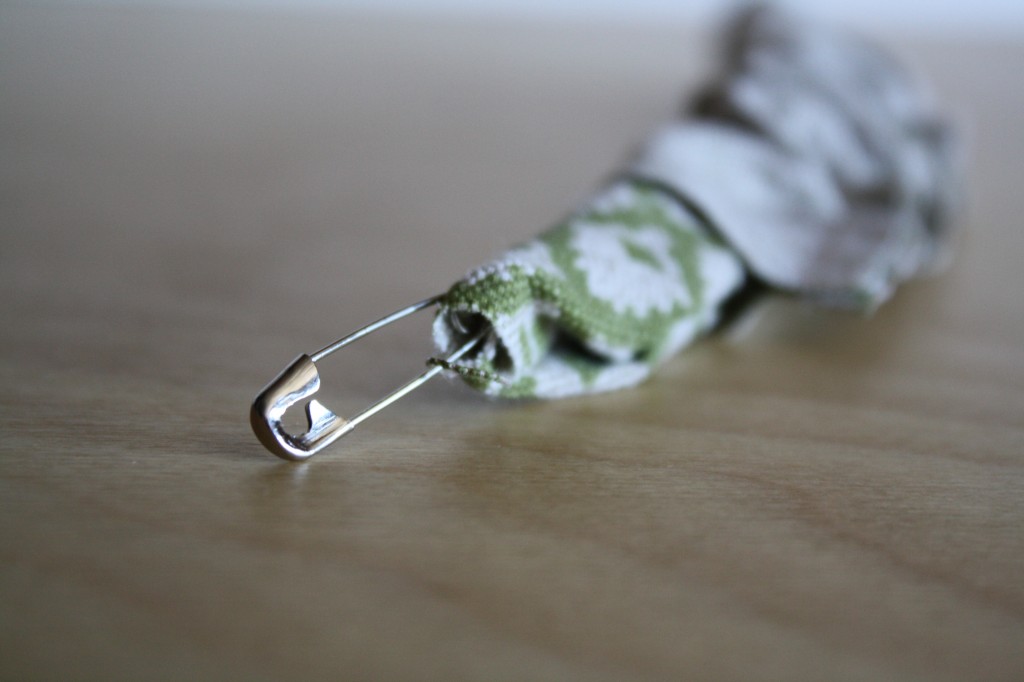
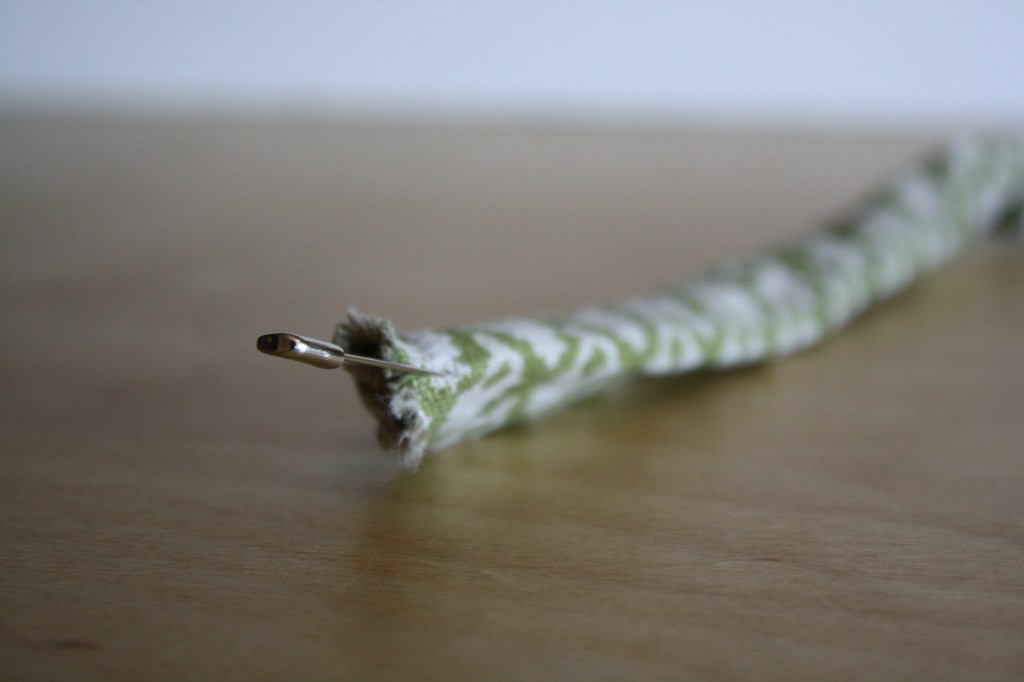
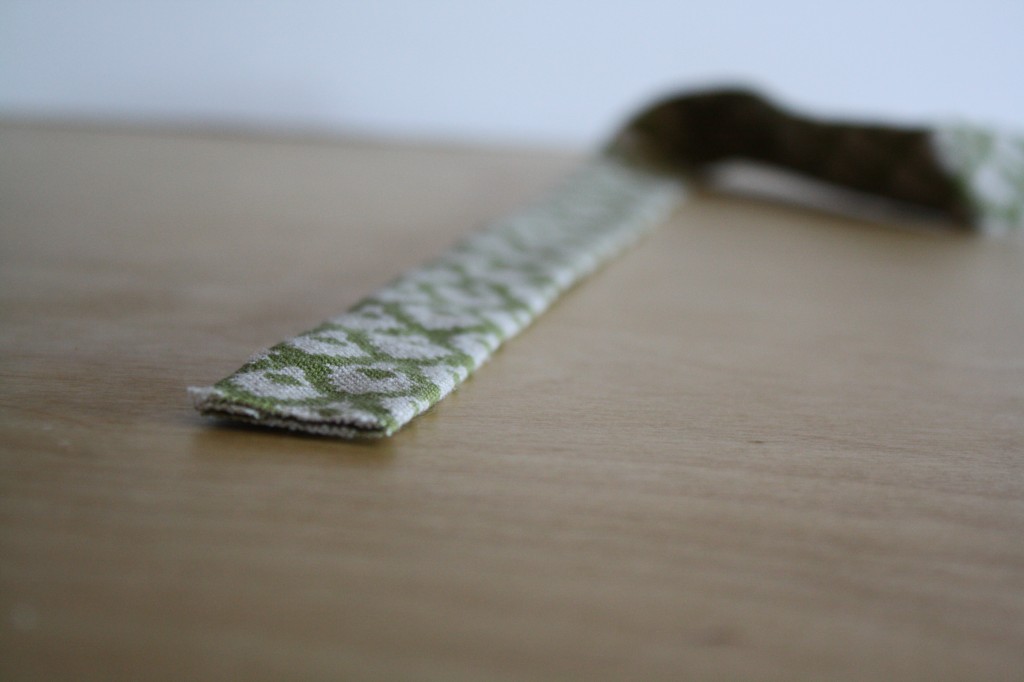
4. Turn one raw edge of each strap to the inside of the strap about 1/2″ and pin to hold.
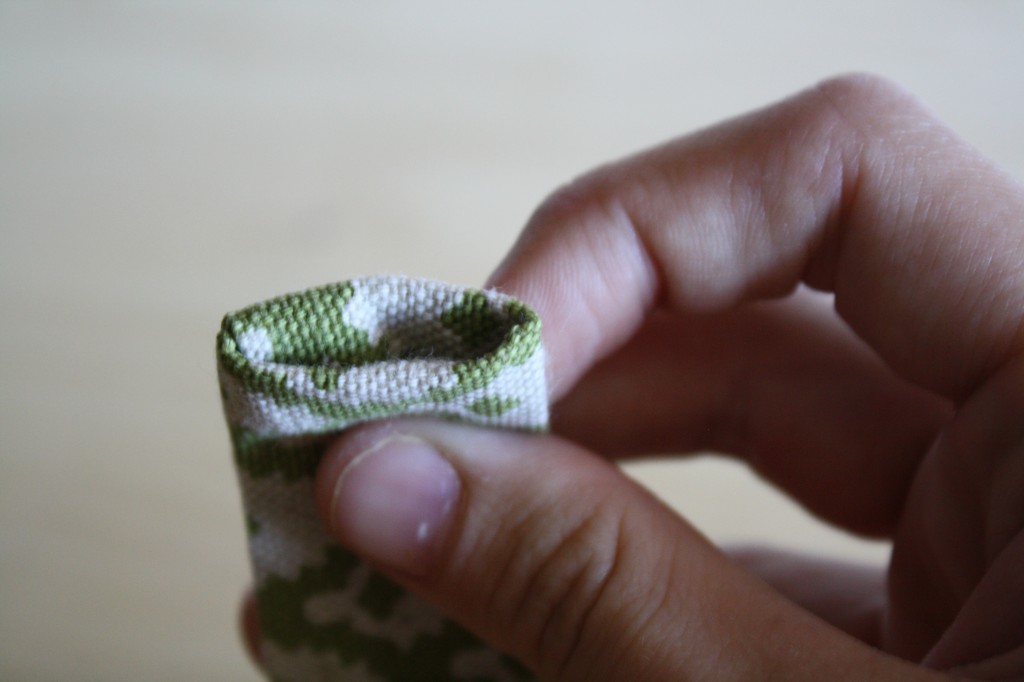
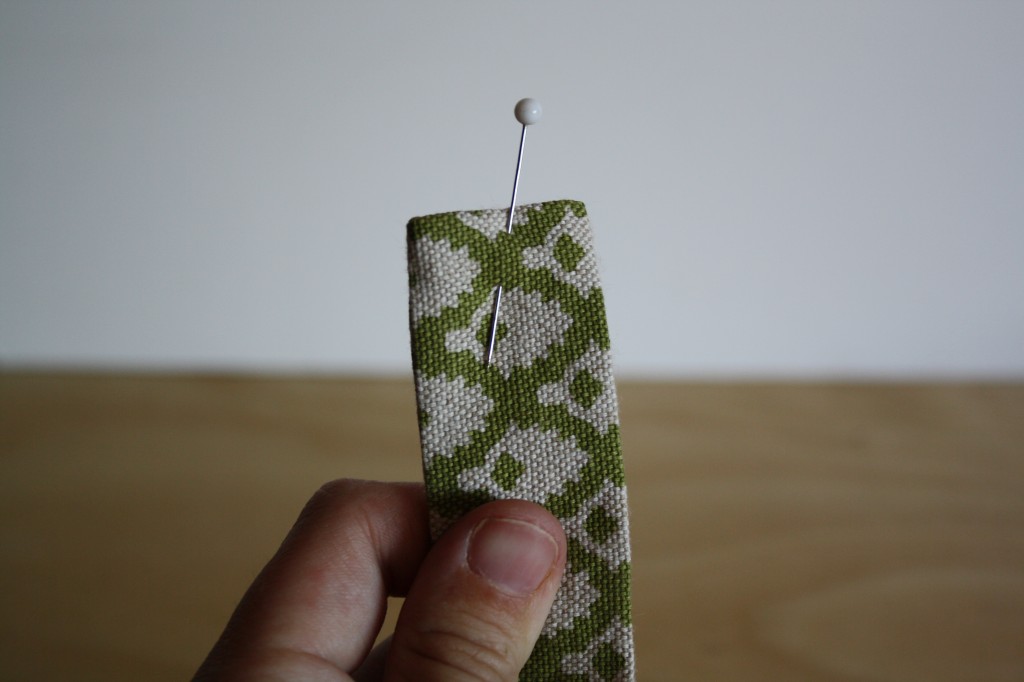
5. Top-stitch along both edges to keep the straps flat.
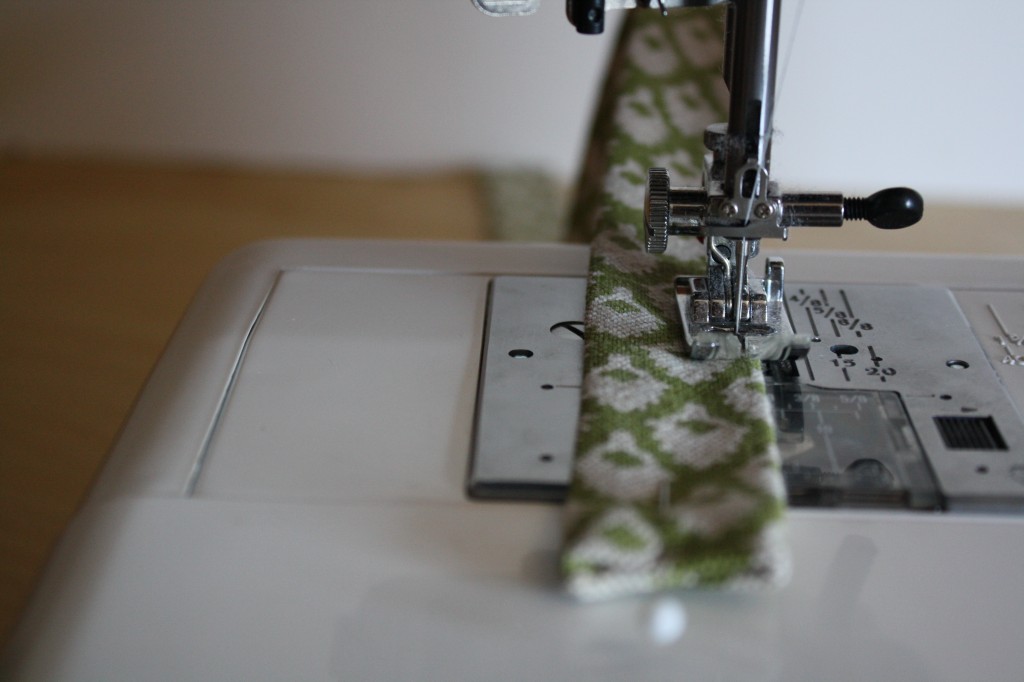
6. Iron around the entire apron using the double hem method (pressing under 1/2″ and then again 1/2″ for a clean finish)
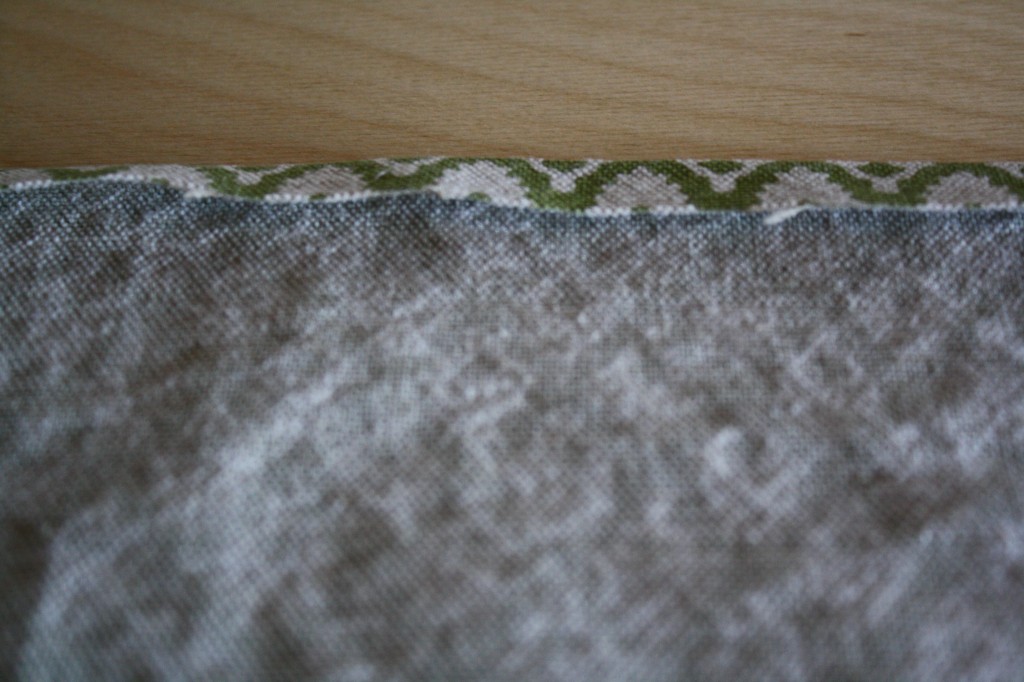
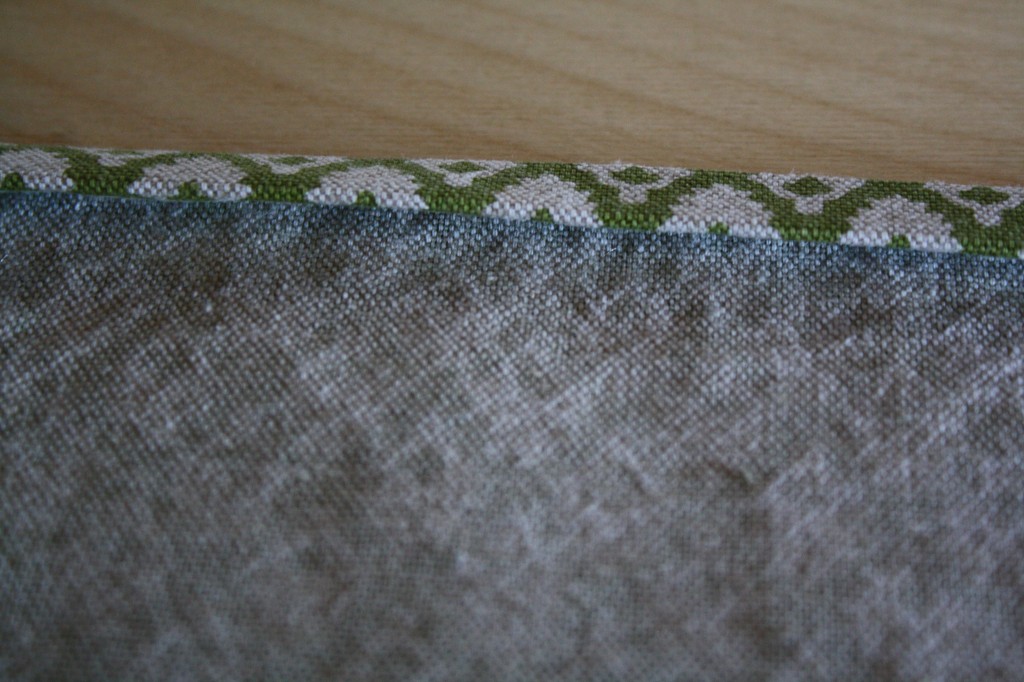
When double hemming the curve, it may help to pin it in place to help hold it’s fold.
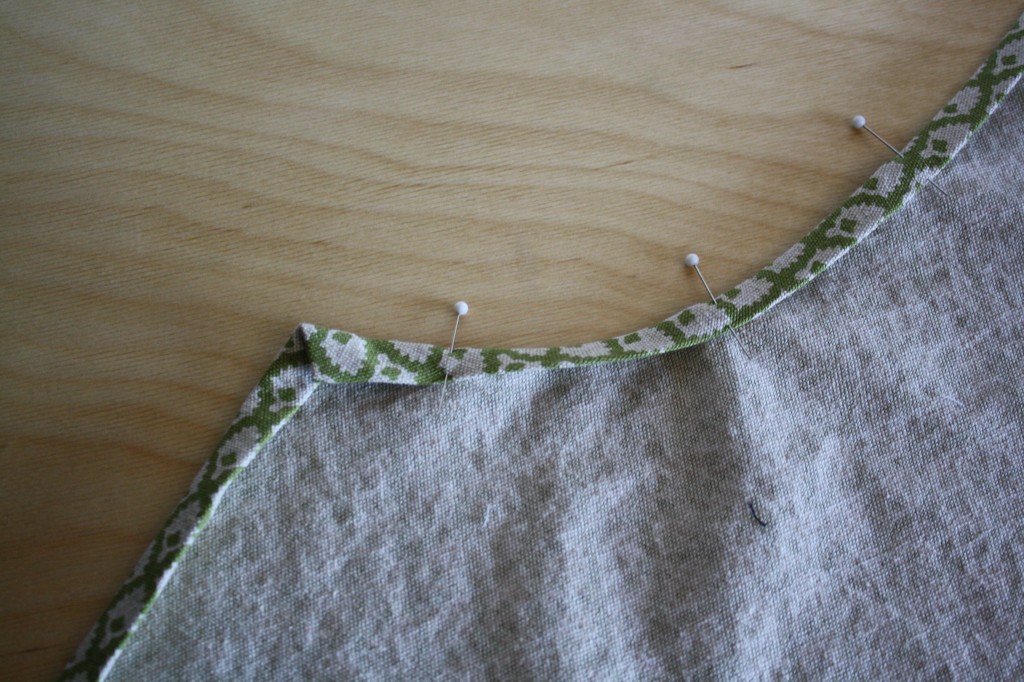
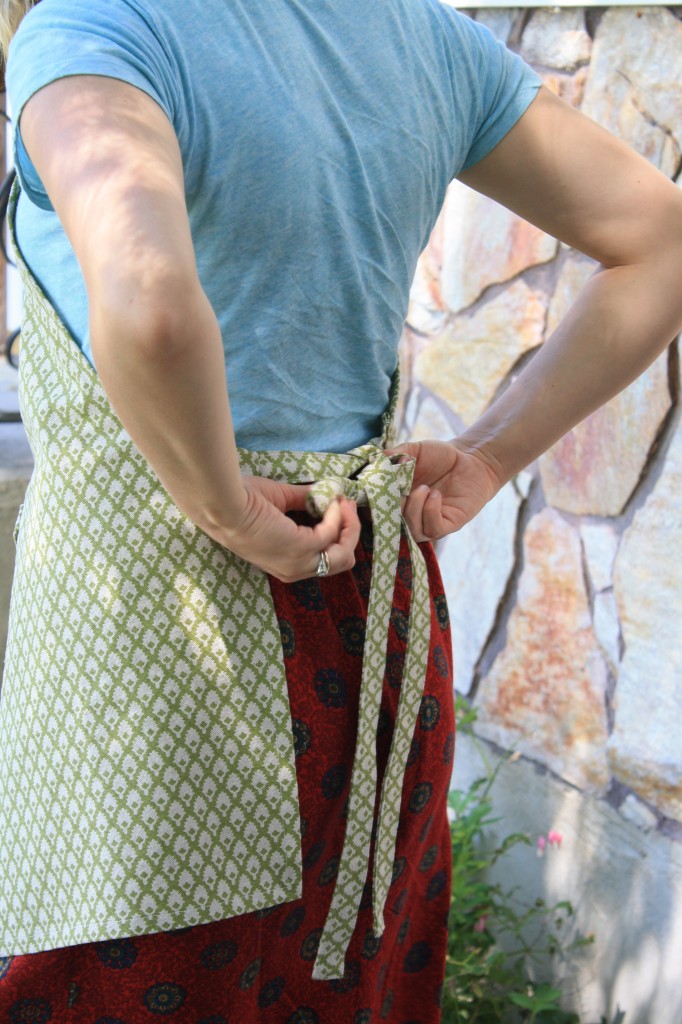
7. Lay the apron piece out with the wrong-side-up and locate the two points that will have the waist straps (keep in mind, the curve goes under the arm, and the top of the curve is where the neck strap goes, if that helps you visualize). Wedge the end of each waist strap under the double hem and pin them in place.
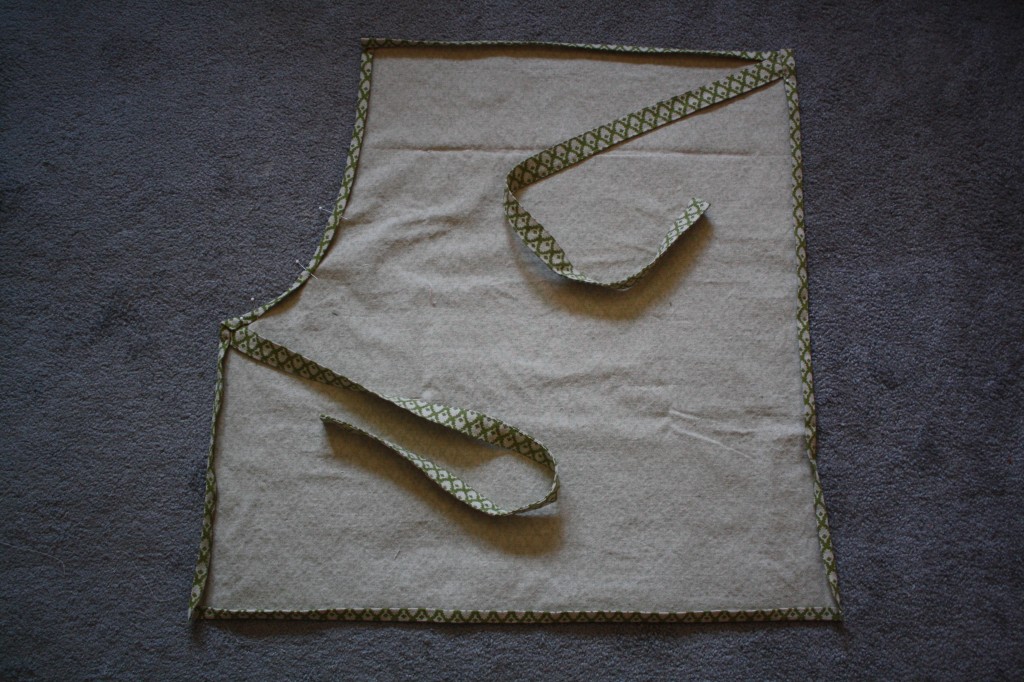
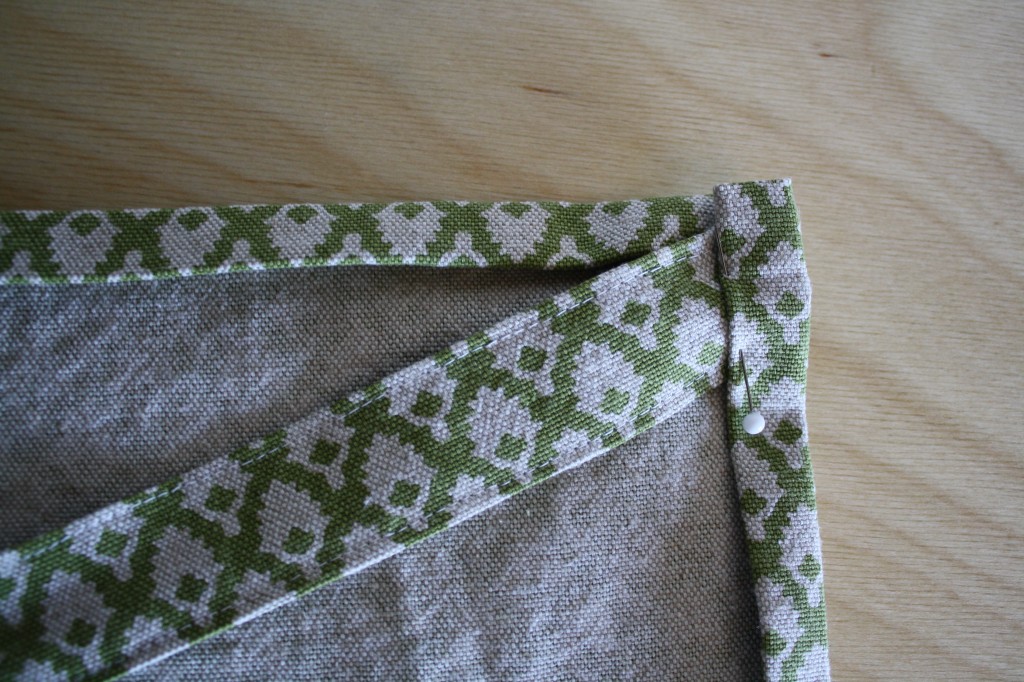
8. Try on the apron and determine how long the neck strap needs to be. It should come down from over the neckline of the apron a bit, to allow room for adjusting to various buttonholes. Cut the neck strap 1″ longer than the length you determine, and repeat step 7 with the neck strap piece.
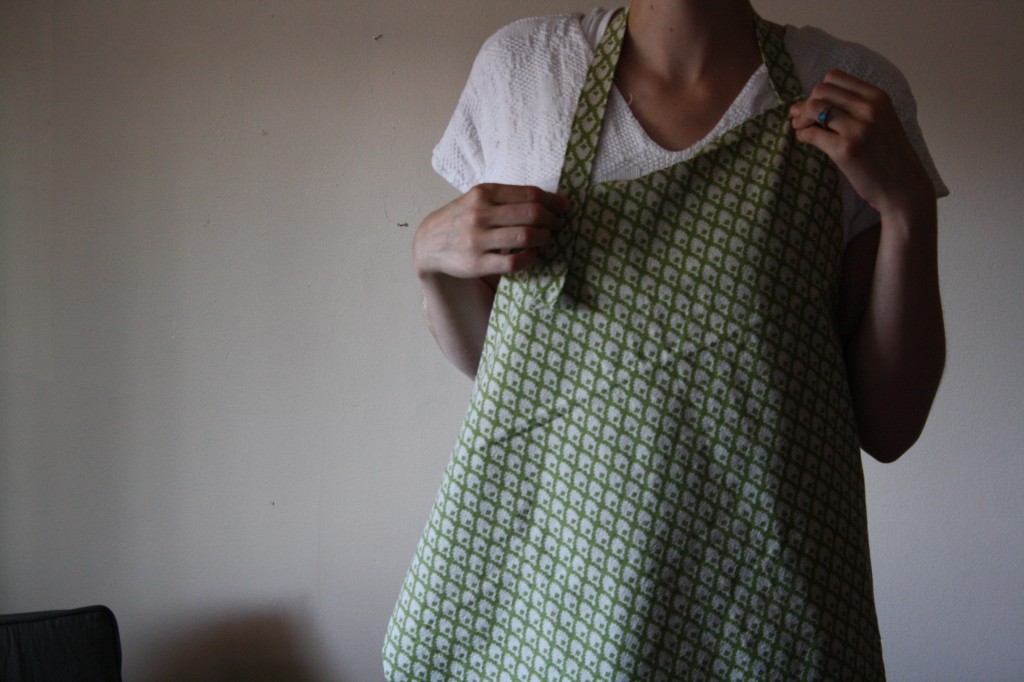
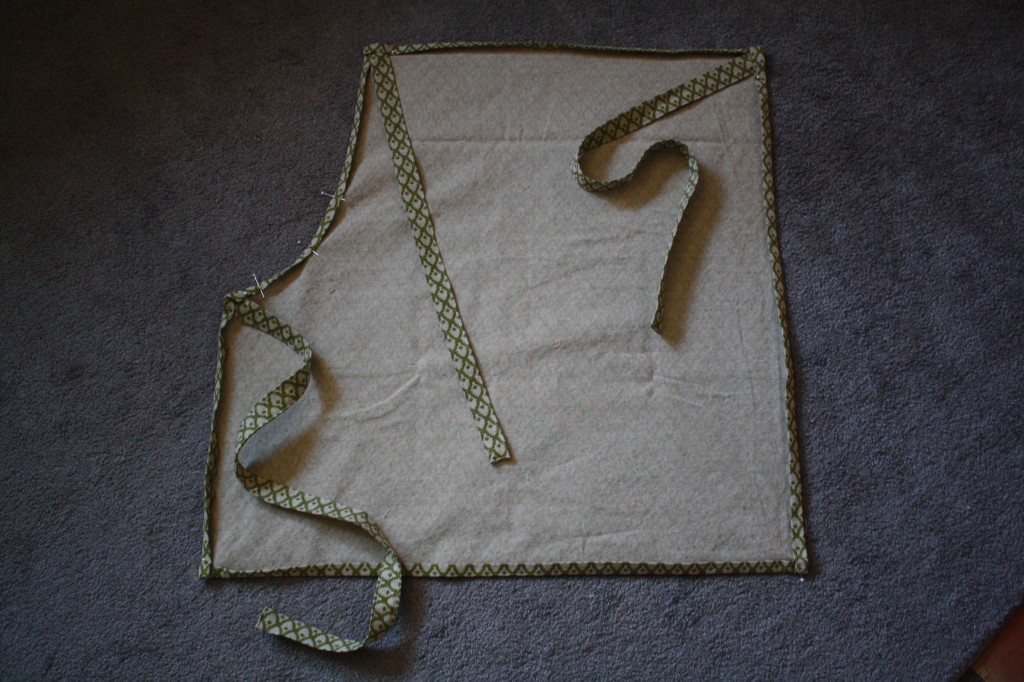
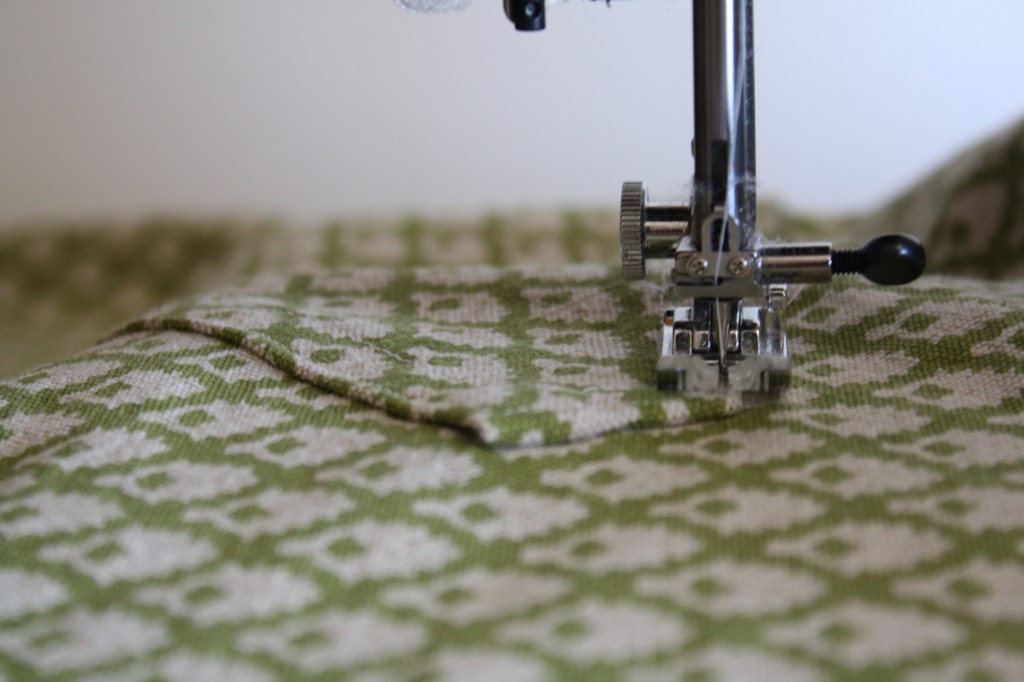
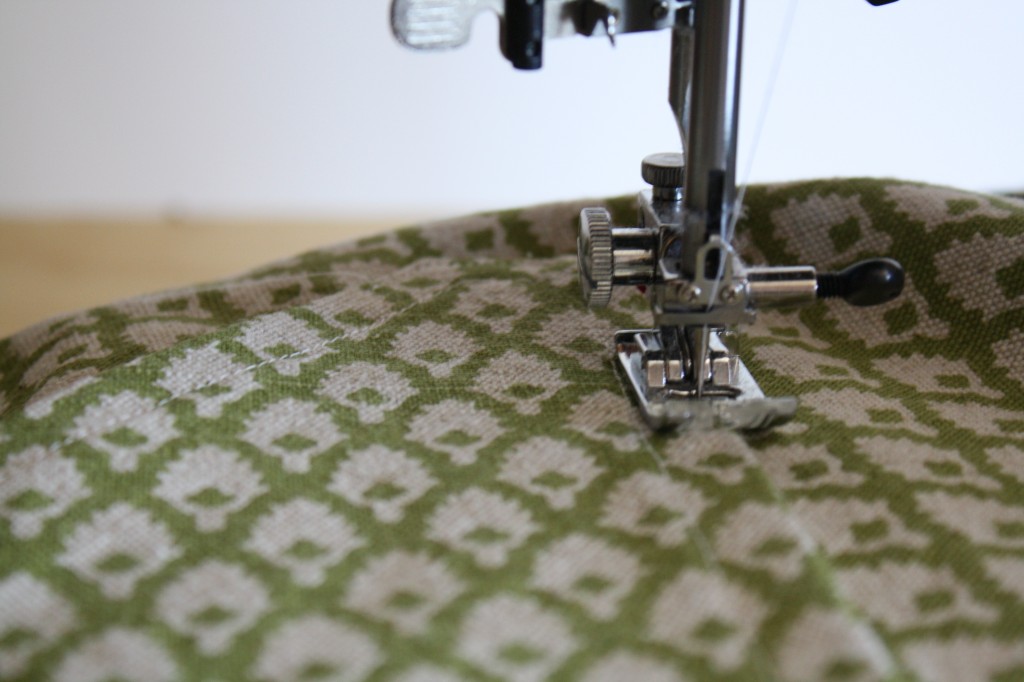
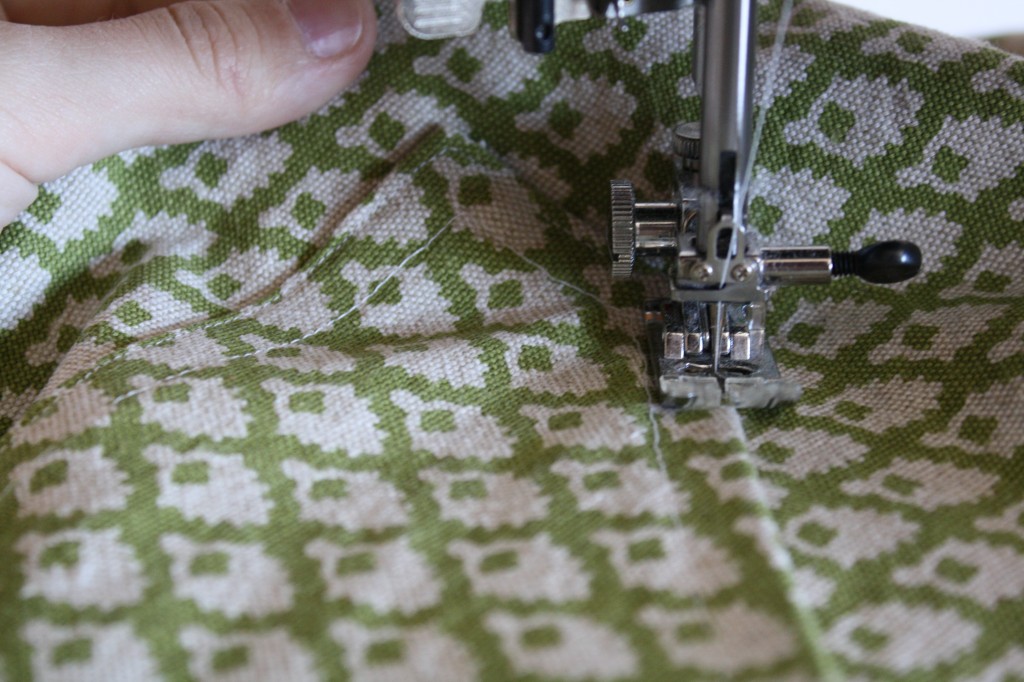
10. Start at one corner and top-stitch the double hem all the way around the apron, being sure all three straps are sewn in place.
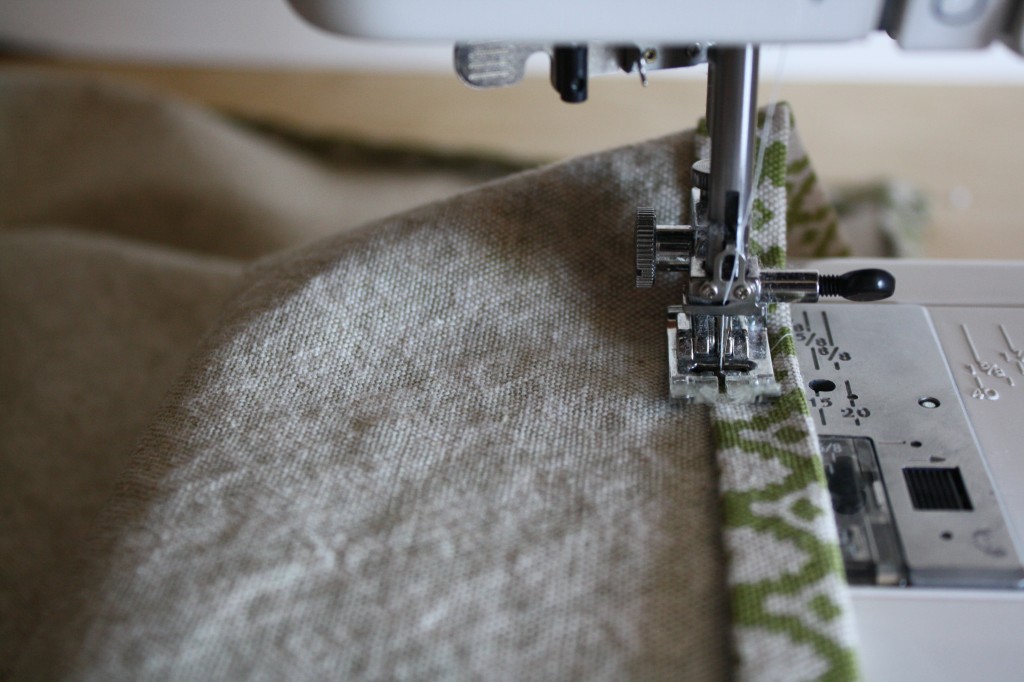
11. Lay the apron with the wrong-side-up and fold the straps over. Pin.
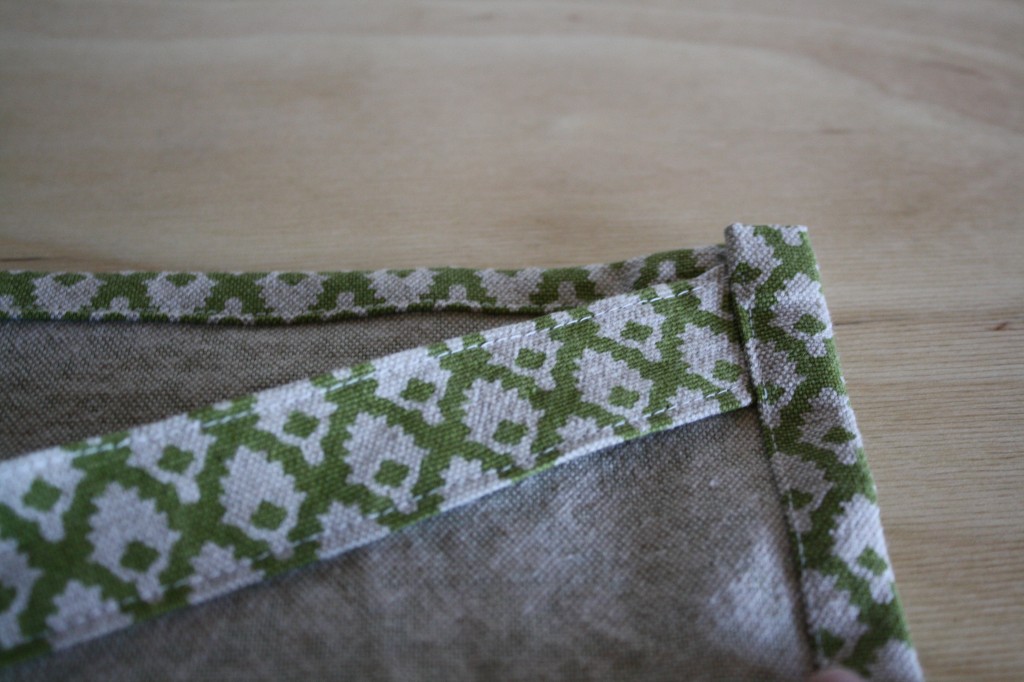
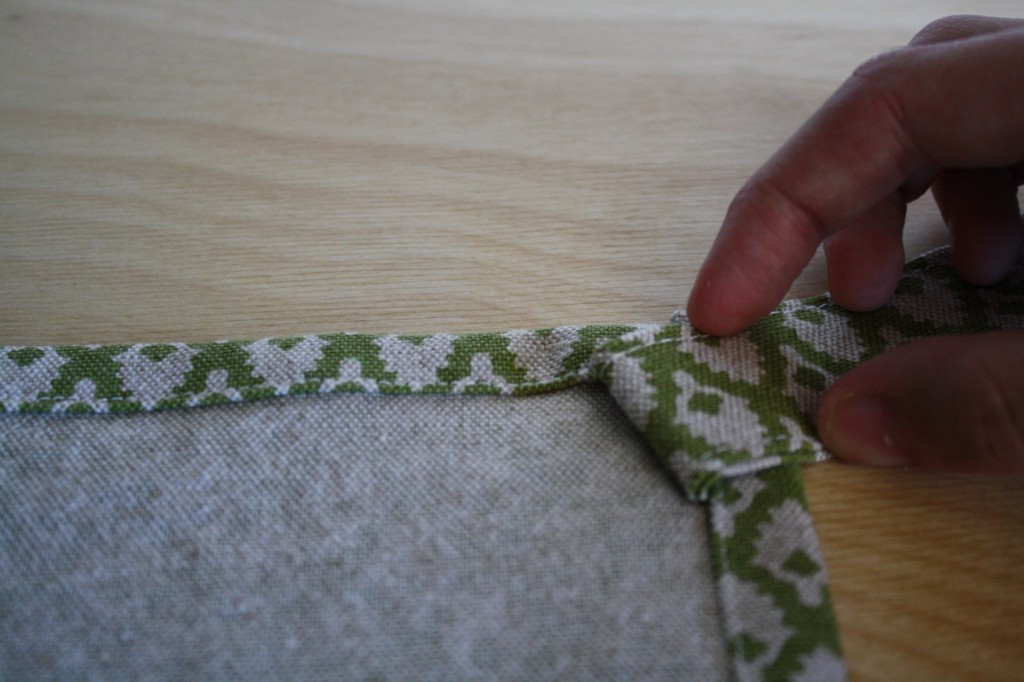
12. Sew back and forth along the edge 2 or 3 times to hold the strap in place.
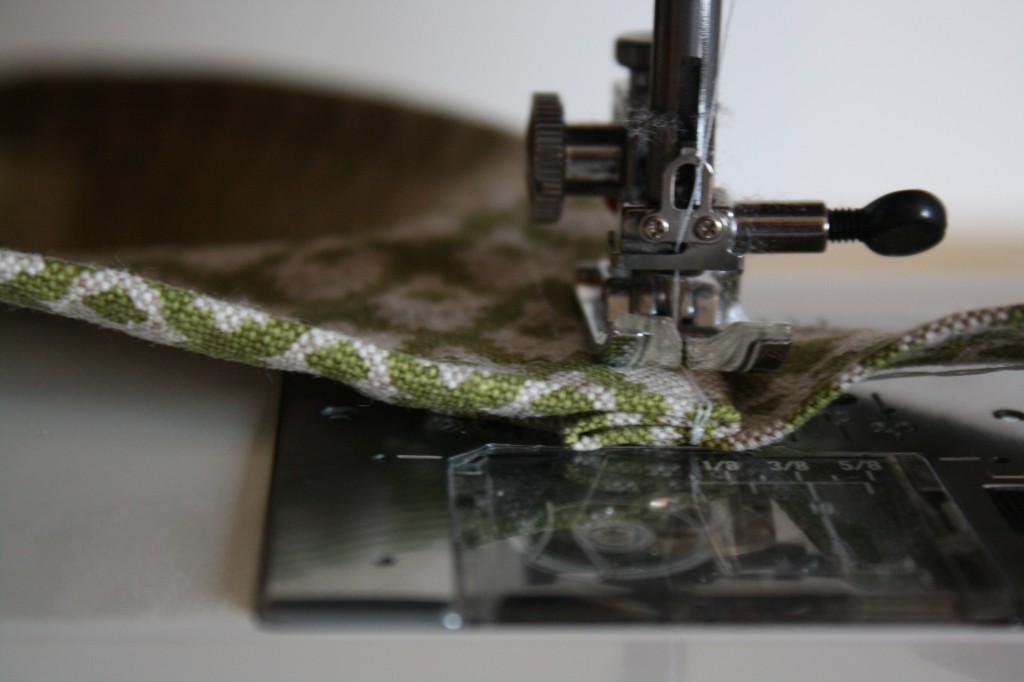
13. Sew 3 buttonholes on the edge of the neck strap, spacing them about 1″ apart.
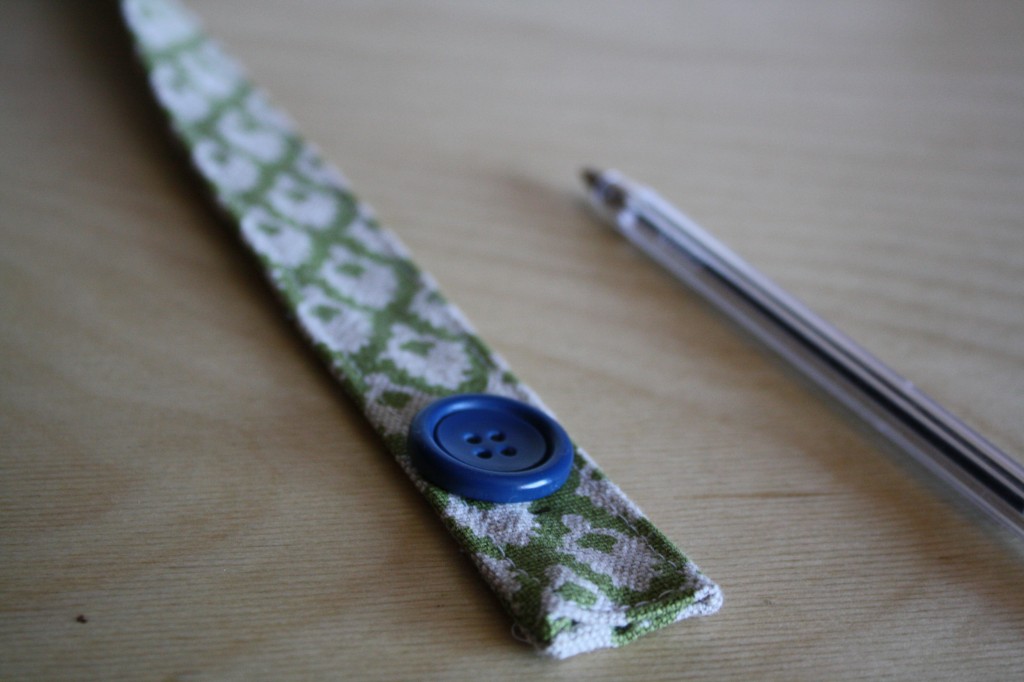
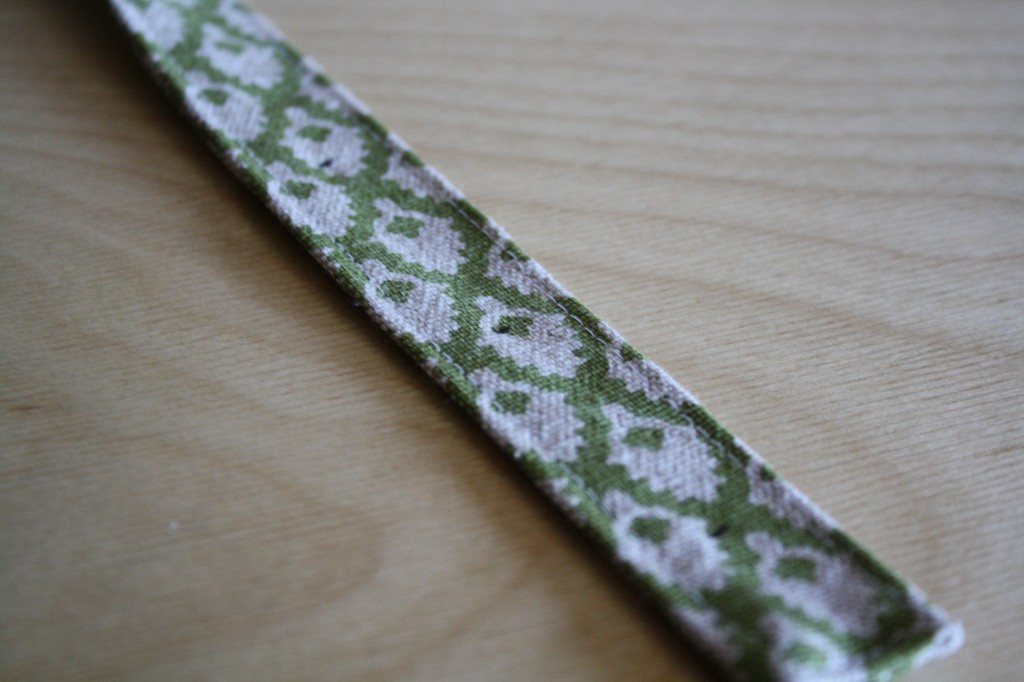
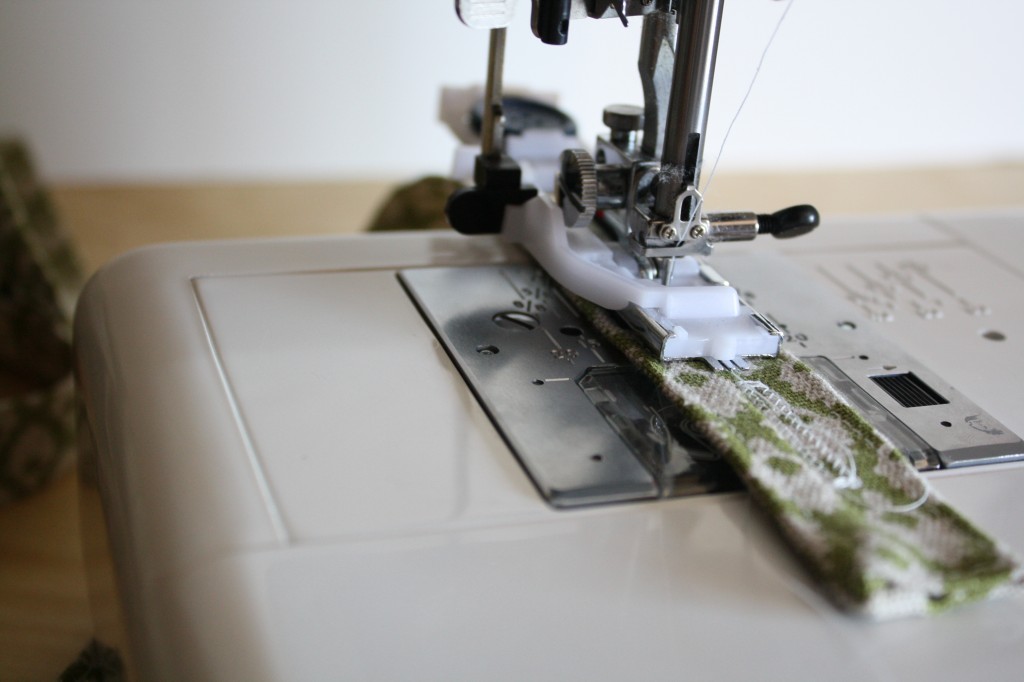
14. Cut the buttonholes carefully and make sure the button fits through.
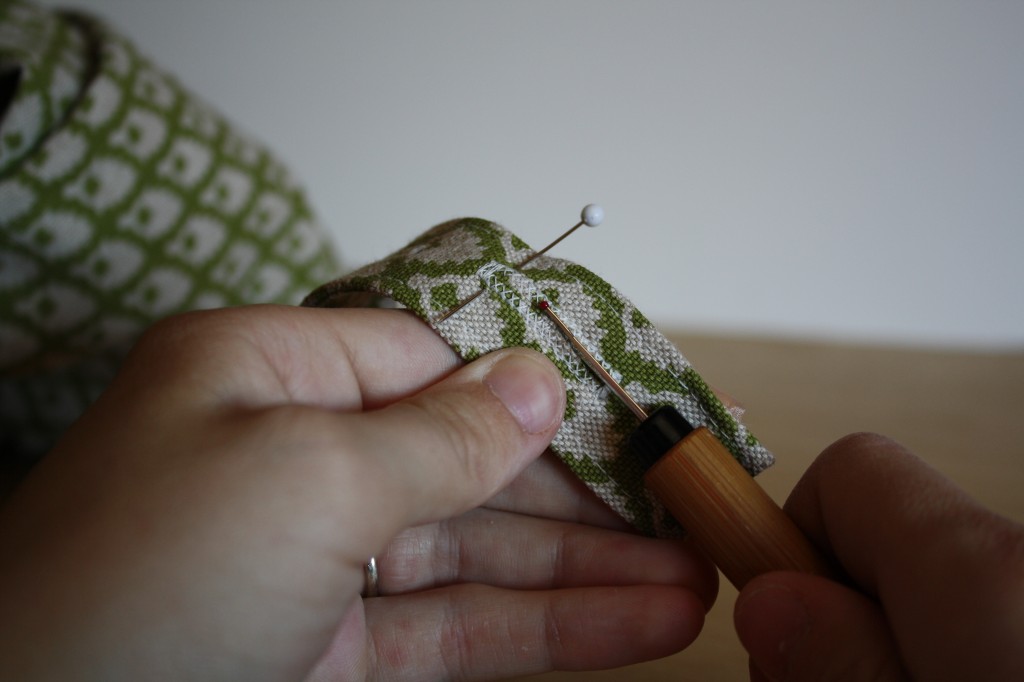
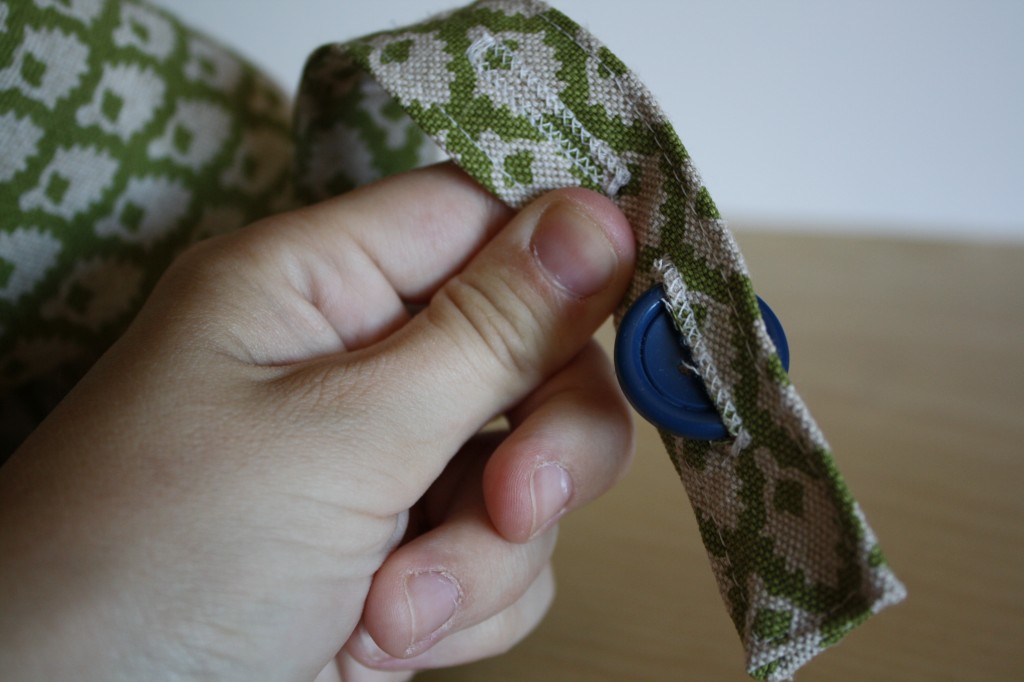
15. Stitch the button in place 10-15′ away from the neck strap. It’s a good idea to try the apron on to help determine where to place the button.
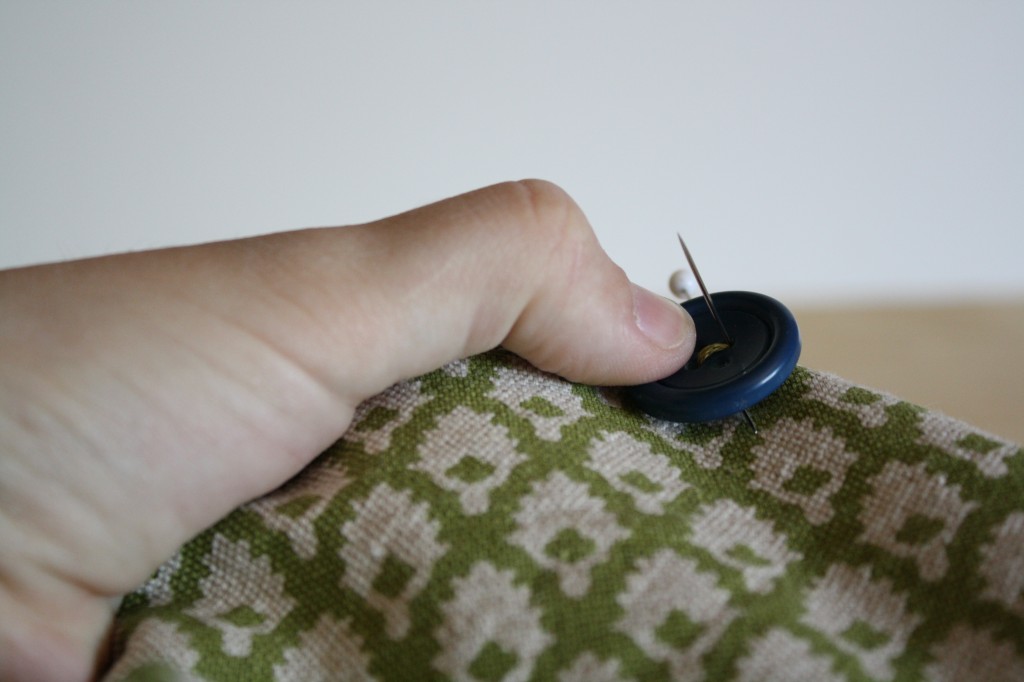
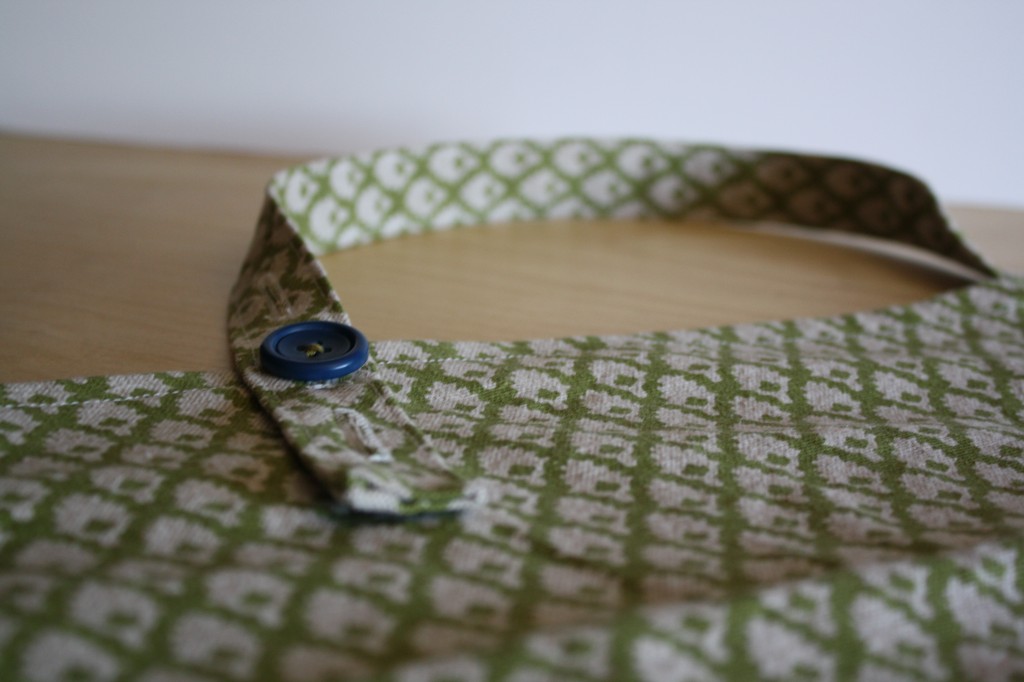
16. Iron a double hem around all 5 sides of the pocket a top-stitch all the way around it near the inner fold of the double hem.
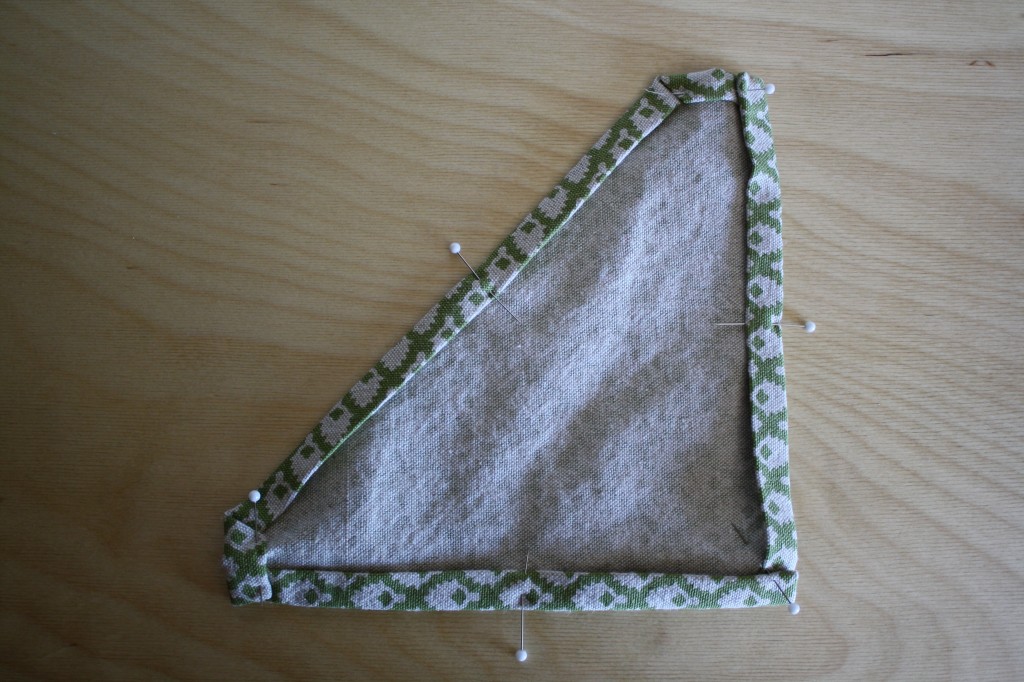
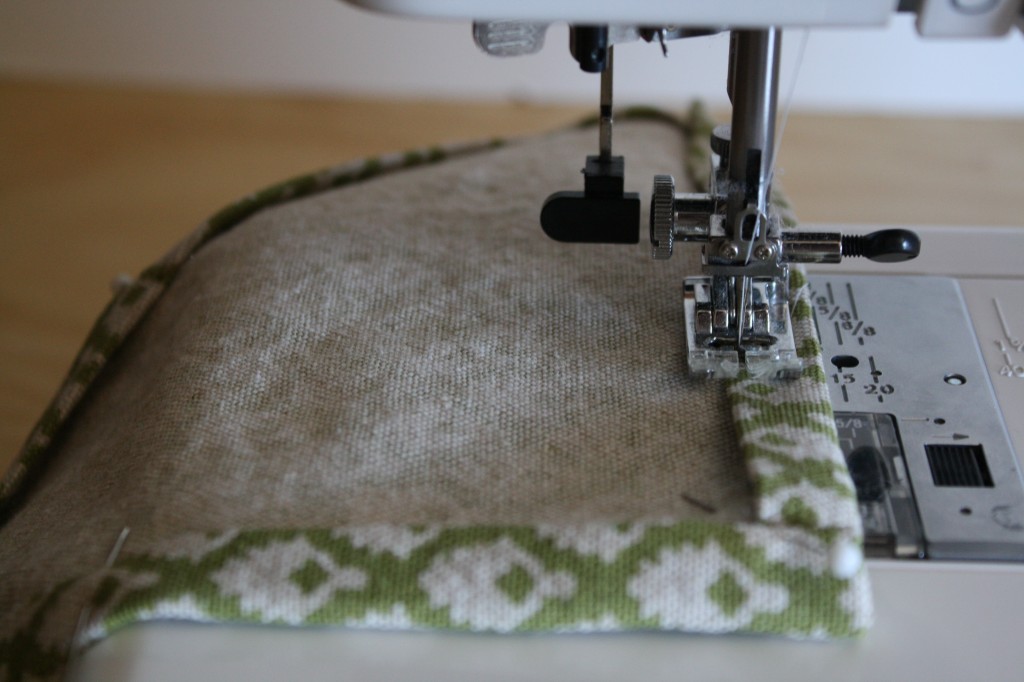
17. Try the apron on again, and determine where the pocket should be. Pin it in place.
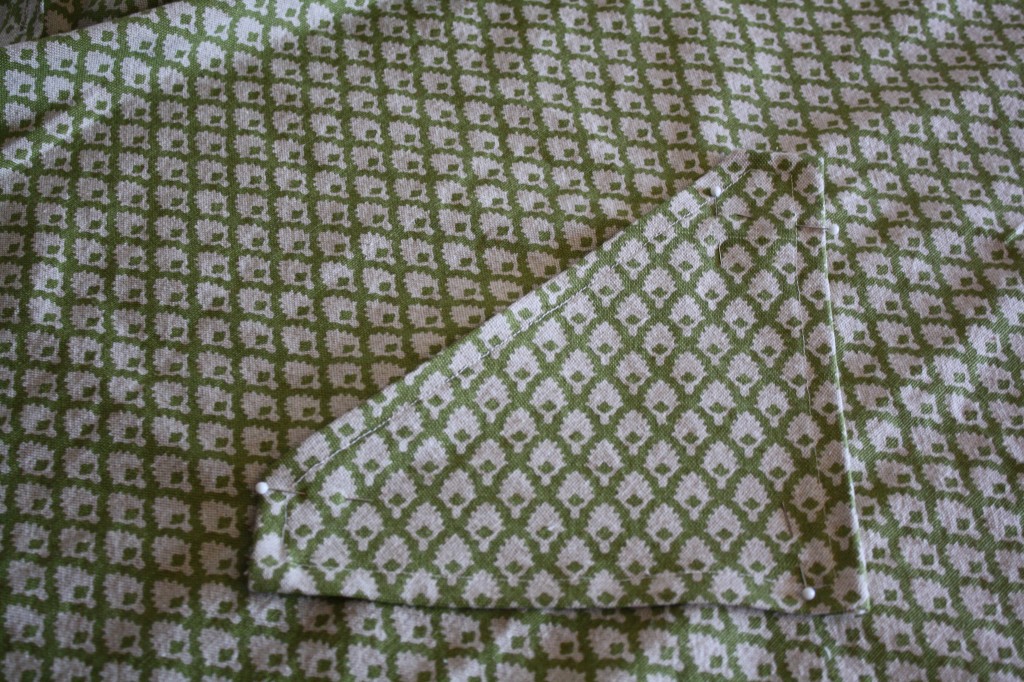
18. Edge stitch the pocket to the apron, leaving the angled side open to keep the pocket functional. It helps to stitch into the angled side 3 or 4 stitches at the beginning and end.
I just love your ‘tipped’ apron idea and it’s fast to do too! Thanks for sharing.
what a great apron! this is awesome!!! I love it!
I like the comfort, that you are able to move easily. The angle is different, which I love the idea.
Ciao scusa tu scrive e misura forma Grembiule io voglio grazie fravole prego fammi sapere? . ciao saluti
1
My family members every time say that I am wasting my time here at net, but I know I am getting knowledge everyday by reading such fastidious posts.