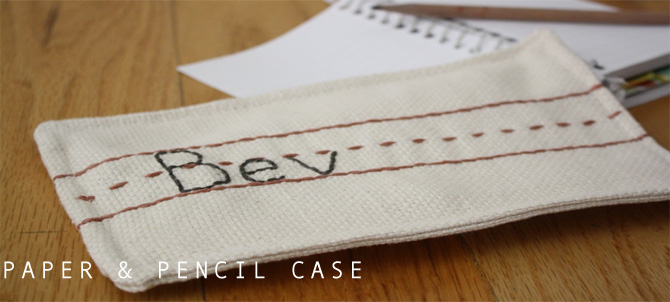
THIS LESSON IS PART OF THE SEWING WITH KIDS E-COURSE
The pictures in this lesson are more for your benefit than for your child’s, because they will probably learn it best by seeing you demonstrate for them.
Basic hand stitching is a good introduction to sewing with a sewing machine for anyone, but especially for children. It helps them get a feel for the needle and thread, and a basic understanding of what “sewing” is. This lesson will go over tying knots with the hand needle and thread, and 3 different hand-stitching techniques.
LESSON PREPARATION
Cut 8 pieces of scrap fabric (preferably monk’s cloth, so they can stitch through the holes, they’ll use monk’s cloth for the pencil case anyway). If you’re using monk’s cloth, a yarn needle will work well and will be easier for them to work with. If, however, you’re having them practice on something else, like quilter’s cotton, you can use a large hand needle instead.
PREPARING THE NEEDLE AND THREAD
***NOTE: This is a simpler knotting technique than is taught in the Introduction to Sewing course. Even still, some children may be overwhelmed with the starter knot, and tying a stitch off at the end. If that is the case, simply do those steps for them the first few times, and explain why you need the knots***
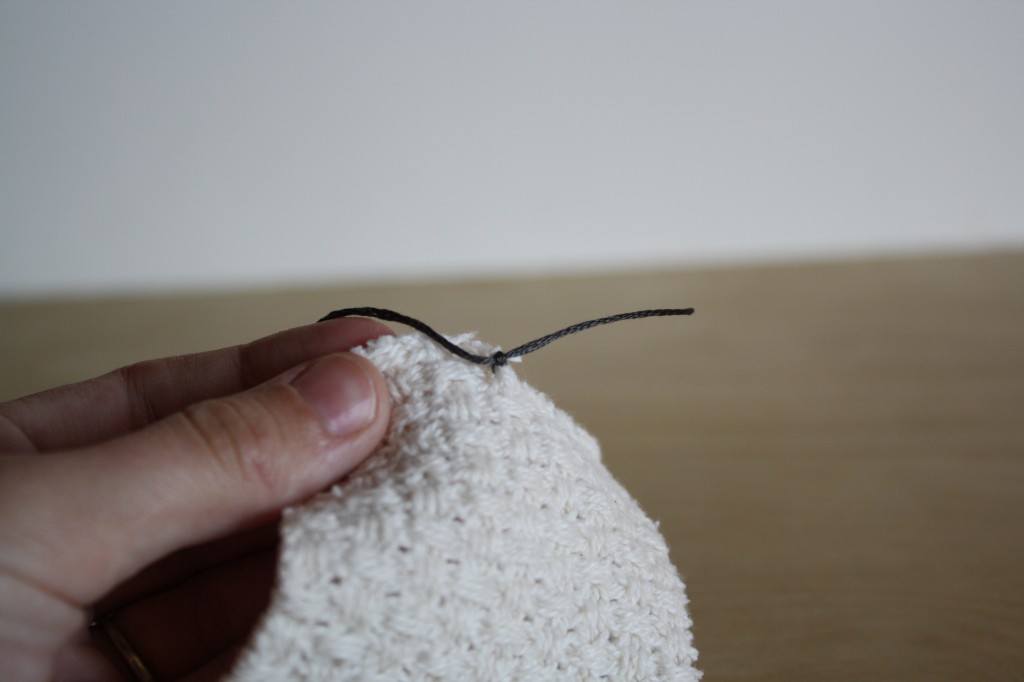
All hand sewing projects begin the same way: thread your needle and tie a knot on the end.
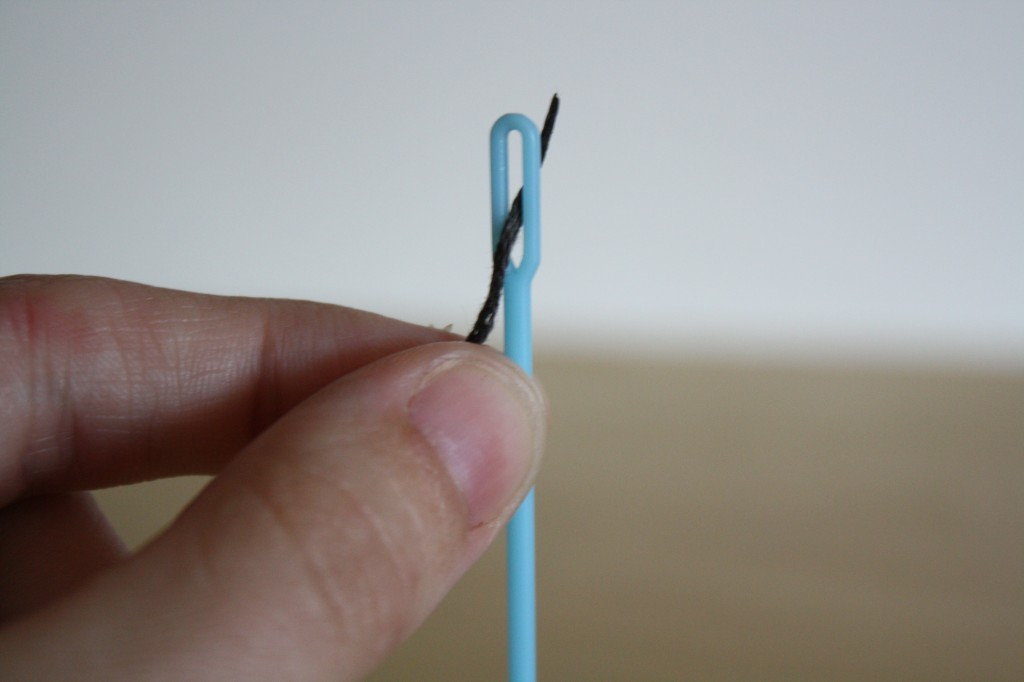
1. Thread the needle by putting one end of the thread through the tiny little hole (called an “eye”) at the fat end of the needle. It might help to squint your “eyes” a little to see the tiny “eye” of the needle as you thread it.
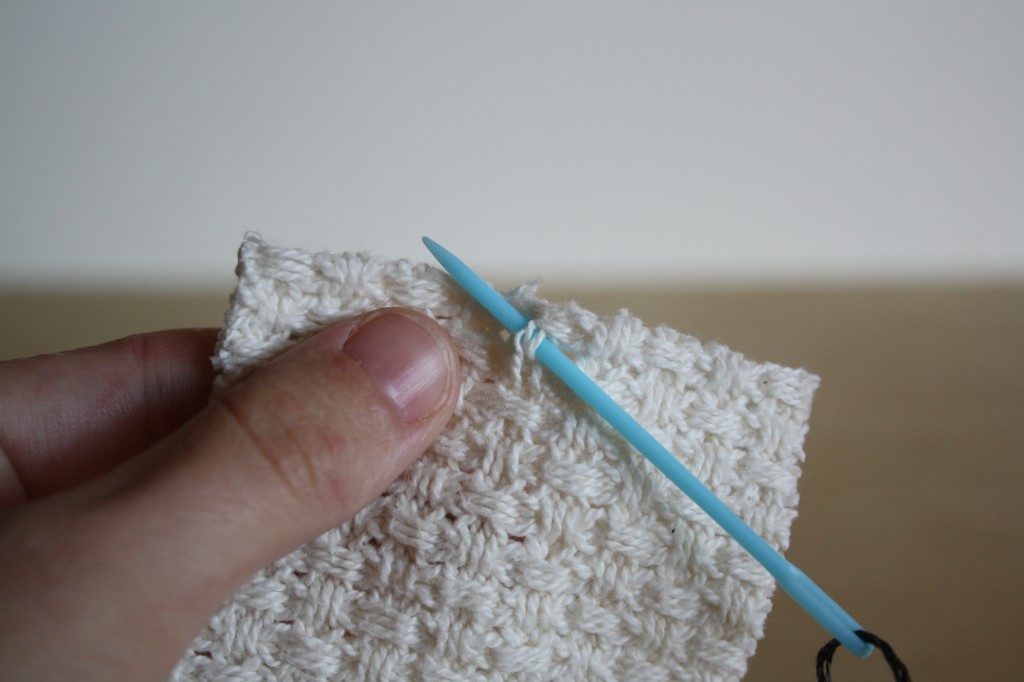
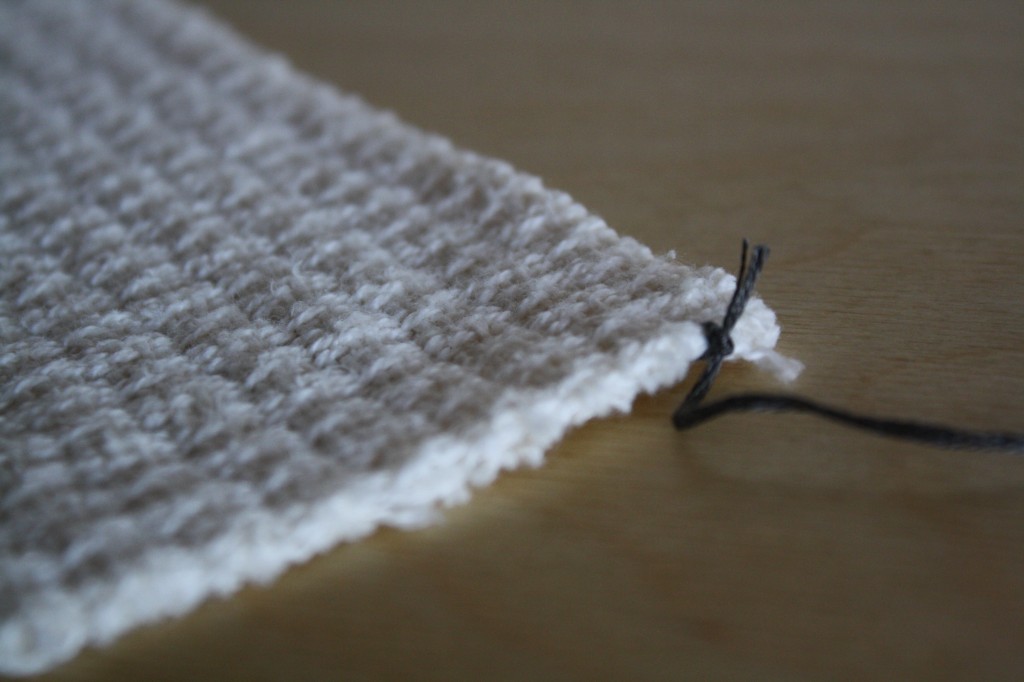
2. Slip the needle through a little bit of fabric on the back side, in the place you will start stitching.
3. Tie a square knot on the end.
4. If there is a long tail of thread, clip it shorter.
TYING OFF A STITCH
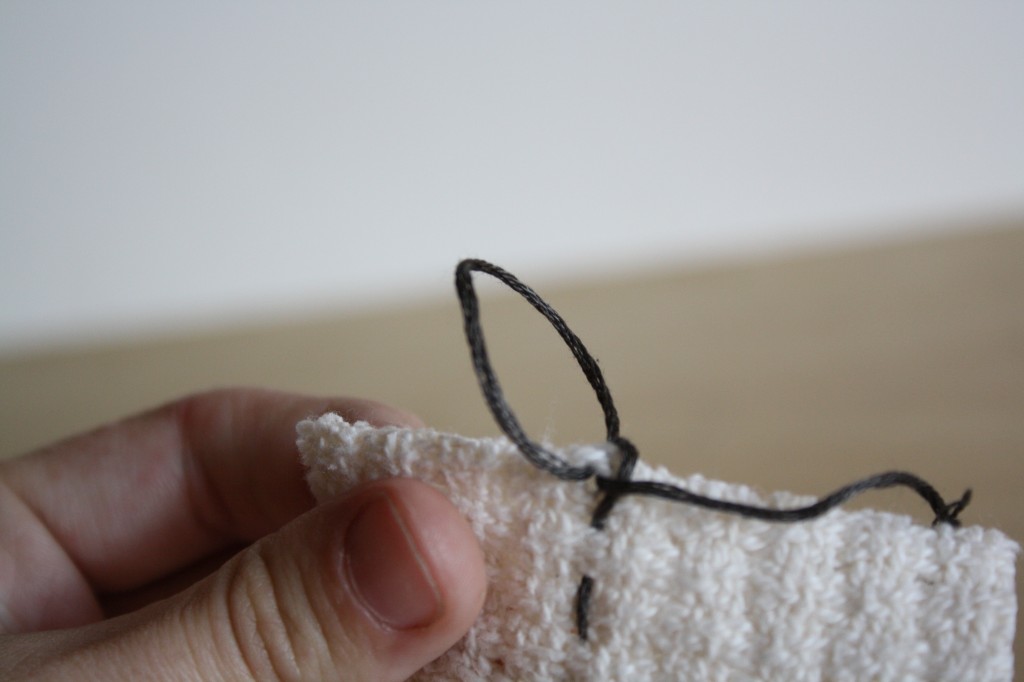
At the end of every hand-stitching project, the thread must be tied off so the stitching doesn’t come out. Be sure there is a long tail of thread at the end to work with for a knot (about the size of your hand).
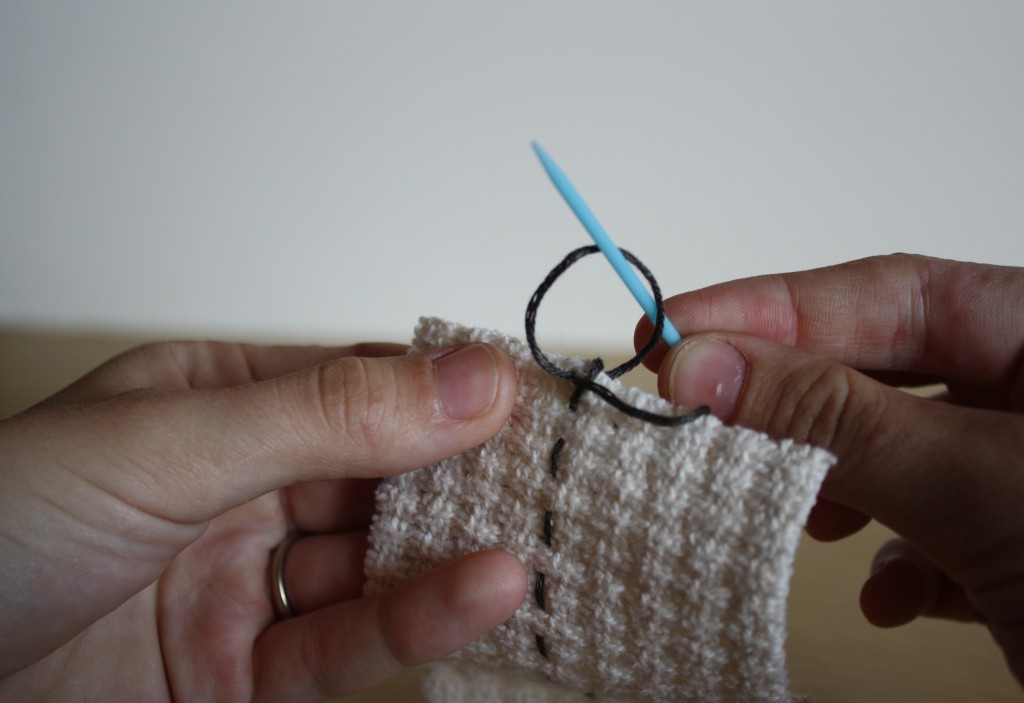
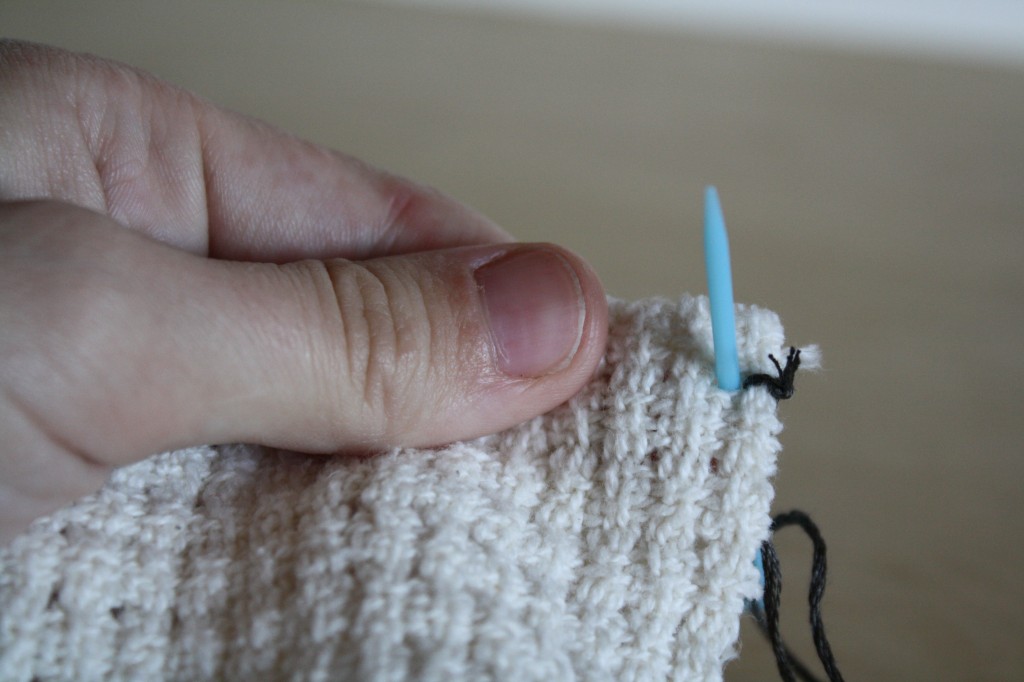
1. Slip the needle through a small amount of fabric near where you stopped stitching and pull it through just a little bit, not all the way. This creates a loop.
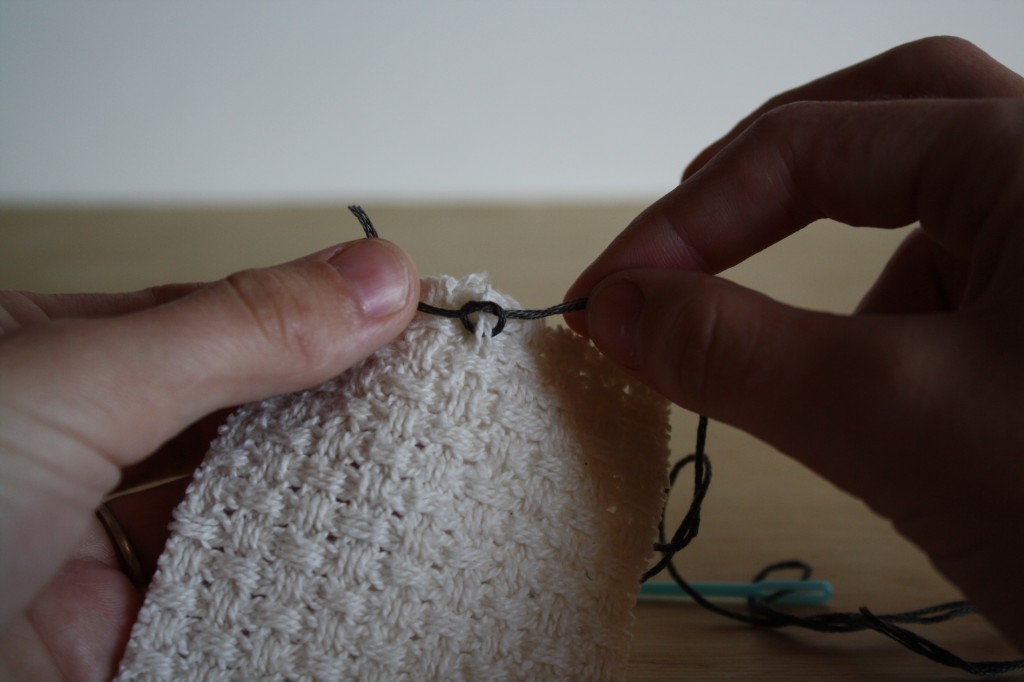
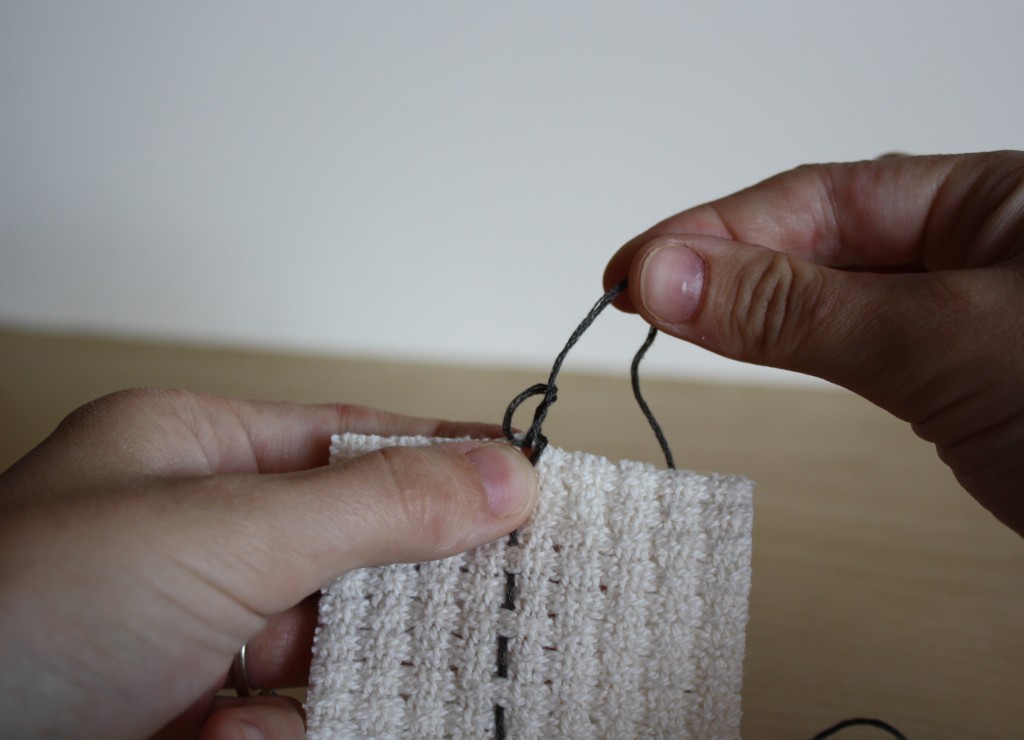
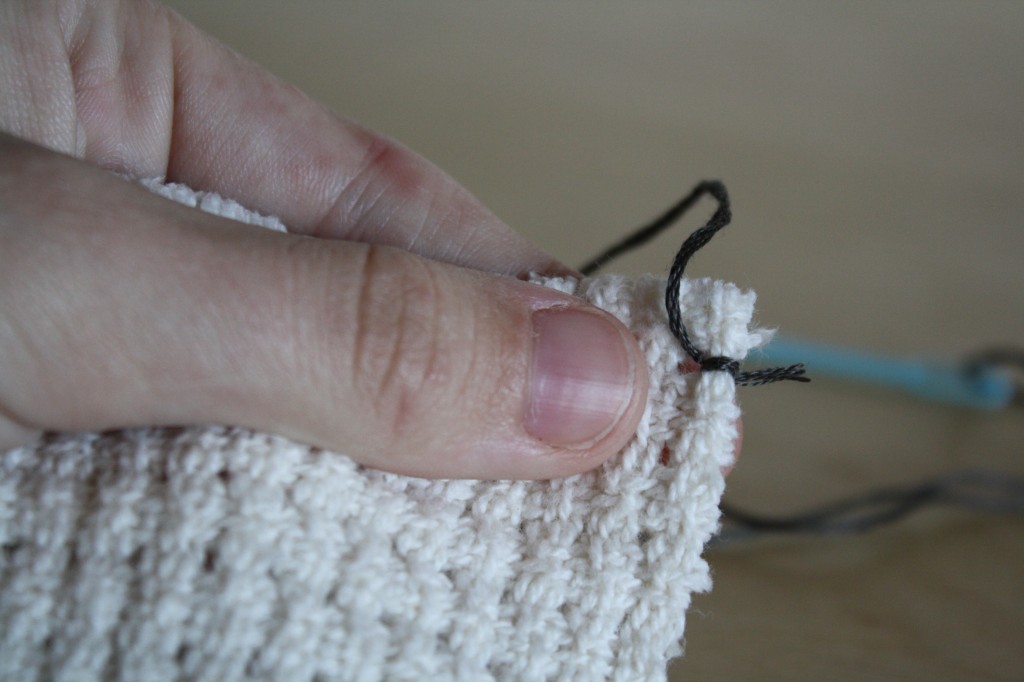
2. Thread the needle through the loop two times.
3. Pull tight to create a knot.
If you’re worried the knot won’t hold, you can do it one more time. Clip the thread tail, leaving just a little bit.
SEWING ON A BUTTON
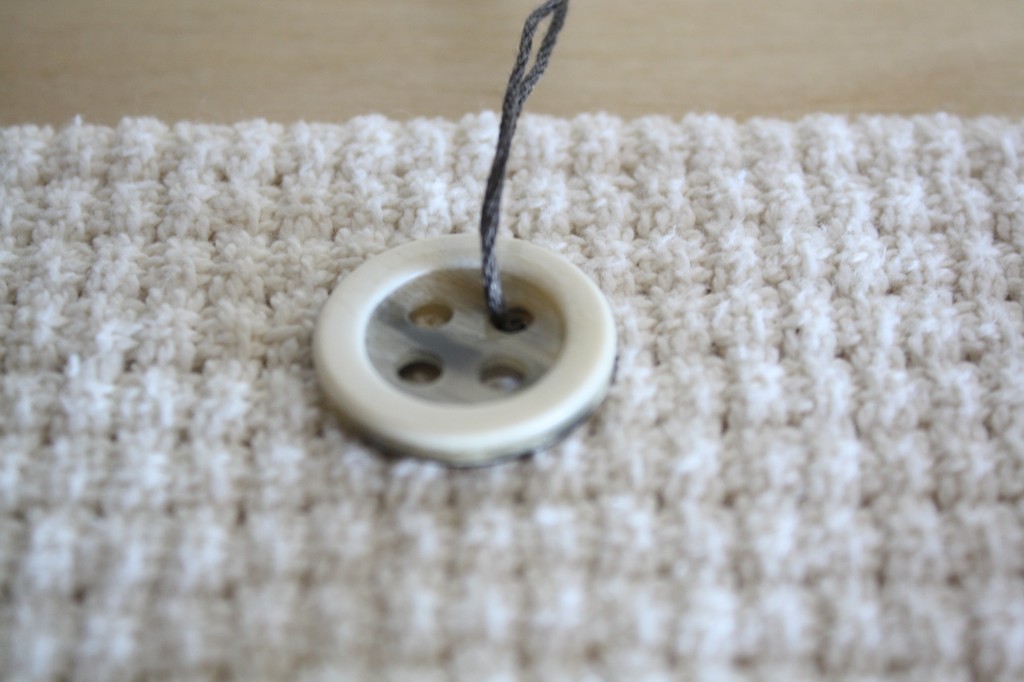
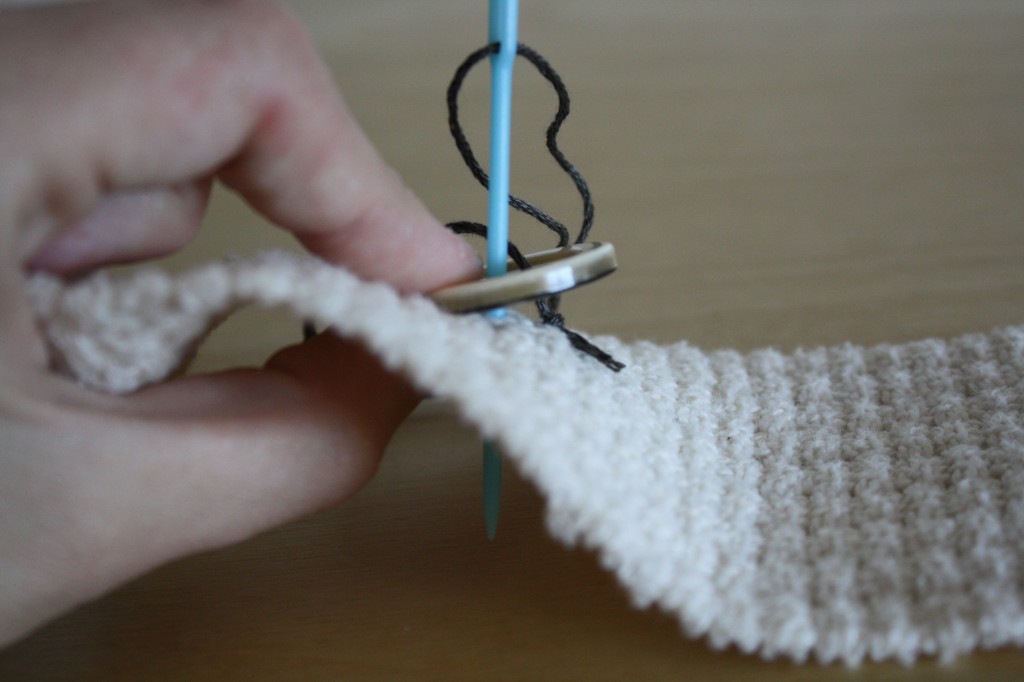
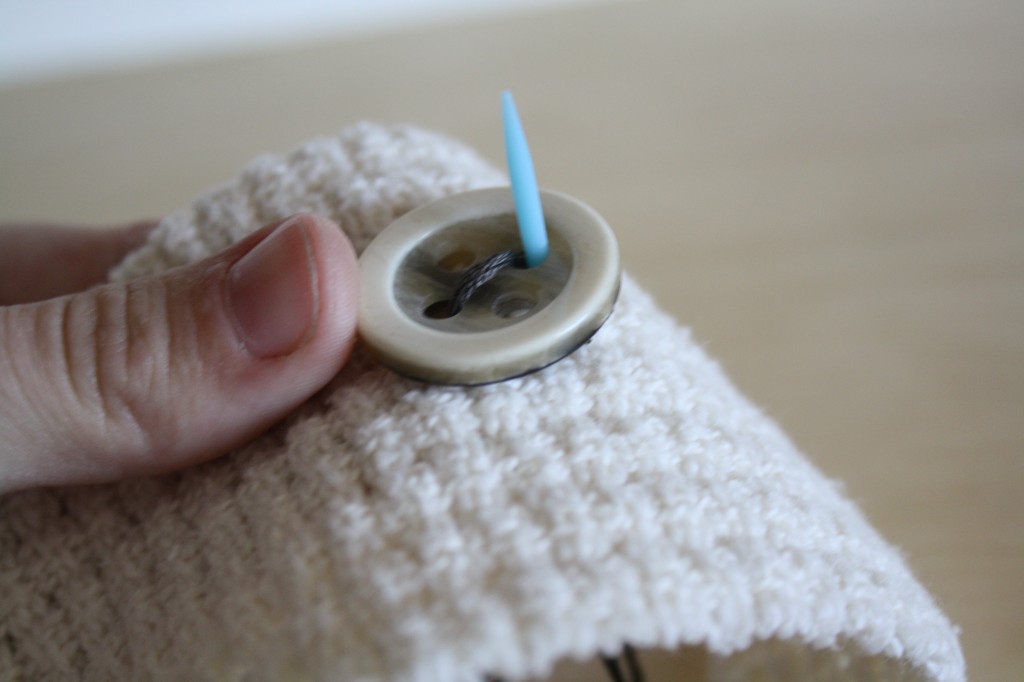
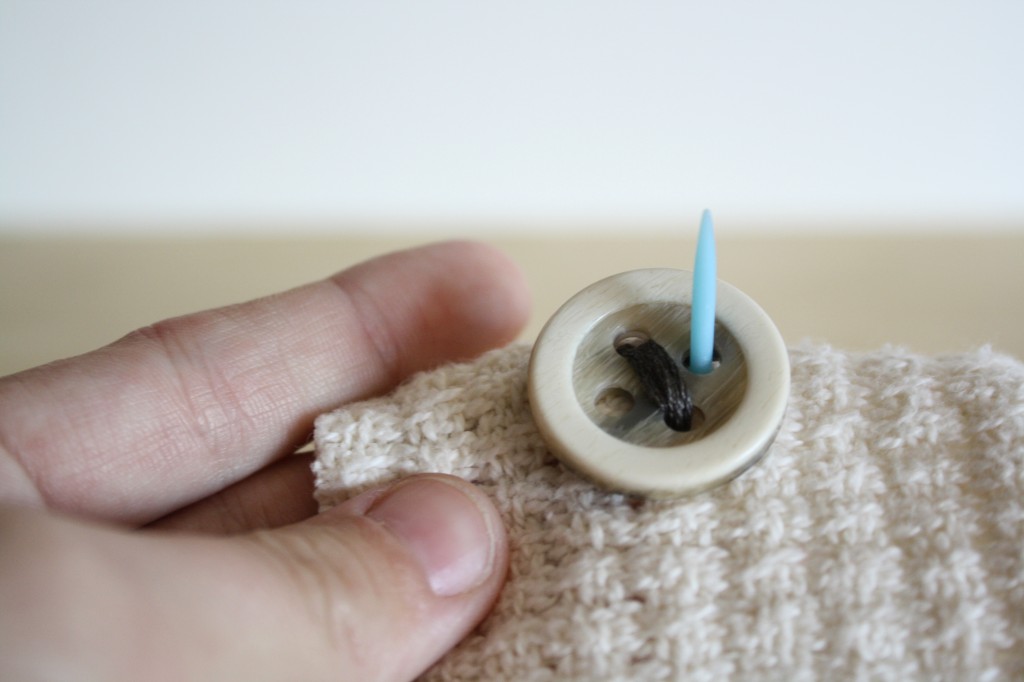
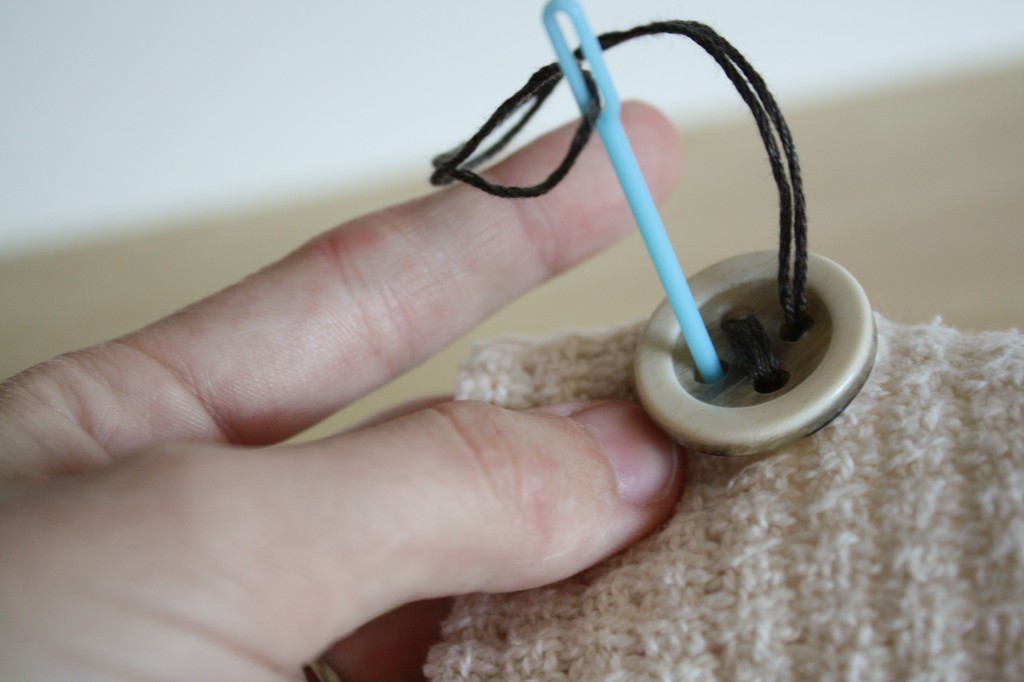
1. Put the button on top of the knot on the right side of the fabric and pull the needle up through one of your button’s holes.
2. Thread it back down through the hole right across from where your needle came up.
3. Bring the needle back up through the first hole, and repeat a few times, until you feel the button is secure.
4. For a 4-hole button, come up one of the un-sewn holes and repeat steps 3-5.
5. Tie the button off with a knot either under the button or on the back side of the fabric.
WHIP STITCH
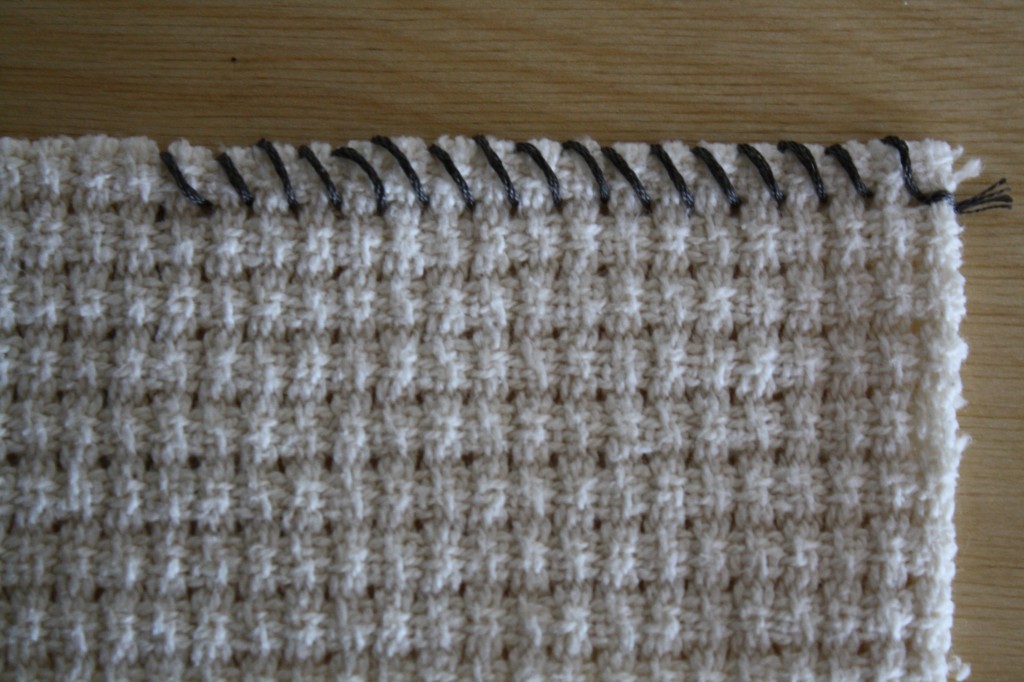
A whip stitch is a quick stitch used to create a seam.
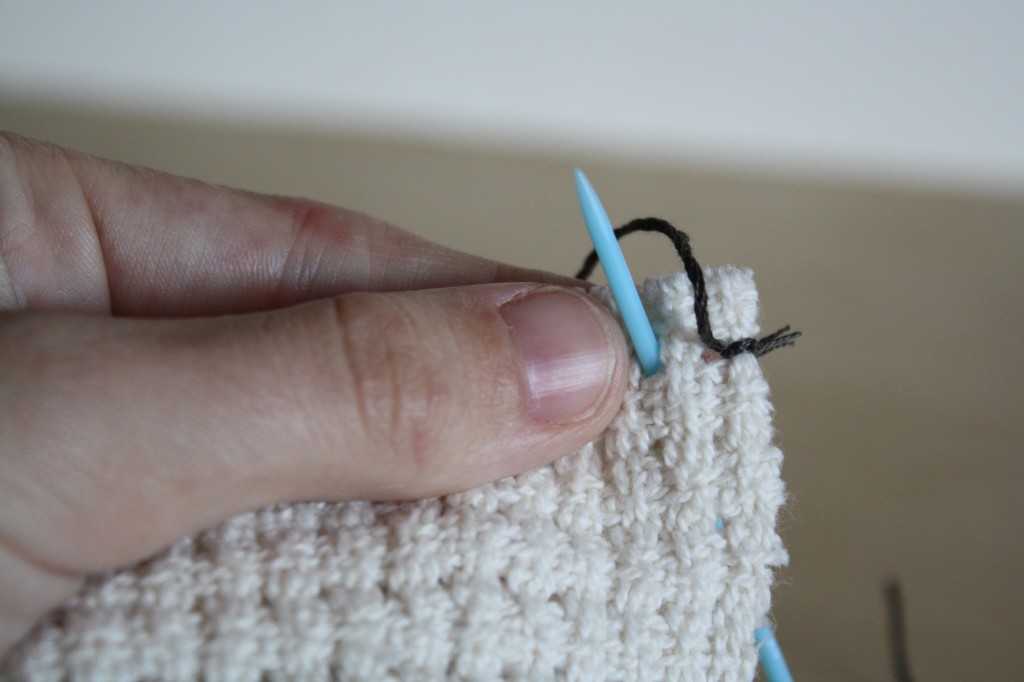
1. Place 2 pieces of scrap fabric together and start at the top right corner.
2. Bring the needle up through both layers of fabric, coming up from the underside.
3. Bring the needle all the way around the edge and up then through both layers again, a little bit over from where you started (you can use the holes in the monks cloth to keep an even stitch).
4. Continue stitching through both layers, trying to keep your stitches about the same distance from each other.
RUNNING STITCH
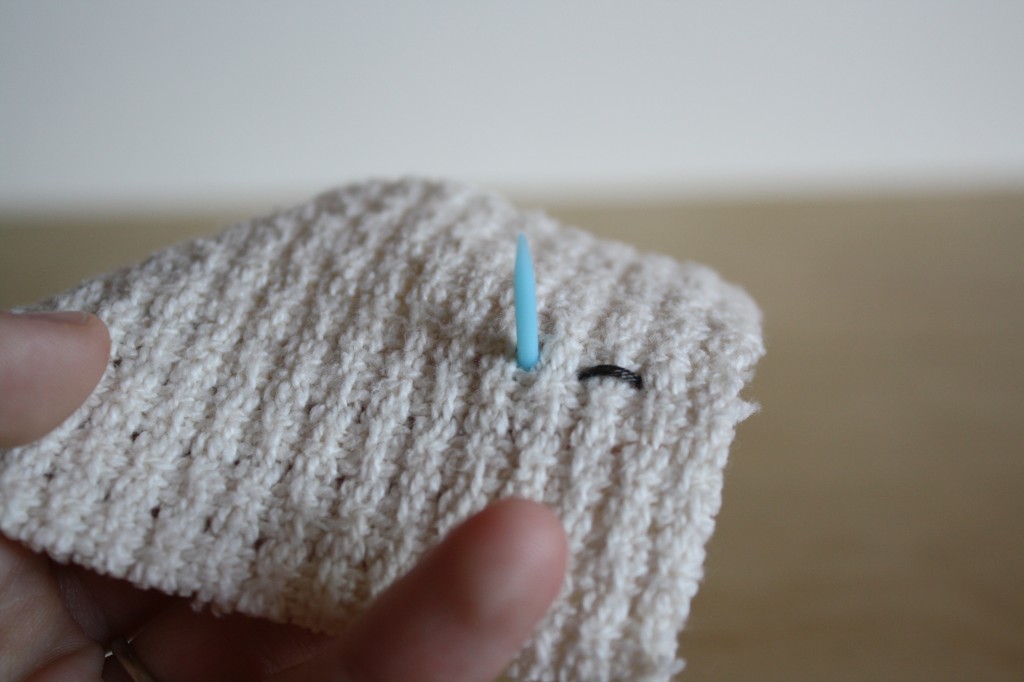
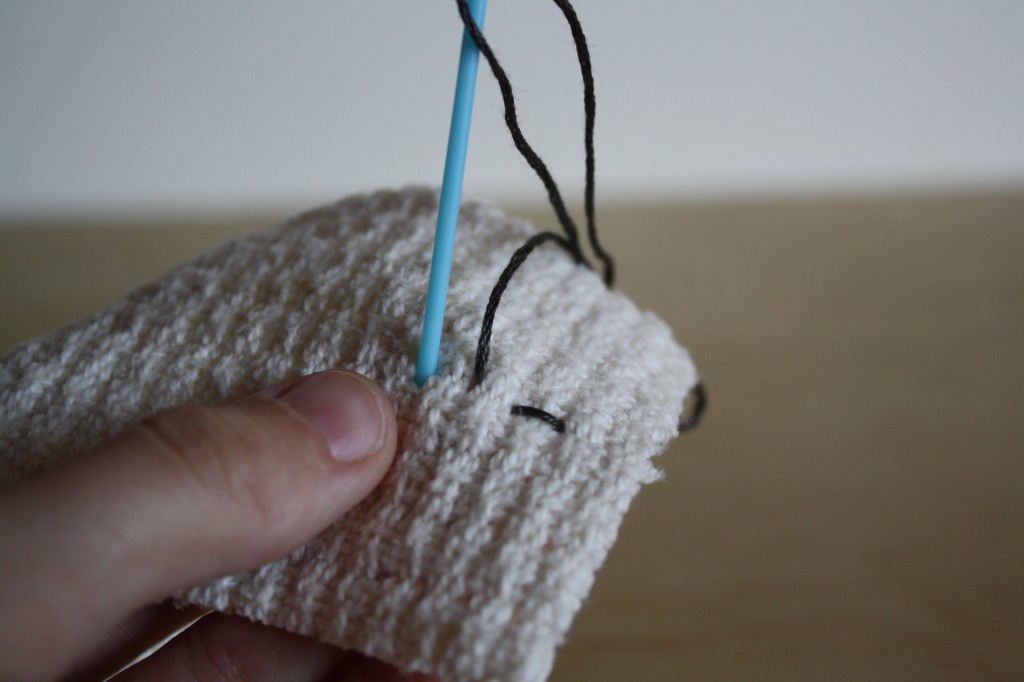
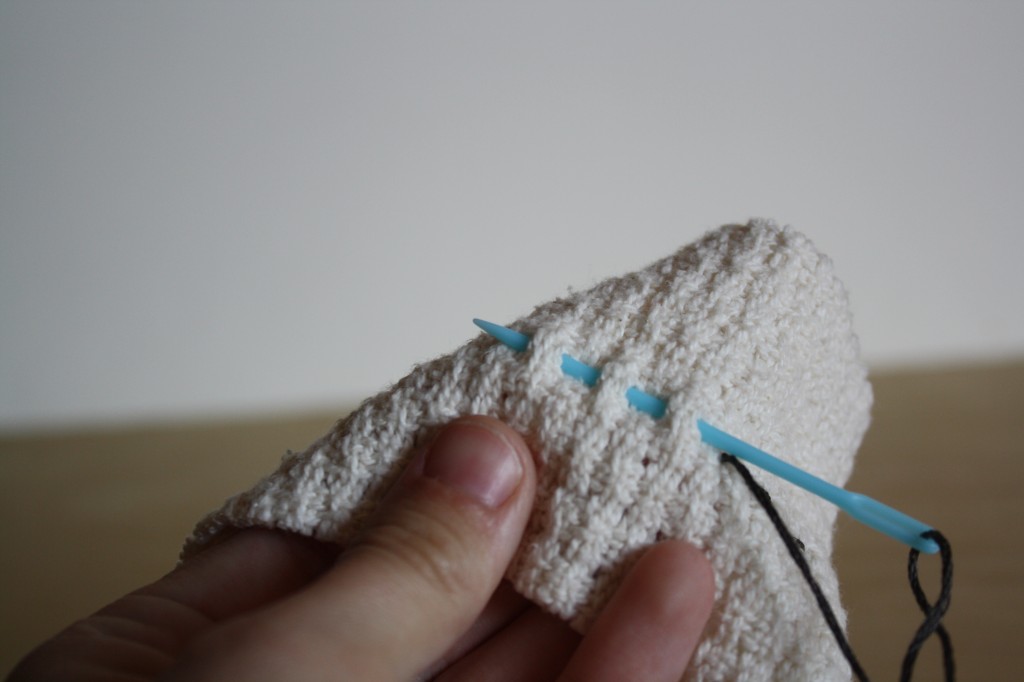
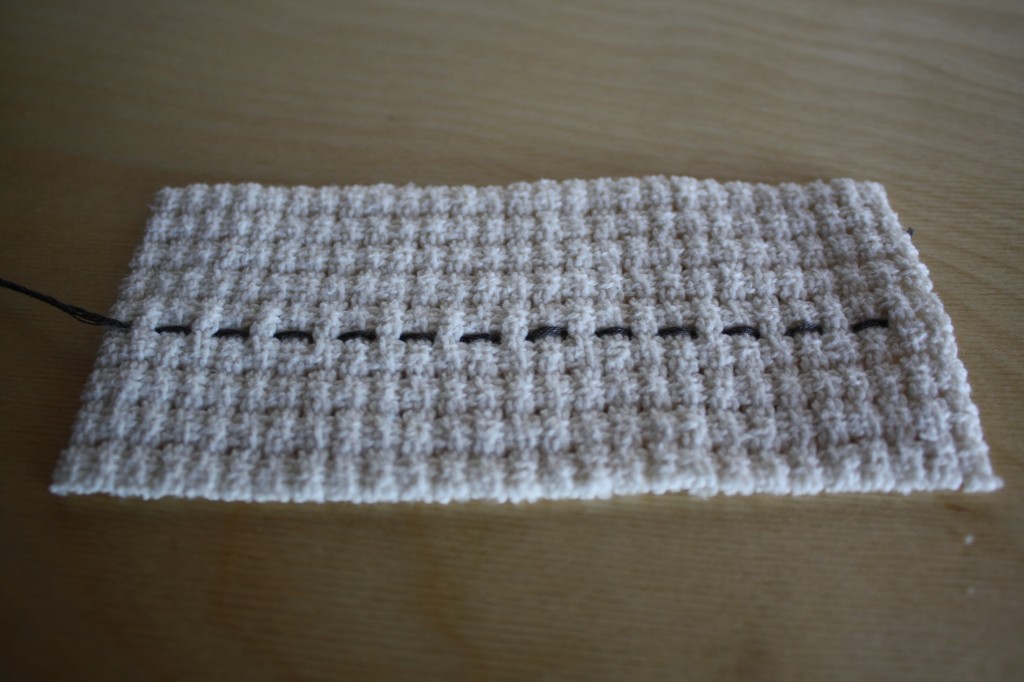
A running stitch is most often used to hold two pieces of fabric together temporarily, but is sometimes used as a decorative stitch as well.
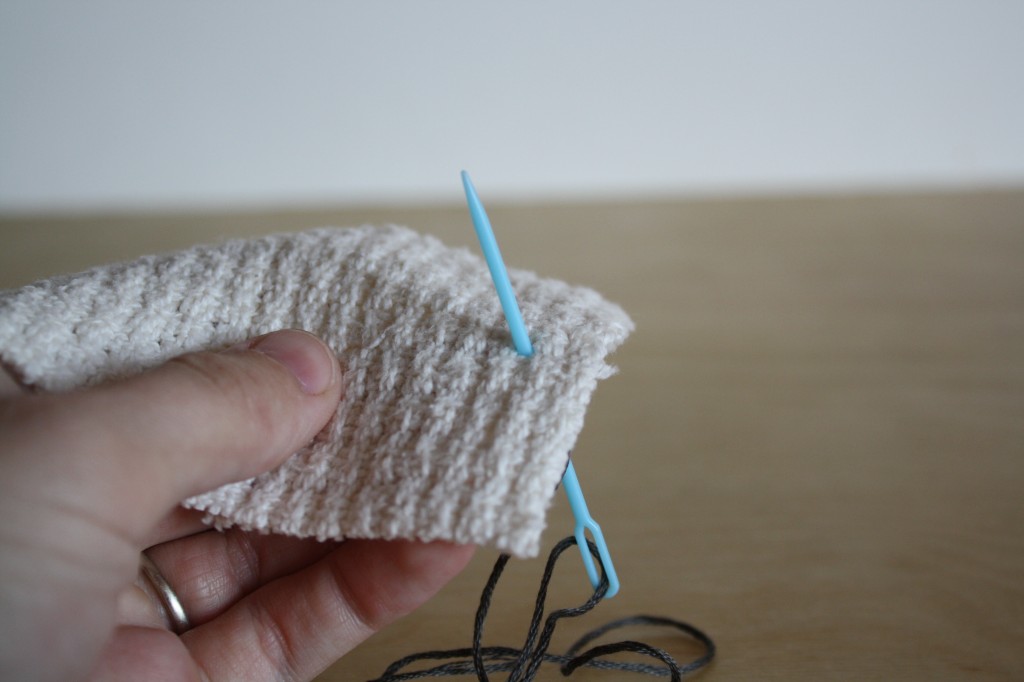
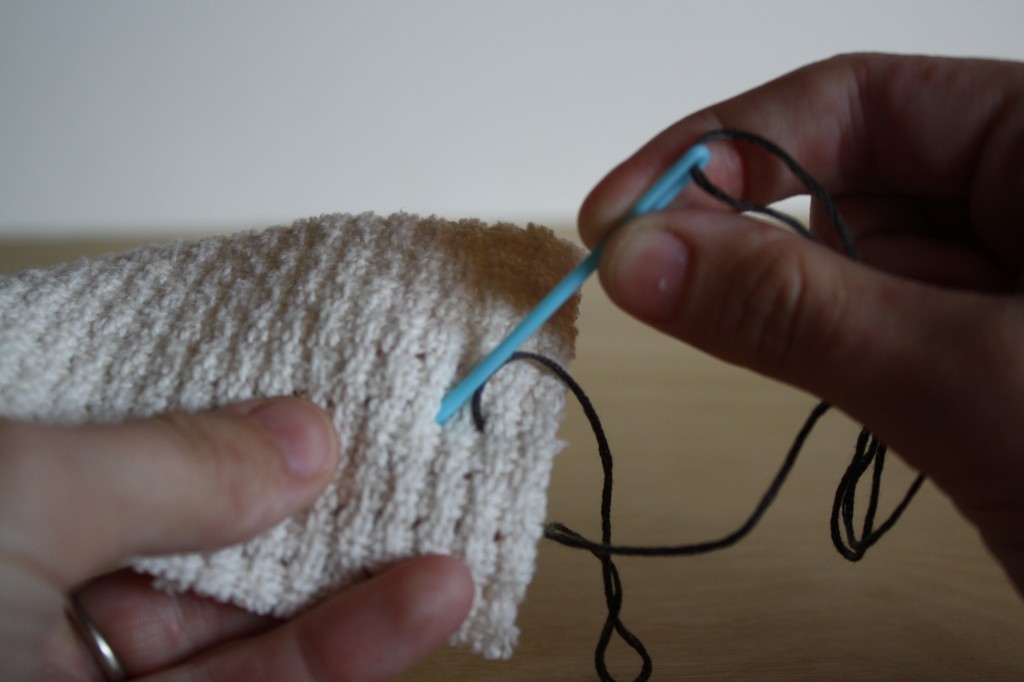
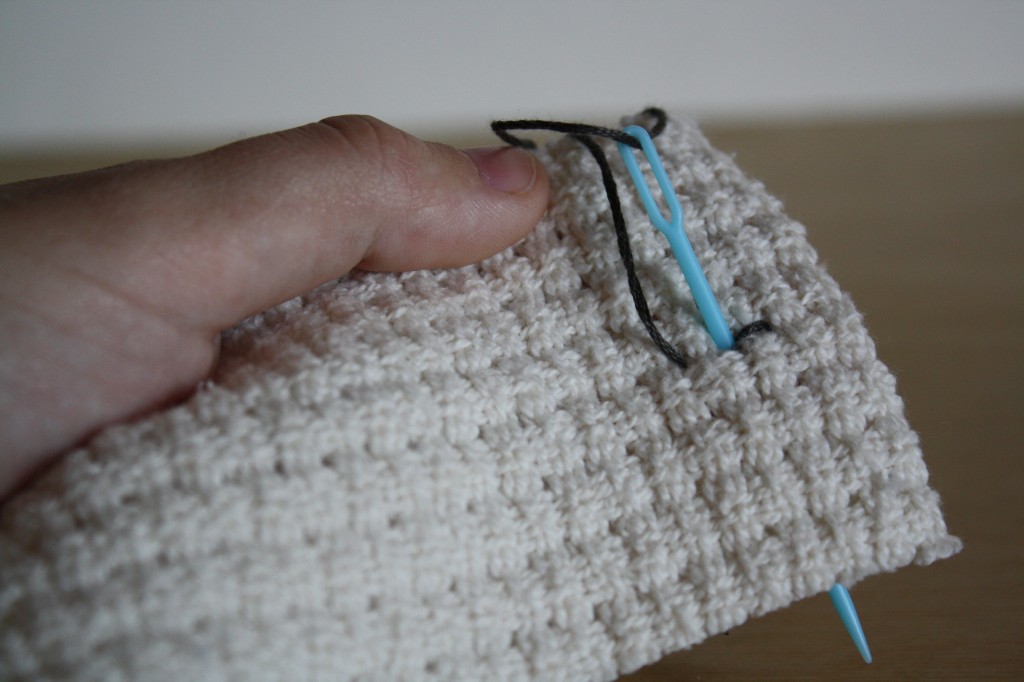
1. Bring the thread up at the starting point from the back side of the fabric.
2. Push the needle down into the next hole in the fabric creating one small stitch.
3. Bring the needle back up next through the hole right next to the first stitch.
4. Repeat steps 1-3.
—OR—
BACK STITCH
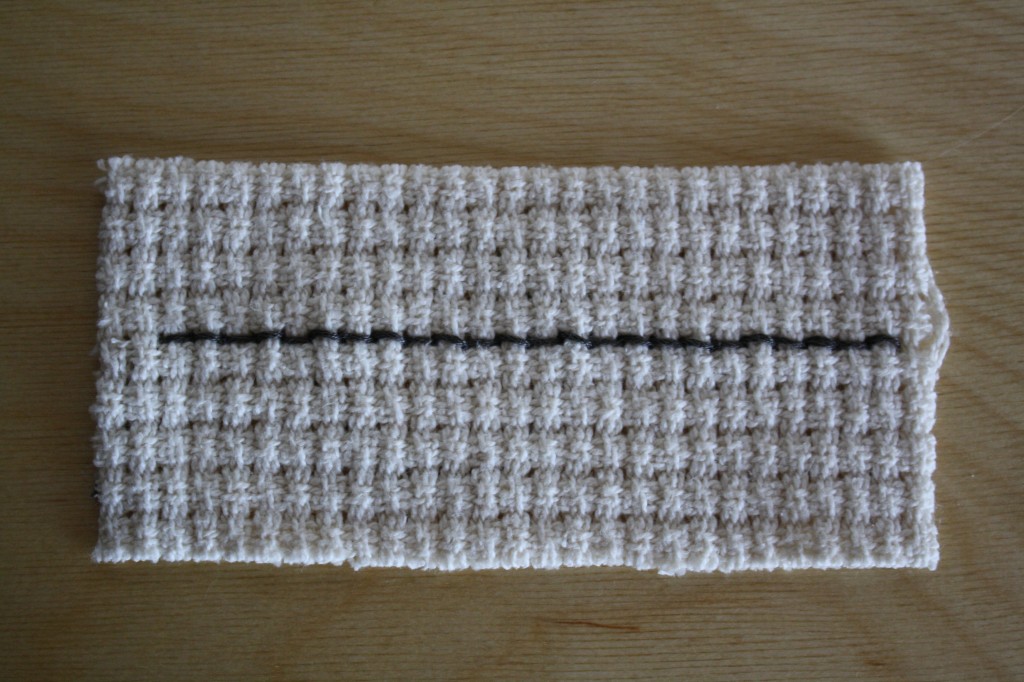
The back stitch is a decorative stitch used in embroidery.
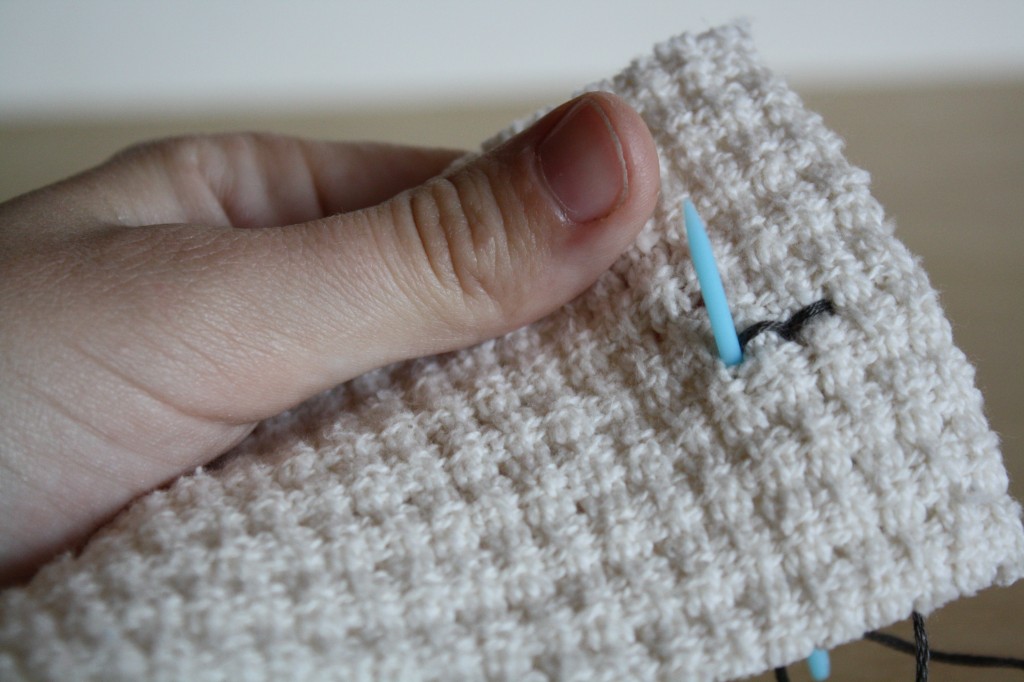
1. Bring the thread up at the starting point from the back side of the fabric.
2. Push the needle down into the next hole in the fabric creating one small stitch.
3. Bring the needle back up next through the hole right next to the first stitch.
4. Rather than continuing in the same direction like you do with the running stitch, move the needle back one step, inserting into the same place you finished the first stitch. That is called the “back stitch” and it closes that second stitch.
5. Bring the needle back up in the same place you did in for the last stitch.
6. Repeat steps 2-5 as many times as needed.


HOMEWORK
