Basic hand stitching is a good introduction to sewing with a sewing machine; it helps you get a feel for the needle and thread, and occasionally a sewing project requires some hand stitching. This lesson will go over tying knots with the hand needle and thread, and 5 different hand-stitching techniques.
***NOTE: In general, righties tend to stitch right-to-left, while lefties usually feel more comfortable stitching left-to-right. If you’re unsure which you prefer, just try it both ways***
PREPARING THE NEEDLE AND THREAD
All hand sewing projects begin the same way: thread your needle and tie a knot on the end.
1. Thread the needle using thread to match the fabric (unless you want contrasting colors) and determine if you want single or double thread. I usually use doubled thread.
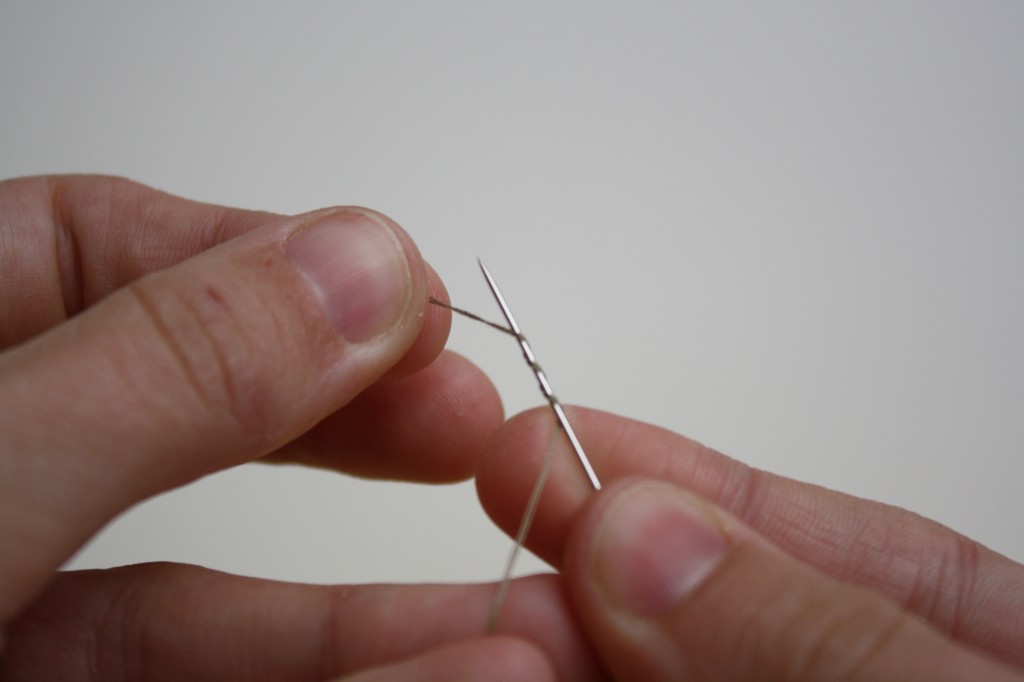
2. Bring the end of the thread back to the needle and hold it in place (holding 1 end for single thread, and both ends for double thread).
3. Wrap the end(s) of the thread around the needle loosely 3 times.
4. Point the end(s) of the thread through the large loop and slip off of the needle (pull off of the end with the eye).
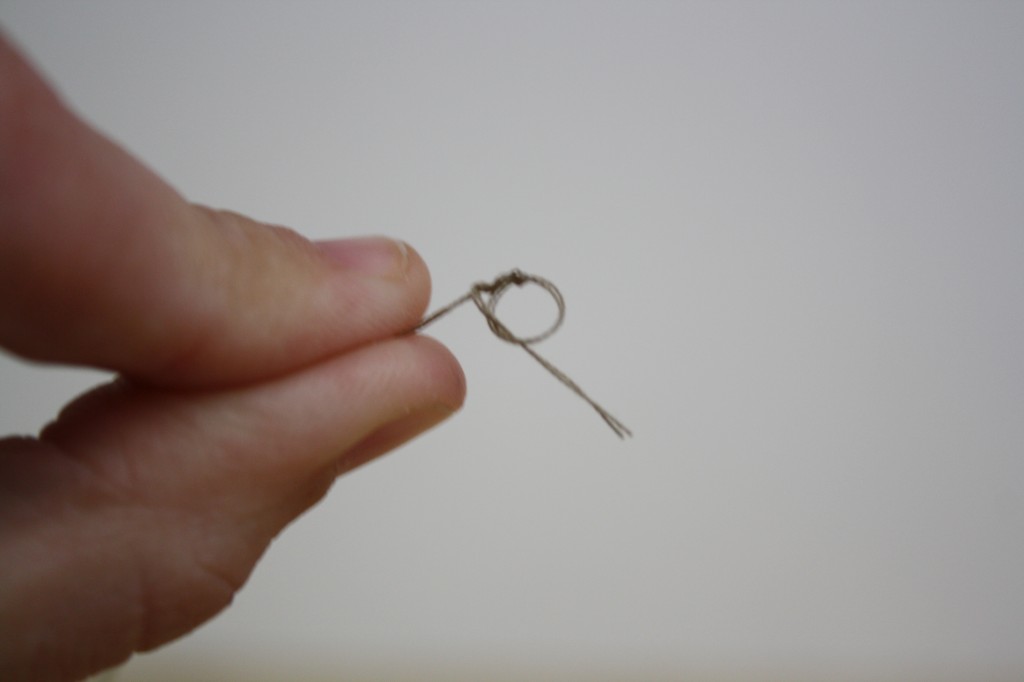
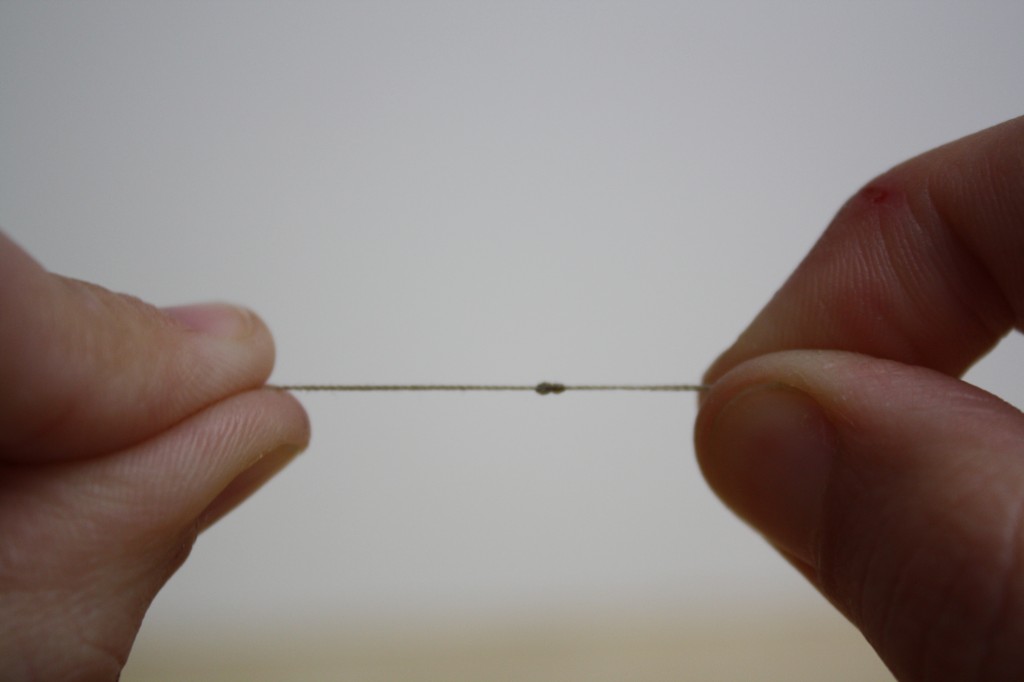
5. Pull until a knot is created at the end, being sure the ends are still pointed through the loop.

")
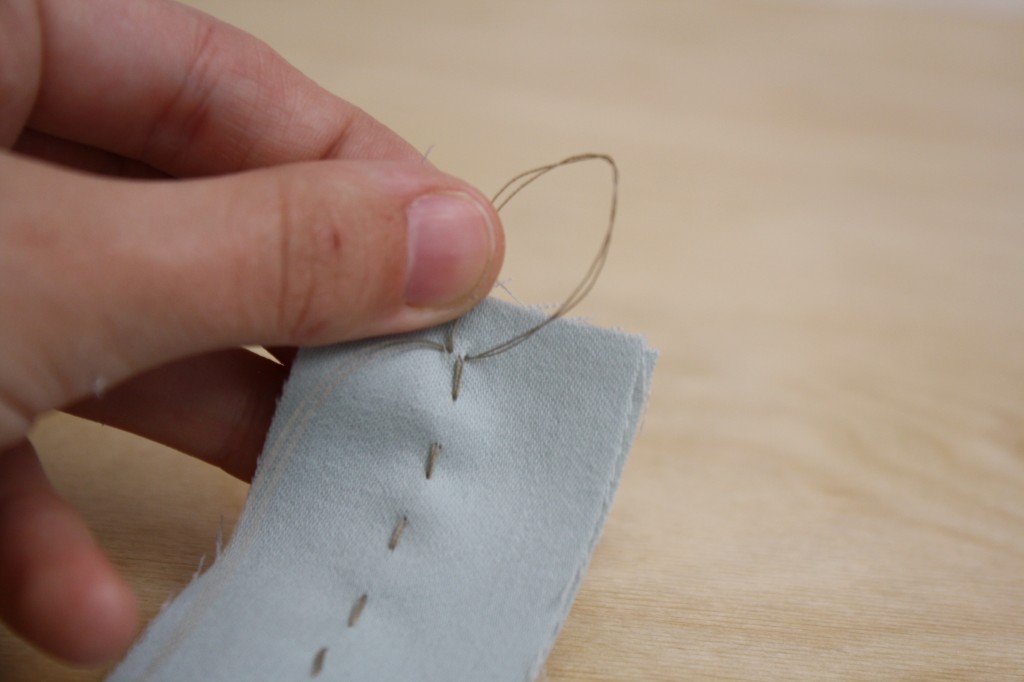
TYING OFF A STITCH
At the end of every hand-stitching project, the thread must be tied off. It is best if this can be done on the back side, but sometimes (like when closing an opening) it has to be done on the right side.
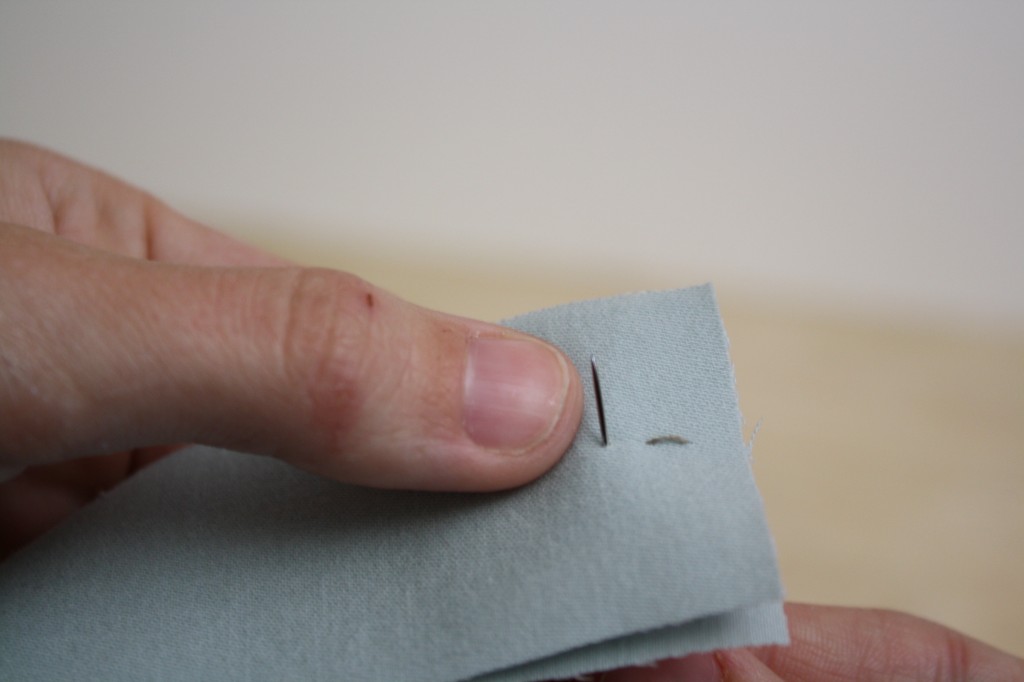
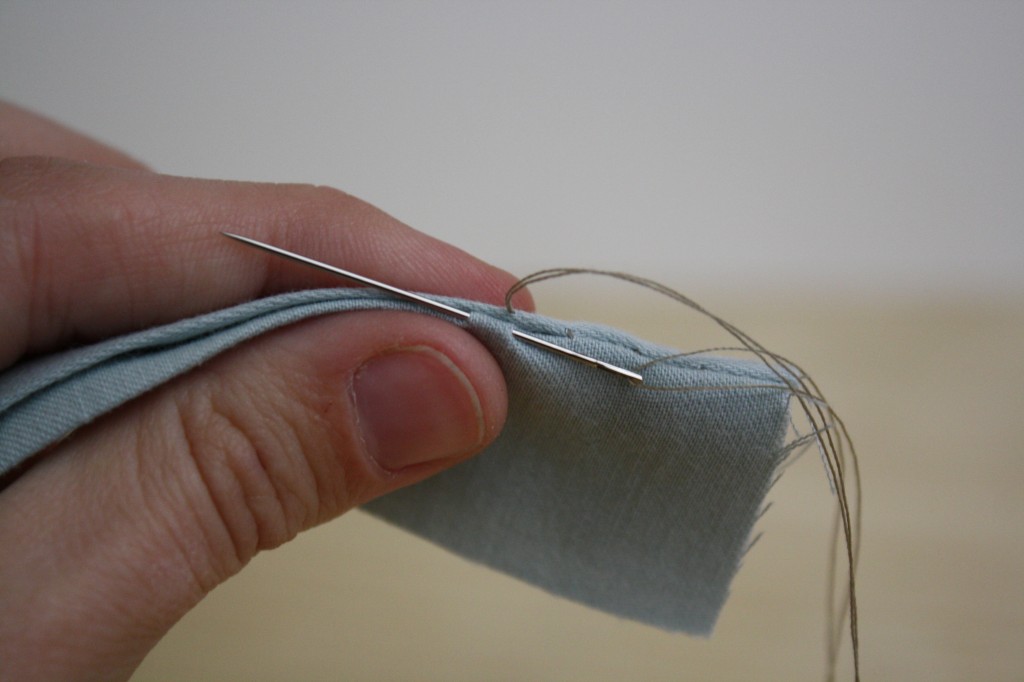
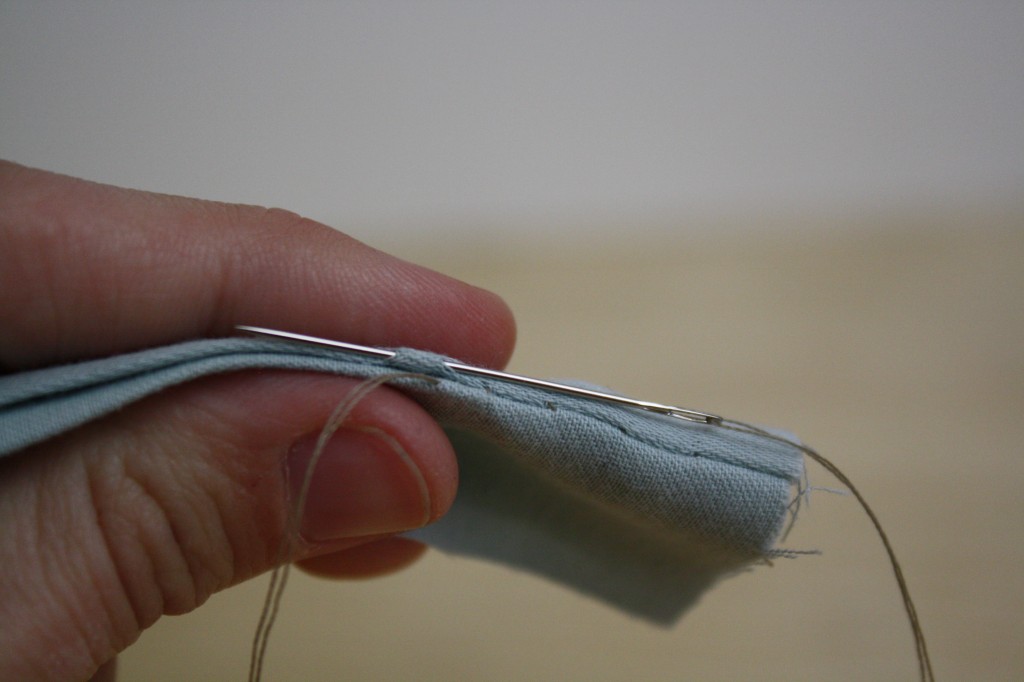
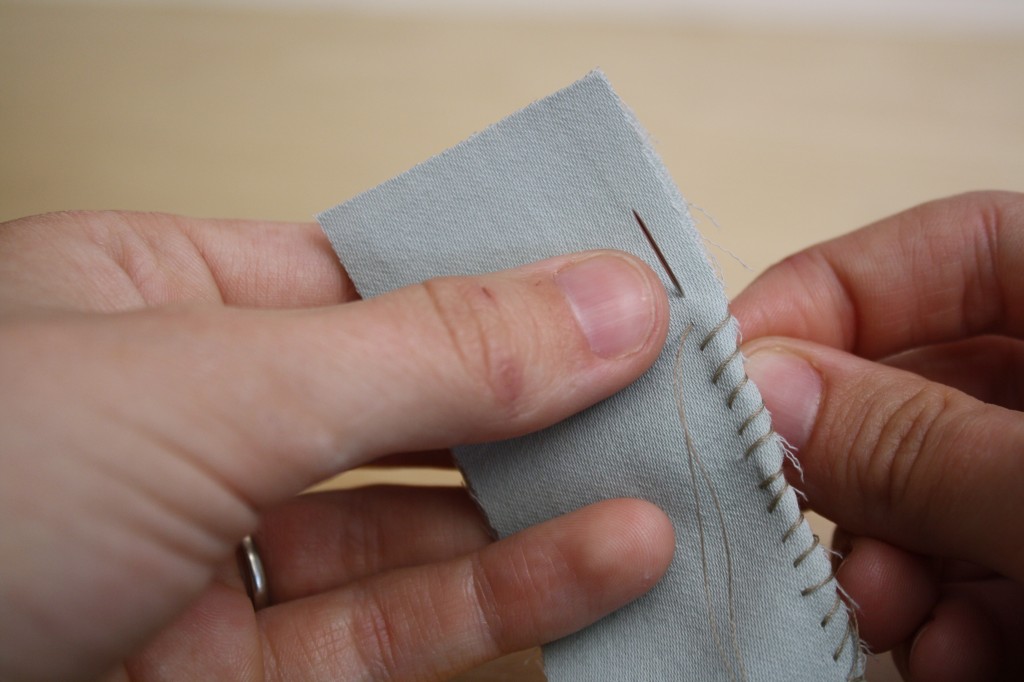
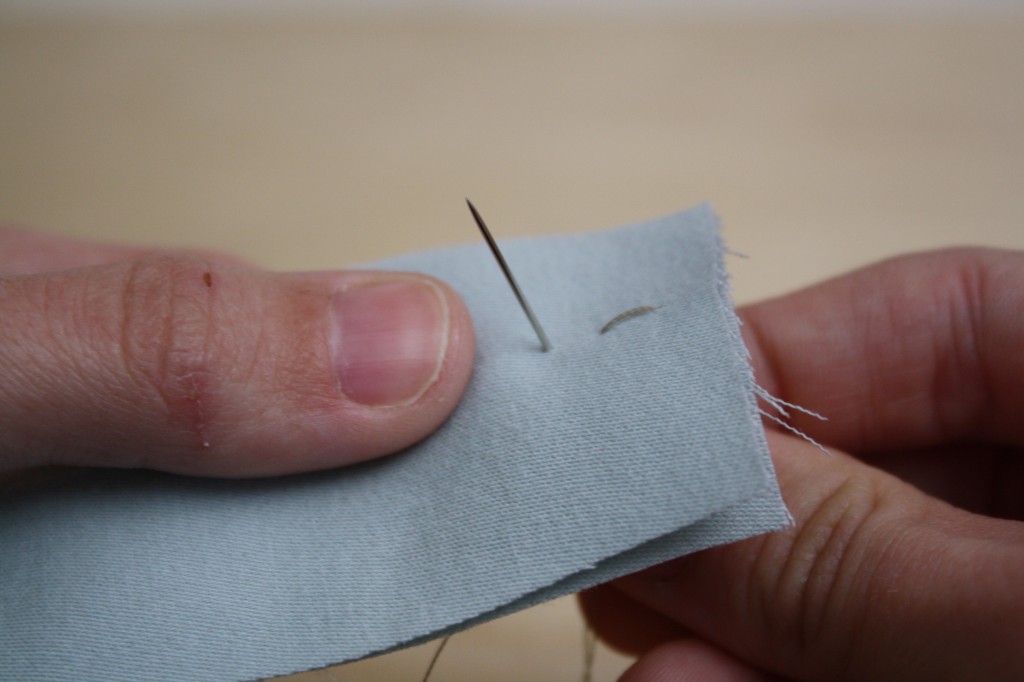
1.Be sure there is at least 4″ of thread at the end to work with for a knot and slip the needle through a small amount of fabric near where the last needle penetration was.
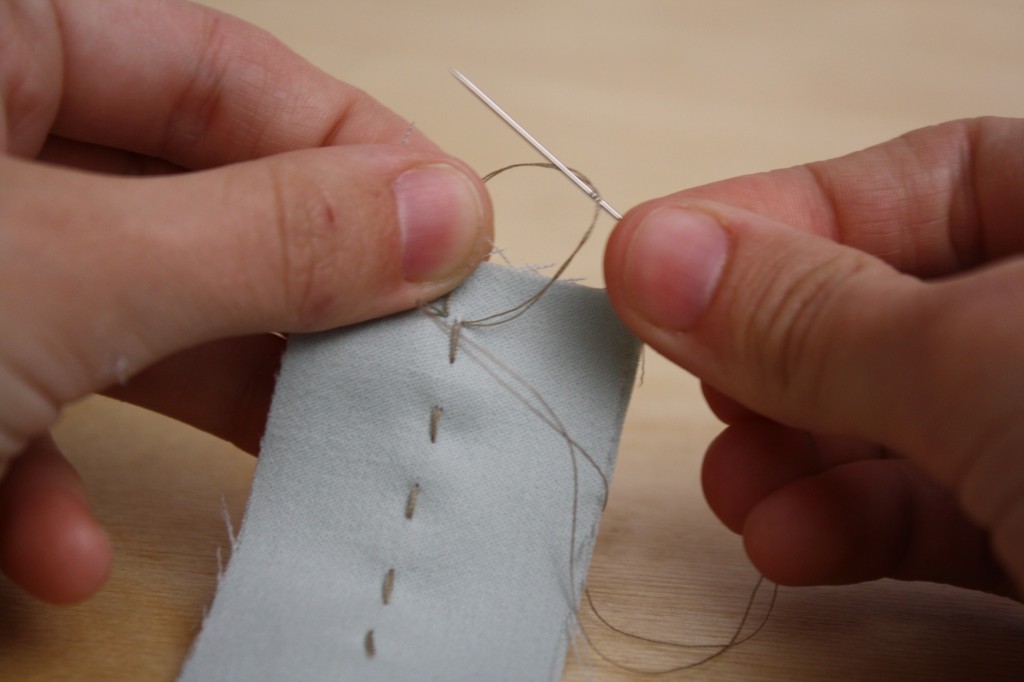
2. This creates a loop.
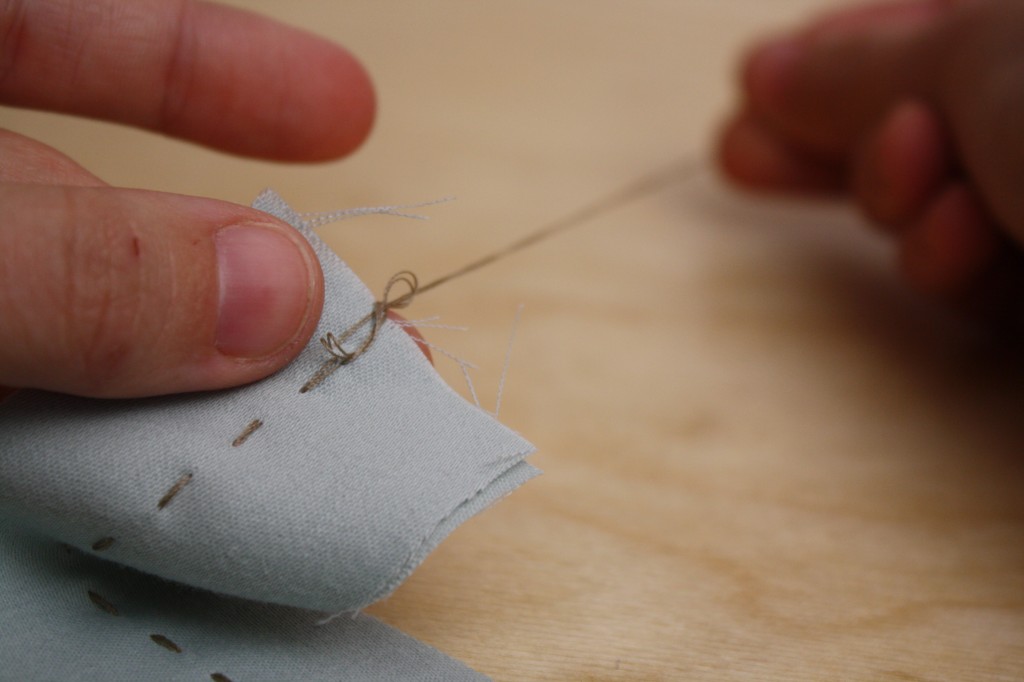
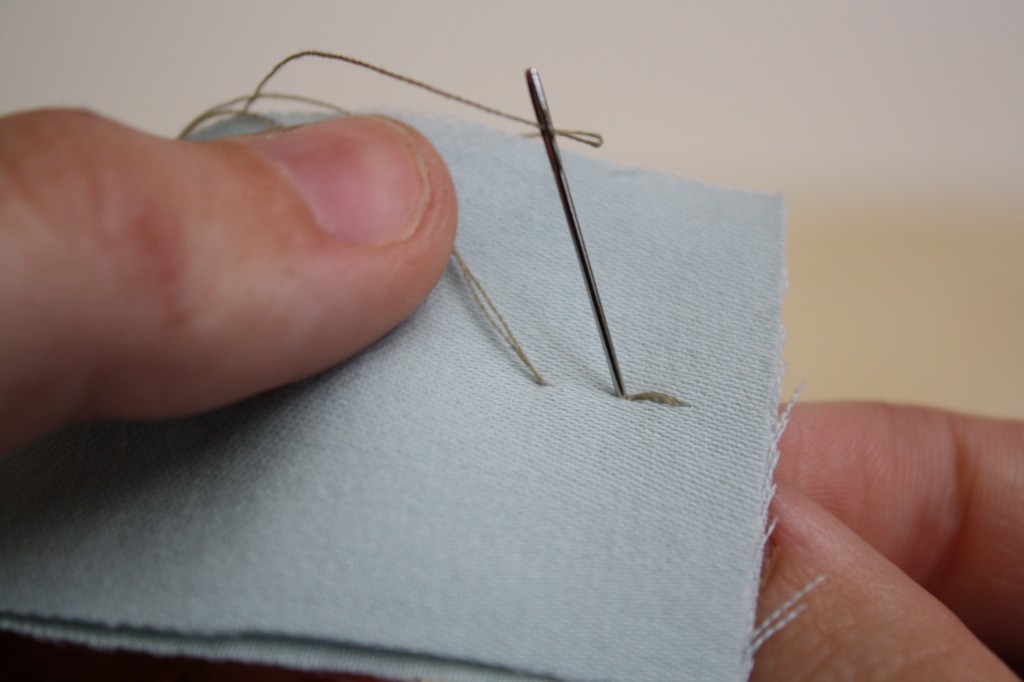
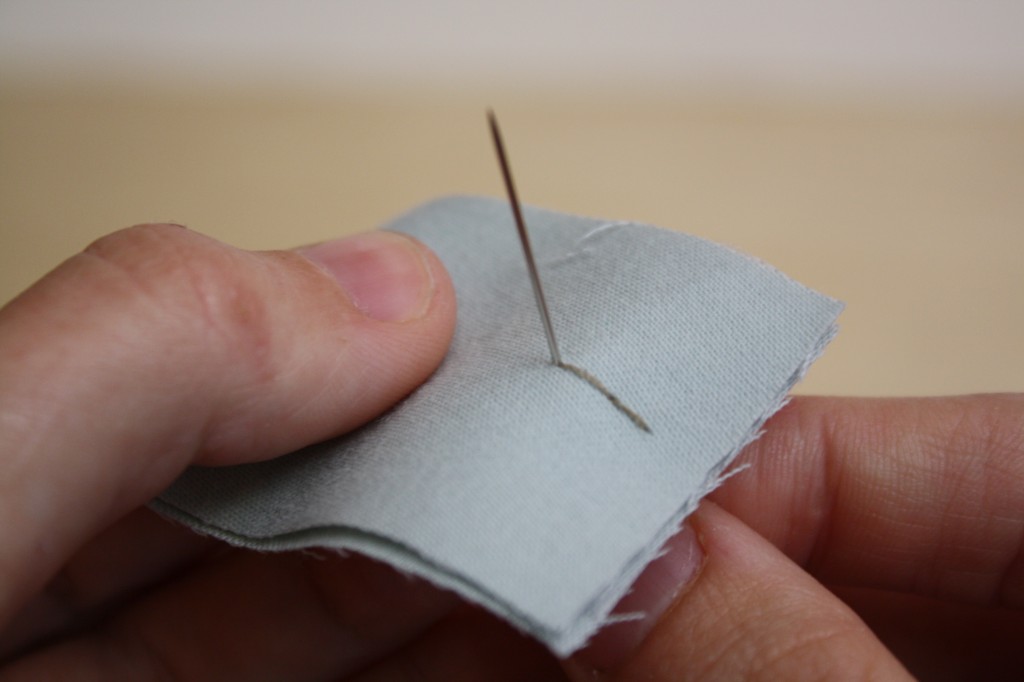
3. Thread the needle through the loop once or twice.
4. Pull tightly to create a knot.
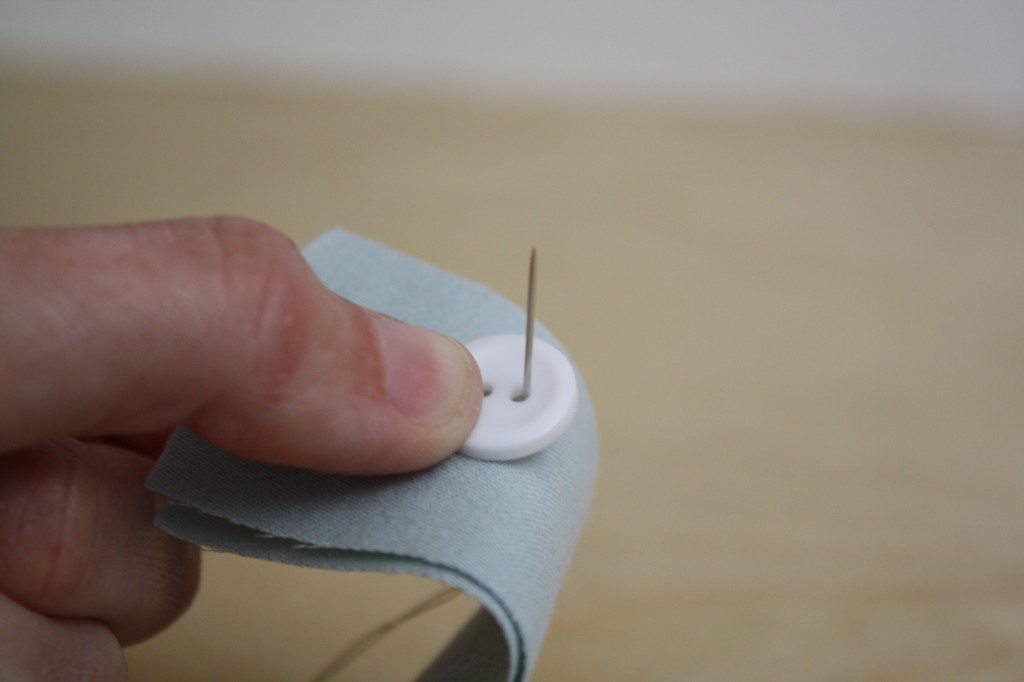
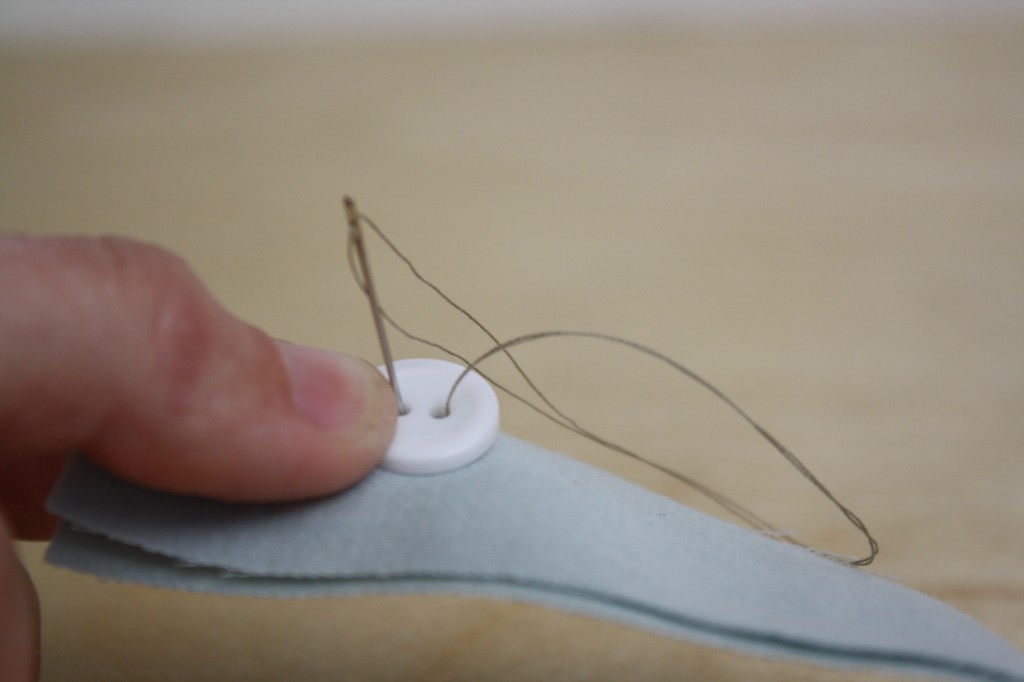
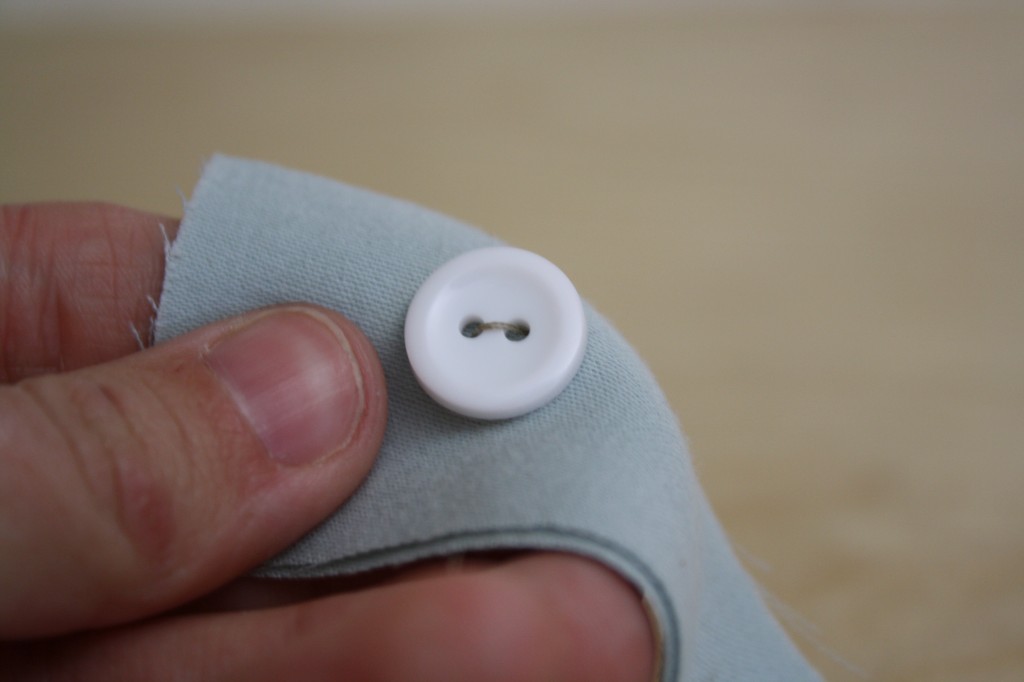
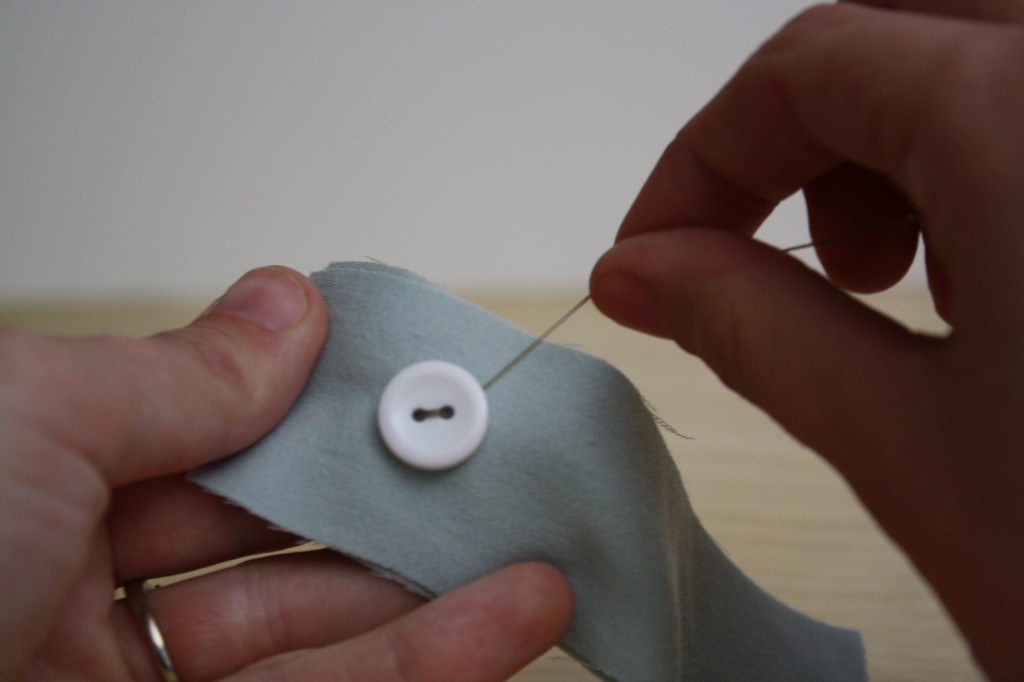
SEWING ON A BUTTON
1. Bring the needle up from the under side, through one of the botton’s holes.
2. Thread it back down through the hole directly across from the point you came up through.
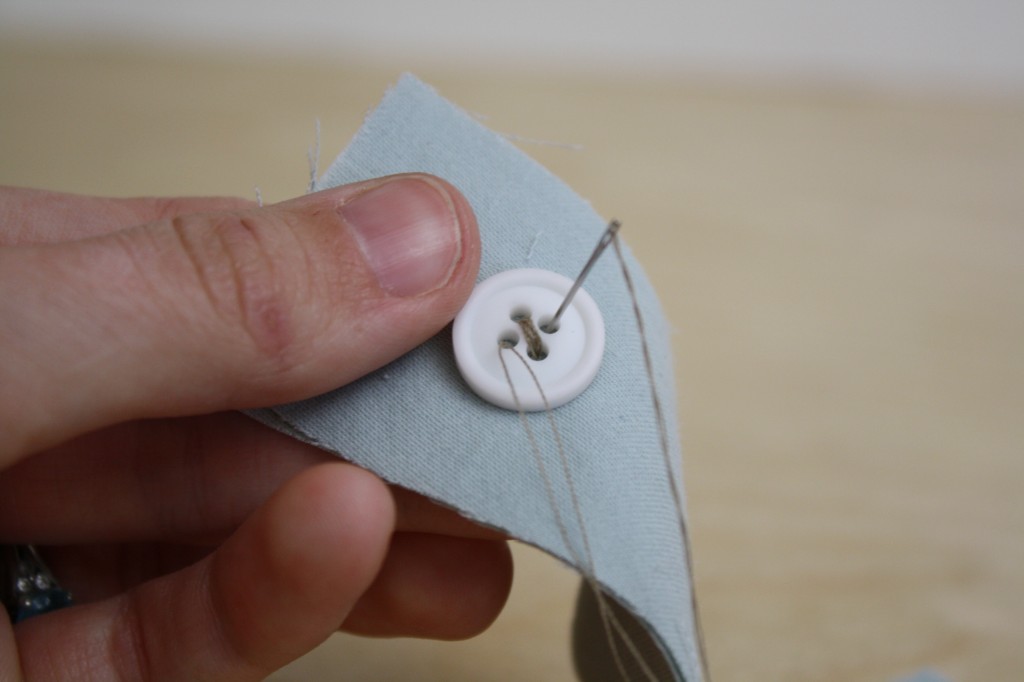
3. Bring the needle back up through the first hole, and repeat steps 1 & 2 a few times, until you feel the button is secure.
4. For a 4-hole button, come up one of the un-sewn holes and repeat steps 1-3.
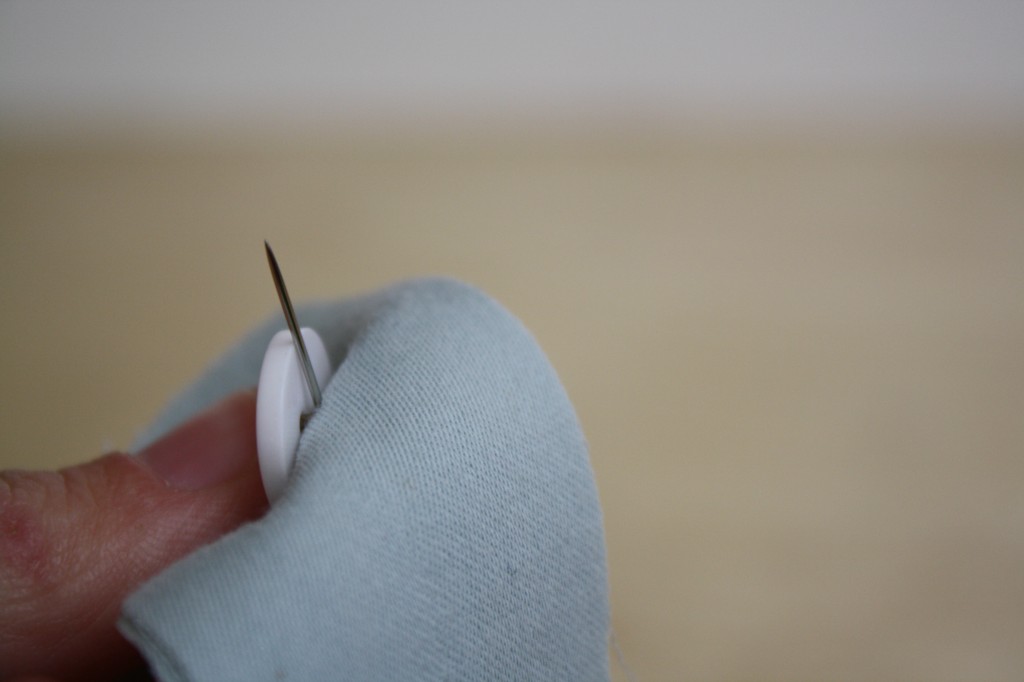
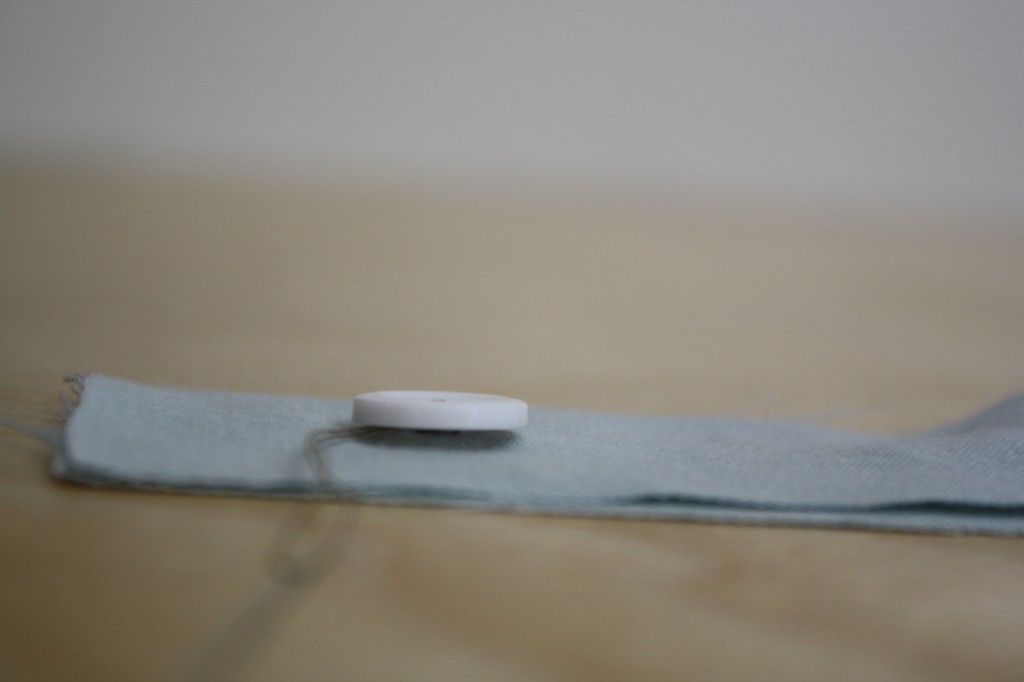
5. To create a shank, bring the needle between the button and the fabric and wrap it around the button several times. This raises the button off of the fabric slightly to make it easier to bring the button through the buttonhole.

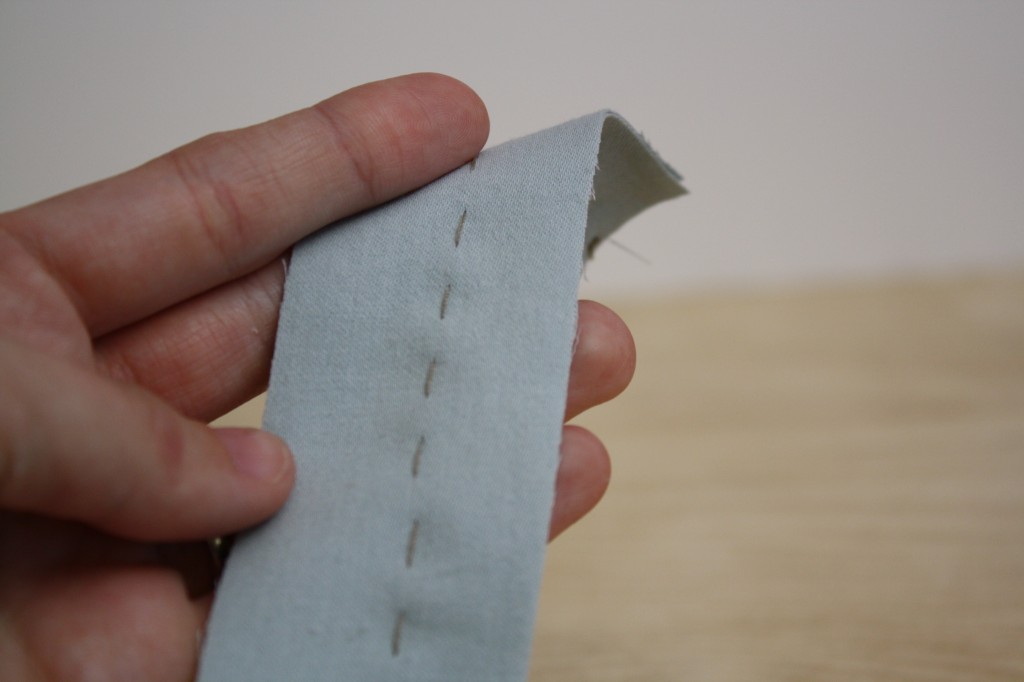
RUNNING STITCH
A running stitch can be used to temporarily baste two pieces of fabric together, or in some cases, as a decorative stitch.
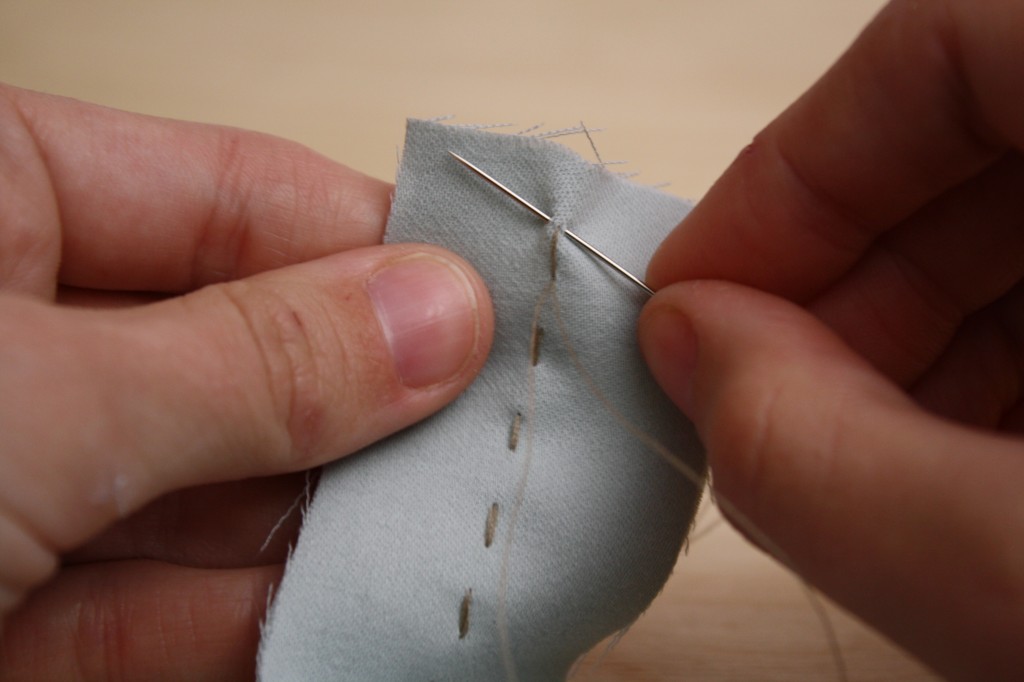
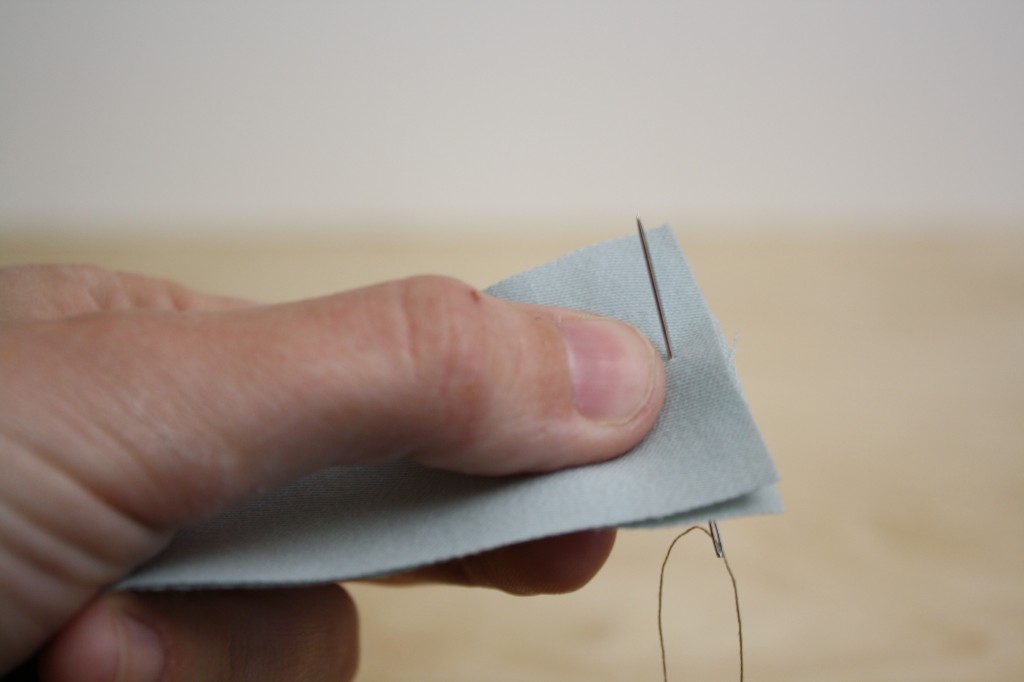
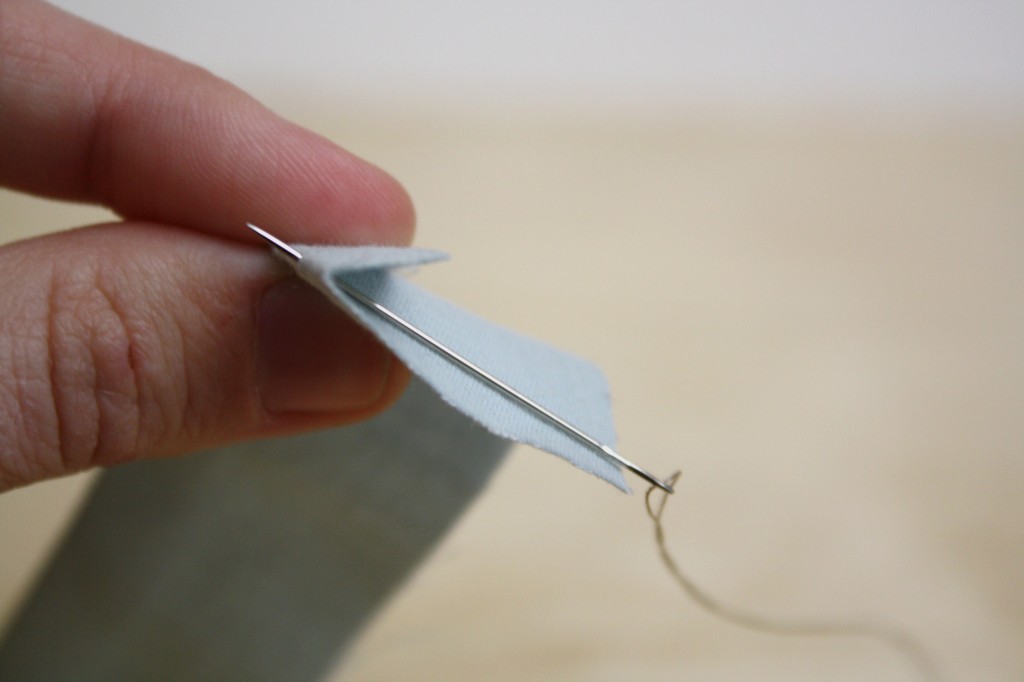
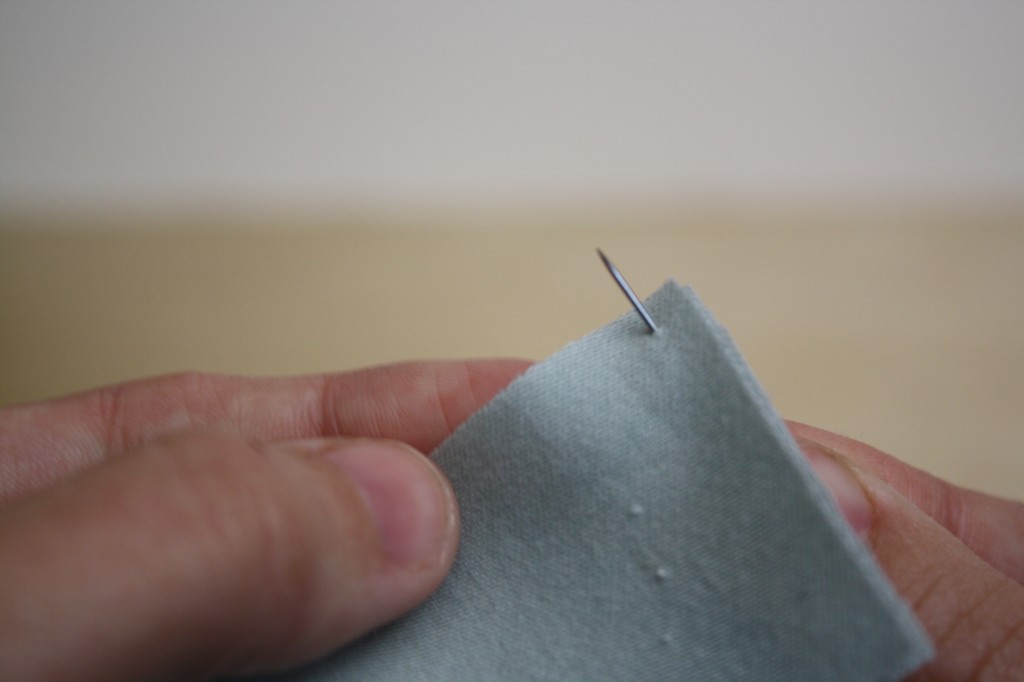
1. Line two sample rectangles on top of each other and bring the needle up through both layers from the under side.
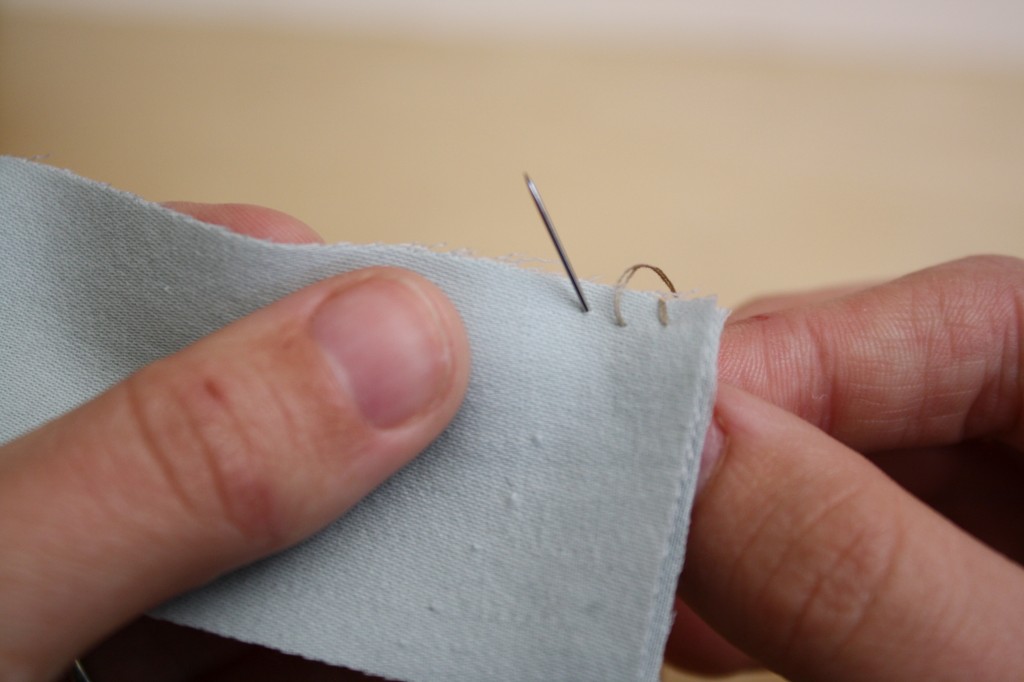
2. Insert the needle over creating the first small stitch.
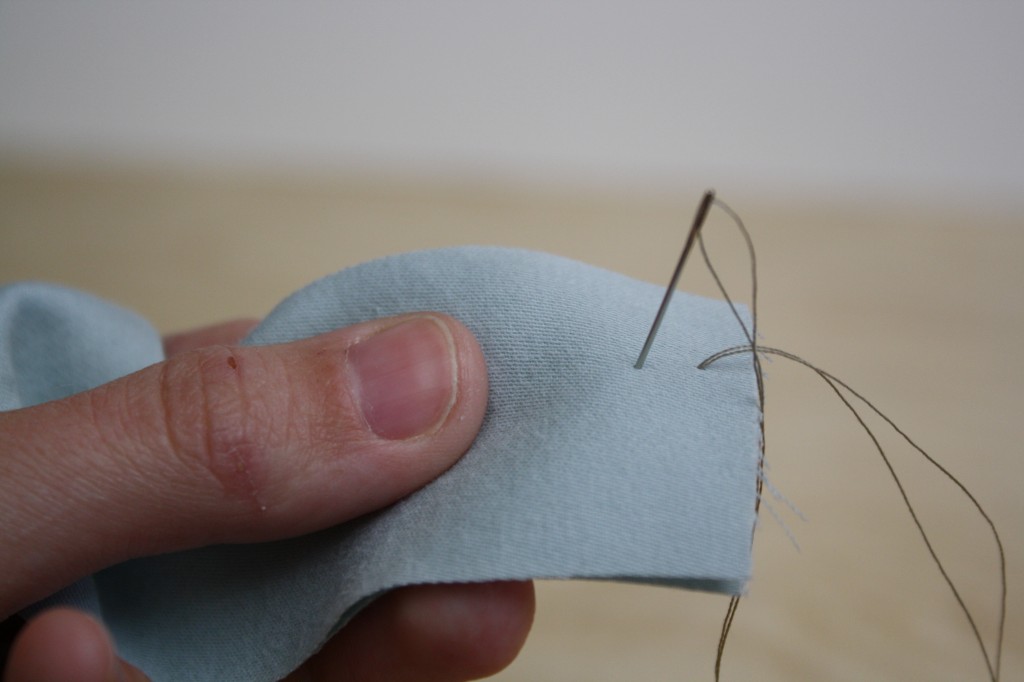
3. Bring the needle back up moving in the same direction, creating a stitch the same size as the first.
4. Repeat steps 2 & 3, continuing in a down-over, up-over motion in one direction.

LADDER STITCH
The ladder stitch is used to fasten fabrics together when binding an edge or closing an opening.
1. Use two sample rectangles. Iron one side under 1/2″ on each.
2. Bring the needle up into the fold of the first sample rectangle from the inside.
3. Insert the needle directly across into the fold of the other piece of fabric to bring them together.
4. Run the needle inside the fold and bring the needle back out through to the right side of the fabric. That creates your first stitch.
5. Just as was done in step 3, insert the needle directly across into the fold of the other piece of fabric.
6. Repeat steps 4 & 5 until your stitching is complete.
For the ladder stitch sample, leave 1/4 of the sample un-sewn to give visual contrast.

—OR—

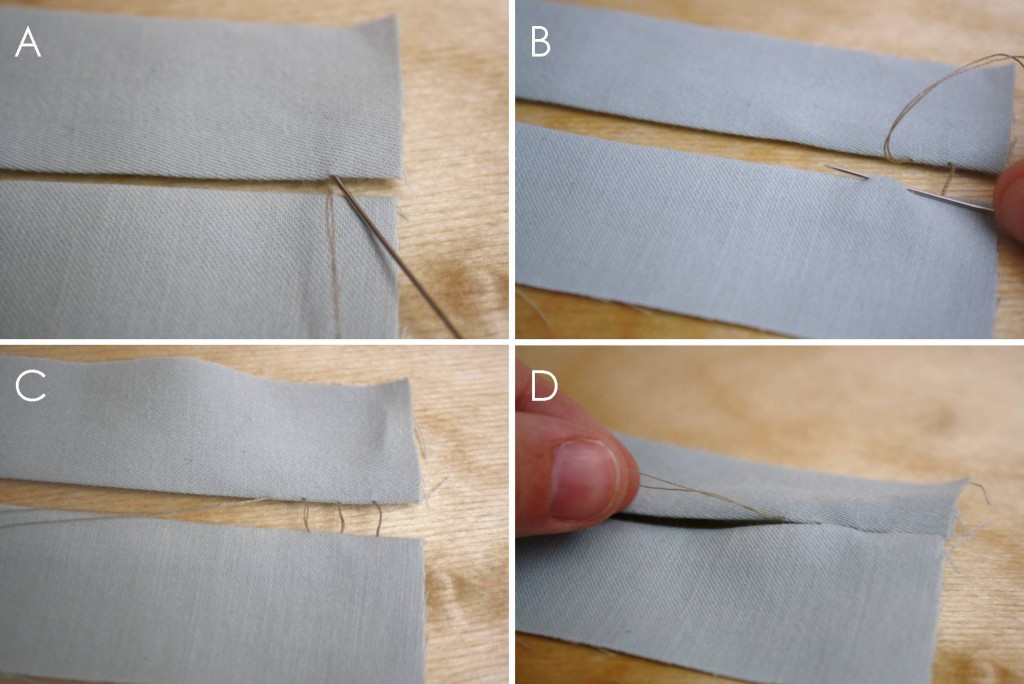
WHIP STITCH
A whip stitch is a quick stitch used to mend or create a seam.
1. Place two sample rectangles together with wrong-sides-together and pull the needle through from both layers.
2. Bring the needle all the way around the edge and up then through both layers, about 1/8″ from the starting point.
3. Continue stitching through both layers, trying to keep your stitches about the same distance from each other.

BACK STITCH
The back stitch is a decorative stitch used in embroidery.
1. Bring the thread up at the starting point from the back side of the fabric.
2. Push the needle down into the fabric creating one small stitch.
3. Bring the needle back up next to the first stitch. Try to keep the stitches the same size.
4. Rather than continuing in the same direction like you do with the running stitch, move the needle back one step, inserting into the same place you finished the first stitch. That is called the “back stitch” and it closes that second stitch.
5. Bring the needle back up in the same place you did in for the previous stitch.
6. Repeat steps 2-5 as many times as needed.


Add each sample to the Sample Book for future reference.
HOMEWORK

[…] This is a simpler knotting technique than is taught in the Introduction to Sewing course. Even still, some children may be overwhelmed with the starter knot, and tying a stitch […]
[…] (OPTIONAL) Run wire around the edges of each ear using a running stitch. Be sure to secure the ends of the wire very securely with multiple […]
[…] ② Hand stitch the spiral with embroidery floss using a quick running stitch. […]