***NOTE: If you are unfamiliar with any of the parts of the sewing machine, you can see the previous lesson, HERE***
Threading your machine becomes mindless when you’ve done it repeatedly, but it can take a while to master. This tutorial is to guide you through the typical threading path for the upper thread. For information on threading your bobbin click HERE.
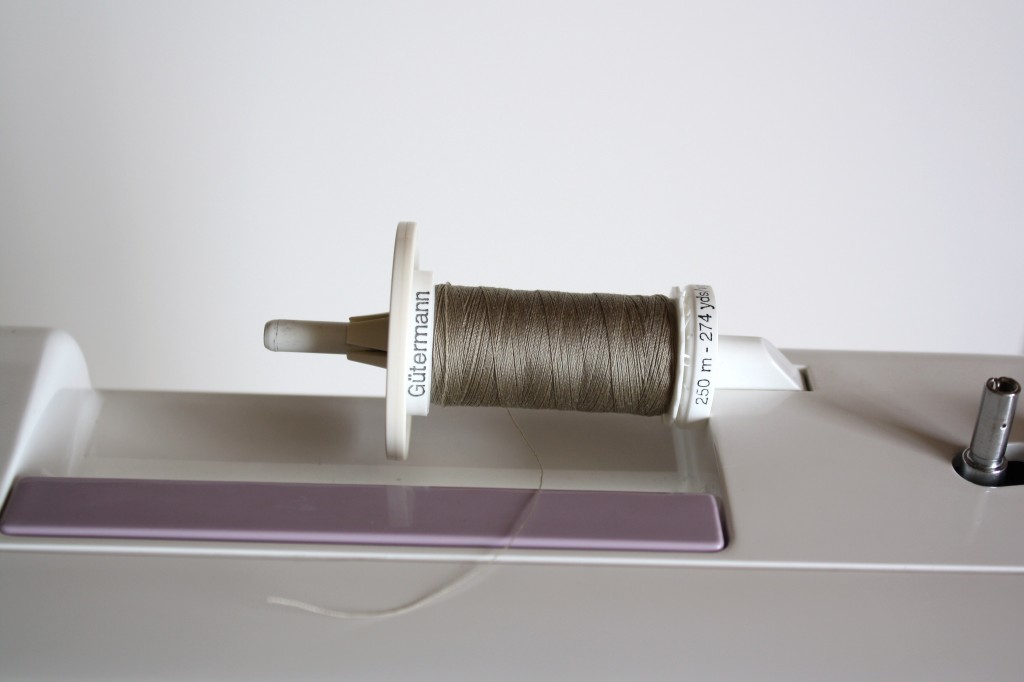
Start by placing the thread on the spool pin. Technically, the thread should pull from the bottom of the spool, but the direction of the thread doesn’t make all that much difference. For a horizontal spool pin (pictured) you will have a spool cap to hold the thread in place. Vertical spool pins don’t always have a spool cap.
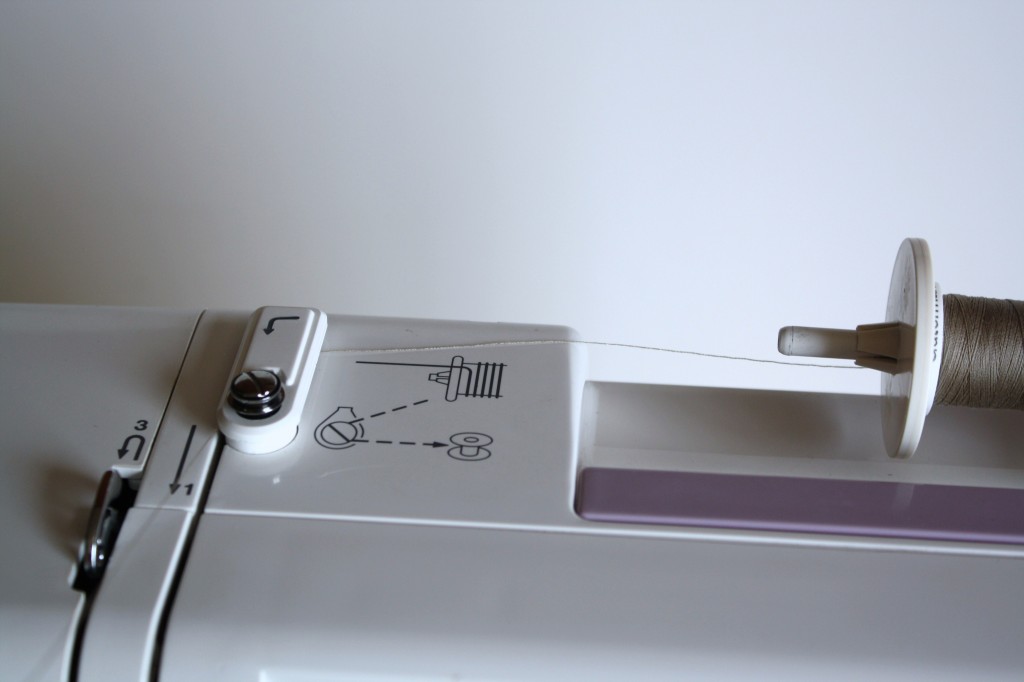
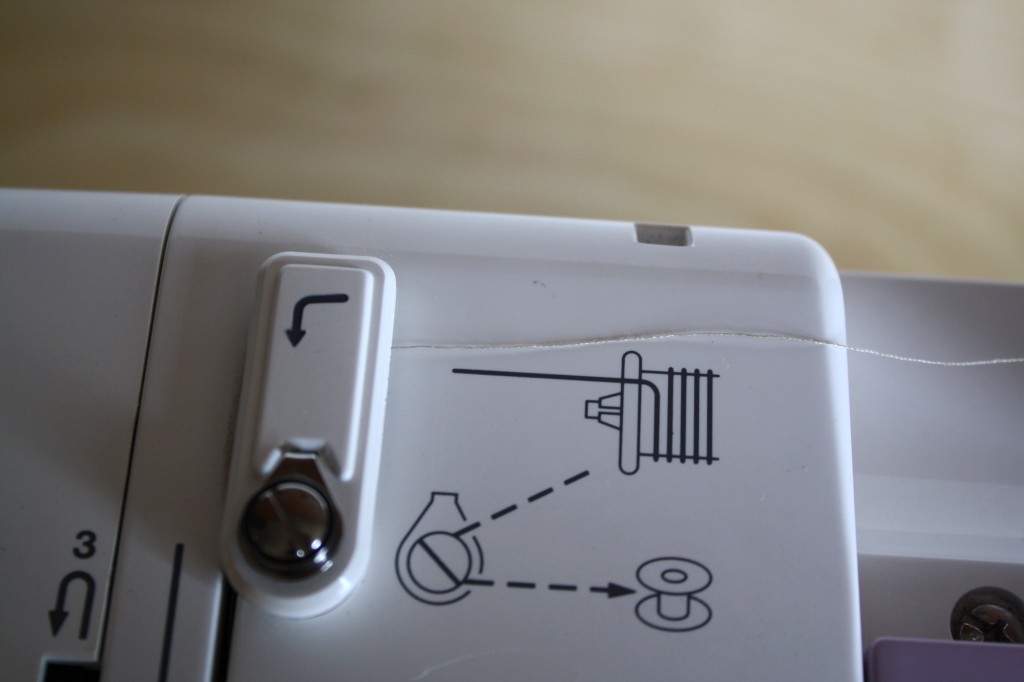
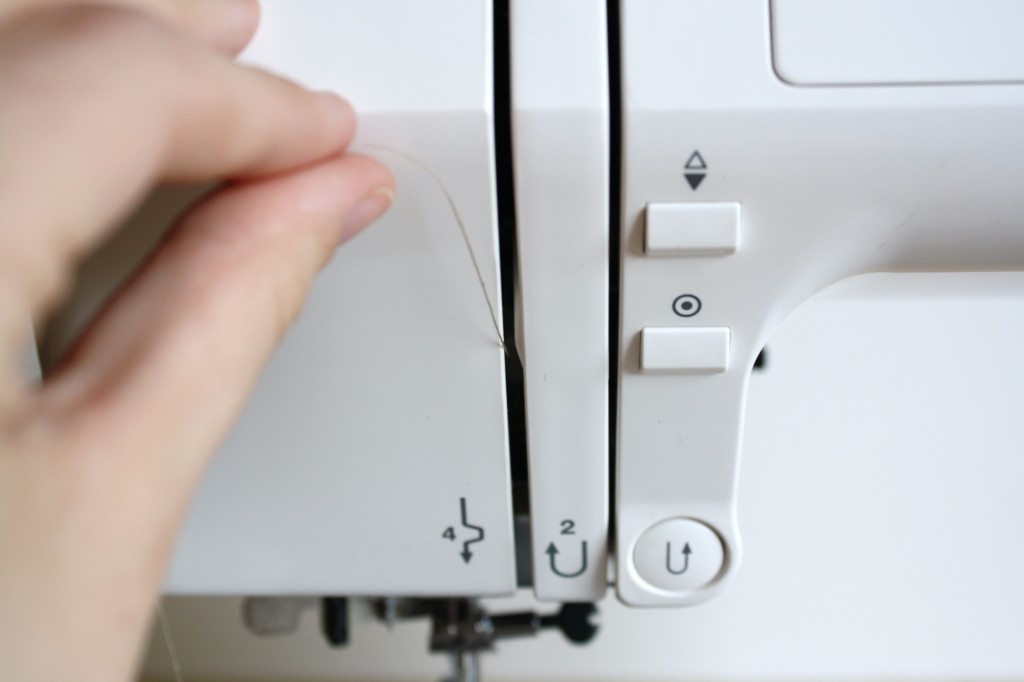
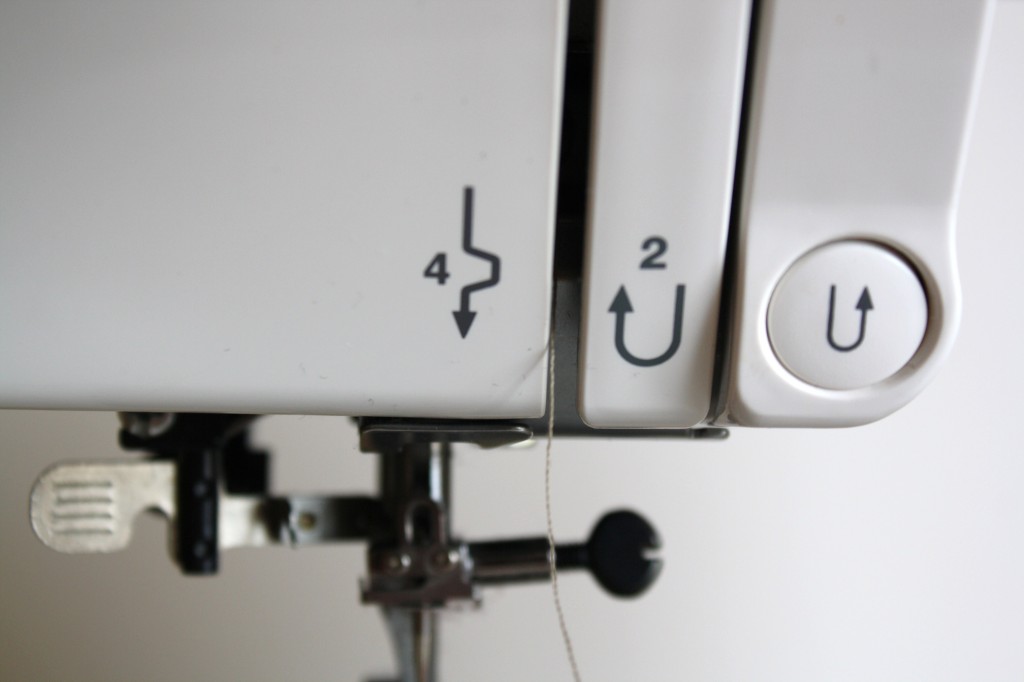
Pull your thread over to the first thread guide. A lot of sewing machines mark this with arrows and numbers. Notice the curved arrow indicating where to start the thread, and the #1 arrow directing the thread down the first slot.
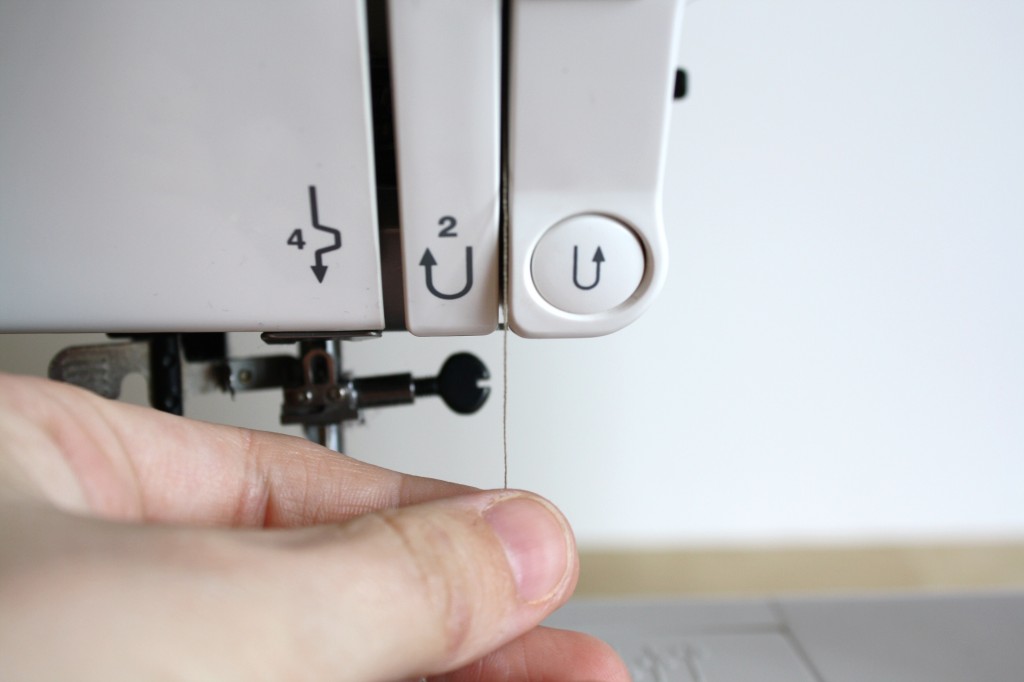
You work right to left when threading a sewing machine, so after you’ve run the thread down the first slot, bring it back up the left slot as indicated by the #2 arrow in the picture below.
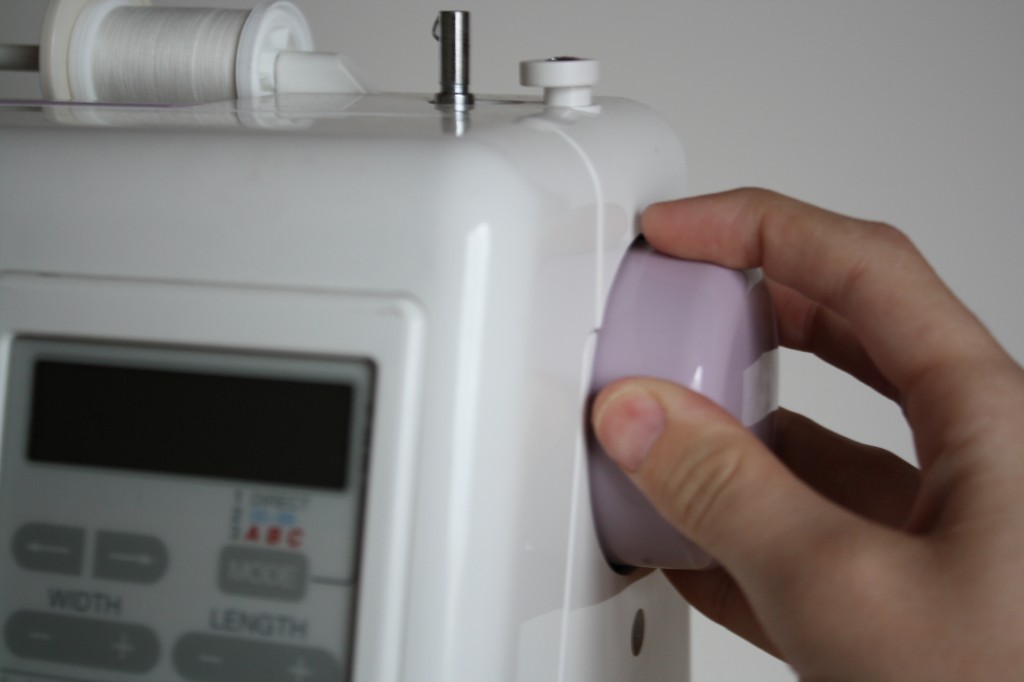
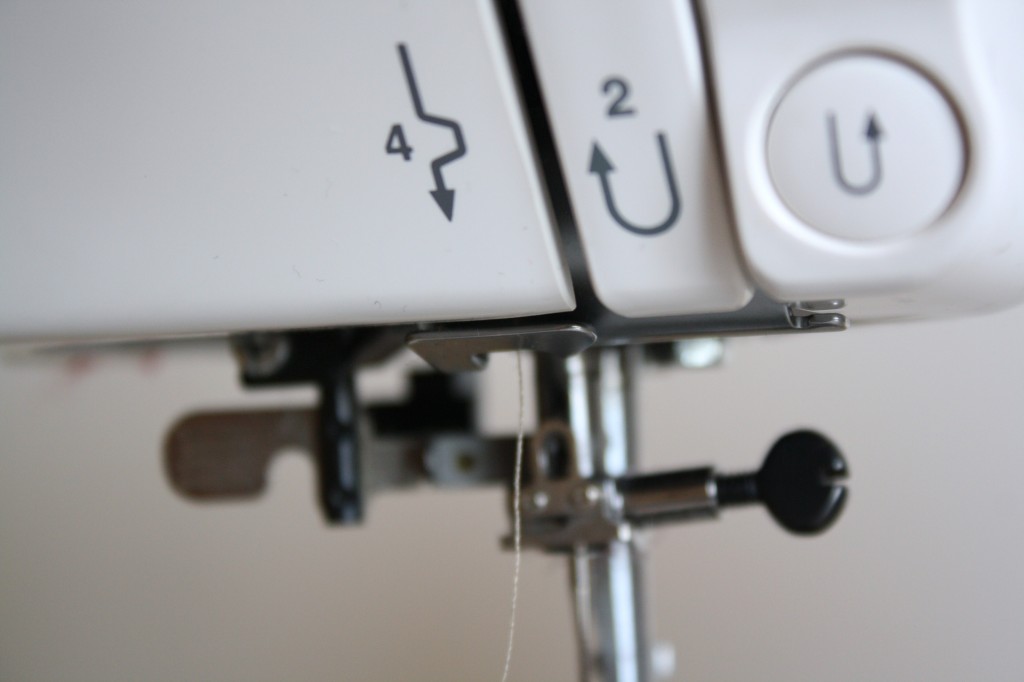
Hold the thread with your left hand and turn the hand wheel with your right hand. Always turn the hand wheel towards you (counter clockwise). Doing this brings up the uptake lever.
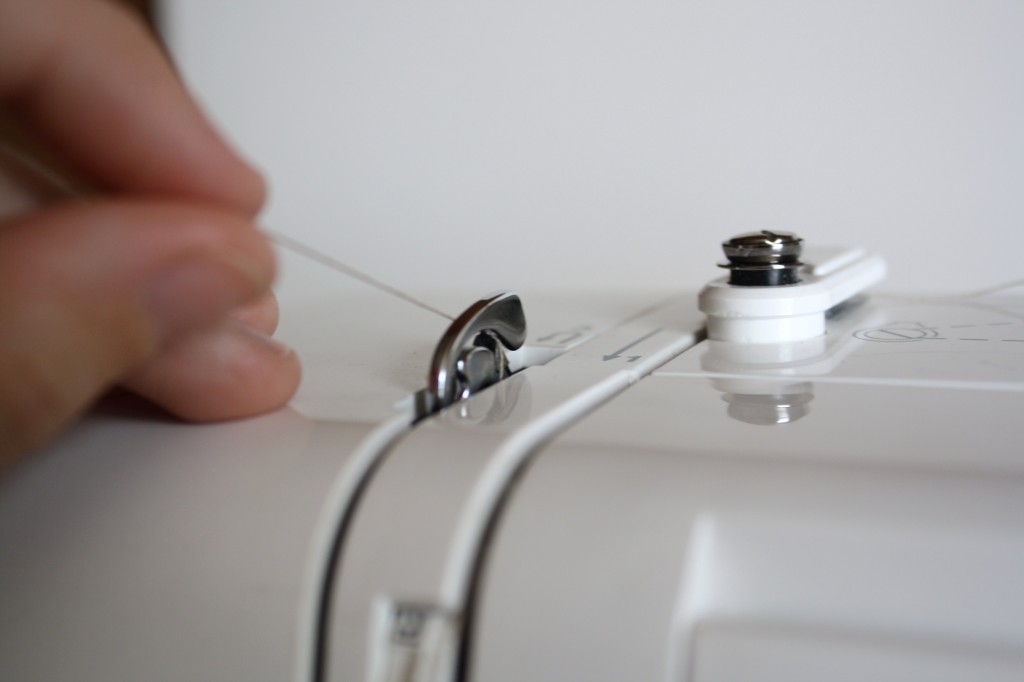
Continue to turn the hand wheel until the uptake lever is completely visible as in the picture below, and run your thread around the back of the hook from RIGHT to LEFT. Remember, the whole threading system is right to left. Then run your thread back down the left slot (the same slot you just ran the thread up to get to the uptake lever).
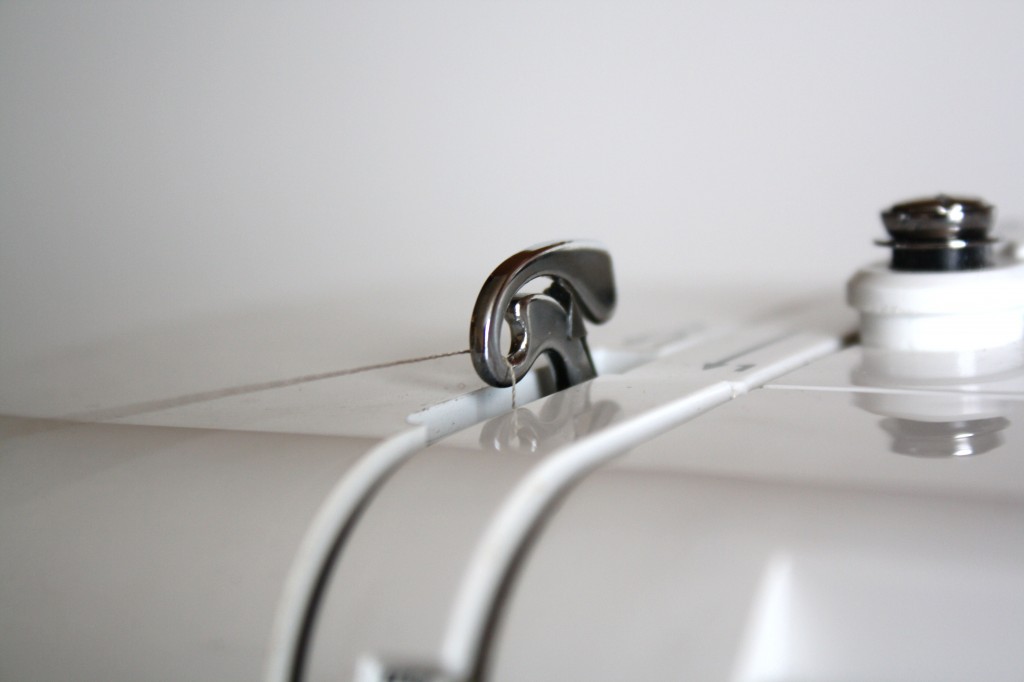
You’re nearly done. Once your thread is back down the left slot there should be a hook directly below the slot to slip your thread through. After the thread is in the first hook, most machines also have a hook at the very top of the needle, slip your thread through that hook as well.
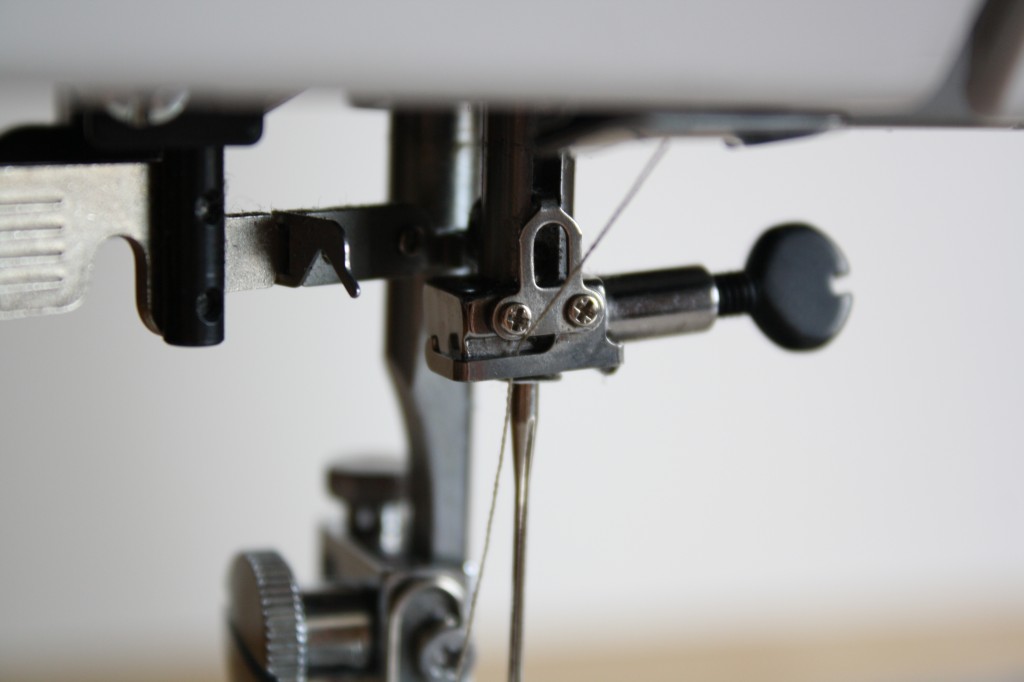
The last step is to thread the needle.

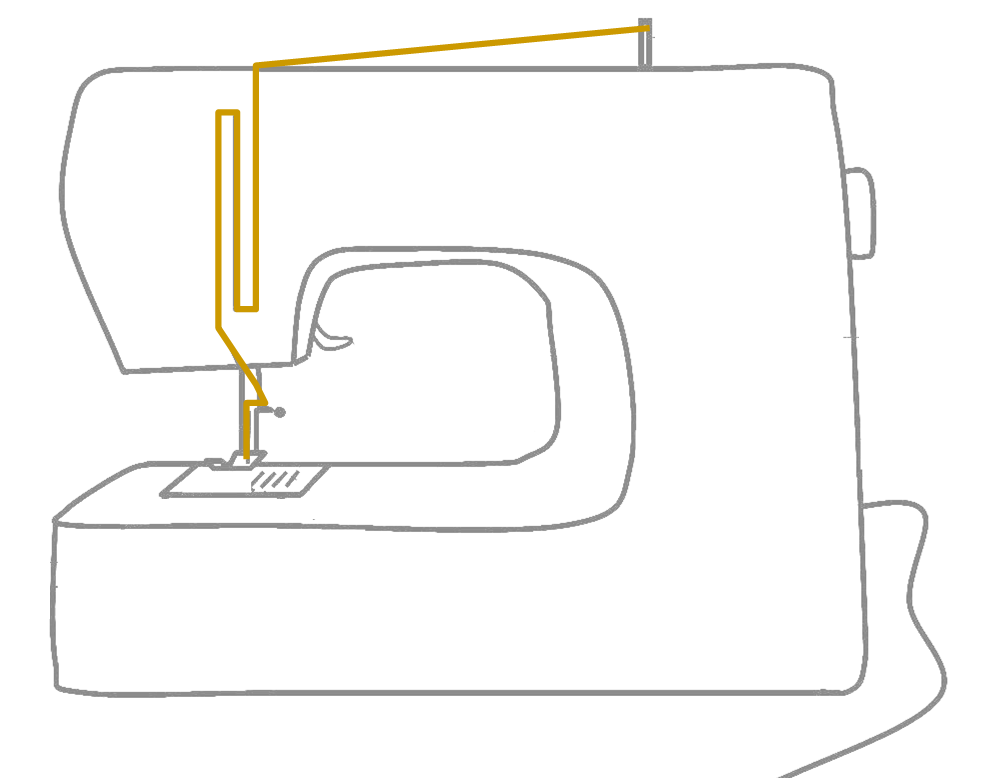
There you have it! Your machine is threaded, well the upper thread at least. Remember, you still need your bobbin thread, see that tutorial HERE. I’ve drawn up a diagram of the basic directional path your thread takes as you thread your upper thread, hopefully it’s a helpful little review and not just confusing.
HOMEWORK
Practice threading the upper thread 10 times, or until you feel comfortable with it.