Pleating serves the same purpose as gathering, but rather than the fabric looking scrunched, it is folded and pressed. There are several different ways to pleat, we’ll go over three of them in this lesson.
To practice each pleating method, use 3 scrap rectangles, 3″ x 10″ each and heat the iron.
KNIFE PLEATS
Knife pleats all move in the same direction (like a cheerleader’s skirt). They take twice the length of fabric than you want from the finished product, so your 10″ scrap fabric will make 5″ of pleats. 2″ knife pleats are pretty typical.
Start by placing a pin along the length of your fabric marking every 1″.
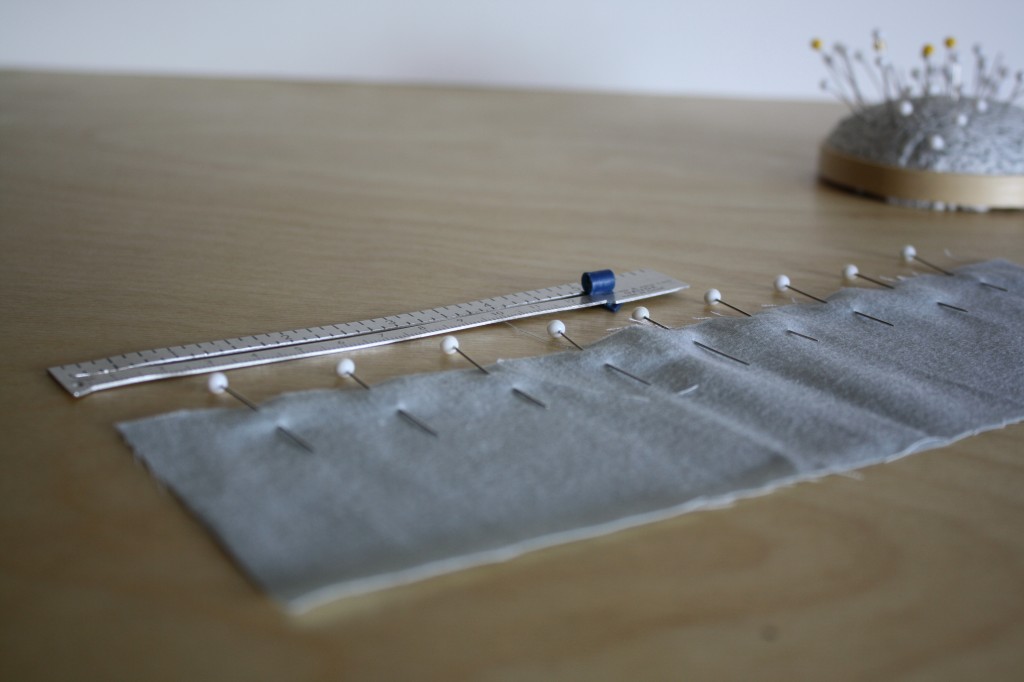
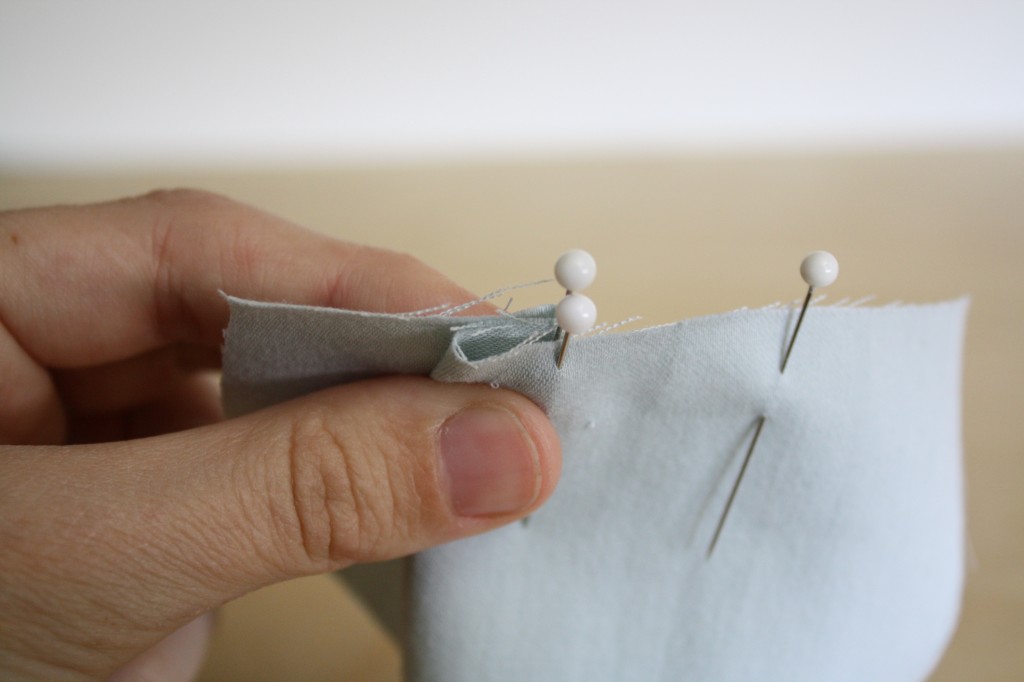
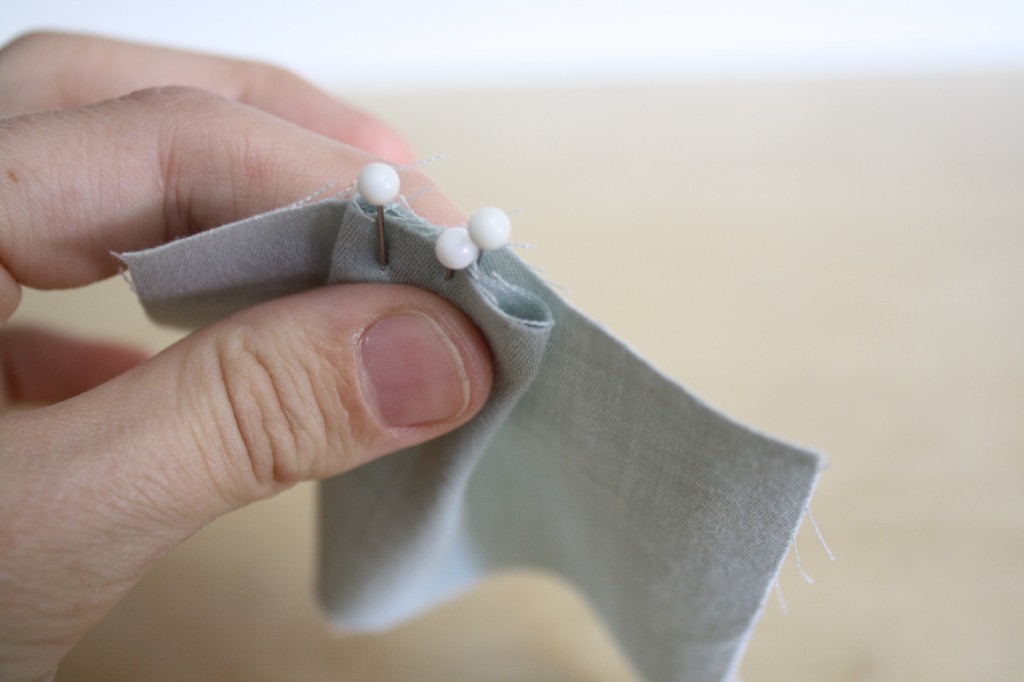
Pull the first pin over to your second pin, line them up, and pinch the first pleat with your fingers.
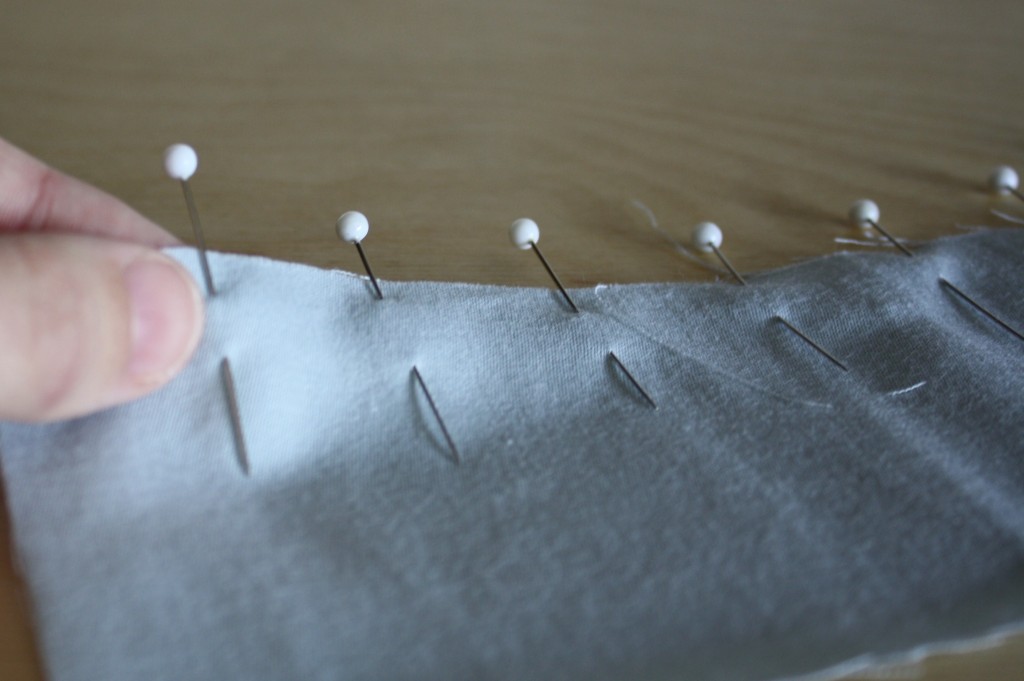
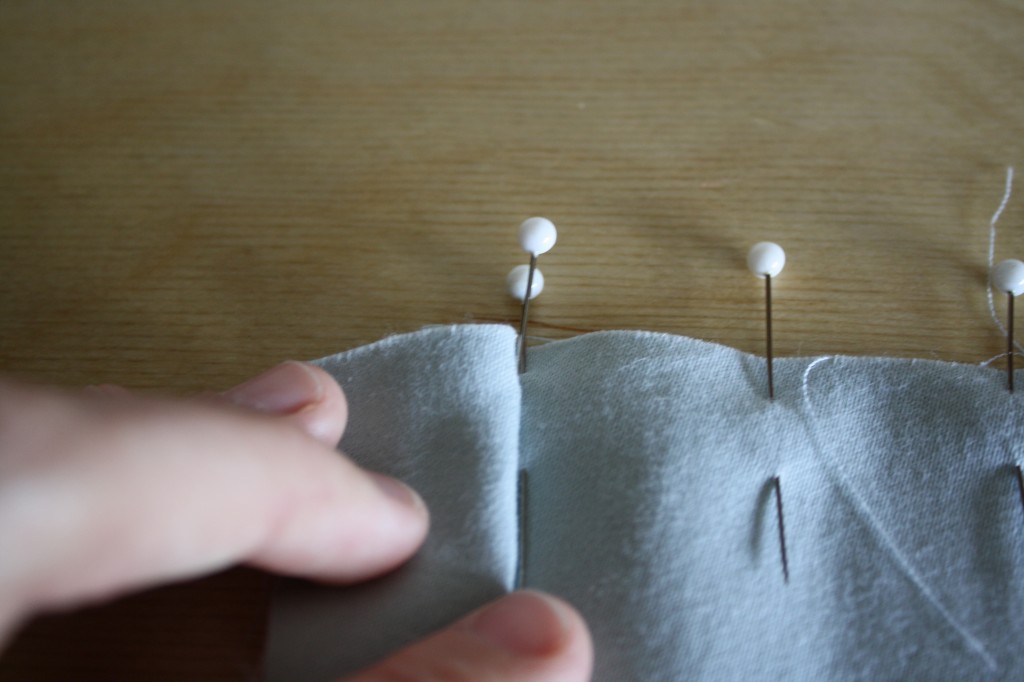
Remove the marker pins, and pin the pleat in place.
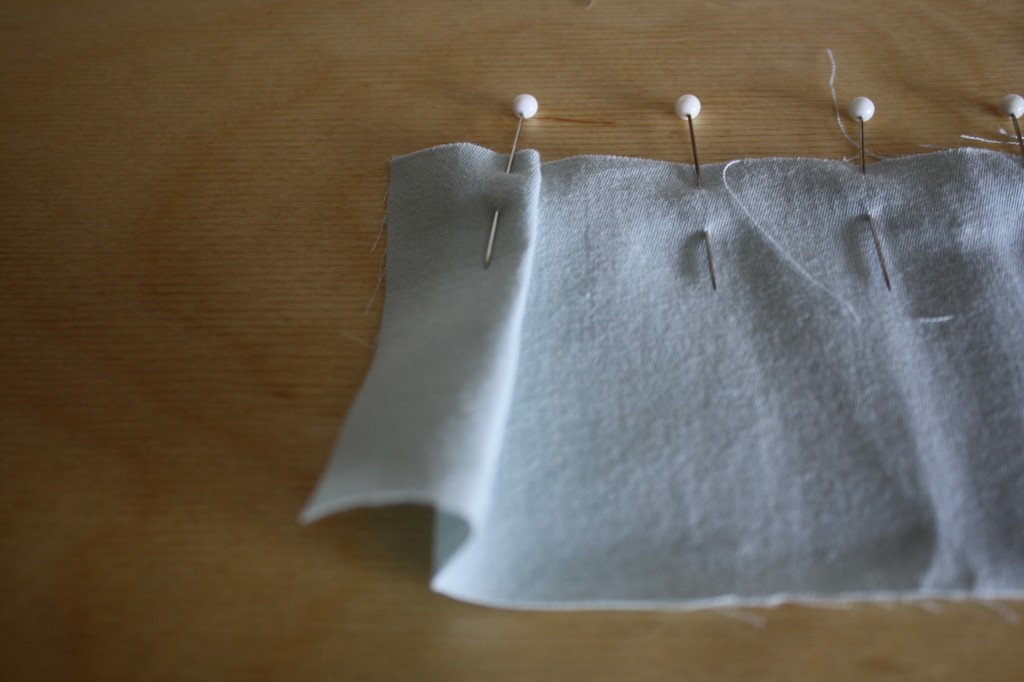
Pull the next marker pin over to the pin next to it and continue this process until your pleats are all secured with pins.
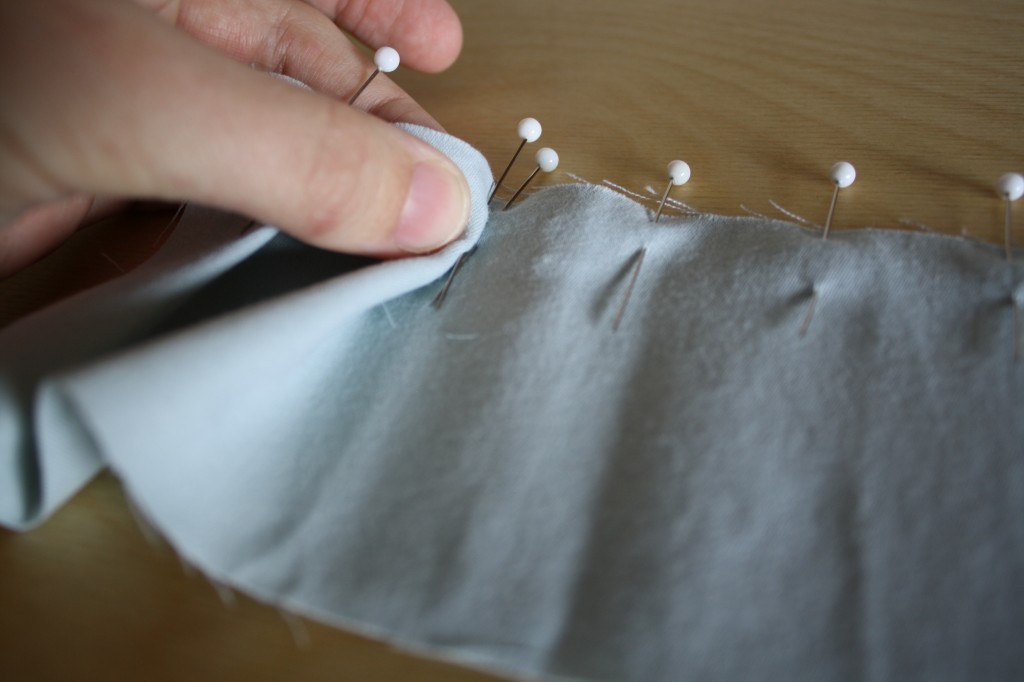
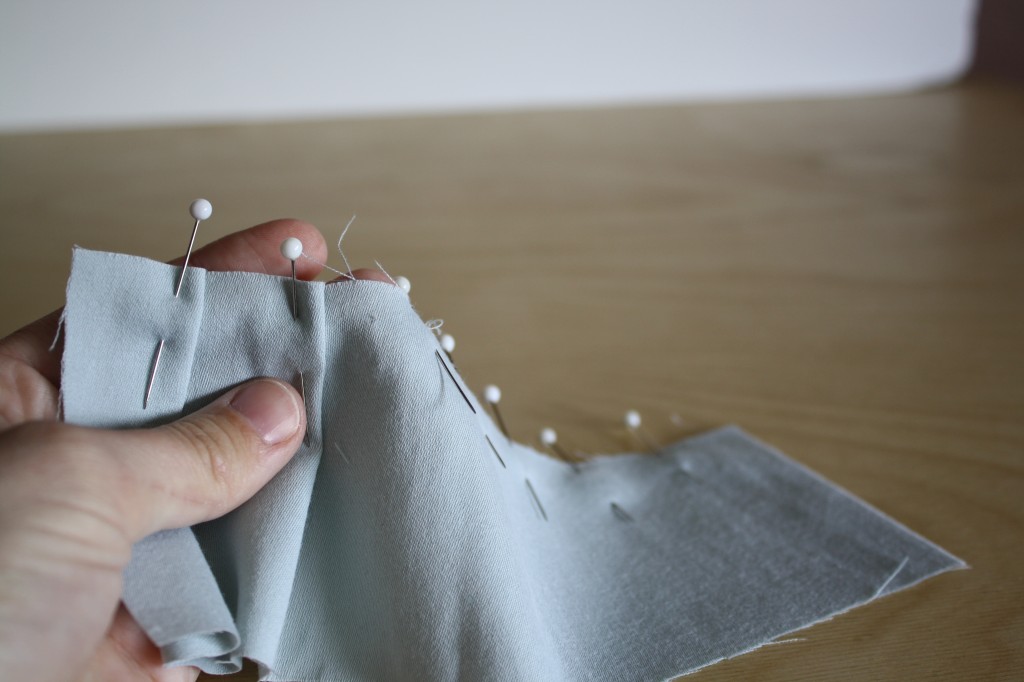
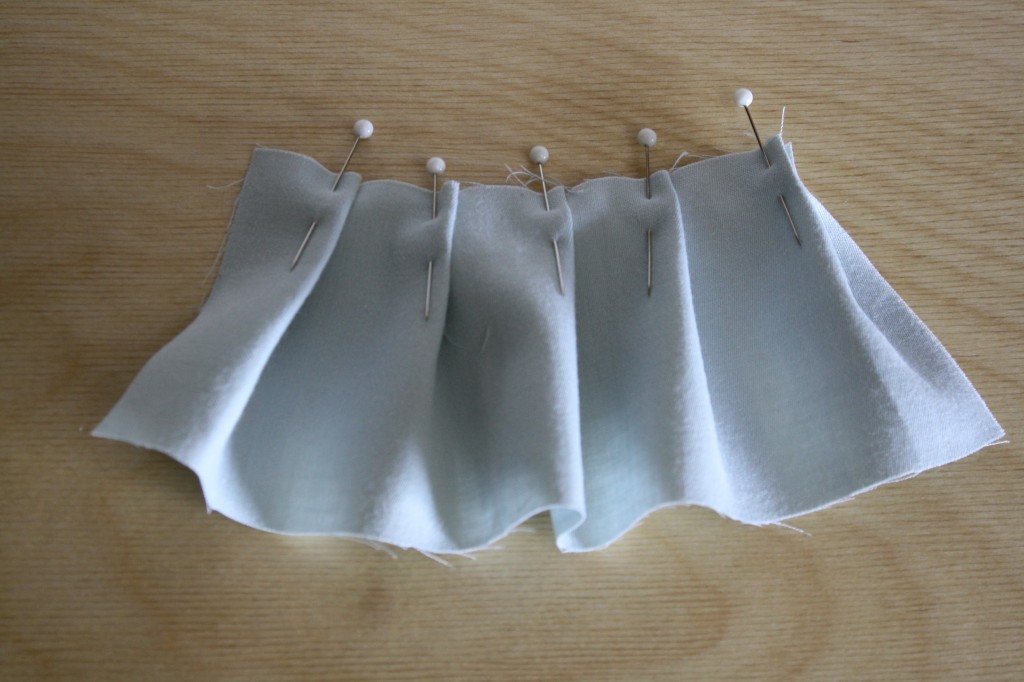
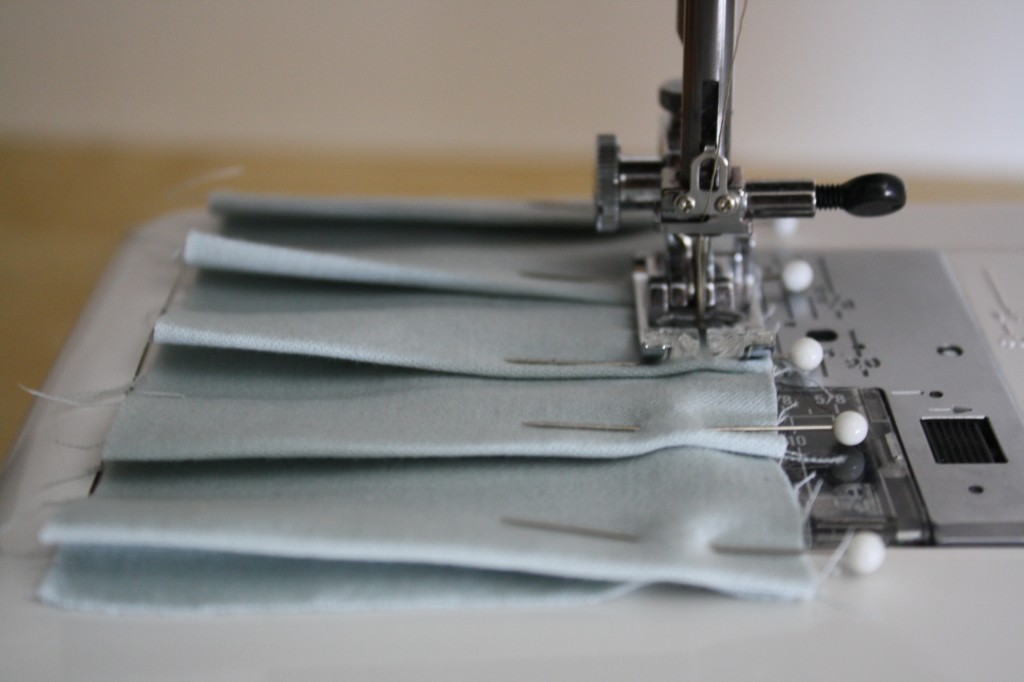
Straighten the pleats evenly and press them with an iron (do not remove the pins yet).
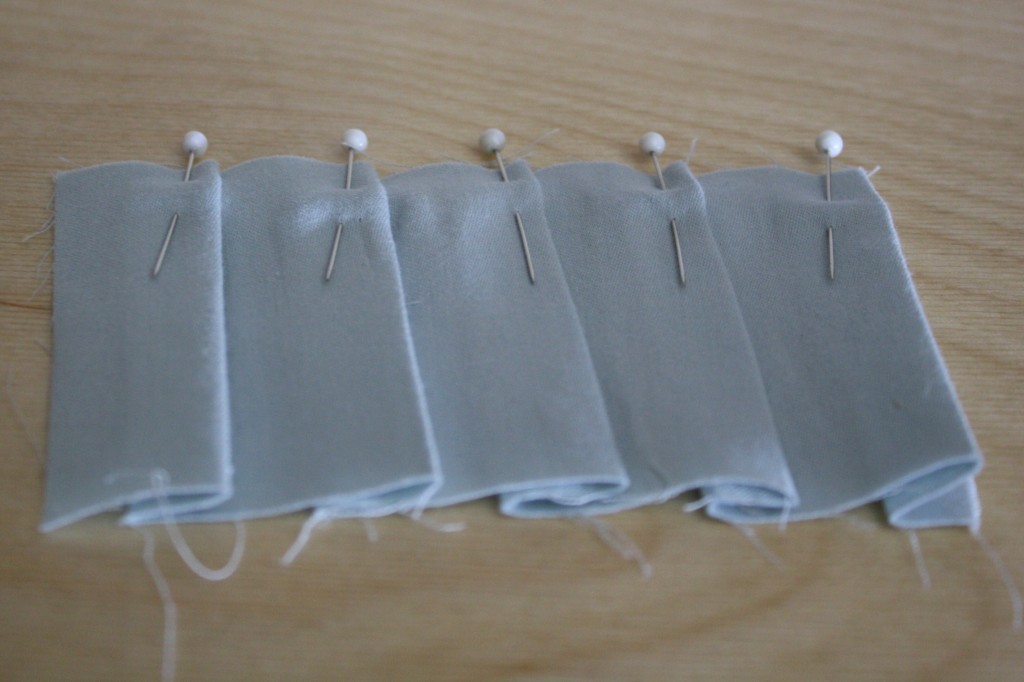
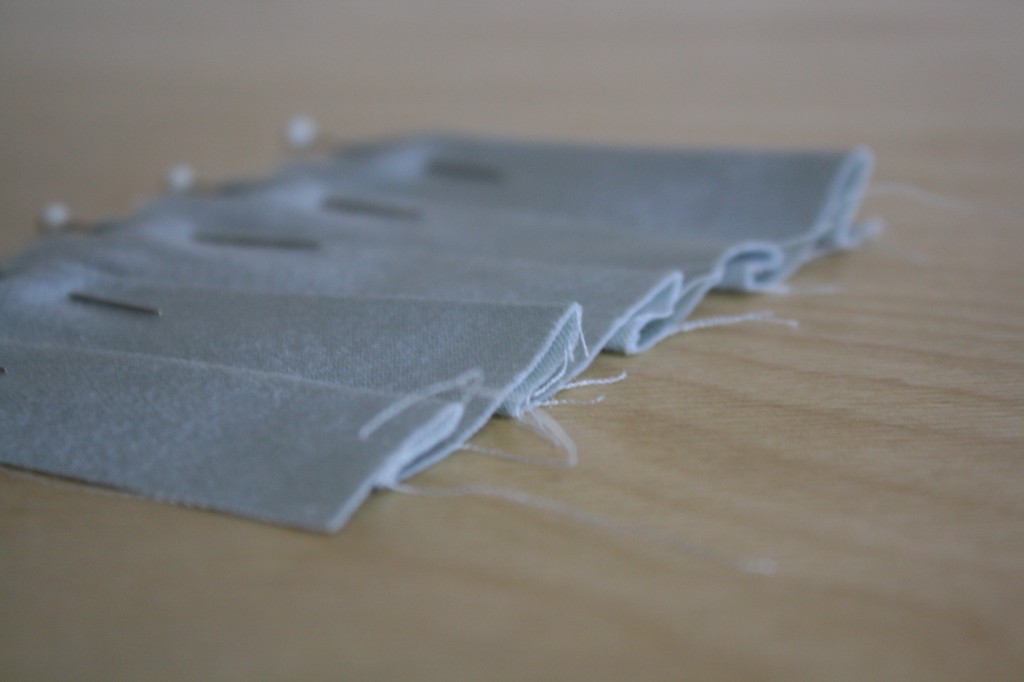
Sew along the top with a 1/4″ seam allowance to hold the pleats in place.
INVERTED PLEATS
Inverted pleats are often seen on bed skirts or kilts. Just like knife pleats, they have a 2:1 ratio, meaning you need twice the amount of fabric as you want in finished pleating.
Use a sample rectangle (3″x5″) and mark the center length with a pin.
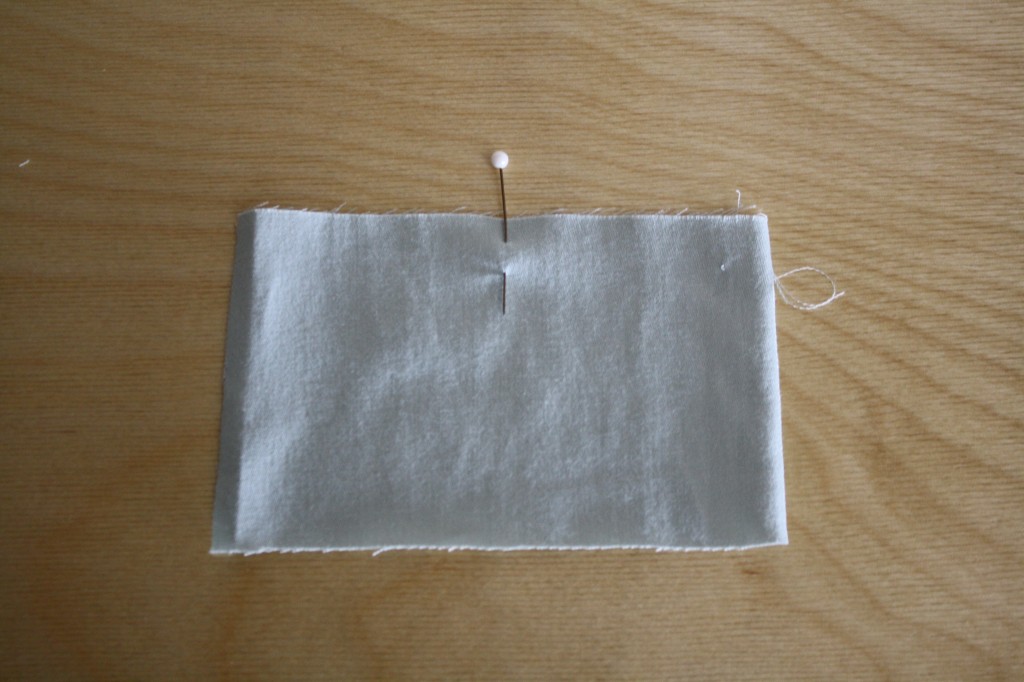
Use pins to mark 1″ from both sides of the center pin.
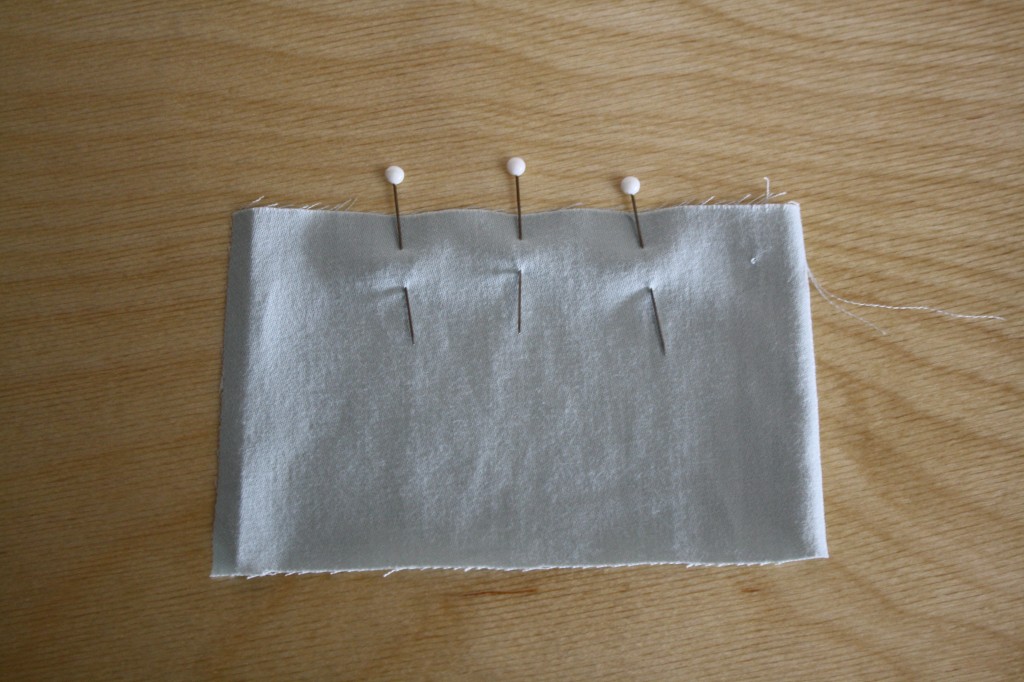
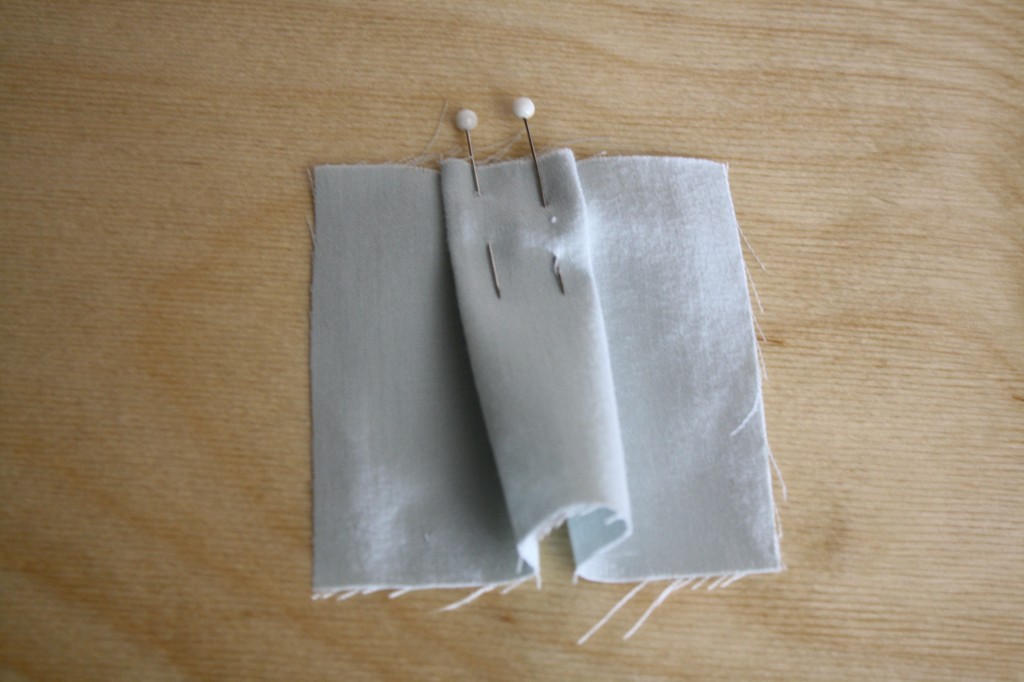
Pull the left pin over to the center pin, pinch the pleat with your fingers, and pin the pleat together.
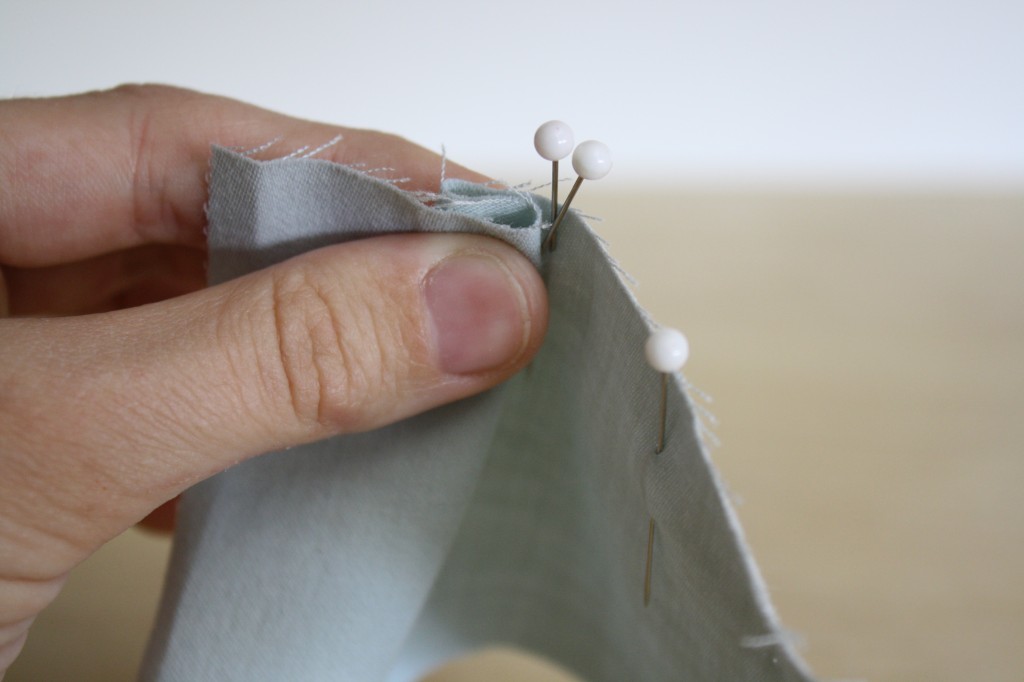
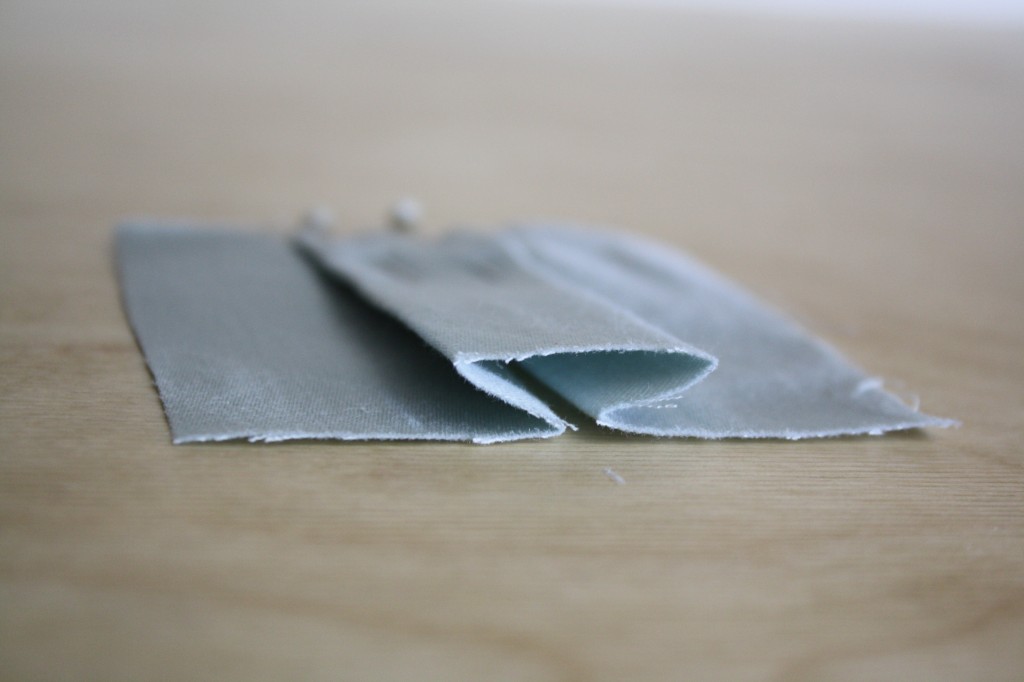
Rather than continuing in the same direction like you do with the knife pleat, you now want to take the right marking pin and move it back, lining it up with the center pin as well (right to left). Pin the pleat in place. You now have 1 inverted pleat.
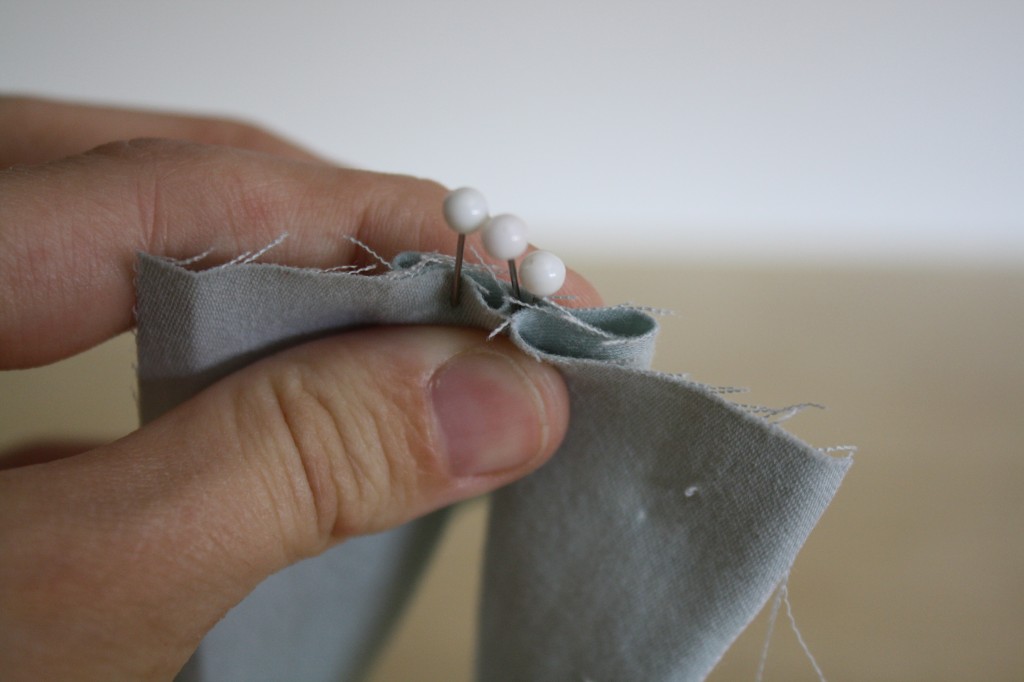
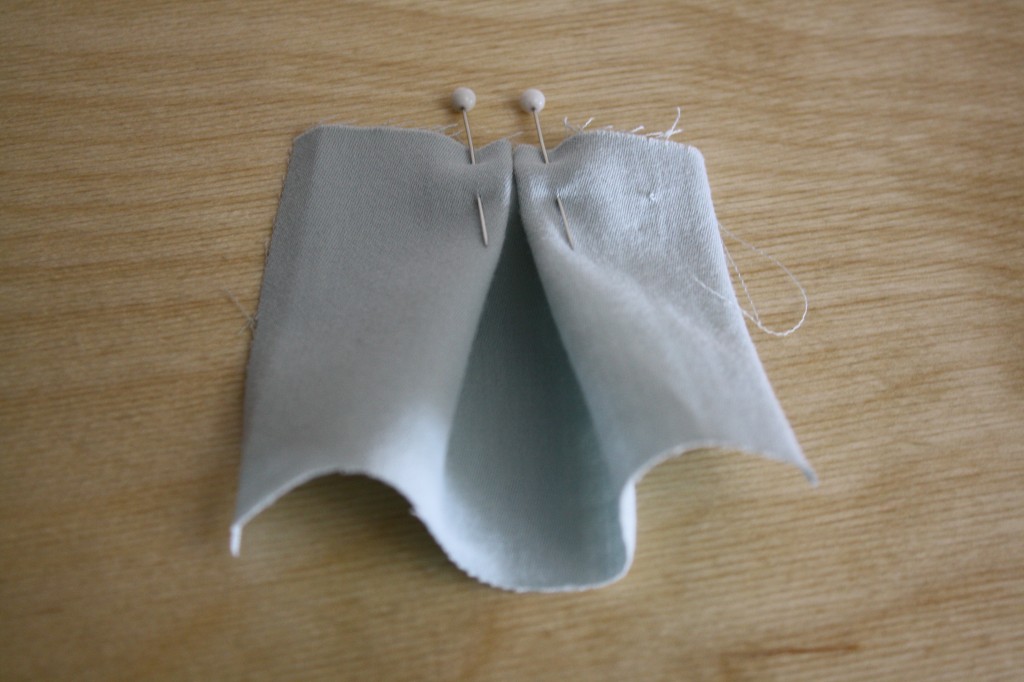
Straighten the pleat evenly and press with an iron (remember, do not remove the pins yet).
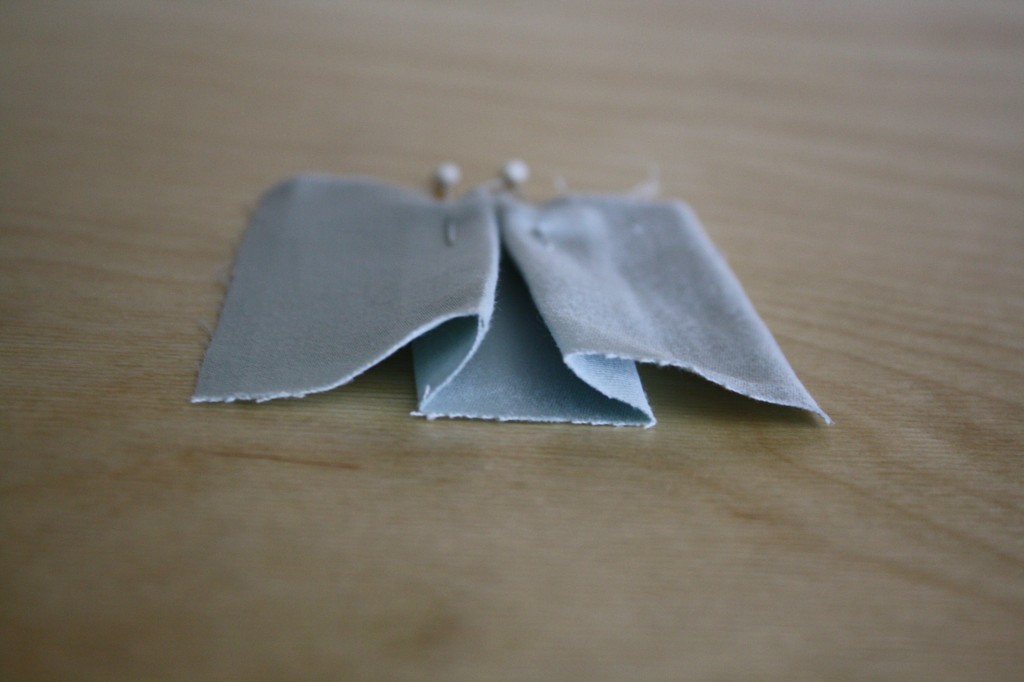
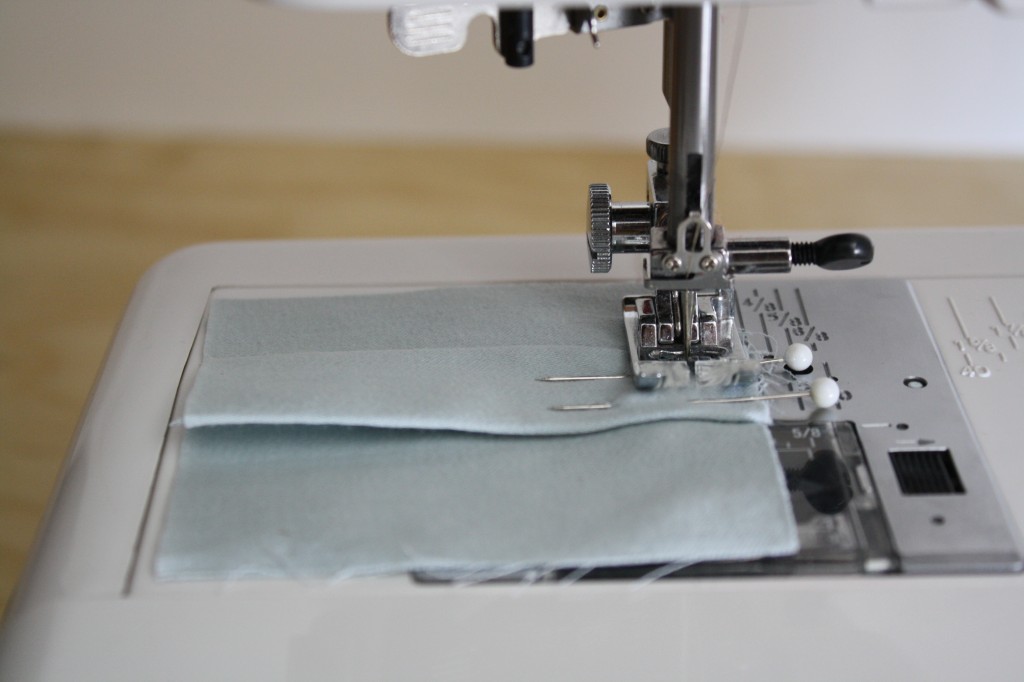
Sew along the top with a 1/4″ seam allowance to secure the inverted pleat in place.
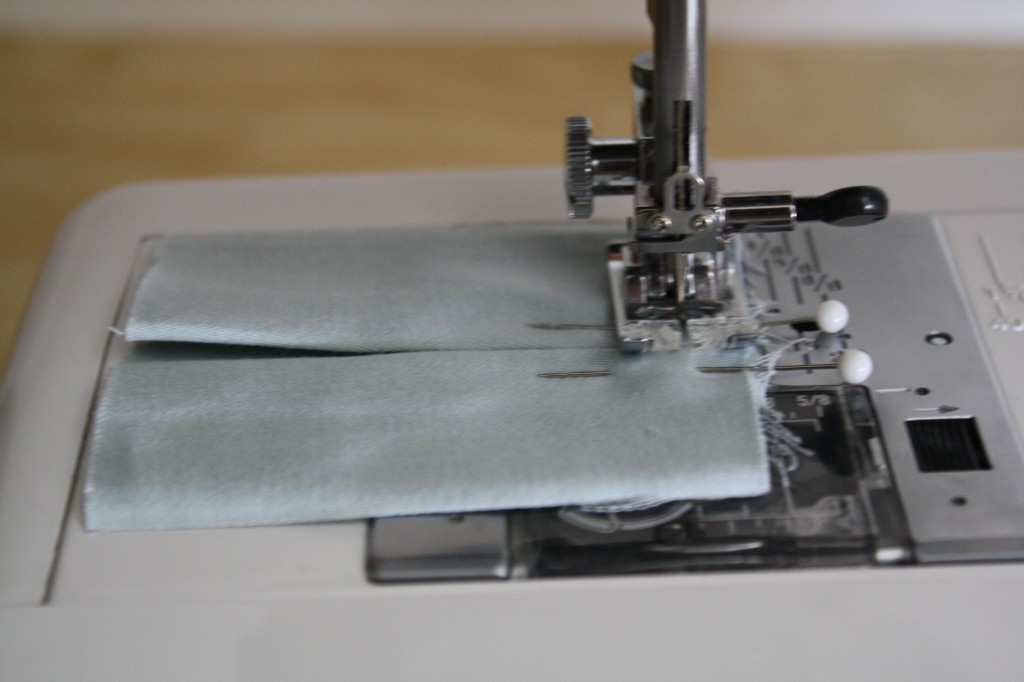
For skirts, the bottom of the pleat is left open, but some projects, like throw pillows, require that the bottom be sewn the same way the top was.
BOX PLEATS
Look at the back side of your inverted pleat sample. What you see is a box pleat.
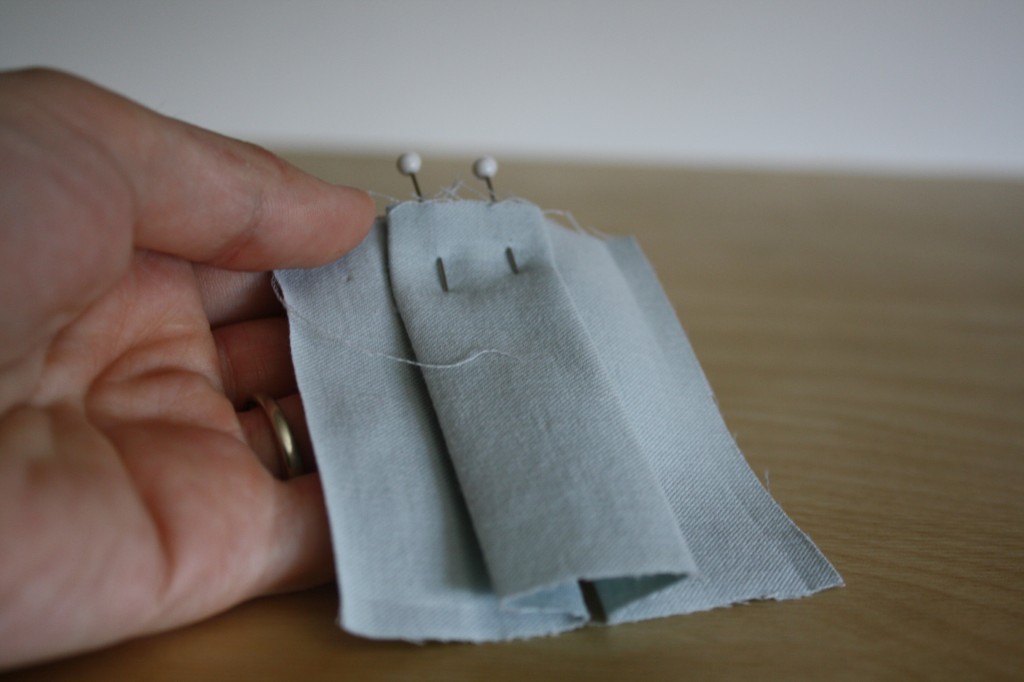
To make a box pleat, use exactly the same method, but rather than bringing the left and right sides up to the center pin, you pull them behind towards the center pin. How’s that for simple?


HOMEWORK
I just wanted to say Thanks for all the helpful sewing tips. I haven’t done pleats since high school ( many many years ago) and your provided great pictures and directions. I also liked your helpful instructions on finished seams. Thanks for your insightful thoughts and instructions.
Arlene
The tutorial was absolutely fantastic!
I love the pictures, I do not even need to read the post, thanks for sharing. I have linked back to your blog as I wrote a post about pleats. A technique which I am still in the process of mastering.
http://sewmodiste.com/2015/04/15/k-knife-pleats
Excellent! I know what to do now!
Thank you this is so much help
Very clear instructions! Just what I needed! Thanks.