How is it that this is the last pattern for the introduction to sewing AND intermediate sewing techniques courses, and I’m just now doing a pouch? I mean, seriously Stace, get with it. Honestly, I don’t think to make purses these days, because I’m glued to my diaper bag, but a cute zippered pouch to toss into said diaper bag is a good thing.
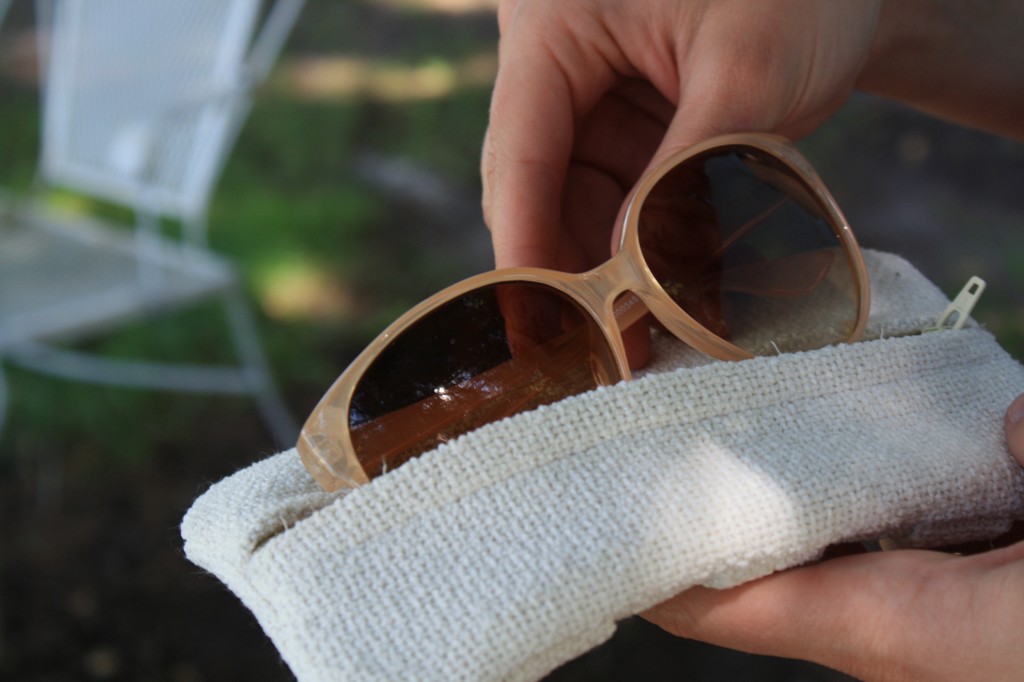
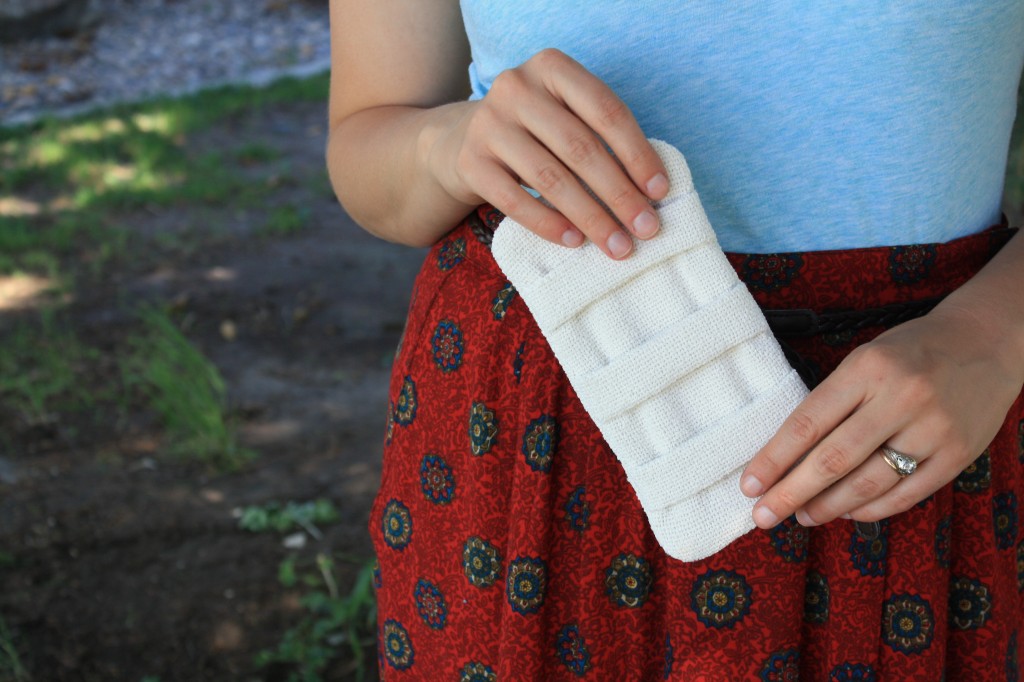
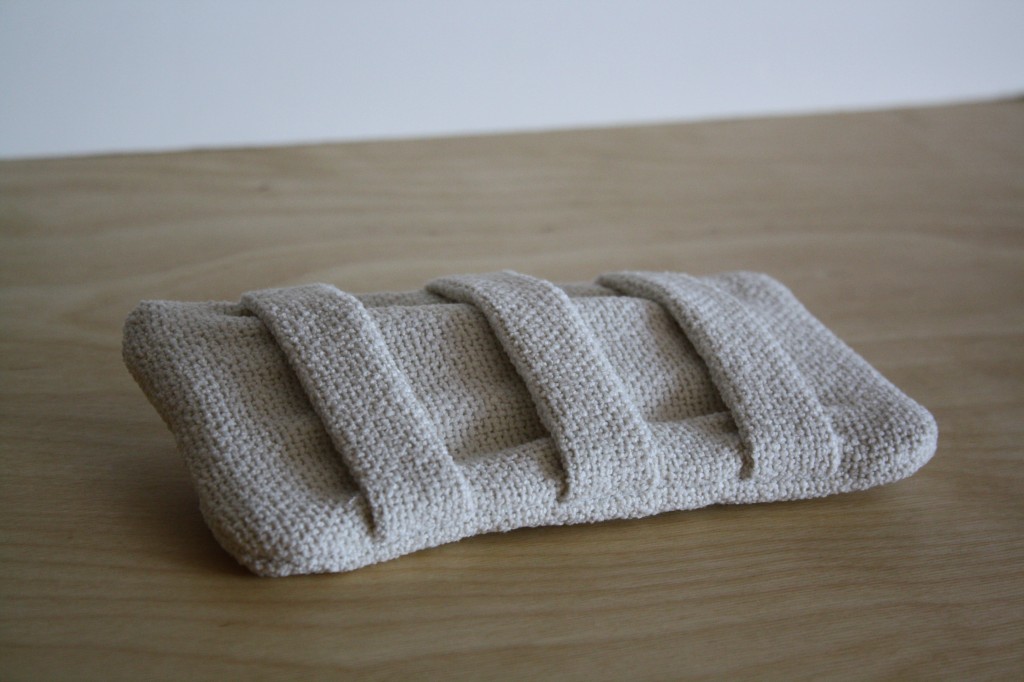
MATERIALS NEEDED
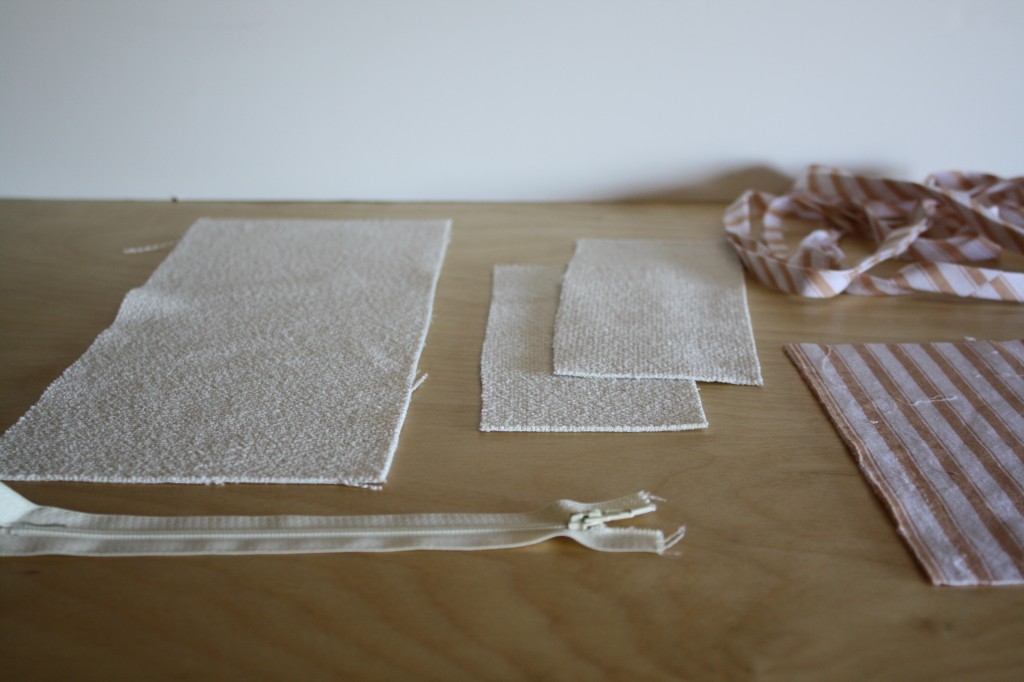
Fabric for the main (outer) part of the pouch
Fabric for the lining
1 yd. bias tape (to match the lining)
9″ zipper
Matching thread
INSTRUCTIONS
1. Cut the outer pieces:
1 piece- 5 1/4″ x 14 3/4″
2 pieces- 8 3/4″ x 3 1/4″
And cut the lining pieces:
1 piece- 8 3/4″ x 5 1/4″
2 pieces- 8 3/4″ x 2 3/4″
Prepare 1 yd bias tape
2. Line the two smaller pieces of the main fabric with right-sides-together, and sew down the length (8 3/4″) using a 5/8″ seam allowance. Press the seam open.
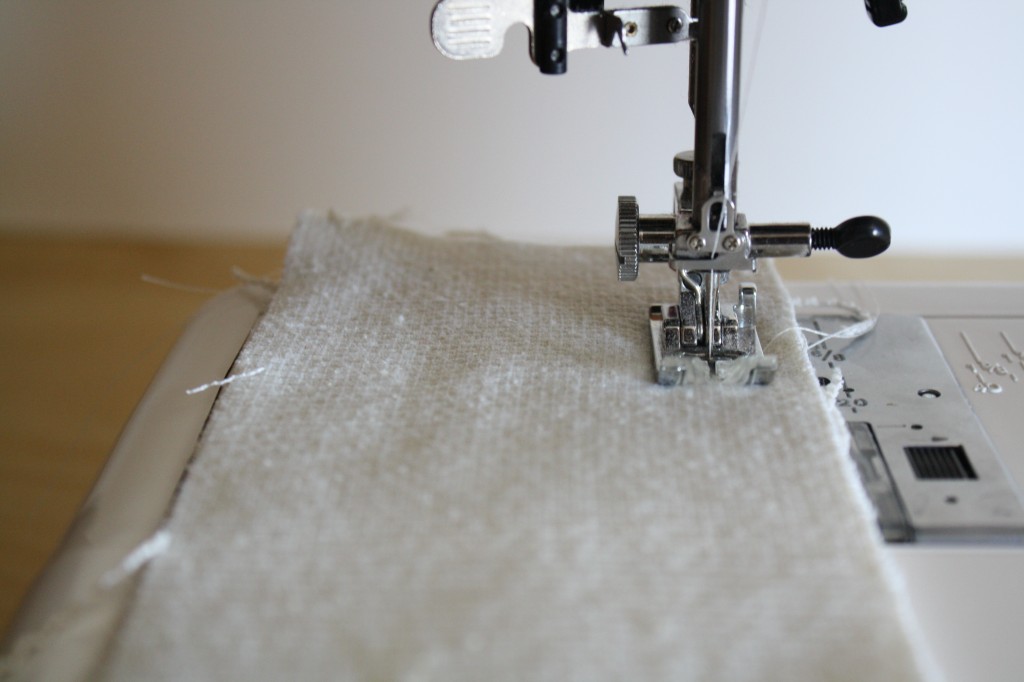
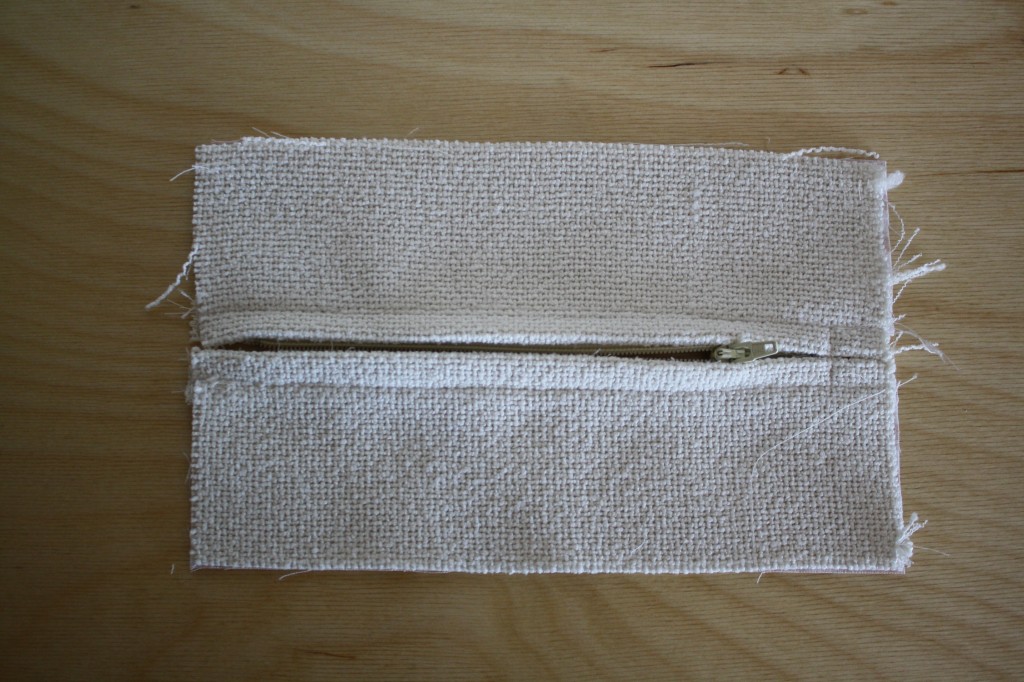
3. Lay the zipper face down onto the wrong side of the seam that was just pressed open, pin, and sew the zipper in place.
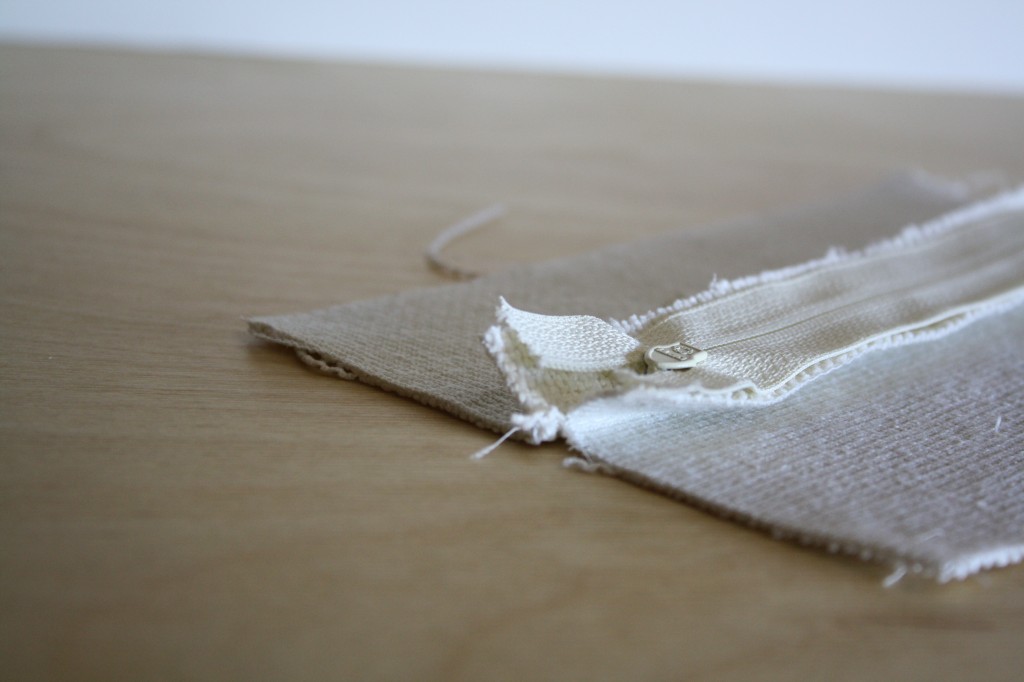
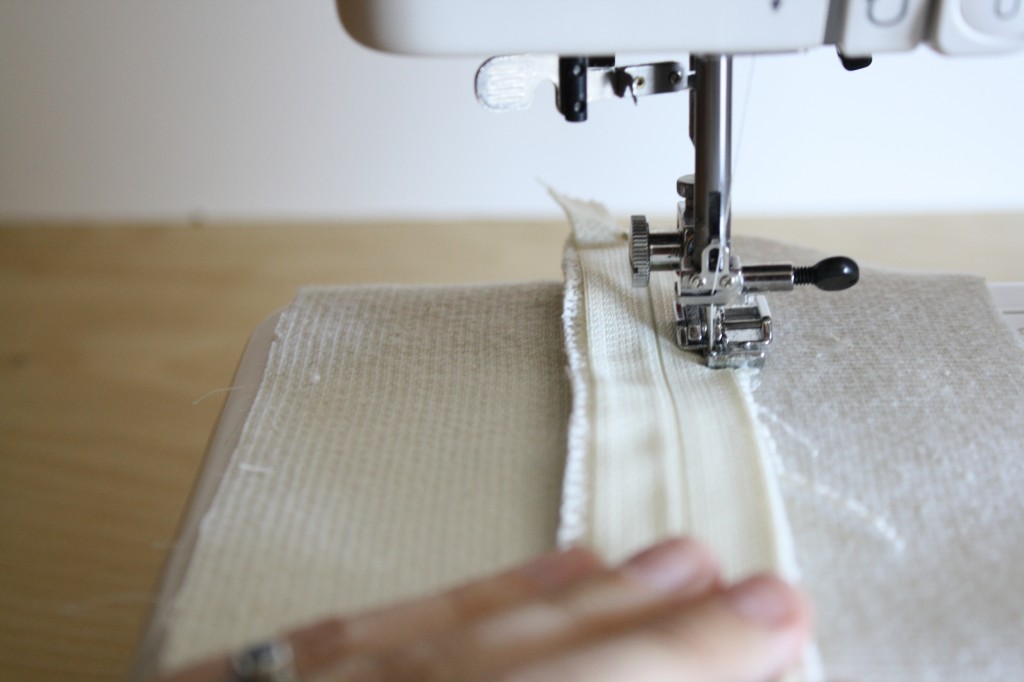
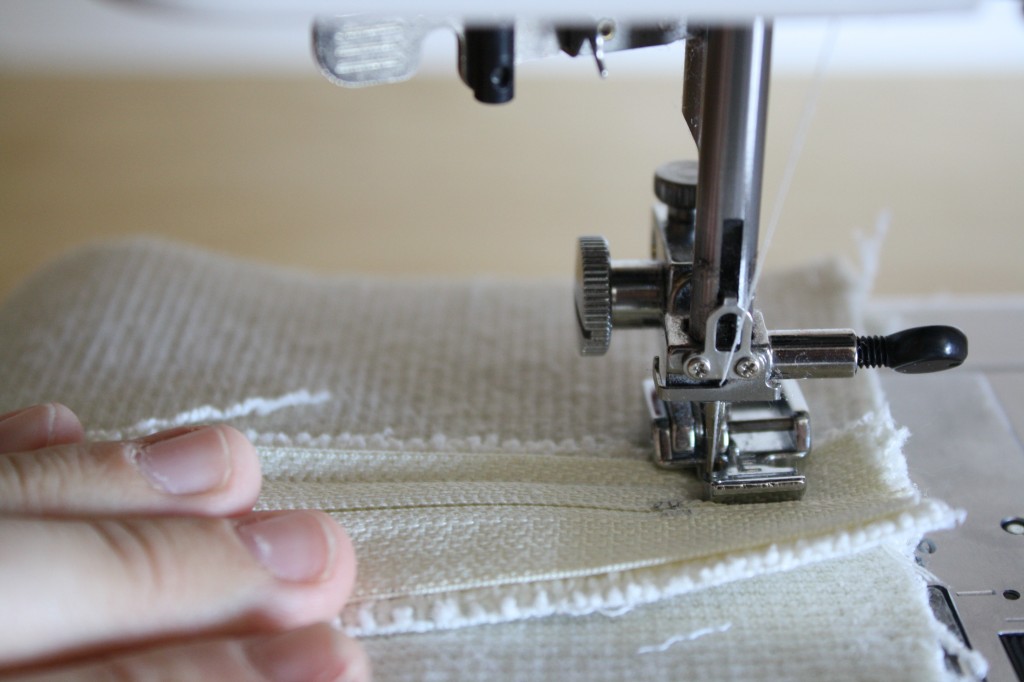
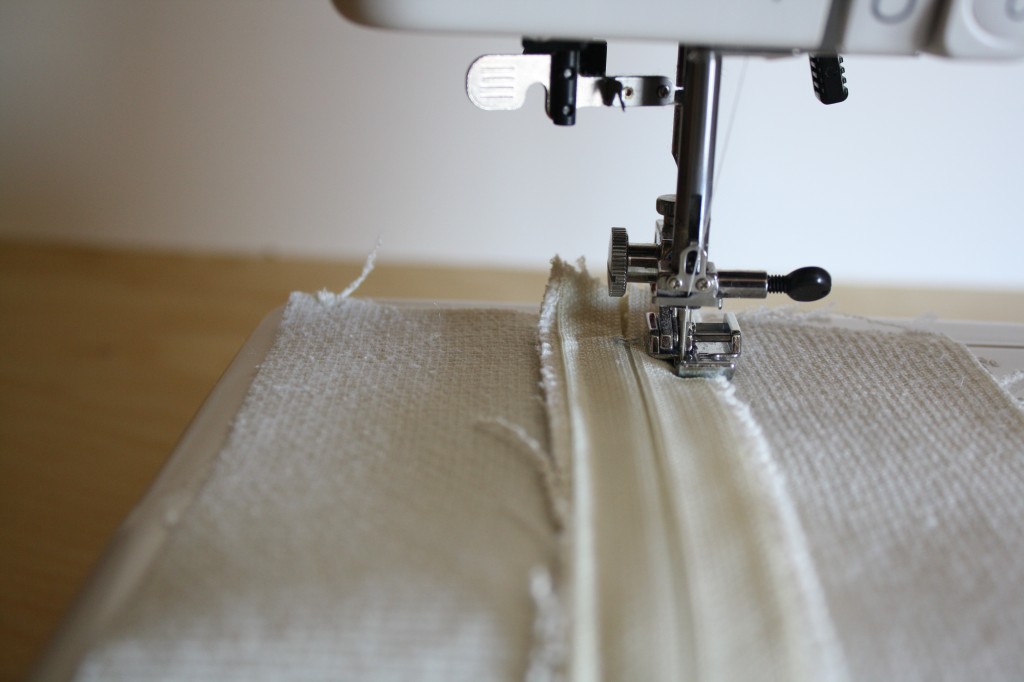
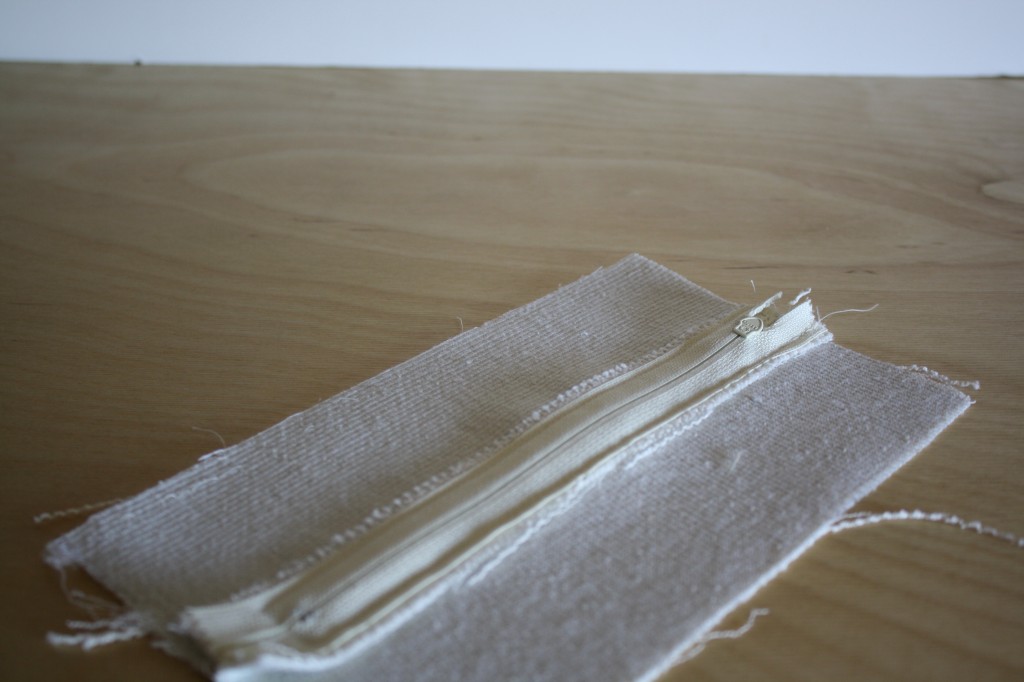
4. Use a seam ripper to carefully pick the seam, leaving about 1″ in tact at the top and bottom so the two pieces won’t zip completely apart. Check the zipper.
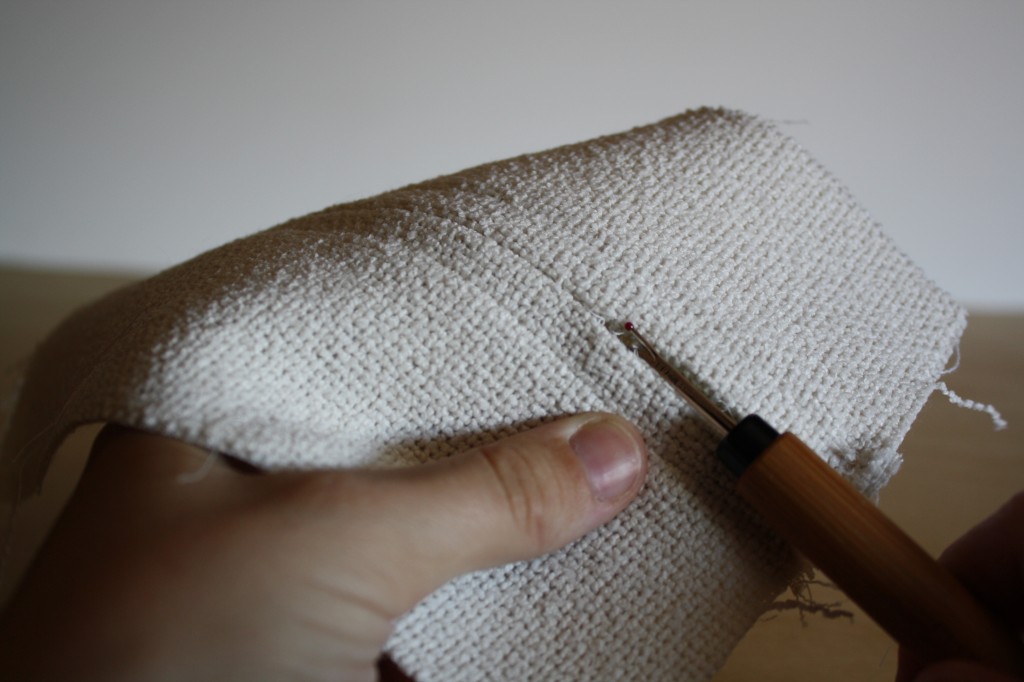
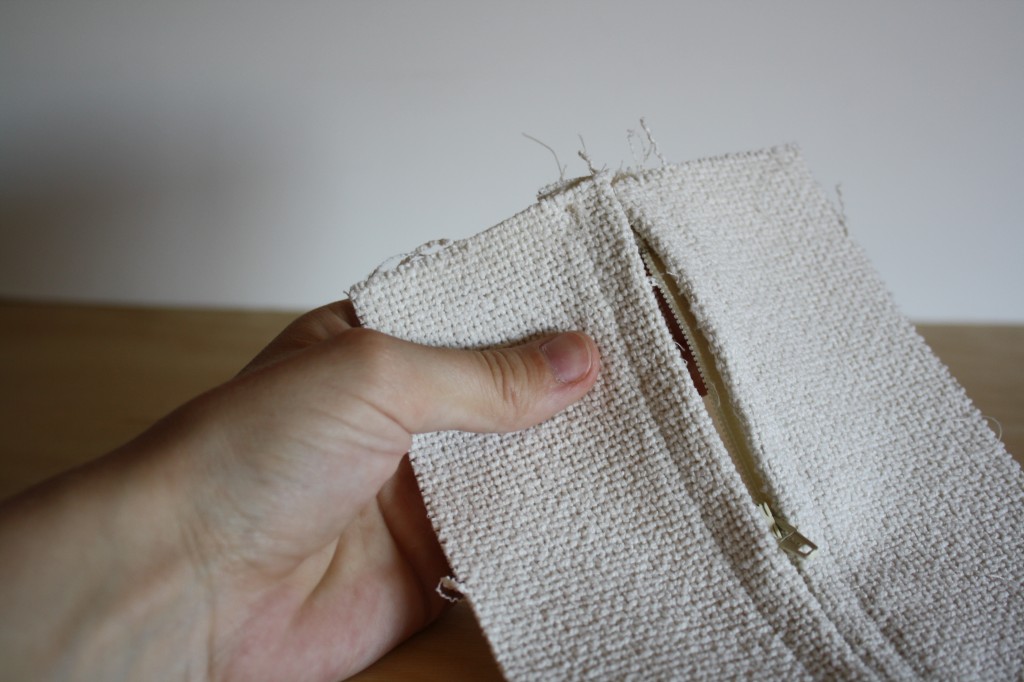
5. Press one side of each lining piece (2 3/4″ x 8 3/4″) under 2/3″
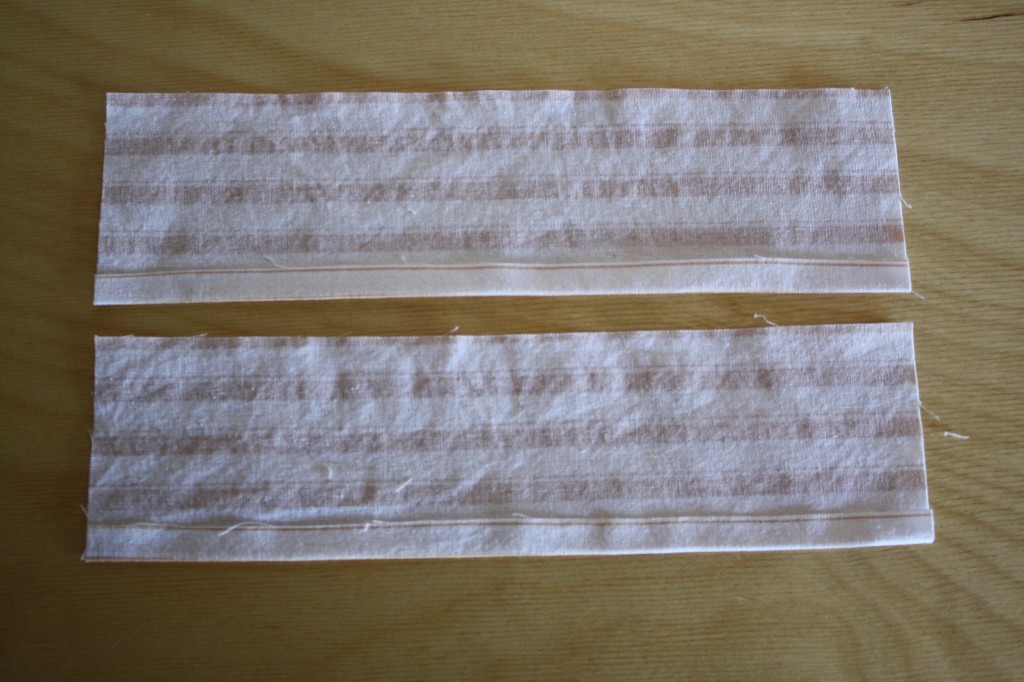
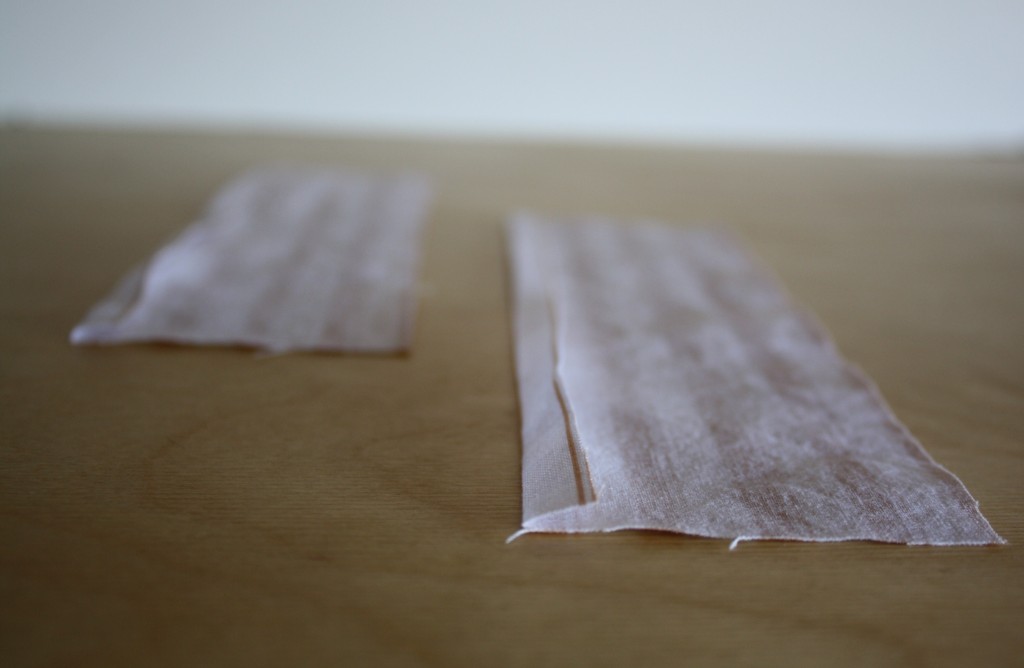
6. Pin each lining piece to the wrong side of the zipper, with the fold of the lining overlapping the zipper slightly. Top stitch both sides.
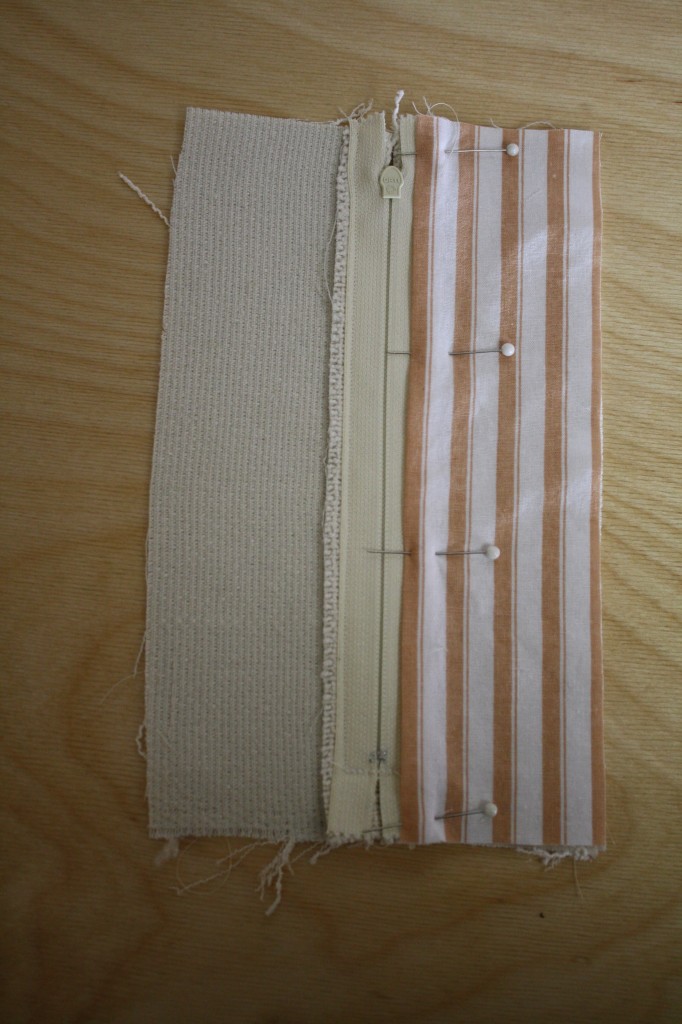
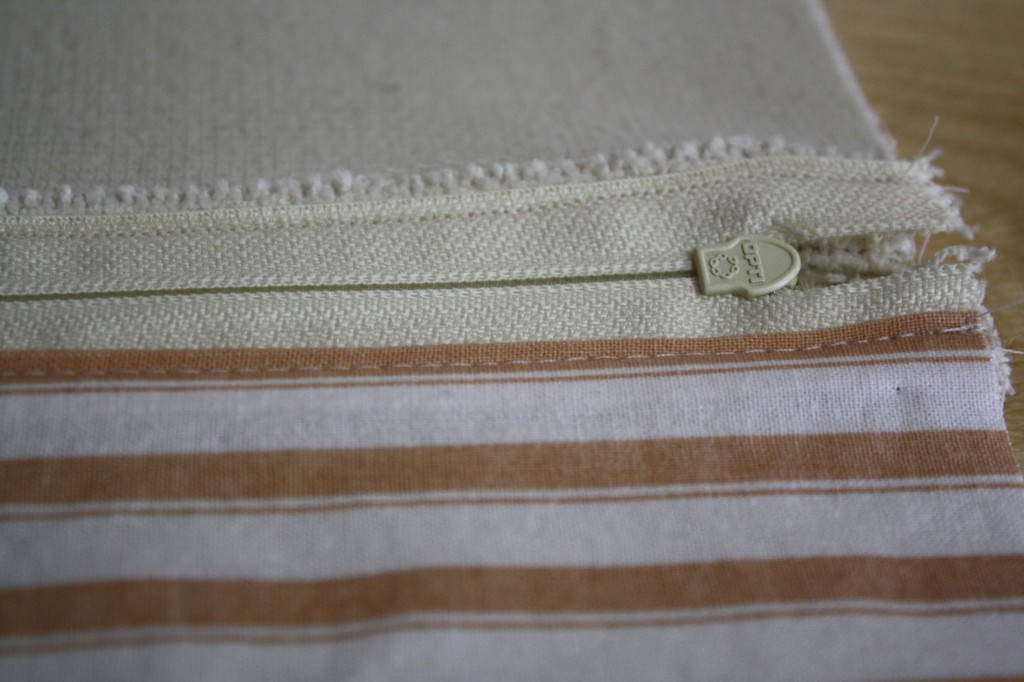
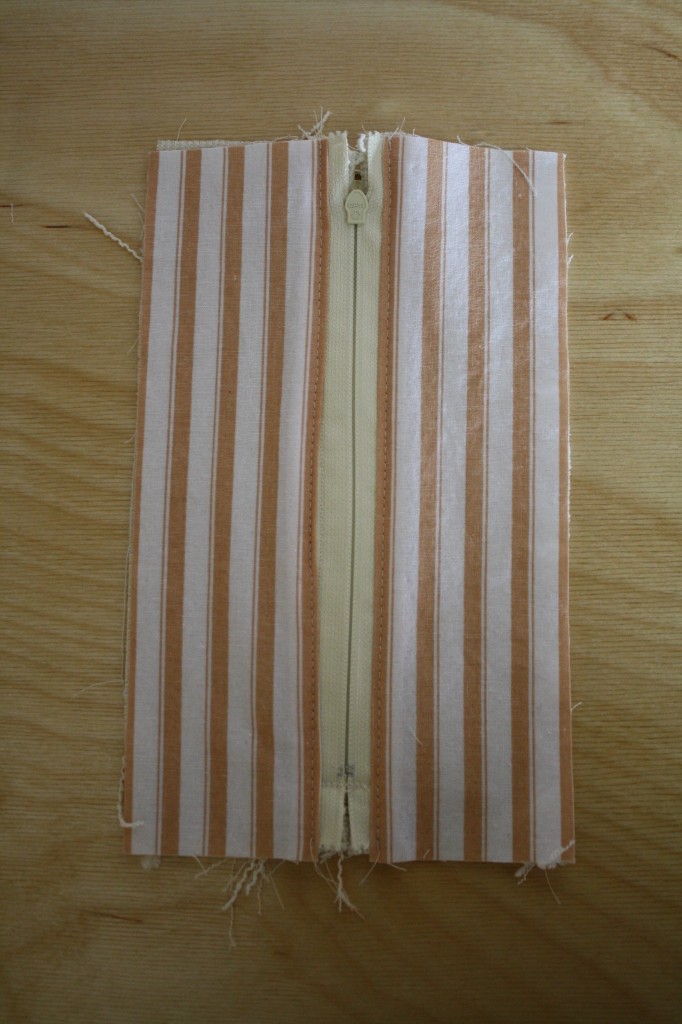
7. Mark the location of each pleat onto the long, outer fabric. Start by marking the center on the top and bottom of the piece.
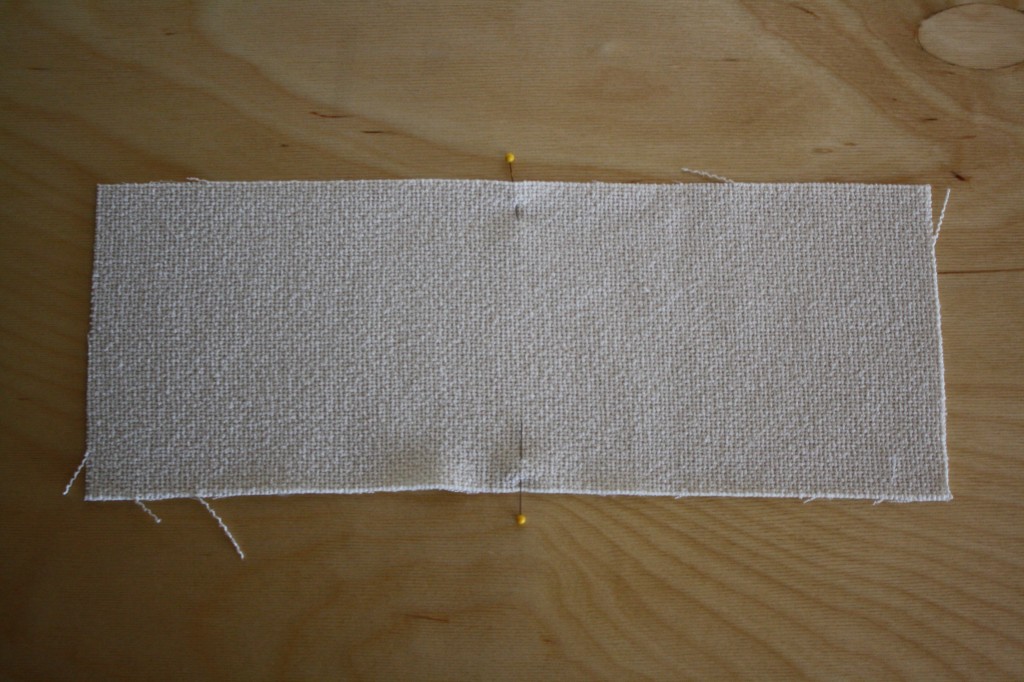
Then mark 1″ from either side on the top and bottom. That marks the center box pleat.
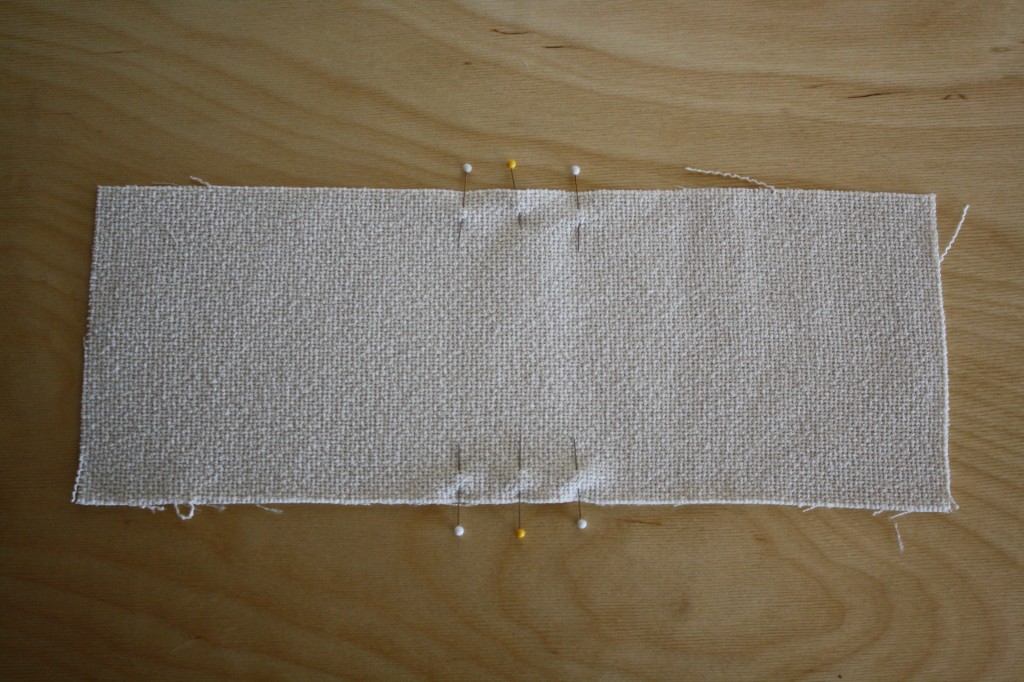
Measure 2″ over, and mark with 3 pins, spaced 1″ apart.
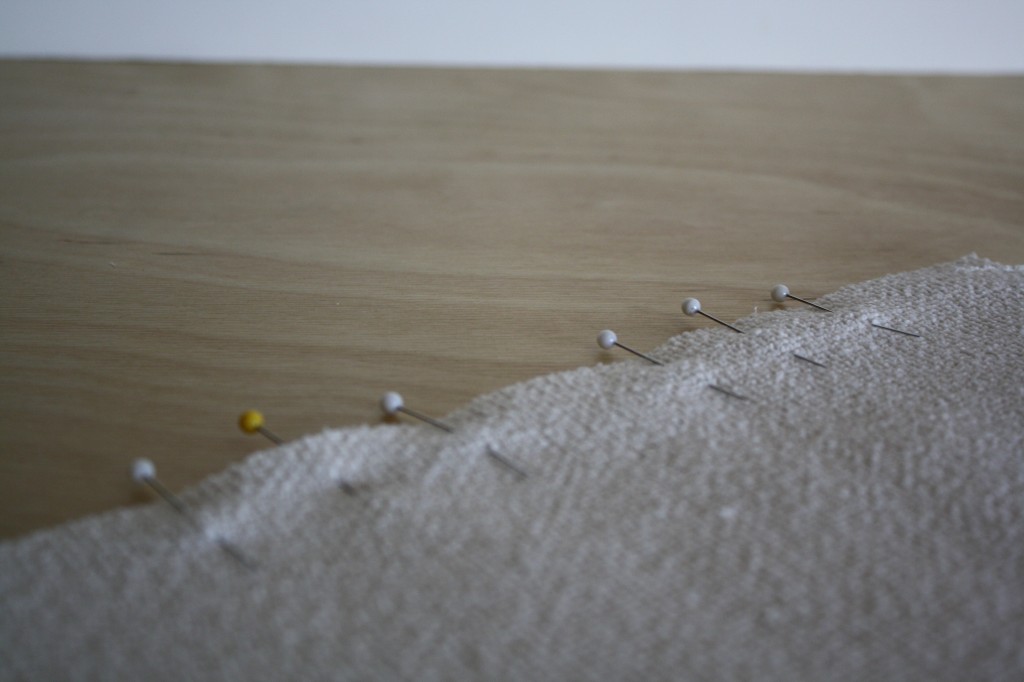
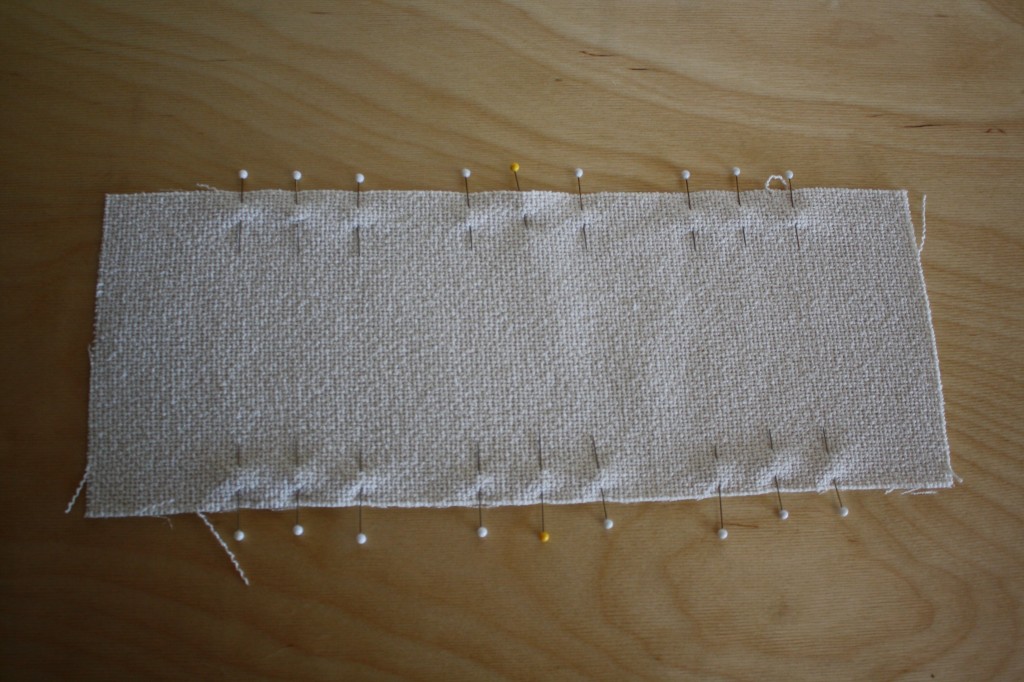
8. The pleats can be made one of two ways. First, I’ll show you the technical way (A), and then I’ll show you the cheater’s way (B).
A. Focus on one pleat at a time (marked in sets of 3 pins) and bring each side pin back, lining up with the center pin. Pin the fold in place on both sides, and on the top and bottom, and press.
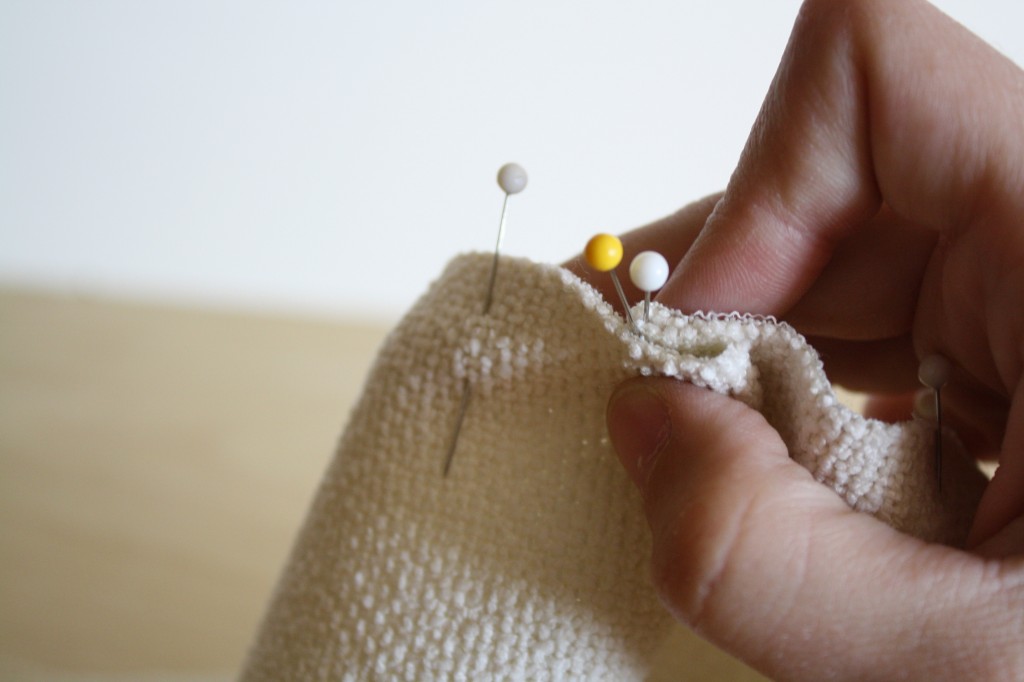
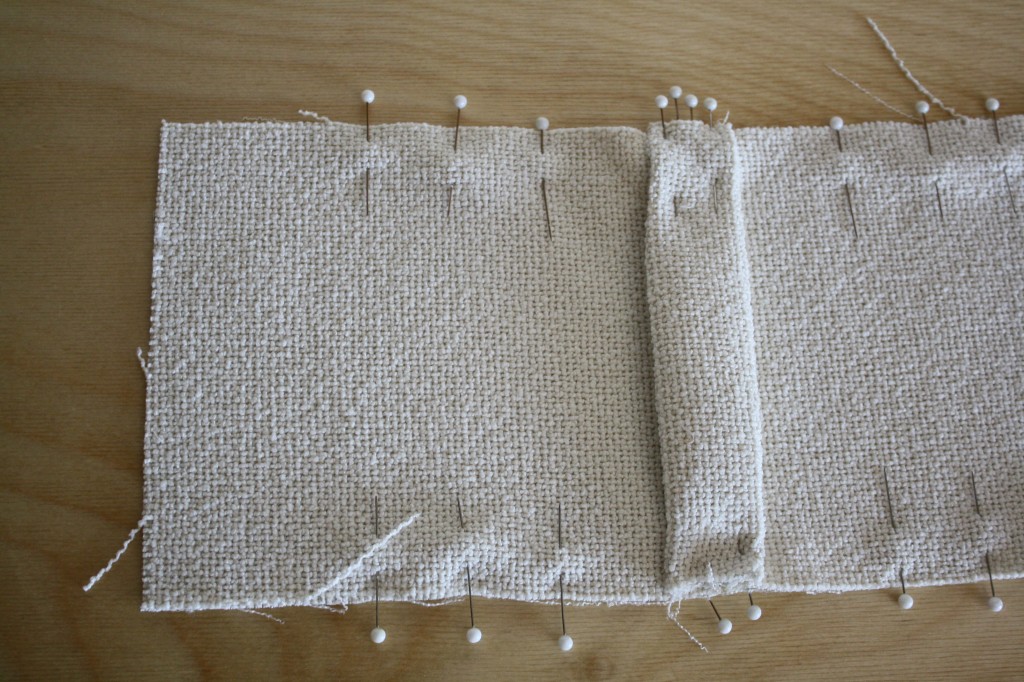
—OR—
B. remove the center pin in each pleat marking, and fold the fabric with wrong-sides together, lining the side pins up. Sew from the top to the bottom 1″ from the folded edge (the distance of the pins).
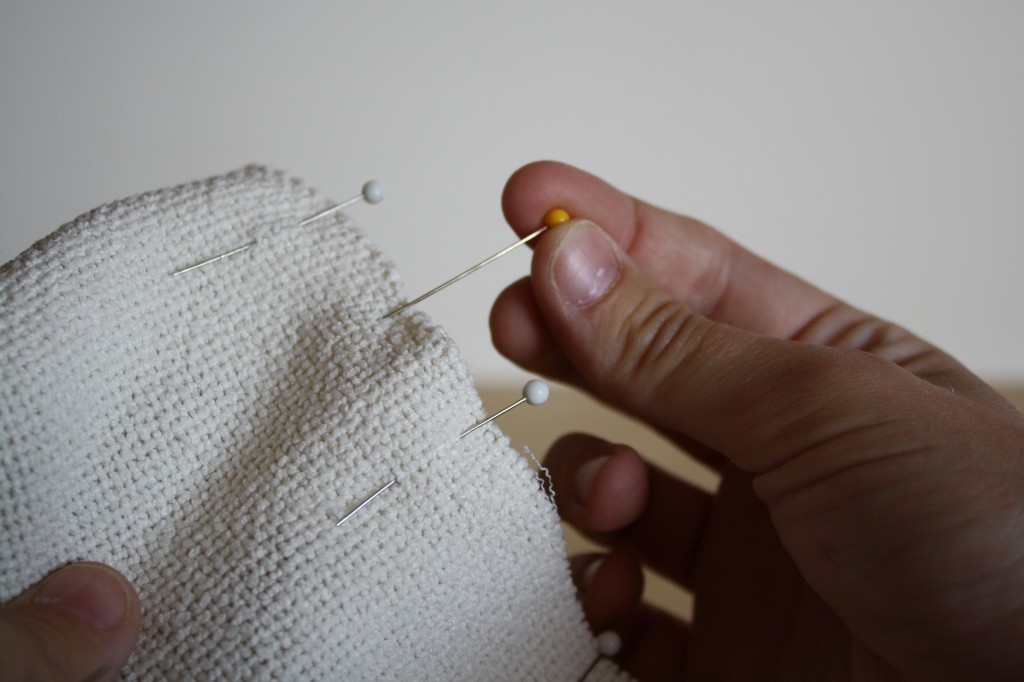
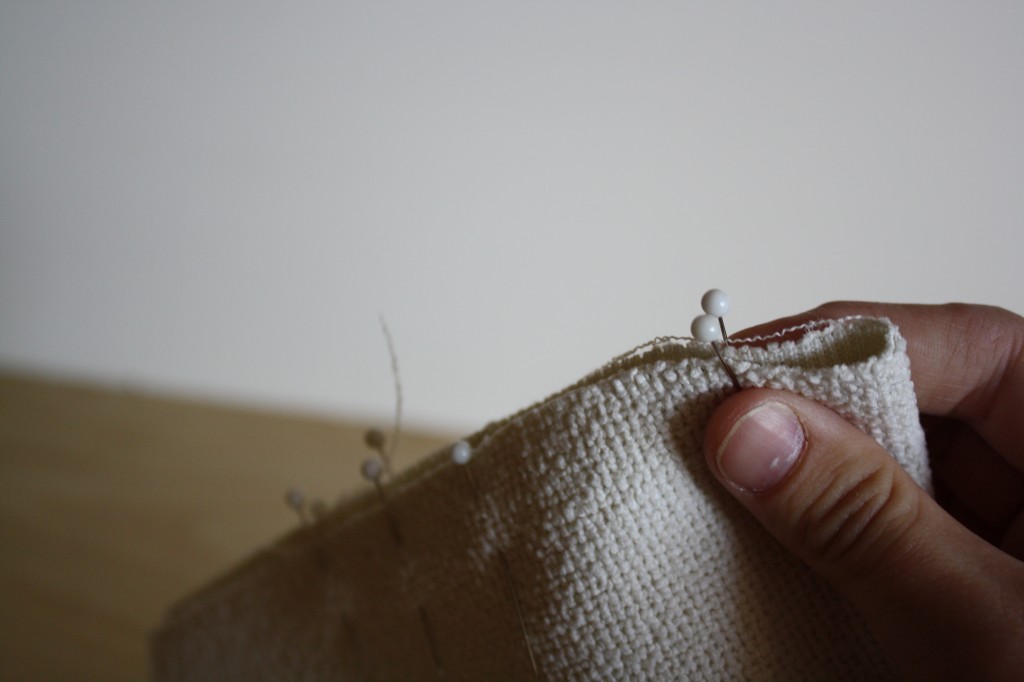
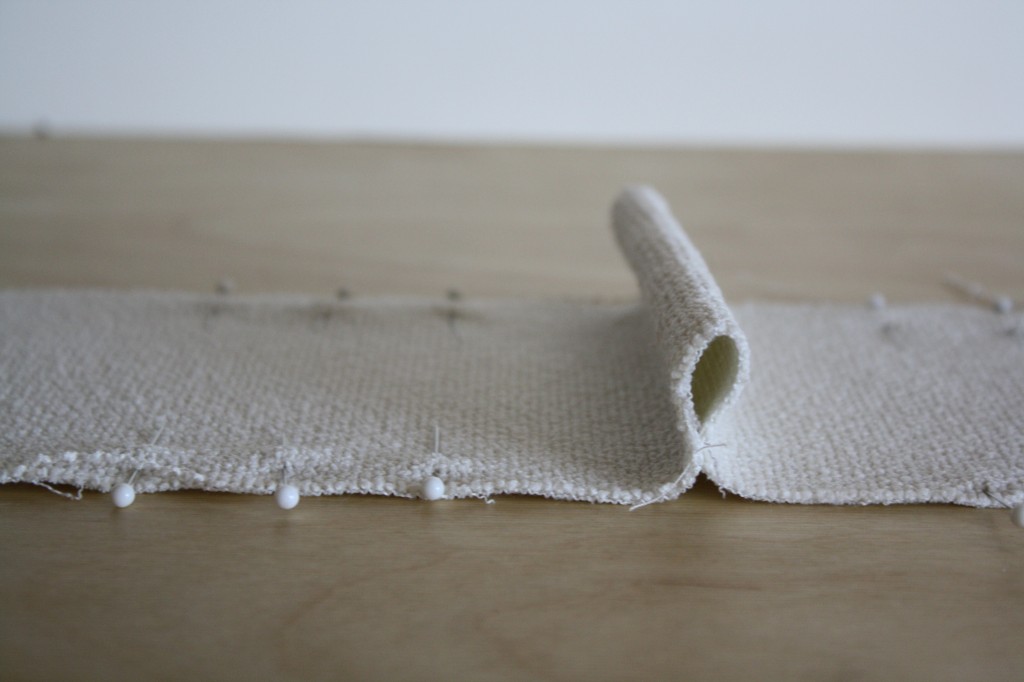
Press flat to create the same look as the box pleat.
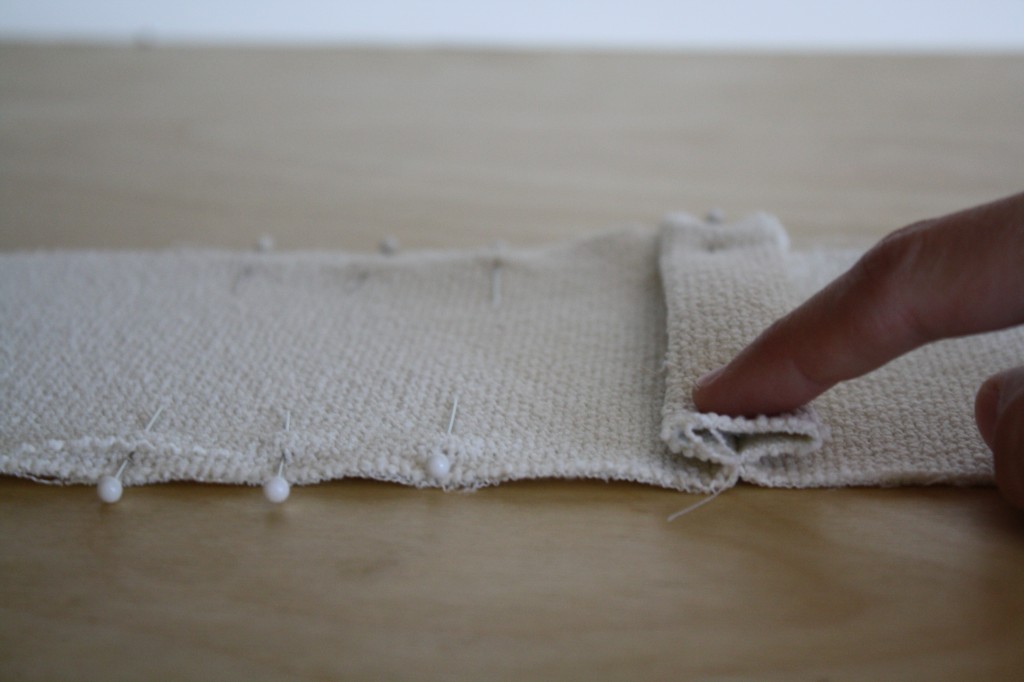
9. Stitch the top and bottom of each pleat in place using a 1/4″ seam allowance.
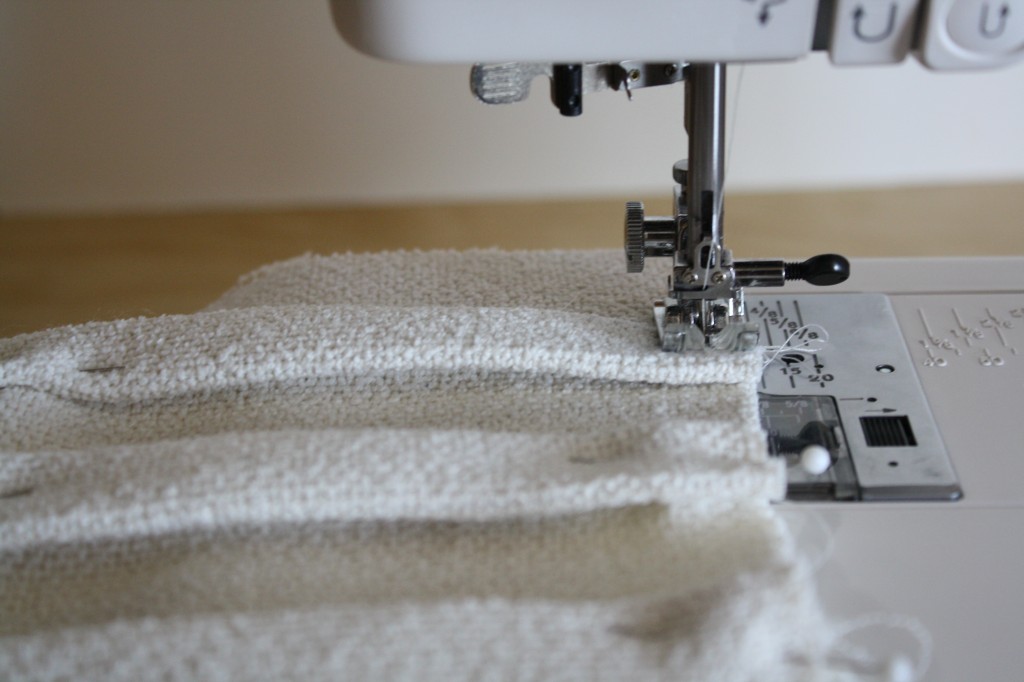
10. Line all 4 layers of the pouch together with right-sides-toward-the-center. Start by placing the zipper right-side up (the lining should be sewn in place underneath it), and laying the pleat right-side-down on top of it, then lay the remaining lining piece right-side-up on top of it all.
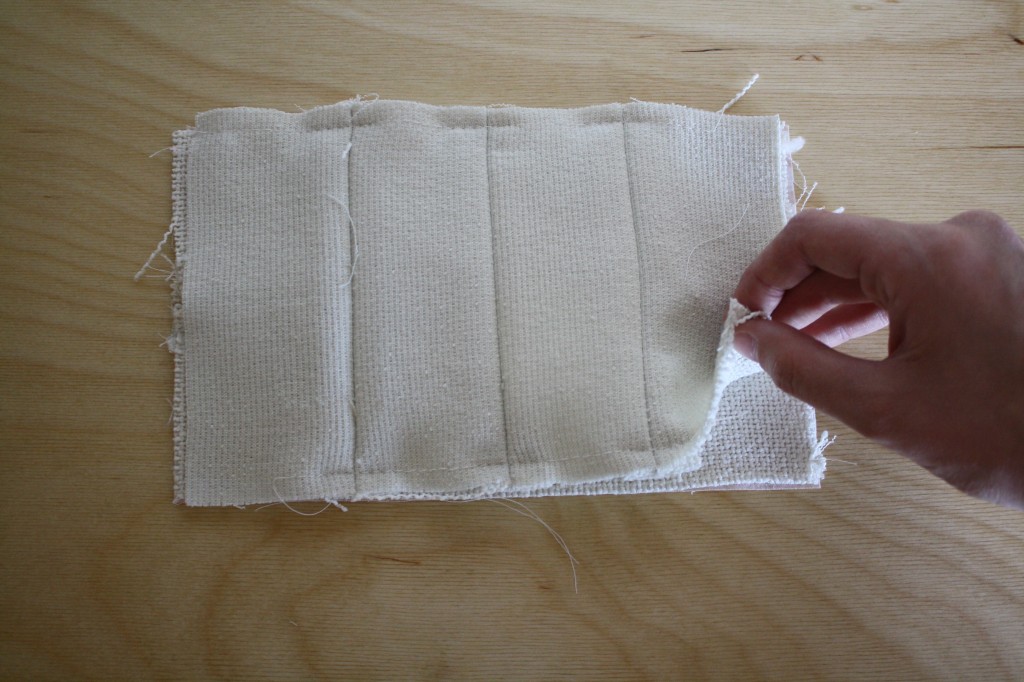
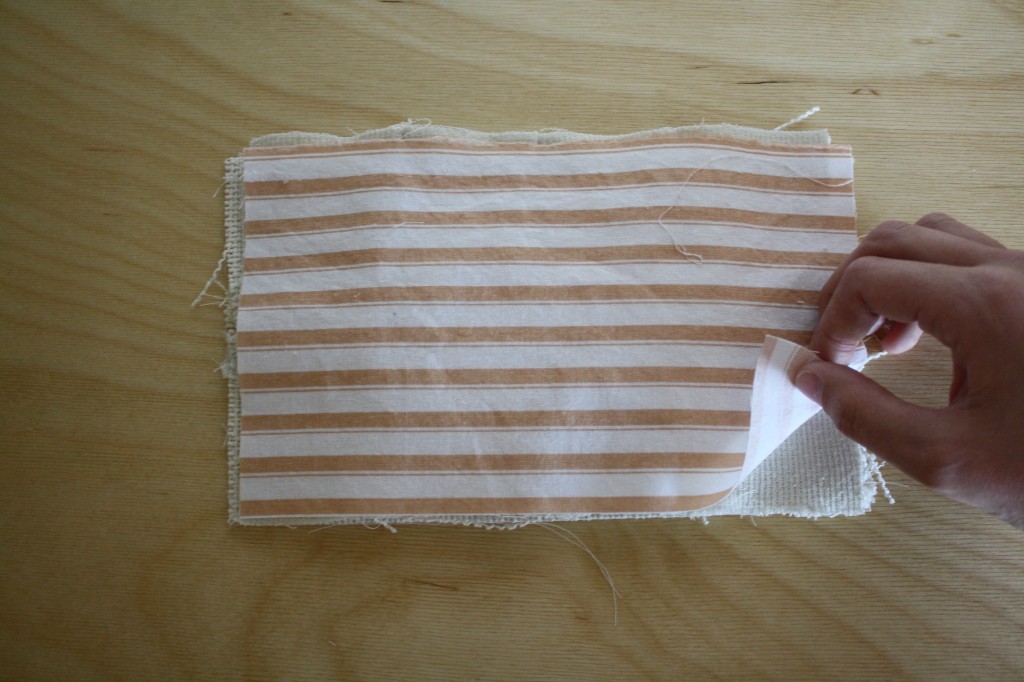
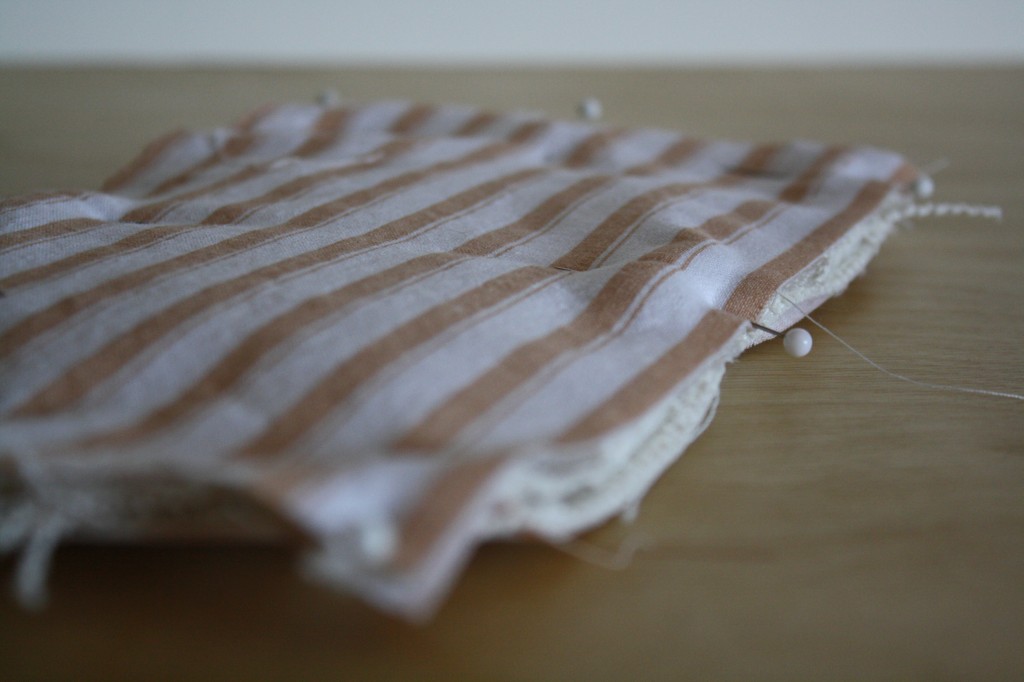
10. Sew around all 4 sides using a 5/8″ seam allowance. Check to see if the inside of the pouch looks right, if so, trim the seam allowance down to about 1/4″.
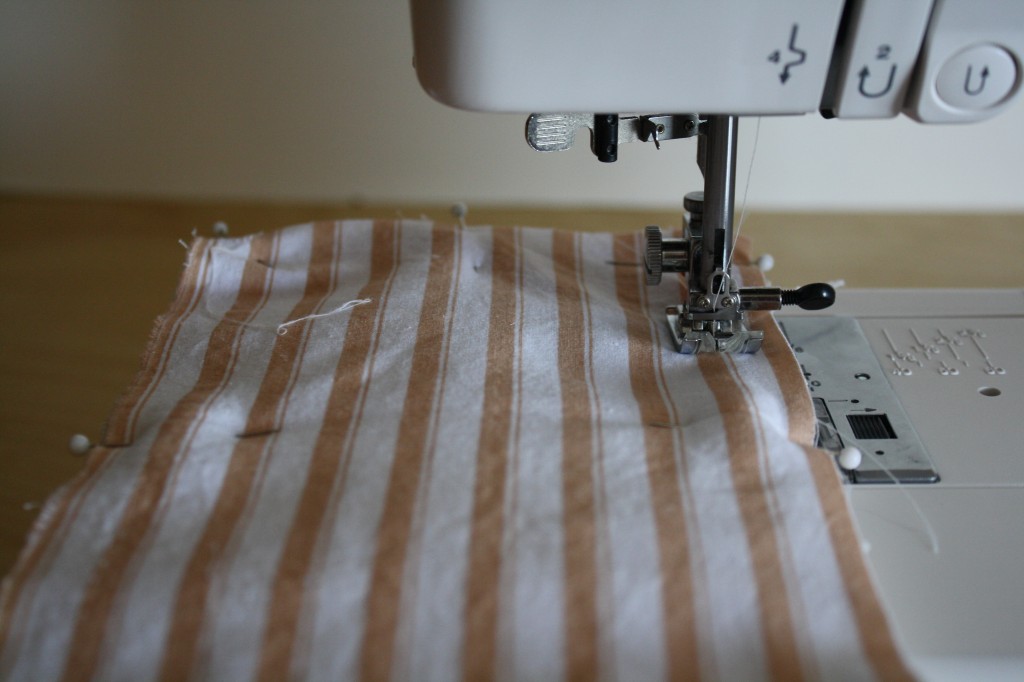
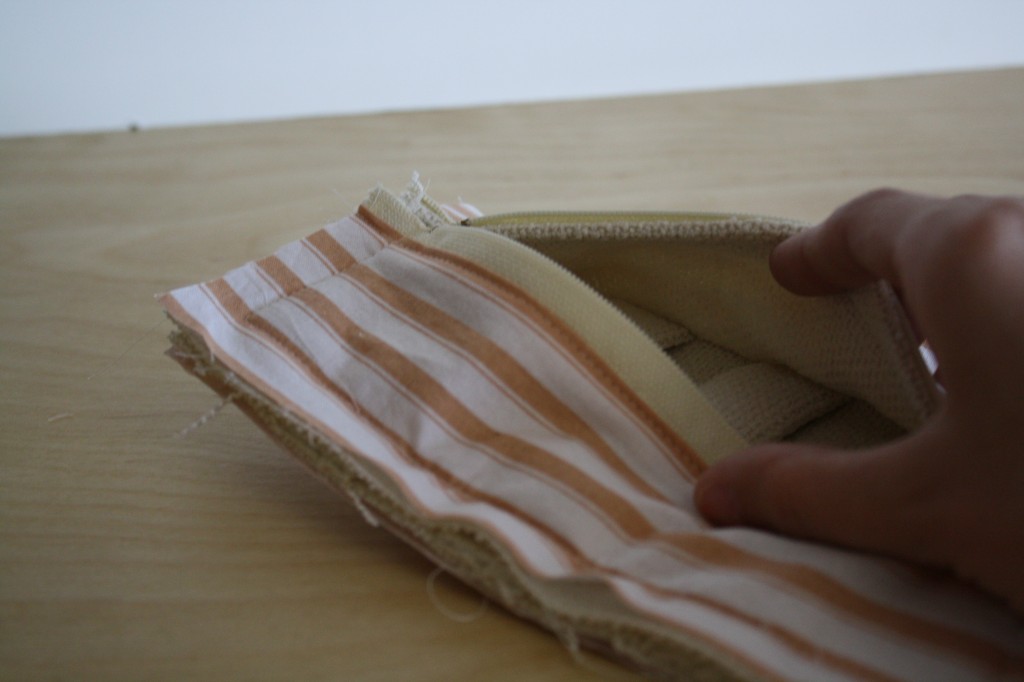
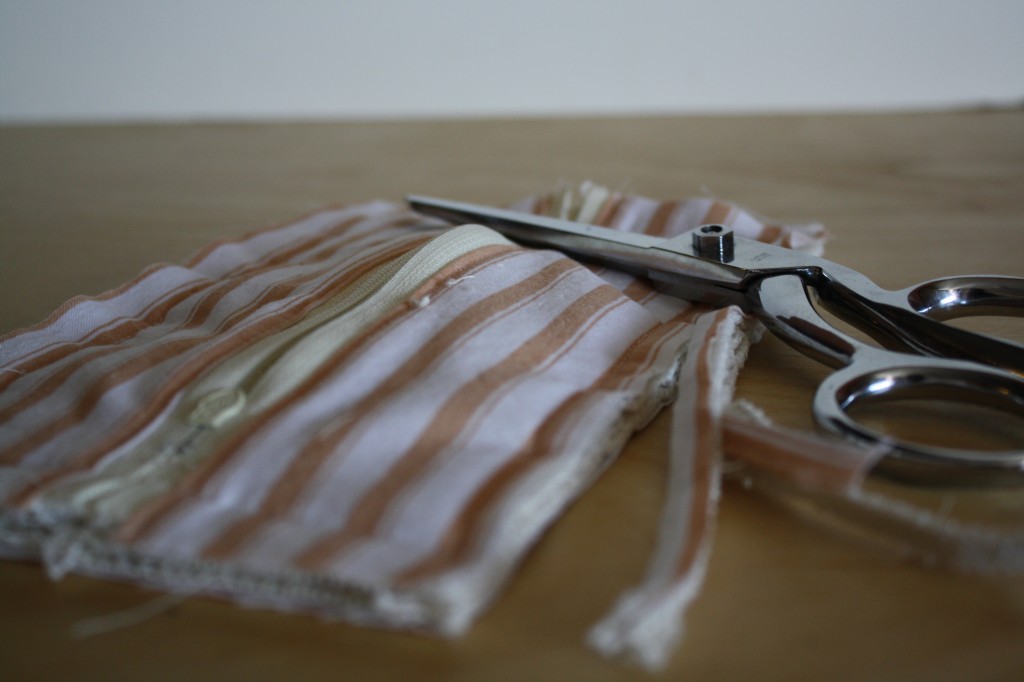
11. Sew bias tape around the edges.
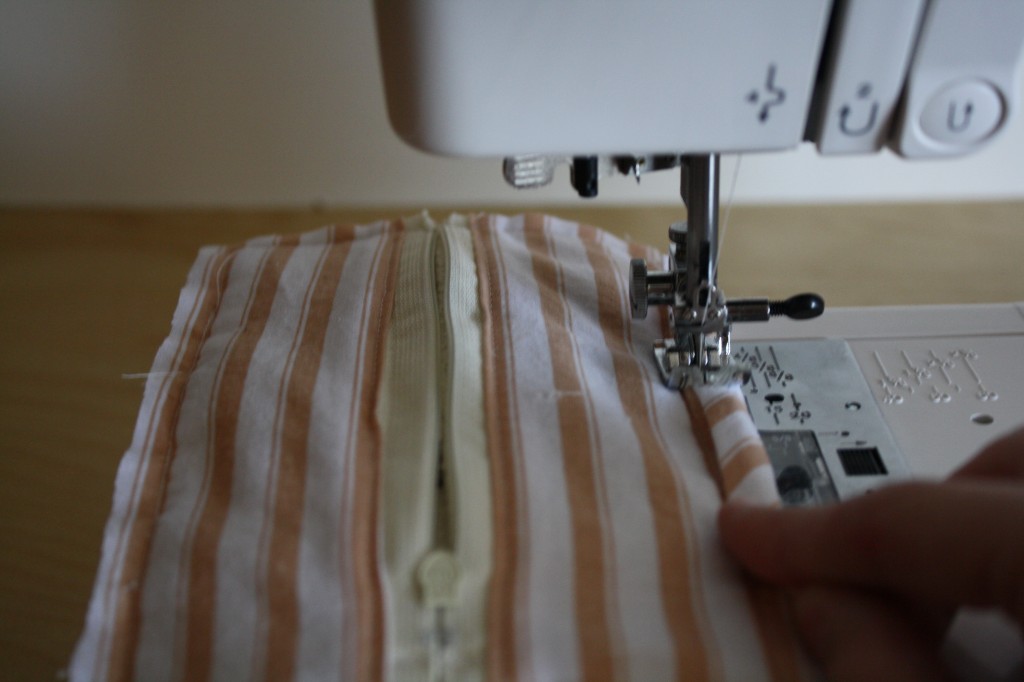
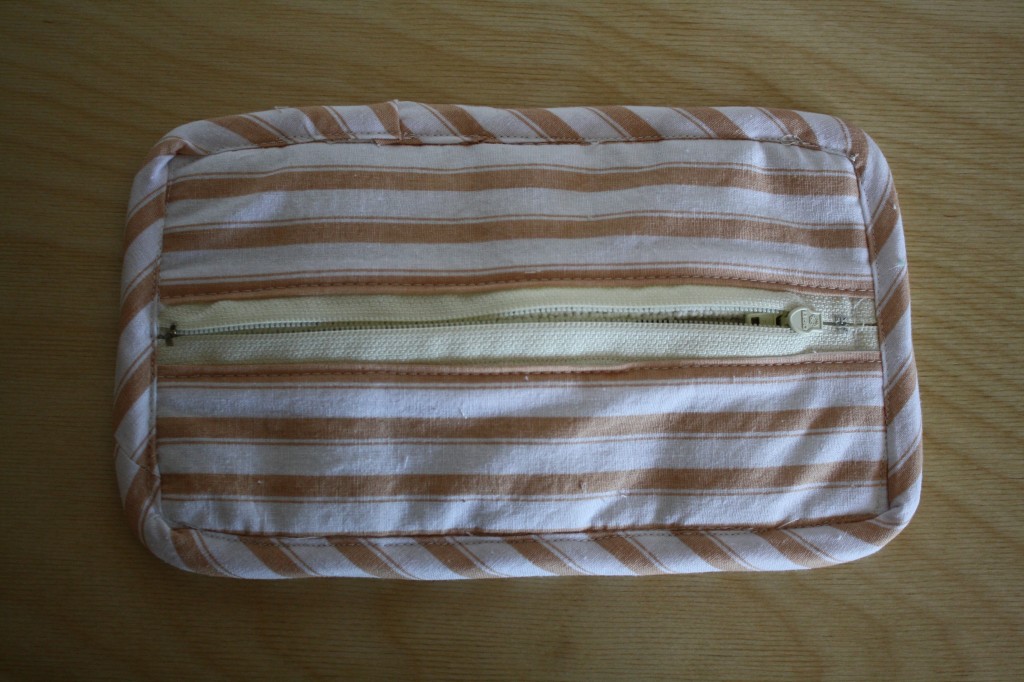
12. Turn the pouch right-side-out.
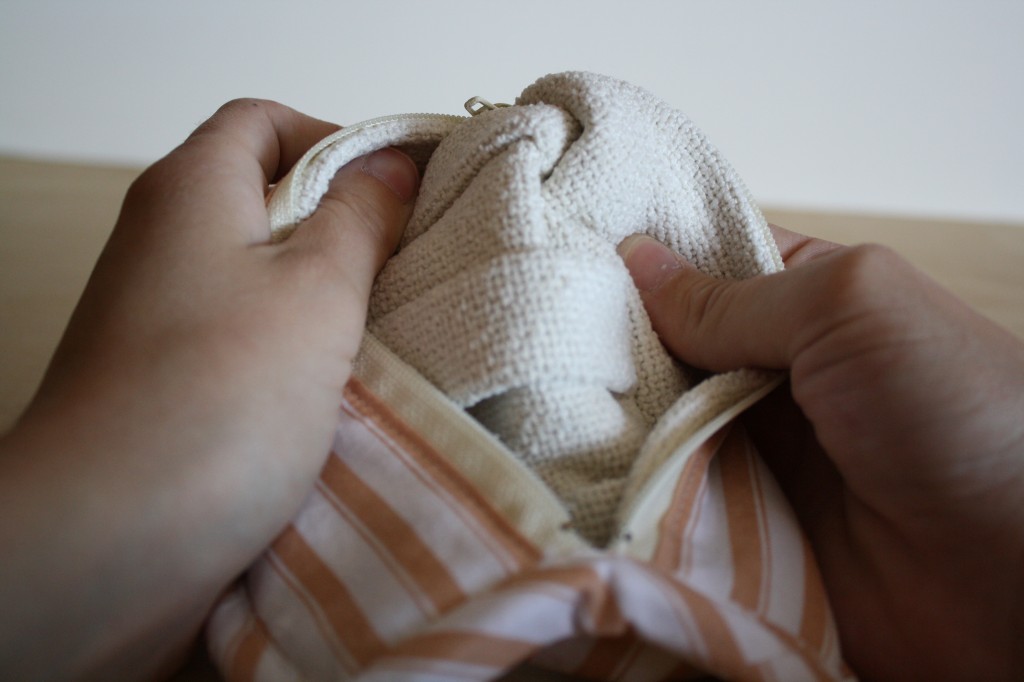
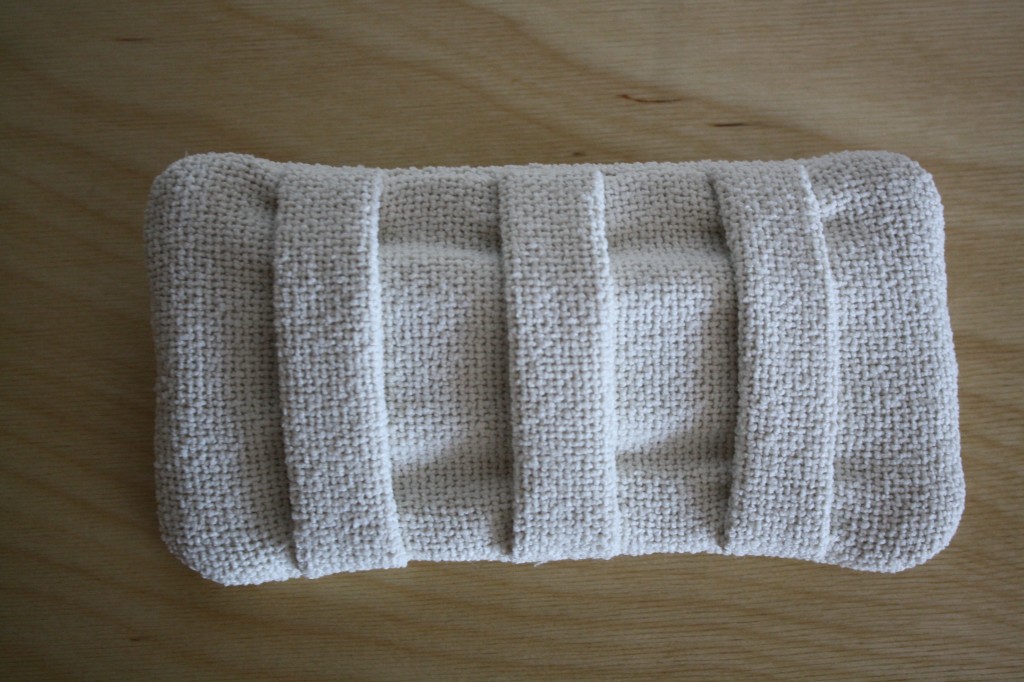
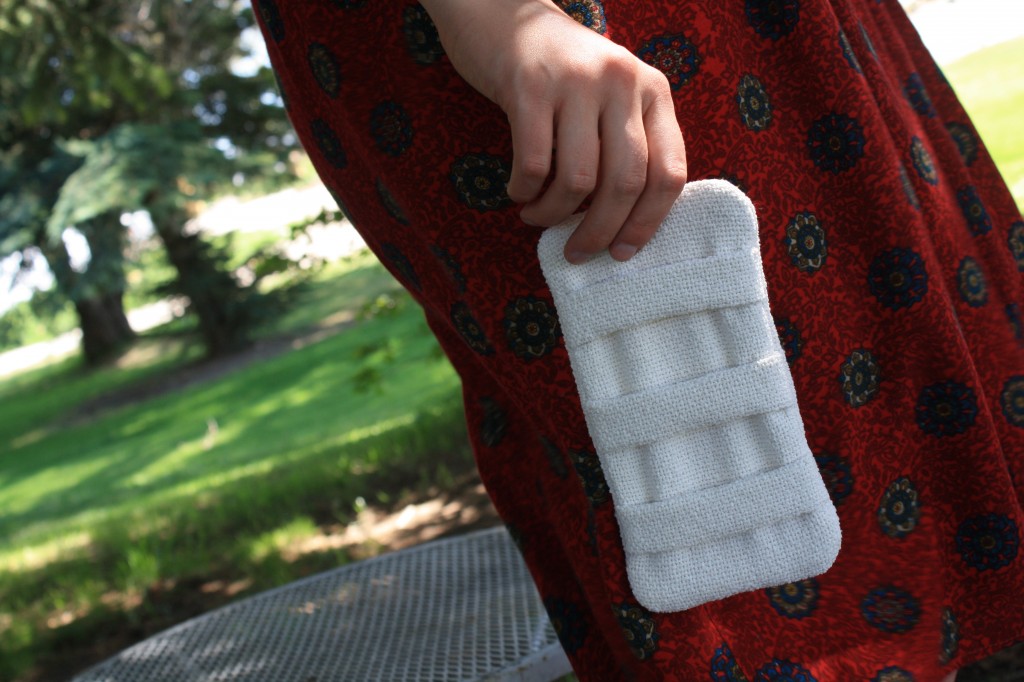
This pouch can be used for anything! Throw it in a bigger bag, or carry it as-is.
Cute bag. I like the fabric and the pleats.
What a fabulous idea!!! Brilliant
Sooo cool!! Just what I need.
What a cute little pouch! I wear glasses and have prescription sunglasses too so I need a small non bulky pouch I can just toss in my bag :)
I read a lot of interesting posts here. Probably you spend a lot
of time writing, i know how to save you a lot of time, there is an online tool
that creates unique, google friendly articles in seconds,
just type in google – laranitas free content source
I think the admin of this web page is in fact working hard for his site, as here every material is
quality based stuff.