Ironing is a very basic technique. Remember the advise given in lesson 2, to know your fabric. The temperature setting on your iron and whether or not you use steam should depend on the material you are ironing. Some fabric can take high heat and steam, others need to be pressed with delicate settings. If you’re worried about your fabric touching the heat of your iron directly, it is a good idea to use a press cloth. A press cloth is just a piece of cotton fabric that you lay between your fabric and the iron.
Get out 3 sample rectangles.
IRONING A DOUBLE HEM
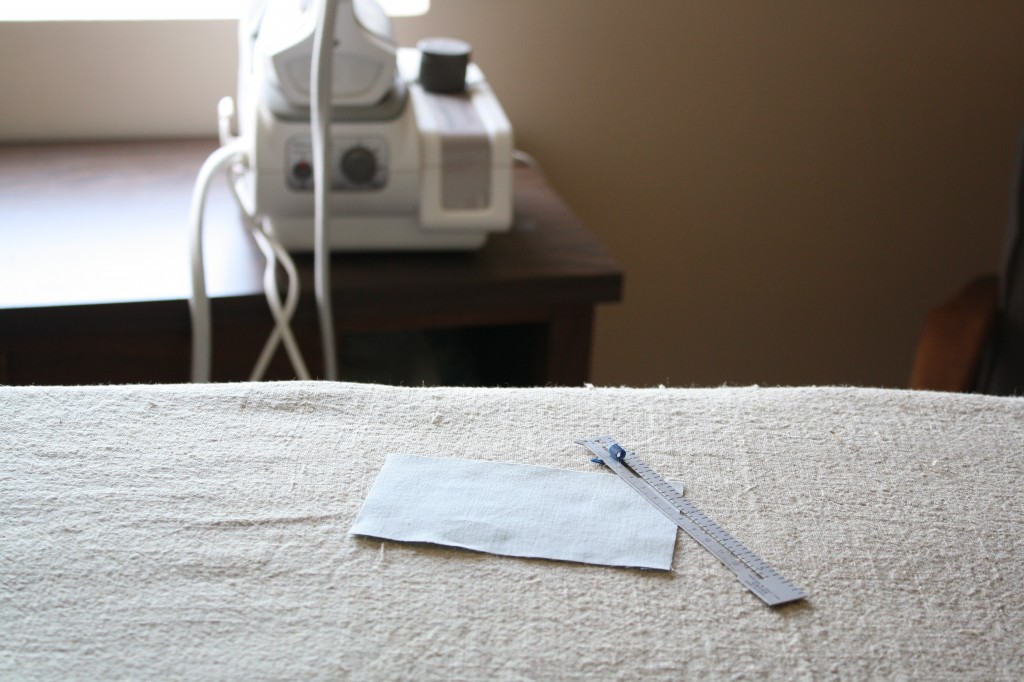
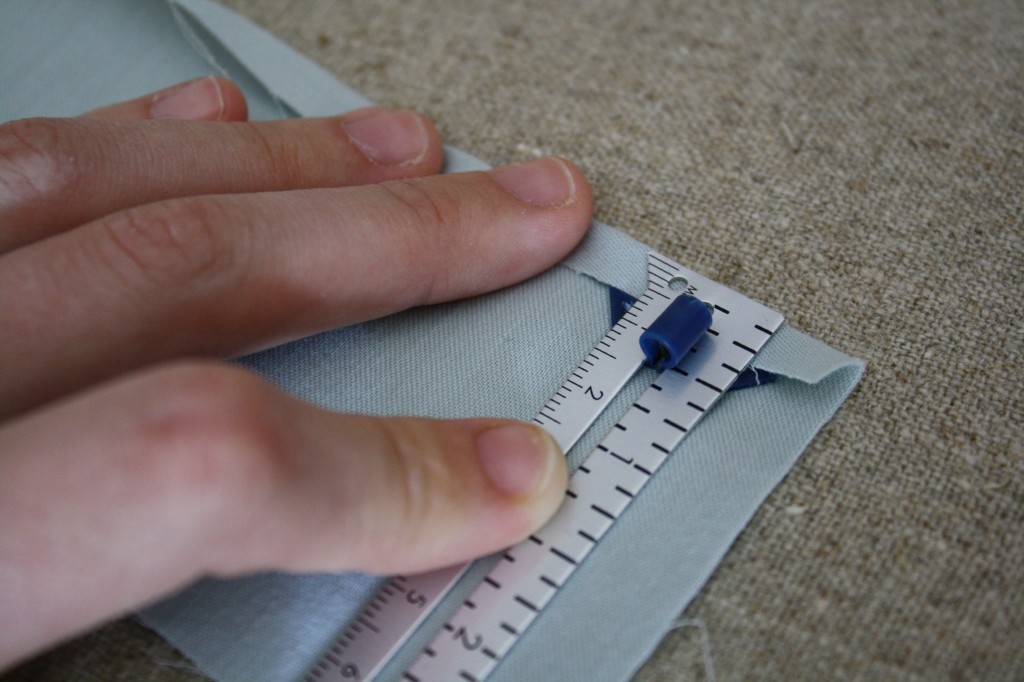
When you’re ironing a hem for a project, you want the wrong-side of the fabric facing up on the ironing board. You can use a seam guage to measure the fold by pushing the sliding marker to the measurement that you want to use.
Using 1 sample rectangle, turn the edge under 1/4″ and press. That leaves you with a raw edge on the underside of the project.
In order to hide the raw edge completely, use a double hem by simply turning the edge up once more and pressing again.


Once the double hem is ironed, it can be sewn down.

PRESSING A SEAM
Line up two sample rectangles with RIGHT-SIDES-TOGETHER and sew a standard seam down one side. After you’ve sewn a seam, pressing the seam open or to one side makes it look clean and professional. Sometimes when you press a seam open you get what a professor of mine used to call “kissy lips”. It’s just a little fold in the seam. Avoiding kissy lips is simple, all you need to do is press your seam flat before you iron it open.

Seams can either be pressed open, or pressed to one side.


For your sample, if you would like, you could snip down the center of the seam allowance (careful not to snip through the stitching) and press half of the sample to the side, and half open for a side-by-side visual.


Either way you press it, the front of the seam should look nice and flat.

HOMEWORK
