The bias runs at a 45 degree angle on your fabric. It’s the stretchiest part on the fabric, which is why you use it to make bias tape, so it can stretch around corners and curves when you’re binding something.
First, locate the 45 degree marking on your clear rotary ruler.
Line that marking up with the straight edge of your fabric (the selvedge edge).
Make your first cut. That diagonal cut is now your guideline.
Line the ruler up with that new 45 degree cut, and cut your strips 2″.
For the sample, we’ll just be using a 2″x5″ sample.
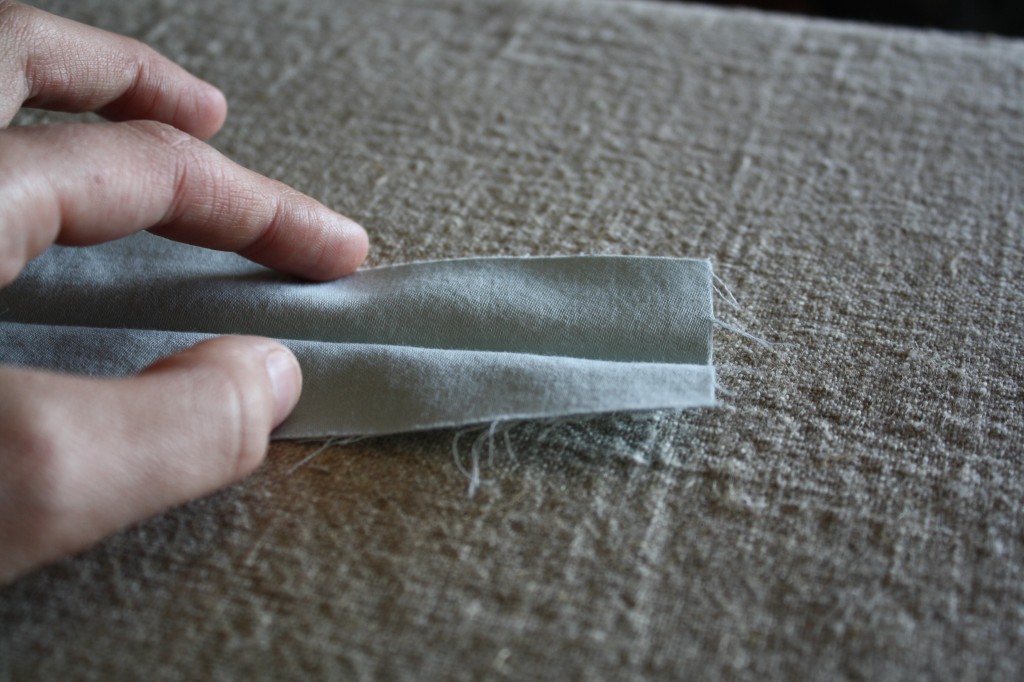
Place the strip face down on the ironing board. Fold it in half and iron.
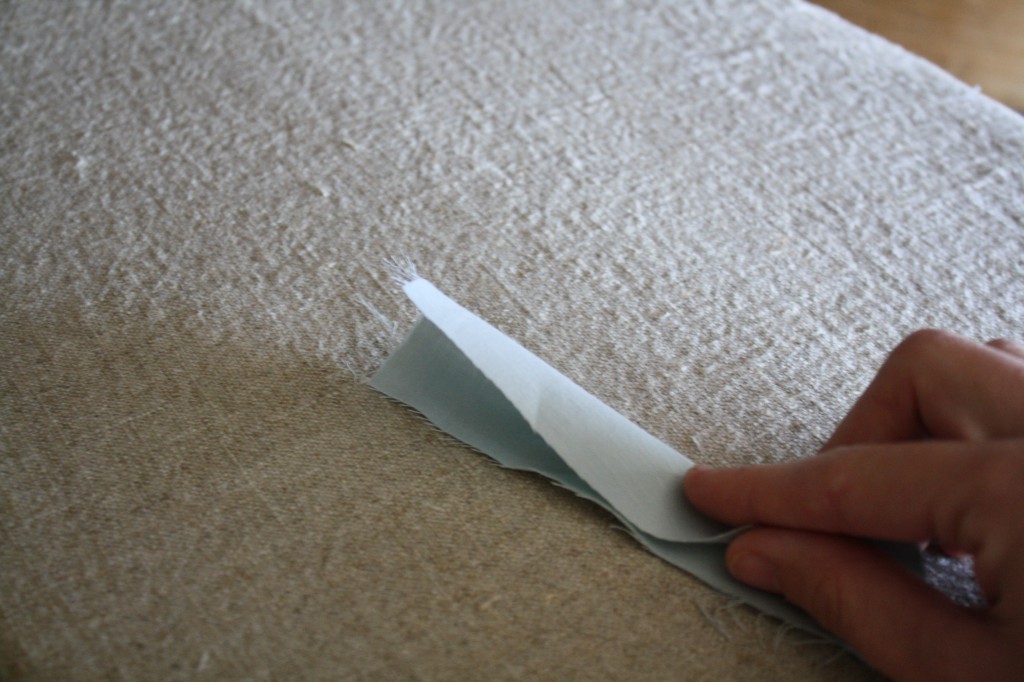
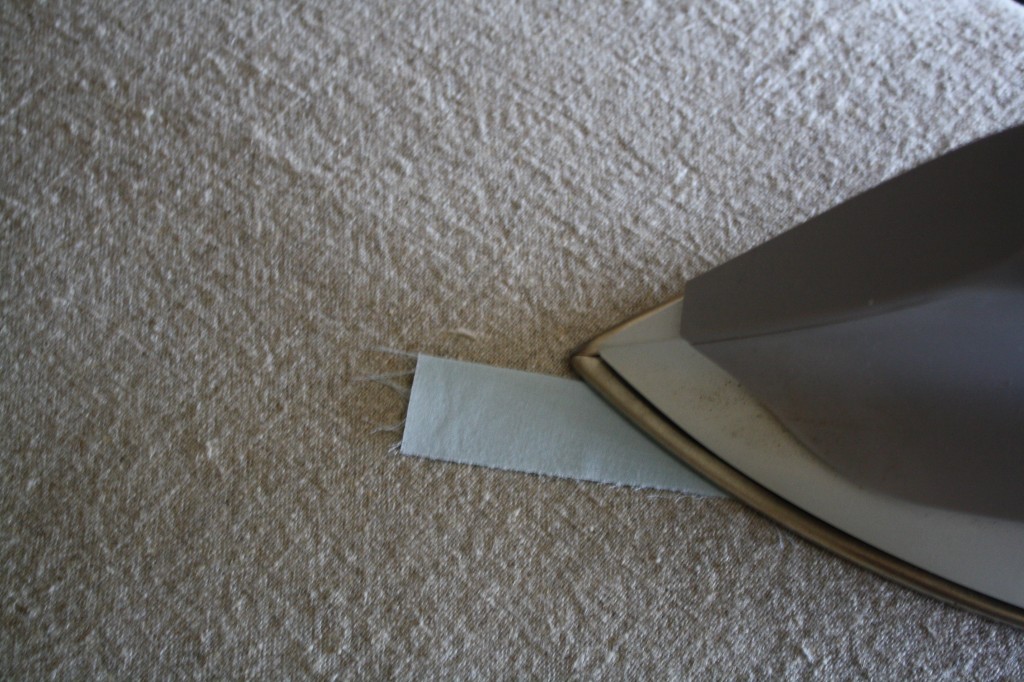
Open it back up, and fold the edges in towards the center (one side at a time) and iron.
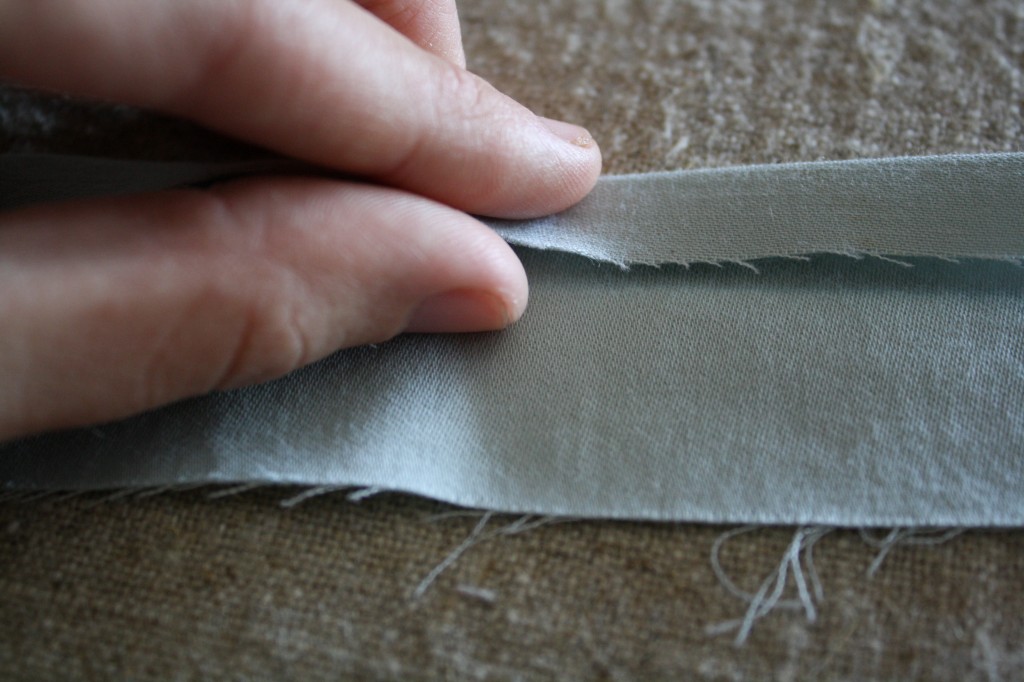
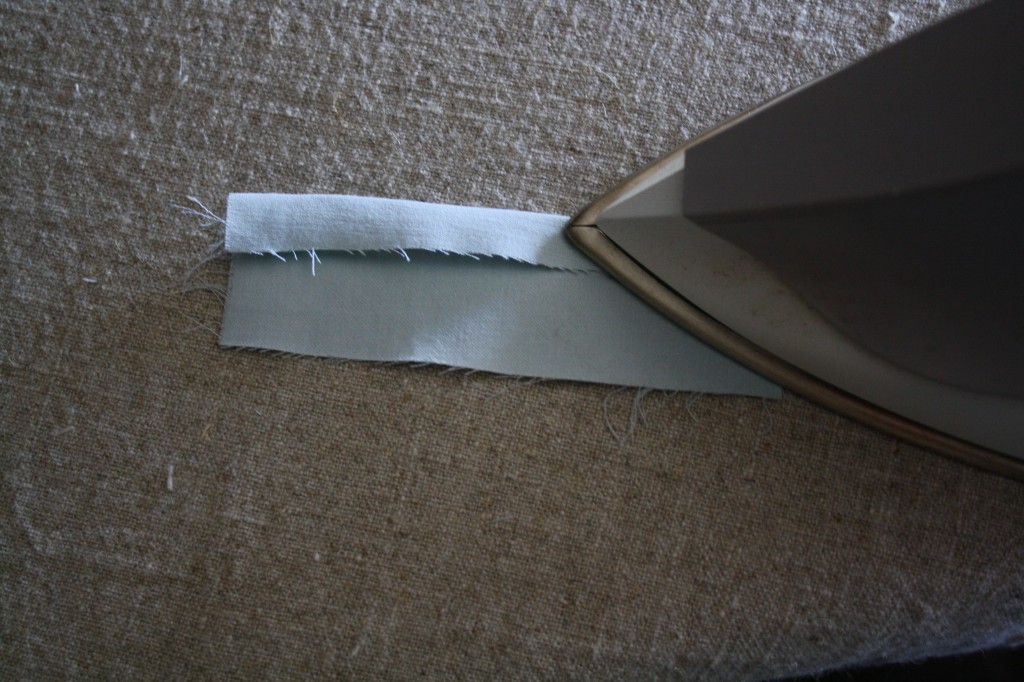
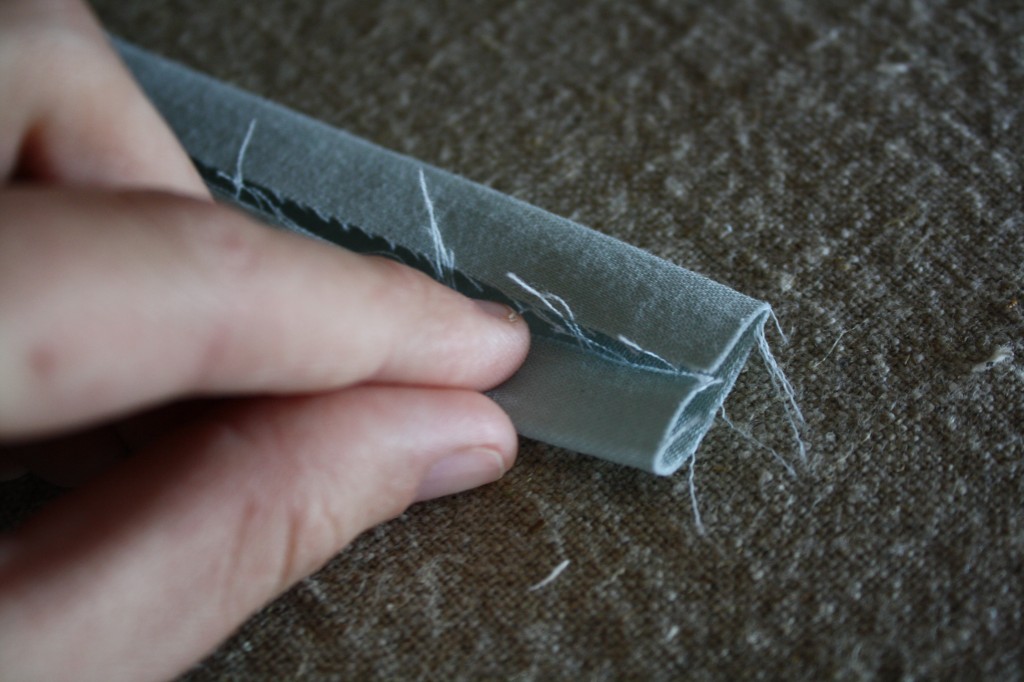
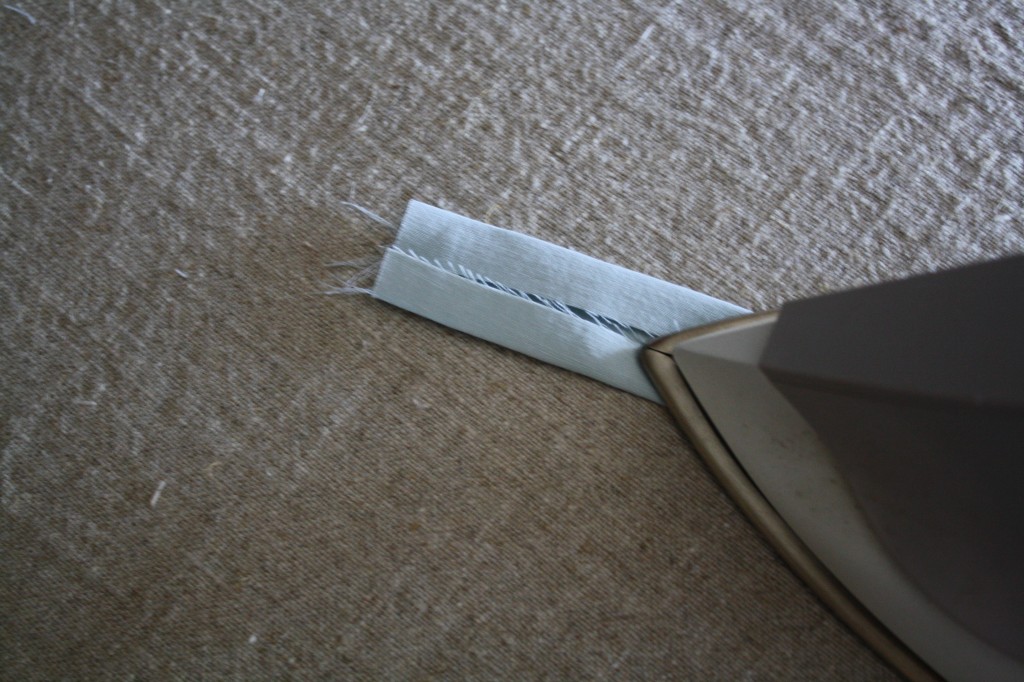
Fold it back in half and you have double fold bias tape.
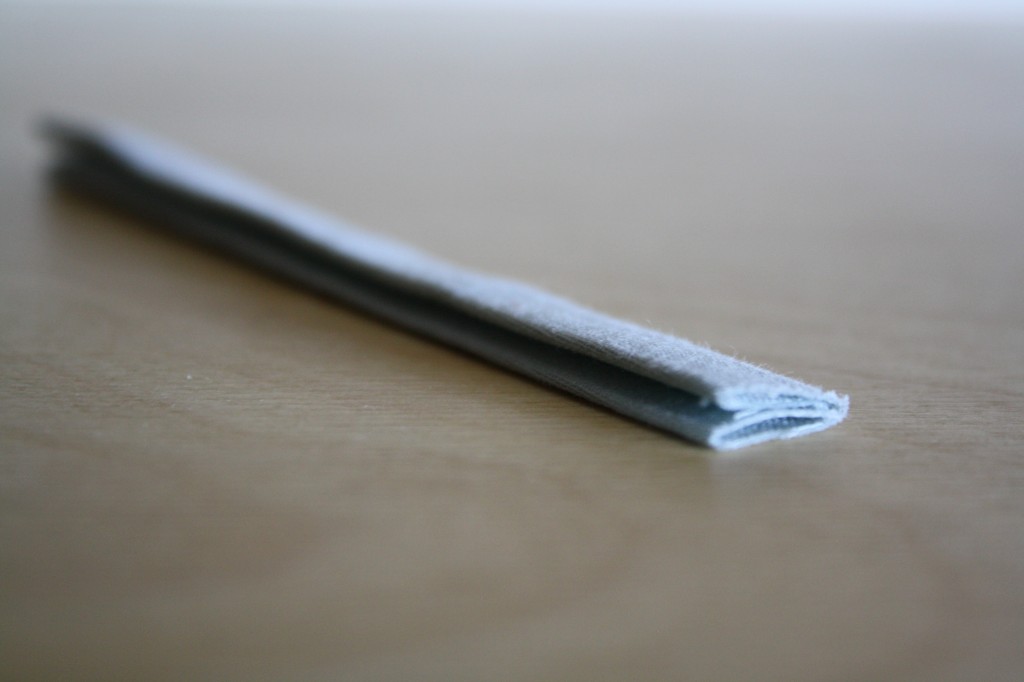
To sew with it, start by sandwiching the raw edge of your fabric into the bias tape.
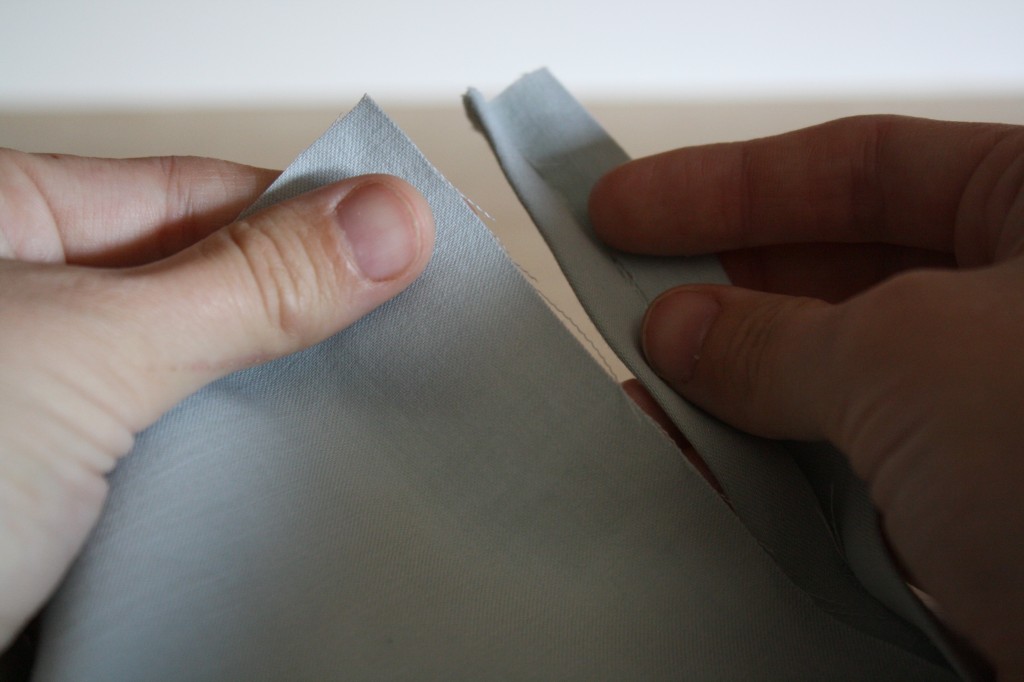
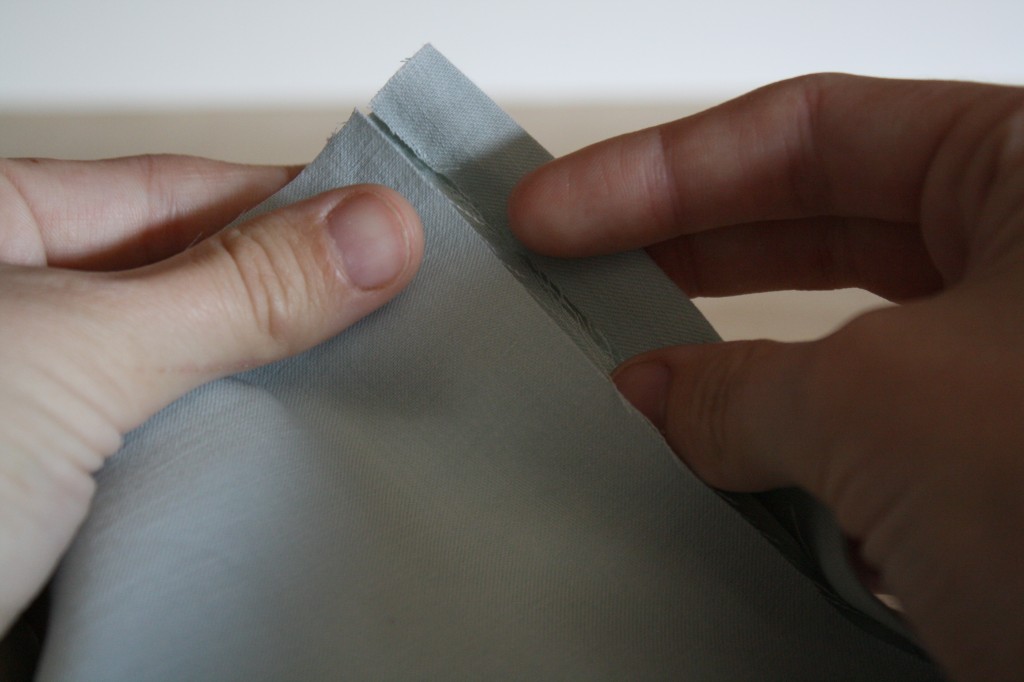
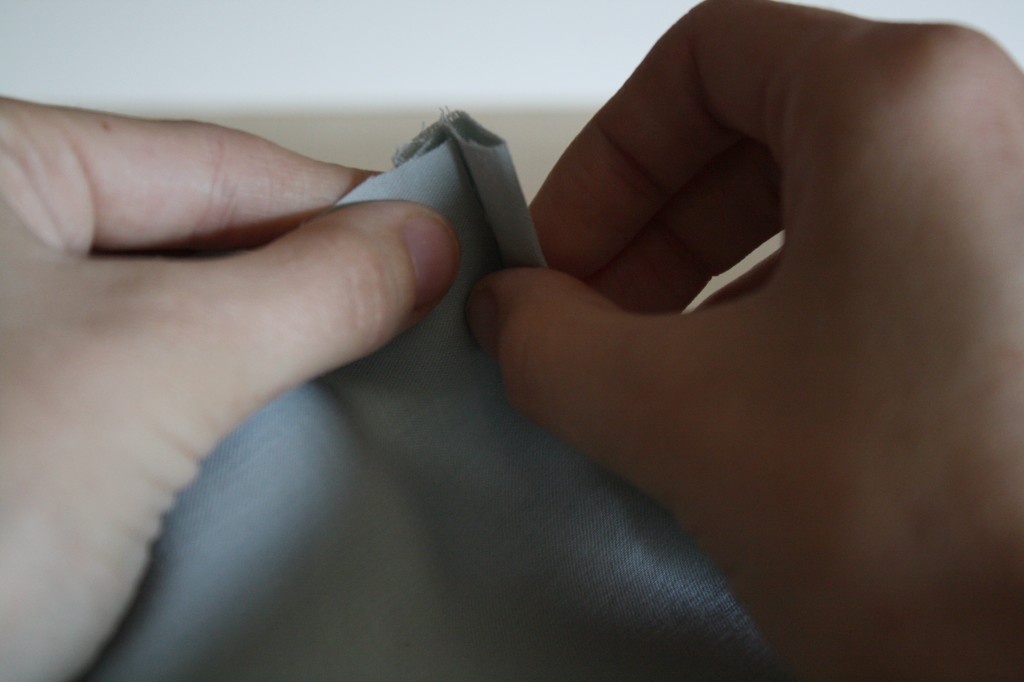
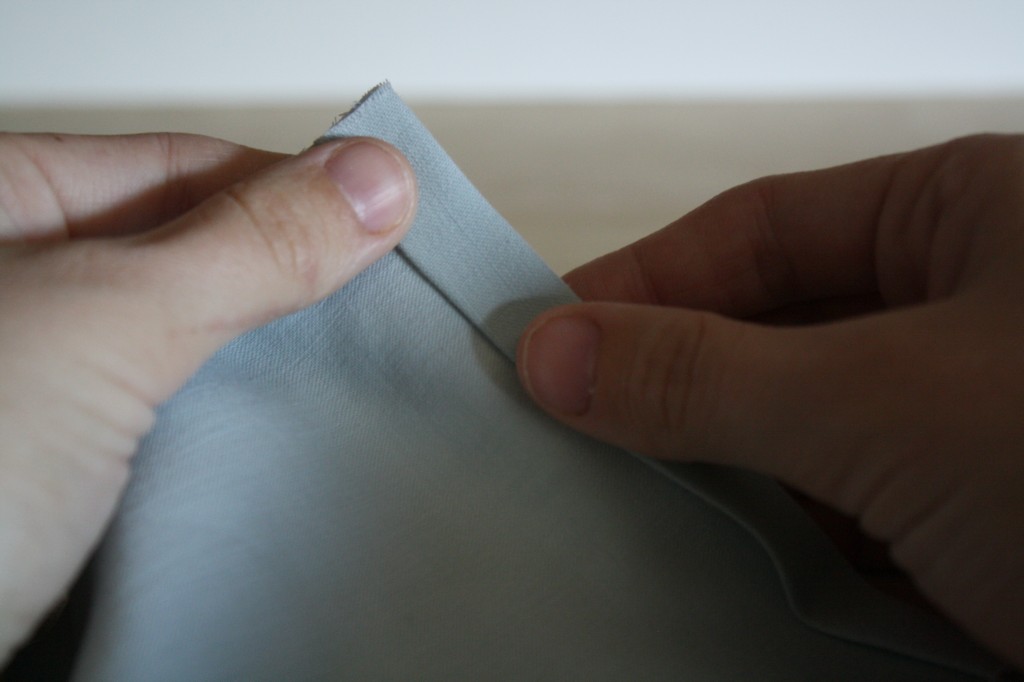
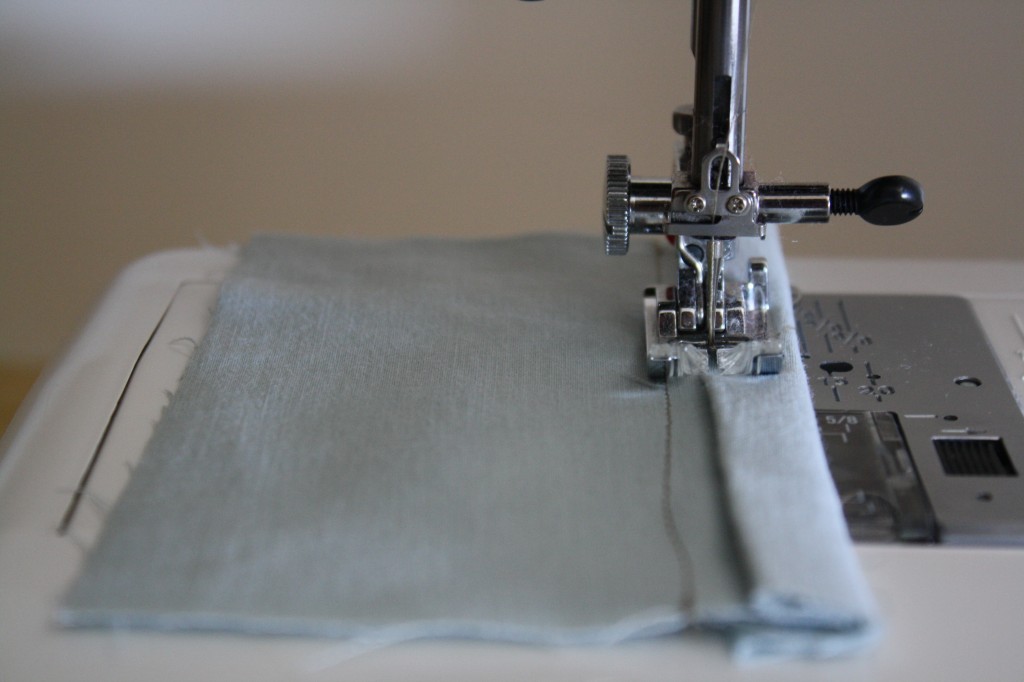
Top-stitch the bias tape in place. Be sure your stitching catches the bias tape on the top and bottom.
HOMEWORK
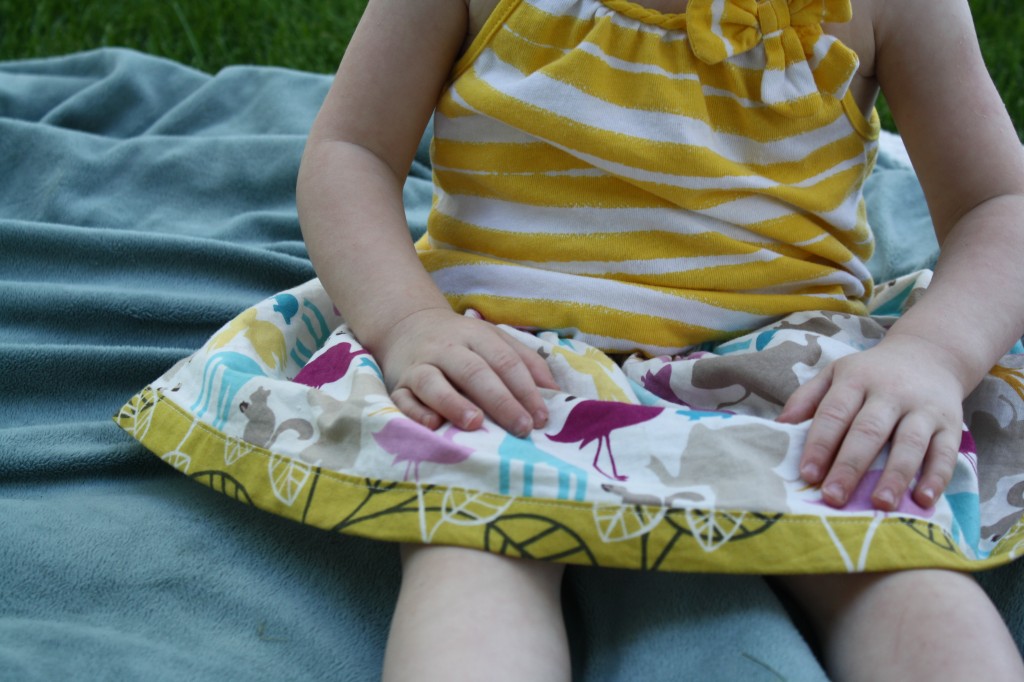
[…] But first, a little information about the dress. The chevrons are made by cutting on the bias, which helps prevent the edges from fraying. I chose to have a random order for my chevrons, […]
[…] this skirt (pictured above) is layered with strips of bias. The thing about bias is that cutting on that 45 degree angle helps prevent the fabric from […]