CLICK HERE FOR THE PDF VERSION OF THIS PATTERN >>
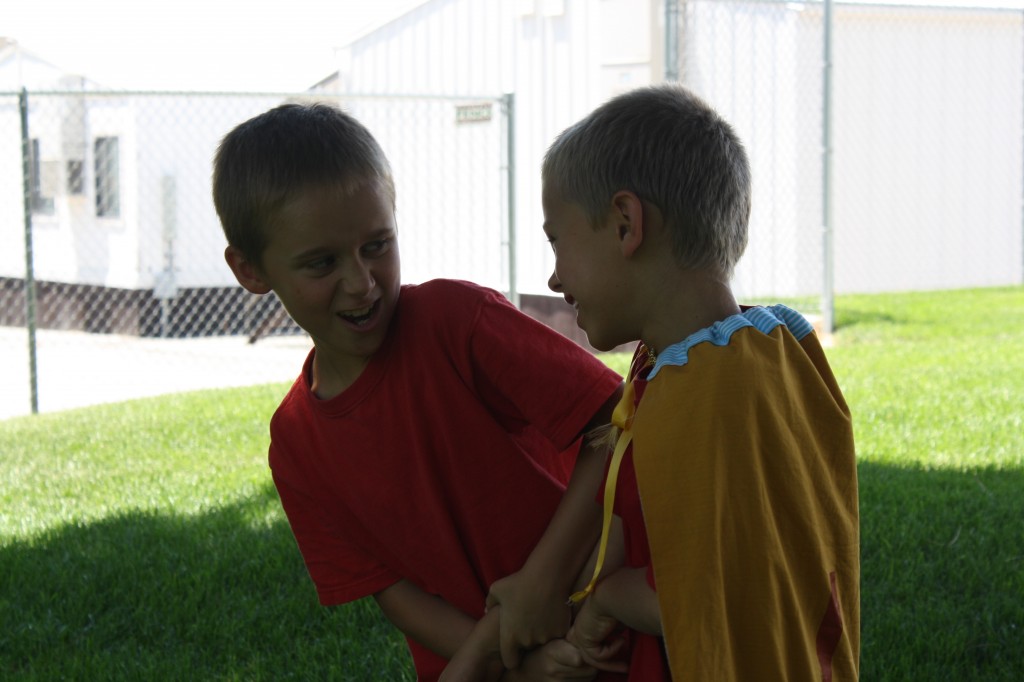
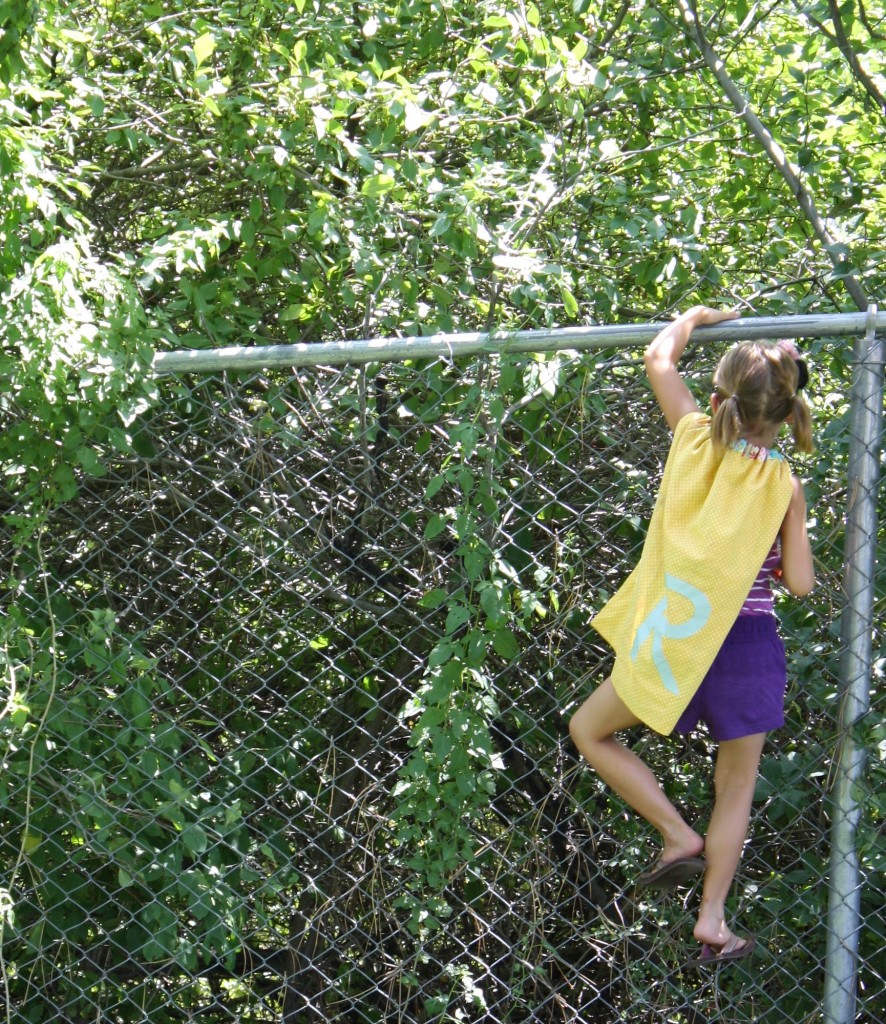
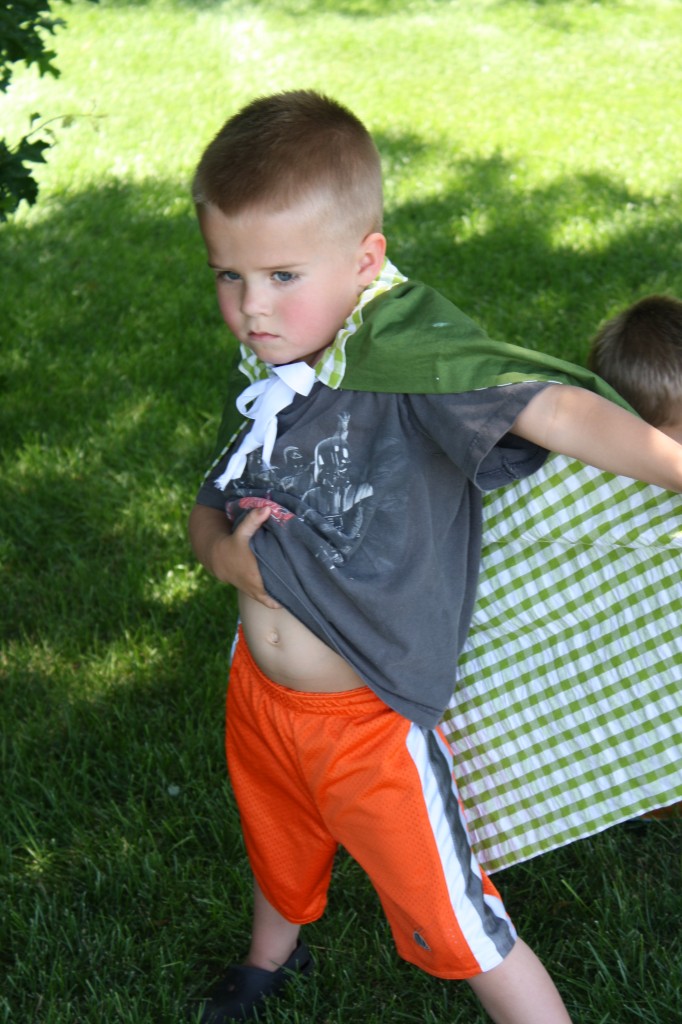
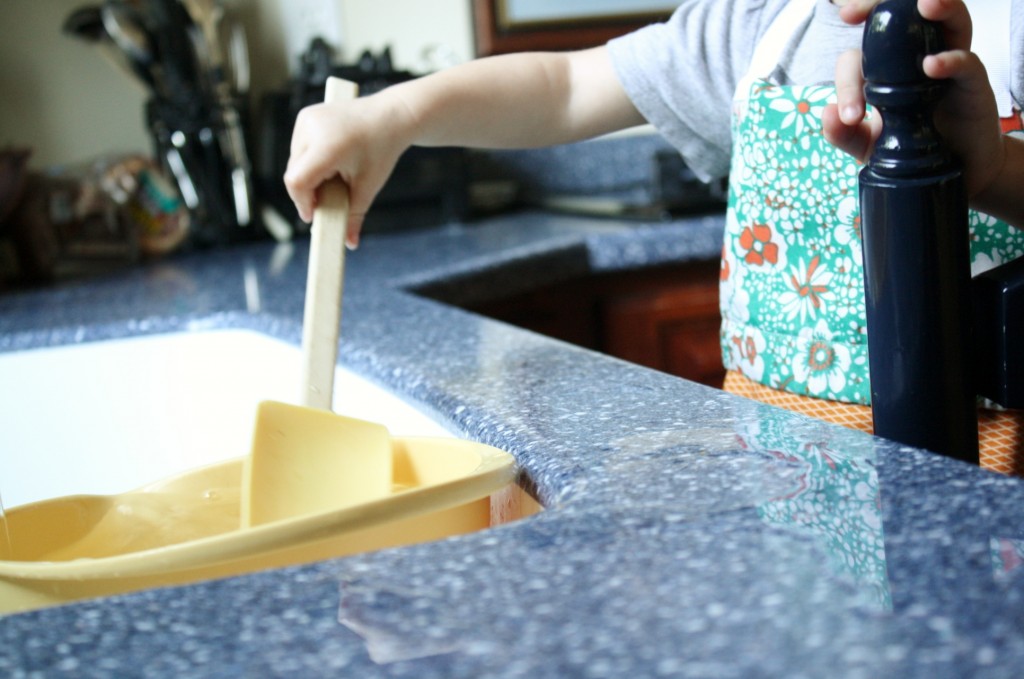
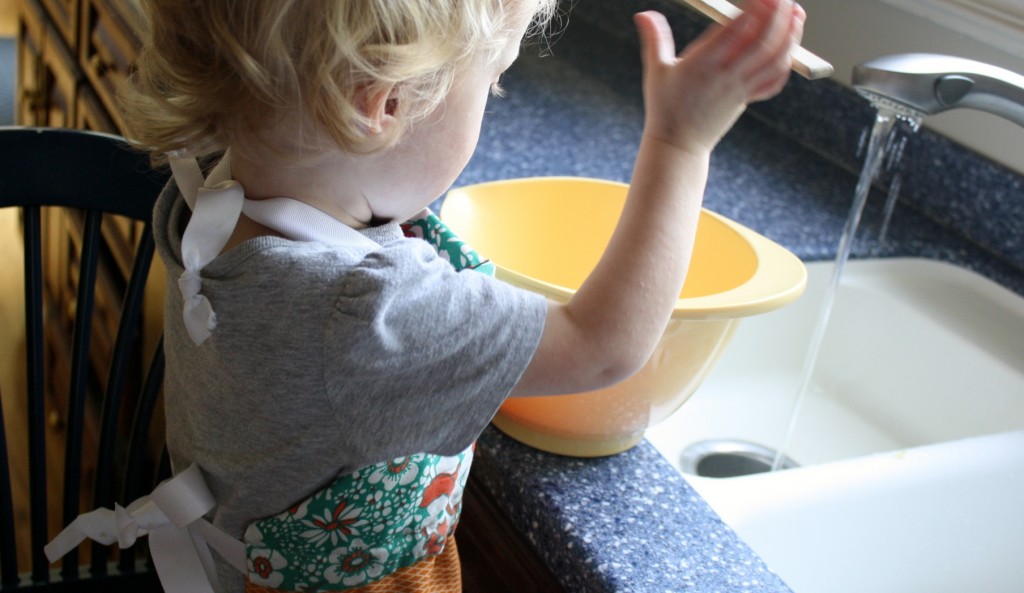
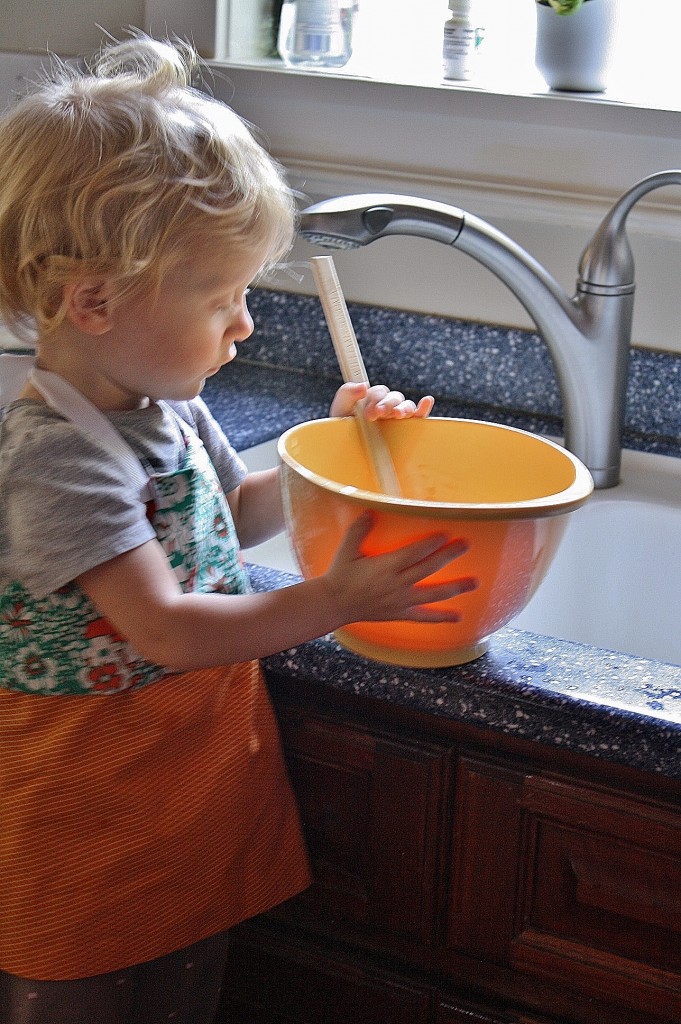
Kids love to help in the kitchen. They also love to save the world. Now they can be a chef by day, and a superhero by night!
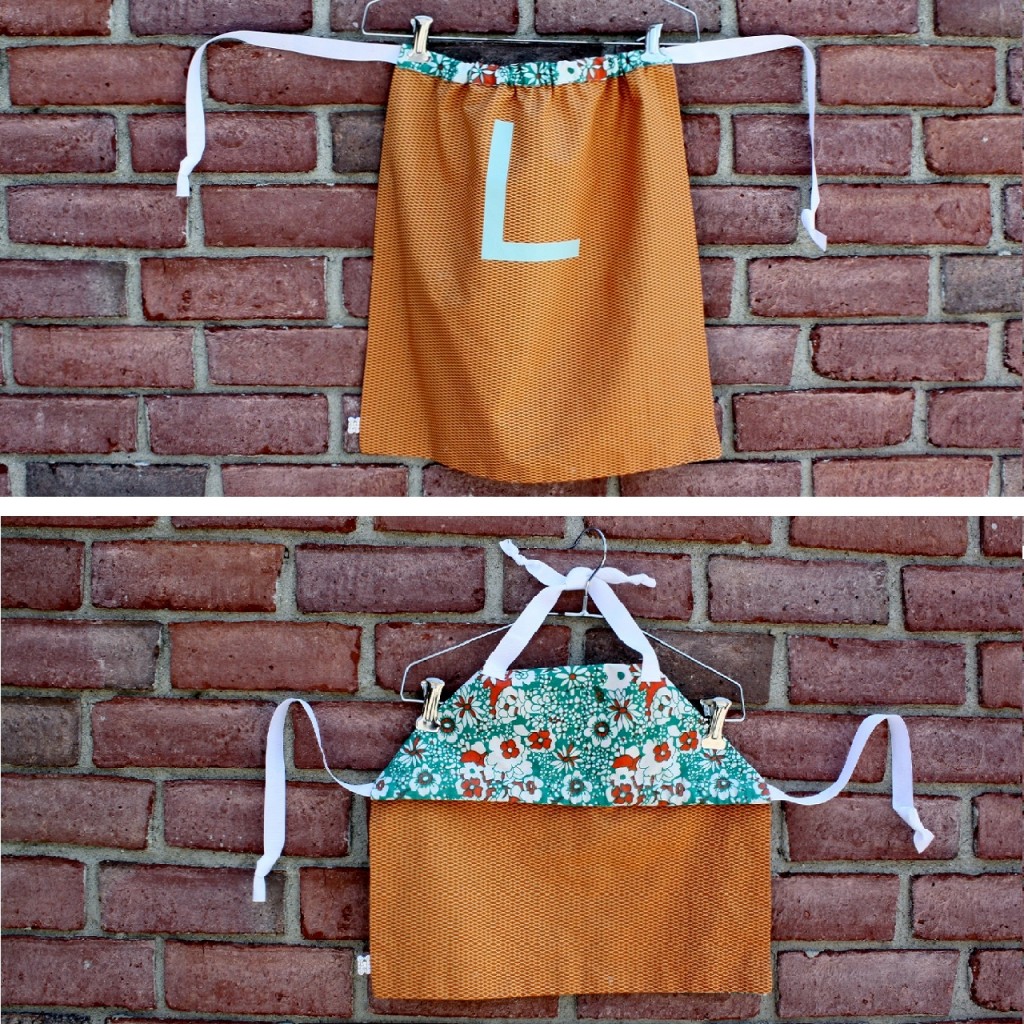
With a simple fold and velcro system, this cape becomes an apron, for all-in-one adventure.

MATERIALS NEEDED
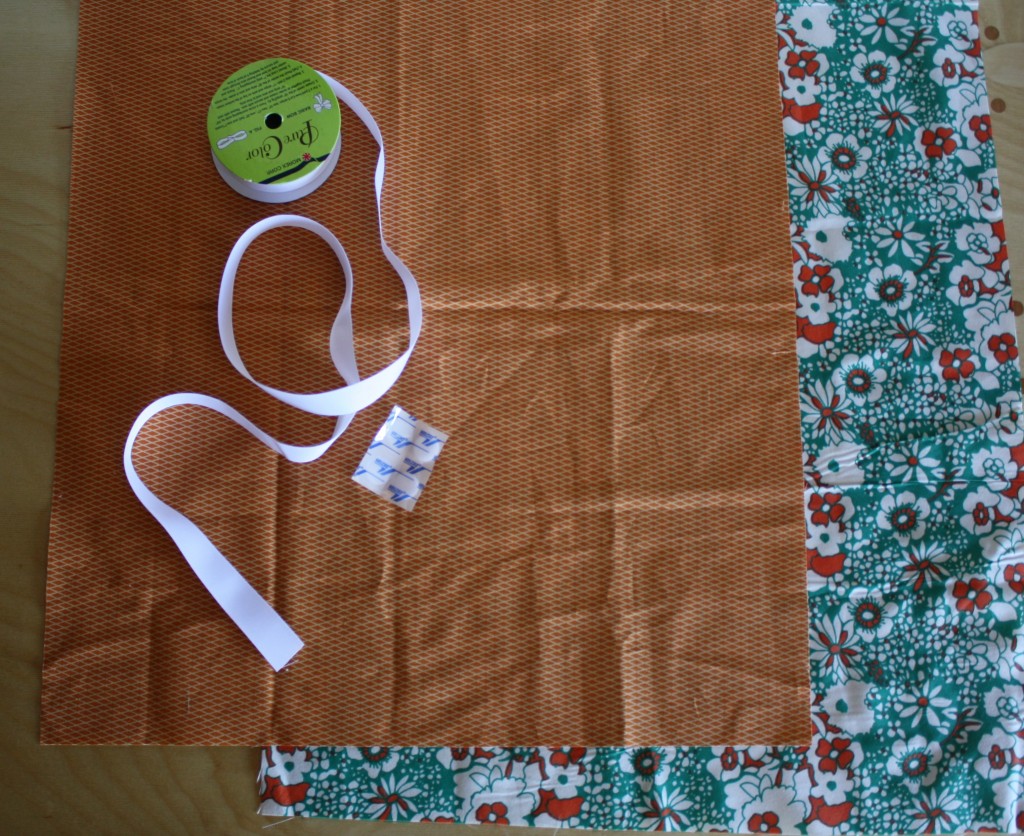
Fabric for each side (use measurements from step 1)
1-2 yds ribbon
Matching thread
(Optional) Fabric Paint/ Scrap fabric for superhero logo
INSTRUCTIONS
1. Decide how wide the cape should be by measuring the width of the back – write the measurement down. Decide how long the cape should be by measuring the length from the neck to mid-calf – write the measurement down.
2. Use the measurements from step 1 to cut out two large rectangles, one for each side of the cape. Contrasting fabrics are really fun here!
3. (Optional) Add any superhero logo to the TOP HALF of one of the pattern pieces. You can freezer paint, applique, or let them draw their own logo with puffy paint. Try to keep it lightweight if you applique, and be sure it is on the top half, so it isn’t seen when it’s used as an apron.
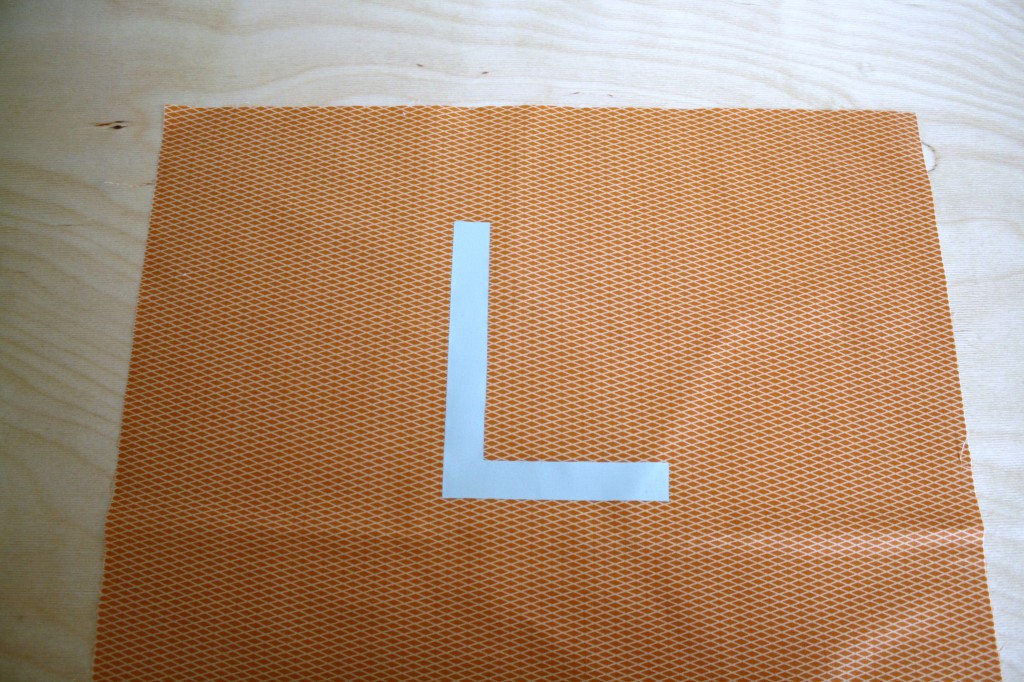
4. Line both pieces up with RIGHT-SIDES-TOGETHER, and pin all the way around. Sew around all 4 sides, leaving a 6″ opening at the CENTER TOP of the cape.
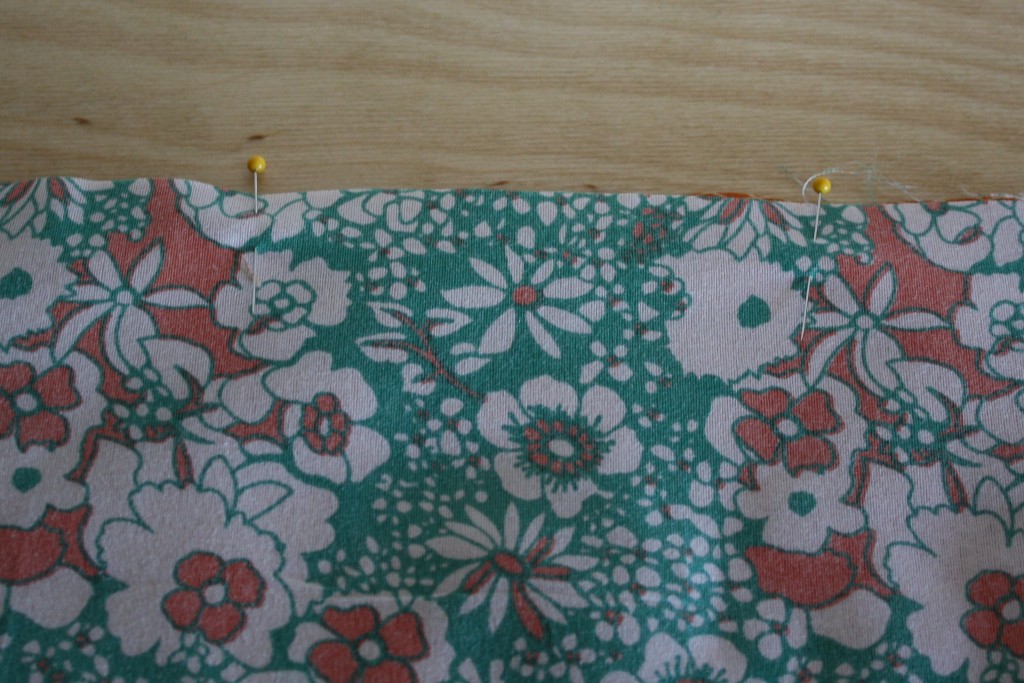
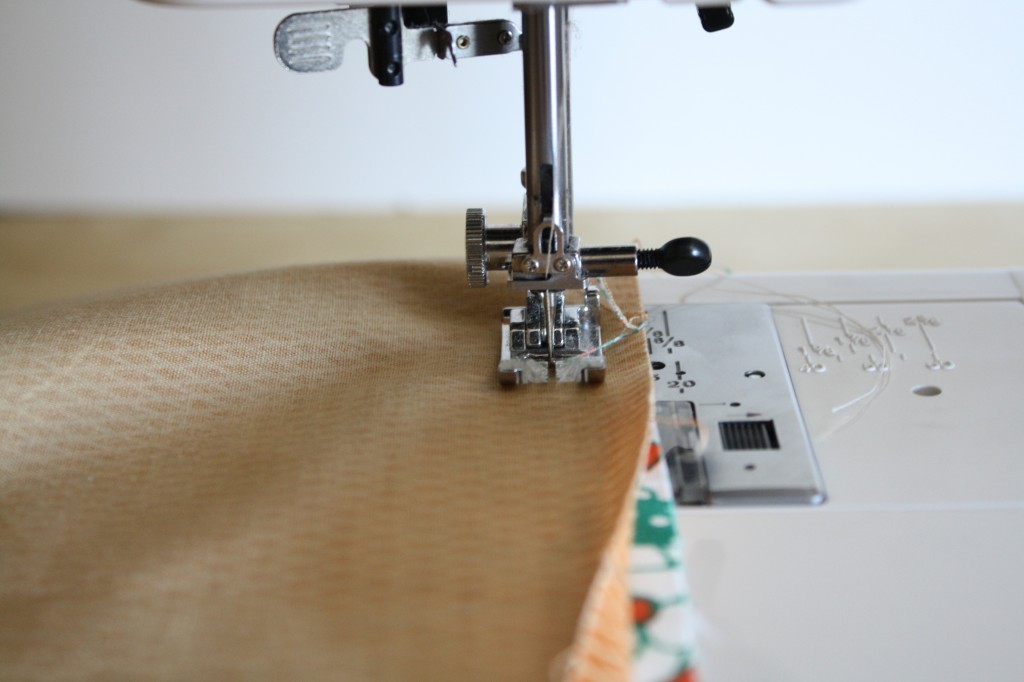
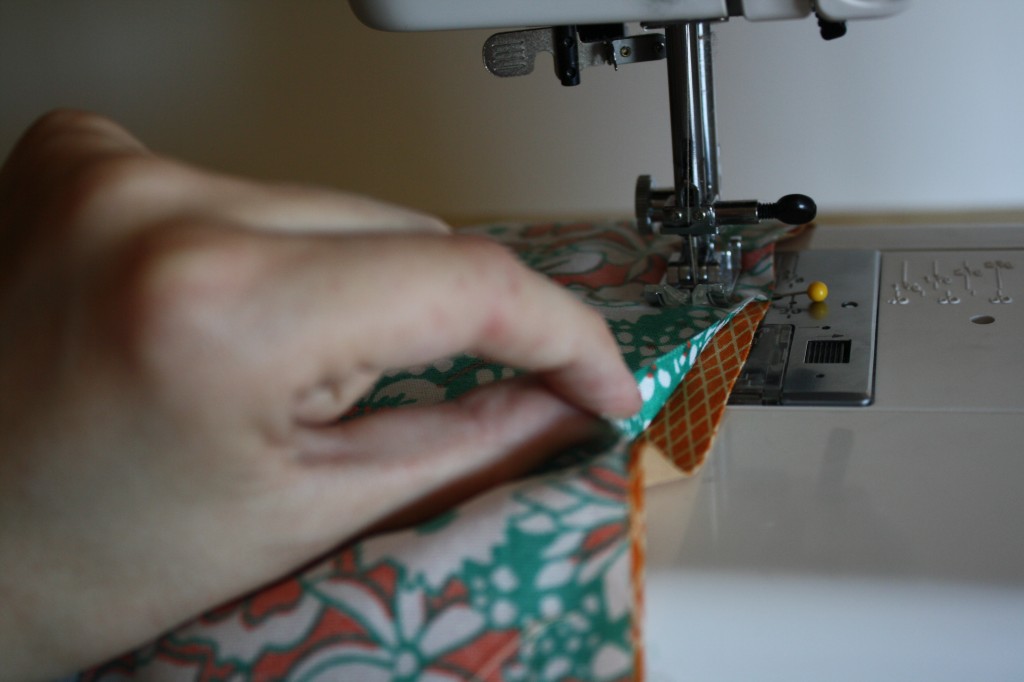
5. Turn it right side out, and iron the edges to lay flat. Iron the edges of the opening into the hole and pin the hole closed.
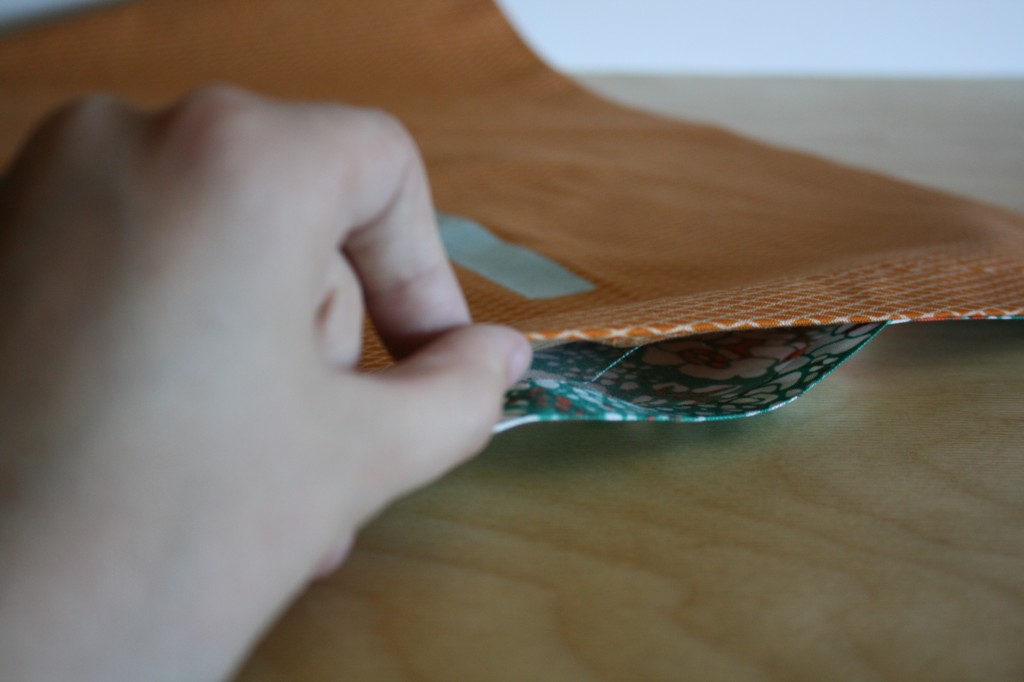
6. Iron the top side of the cape down, about 1/4″ wider than the ribbon that will be used for the drawstring.
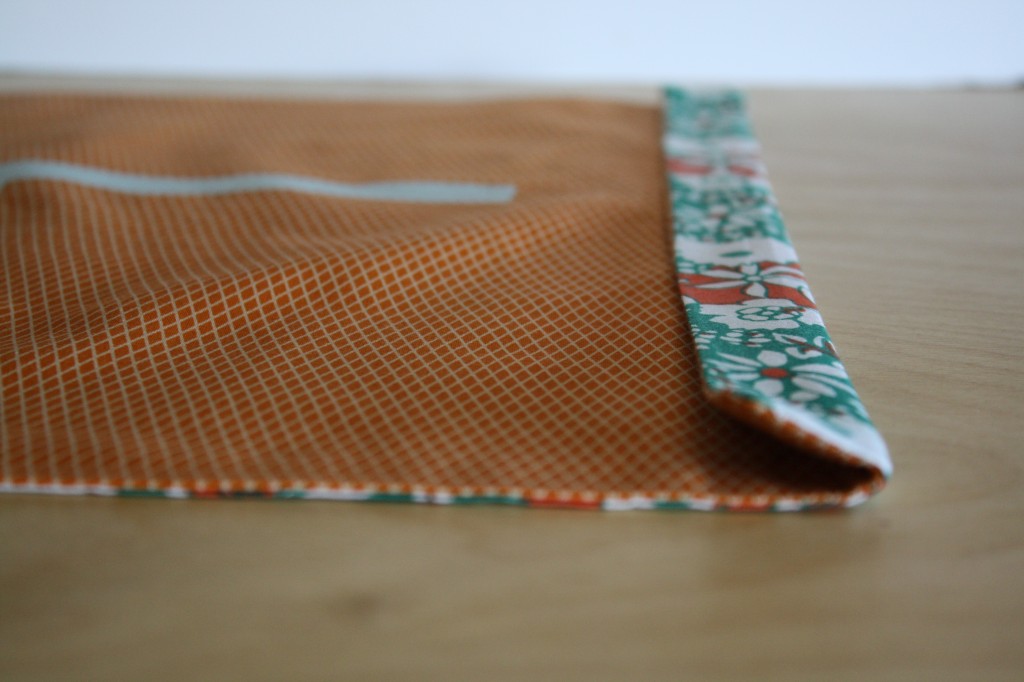
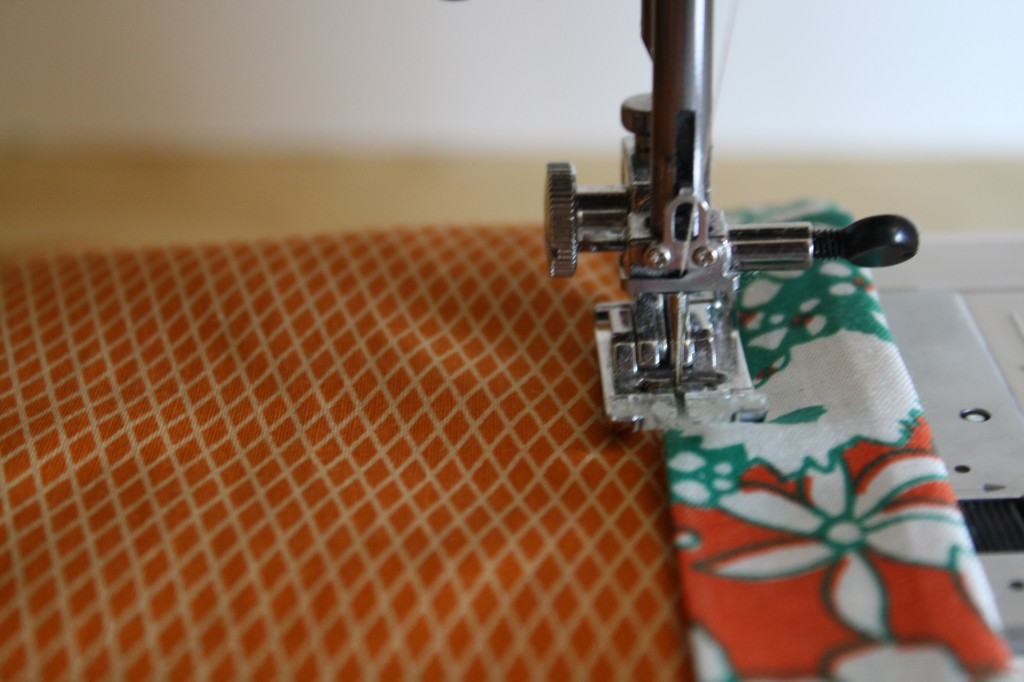
7. Top stitch the fold down, near the inner edge.
8. Secure a safety pin to one side of the ribbon and feed it through the tube you’ve just sewn at the top of the cape.
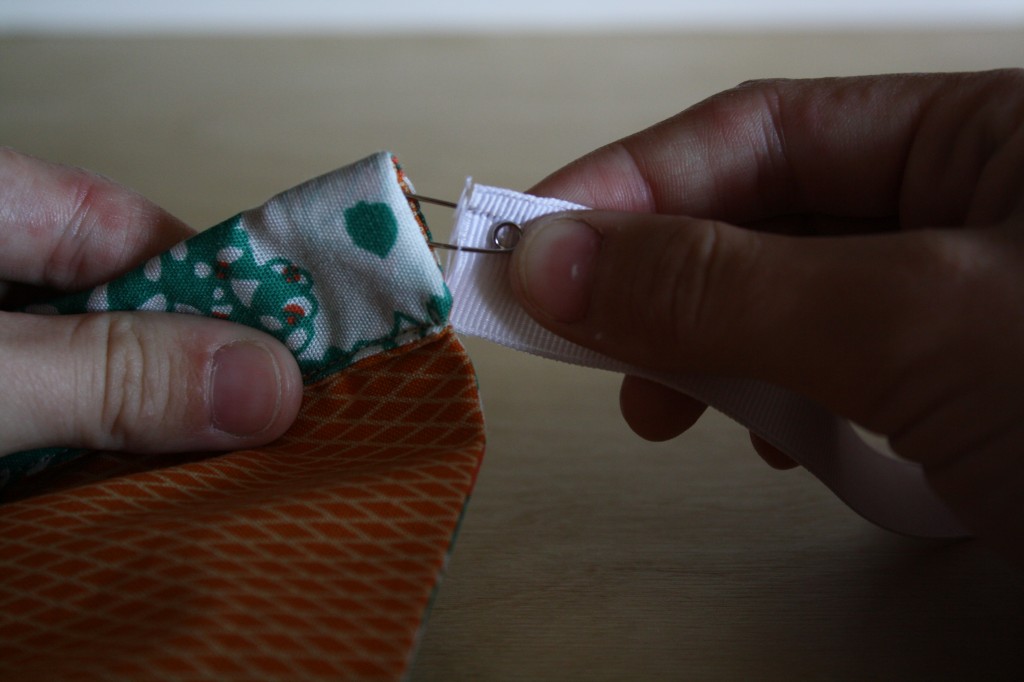
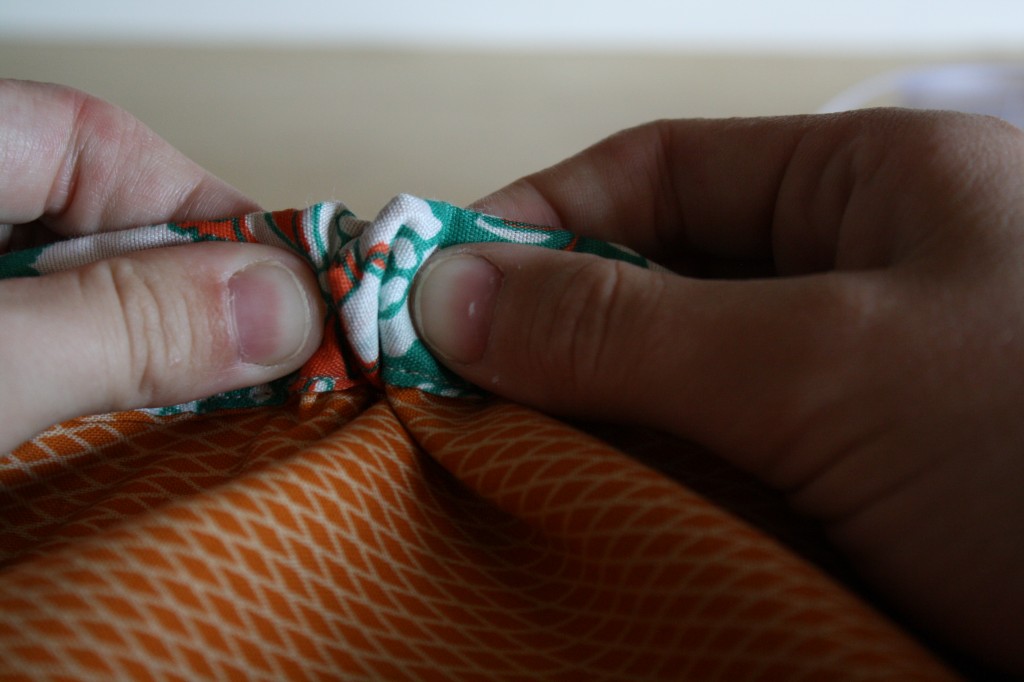
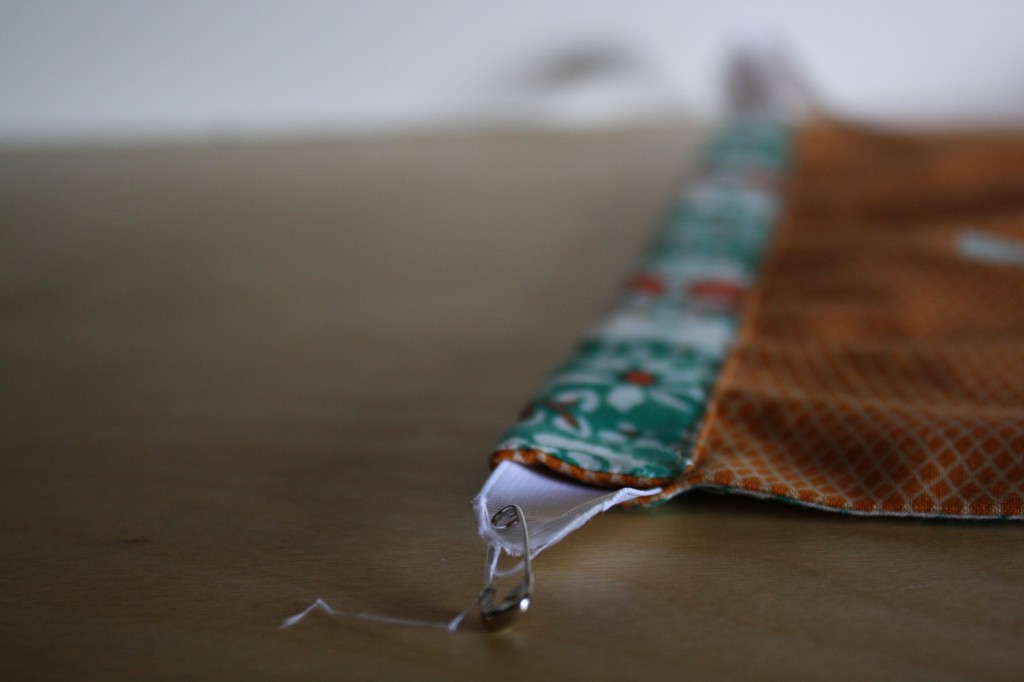
9. Tie knots to the ends of the drawstring and center the drawstring, keeping the cape flat.
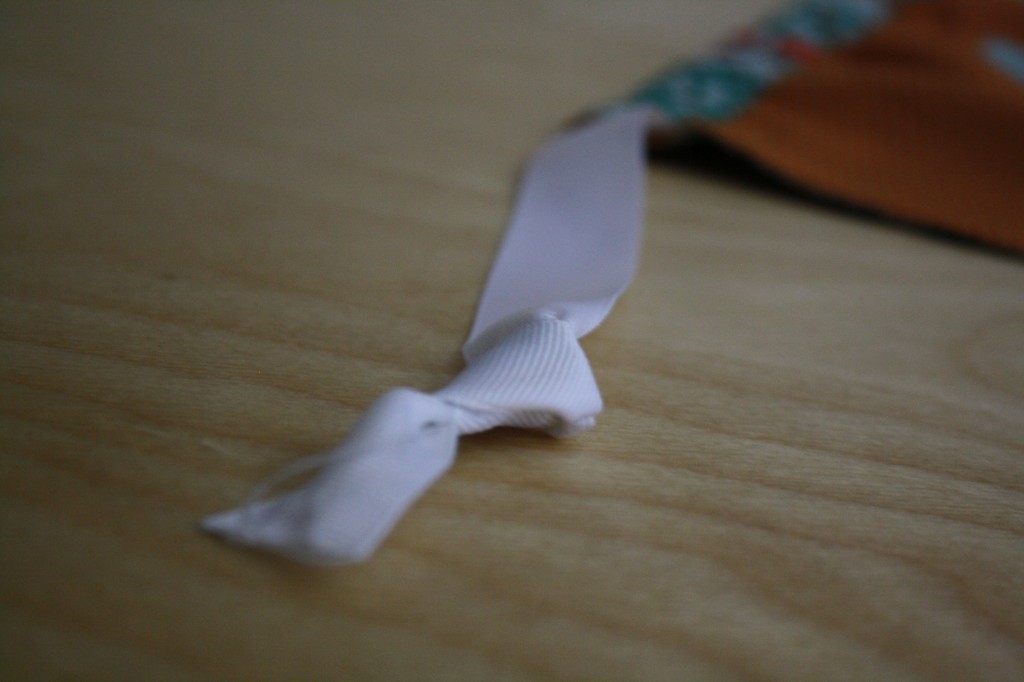
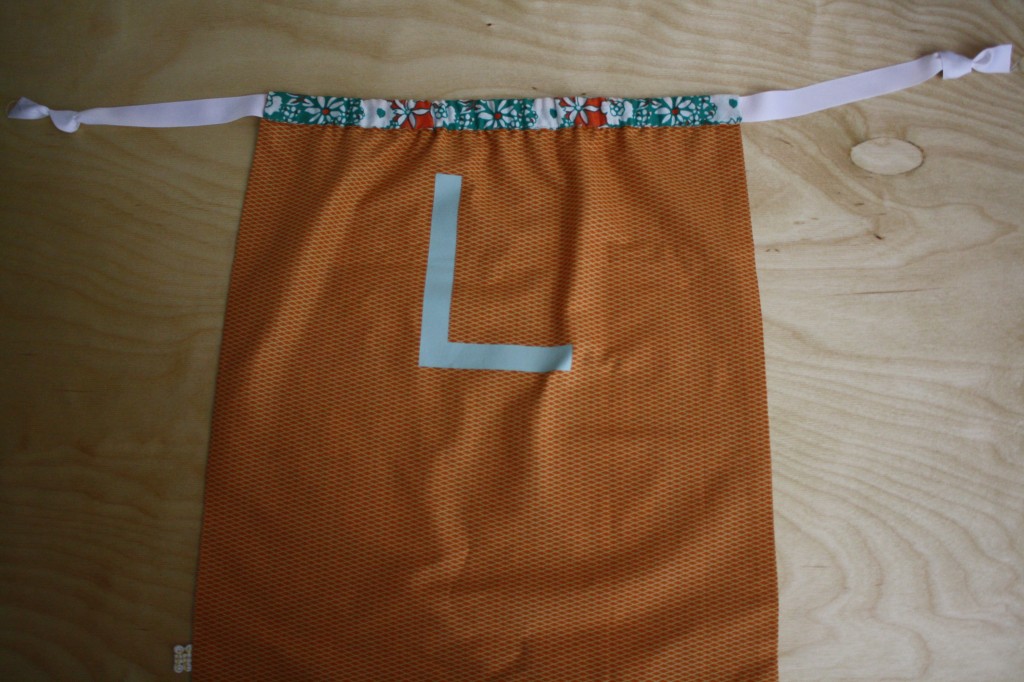
10. Sew down the center of the casing at the top of the cape. This will hold the drawstring in place at the center, and keep the ends of the drawstring from getting lost inside the casing.
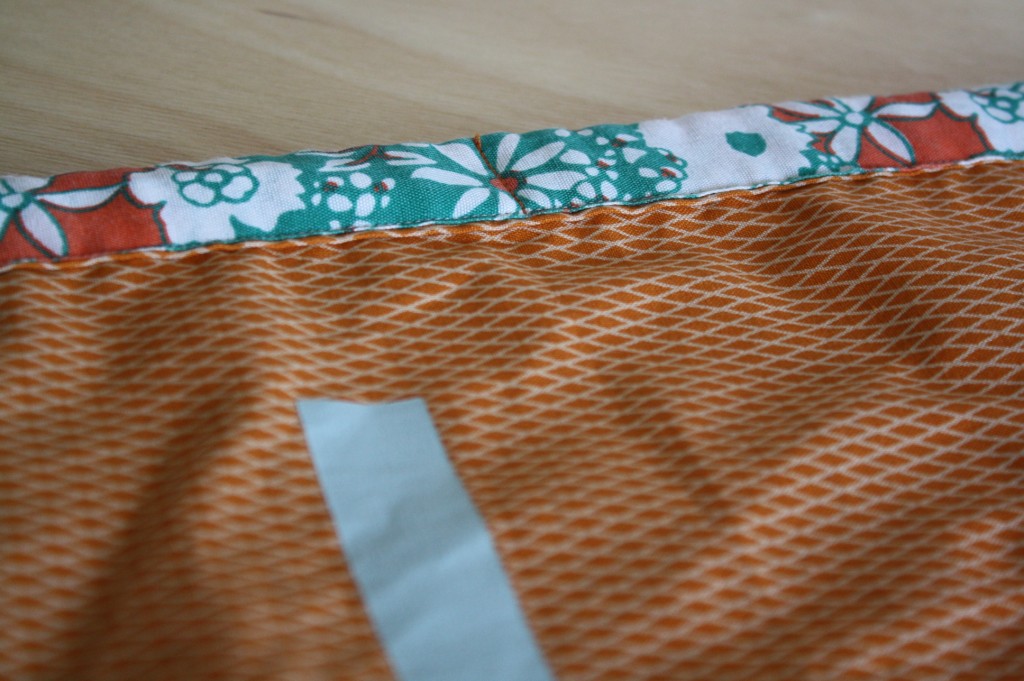
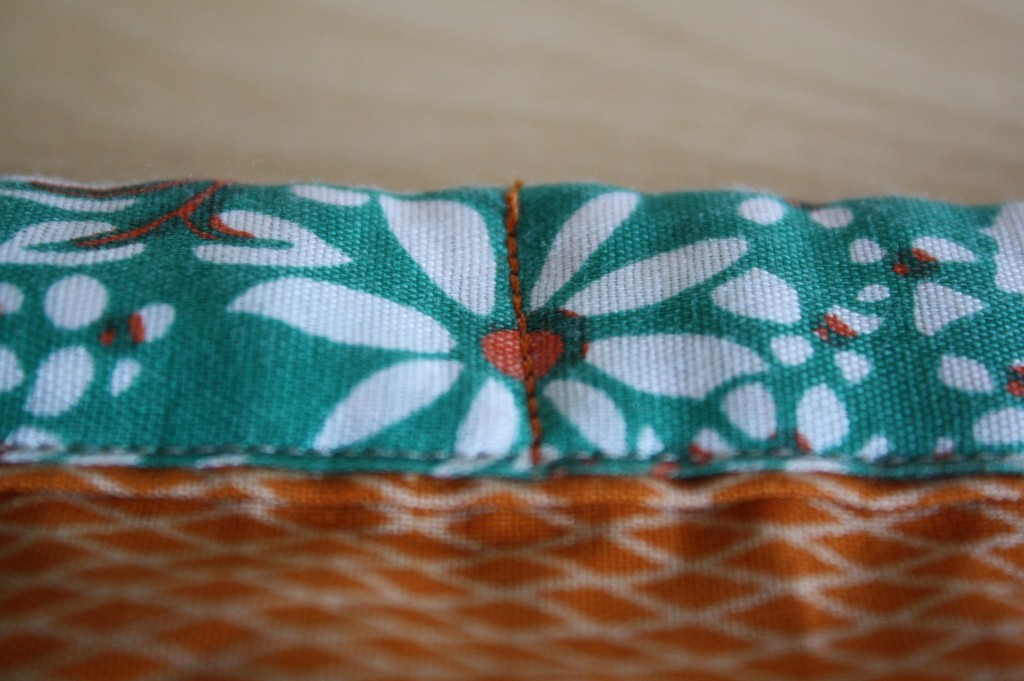
IF YOU’RE JUST LOOKING TO MAKE A CAPE, STOP HERE.
IF YOU WOULD LIKE TO MAKE A CAPE/APRON, CONTINUE WITH STEP 11
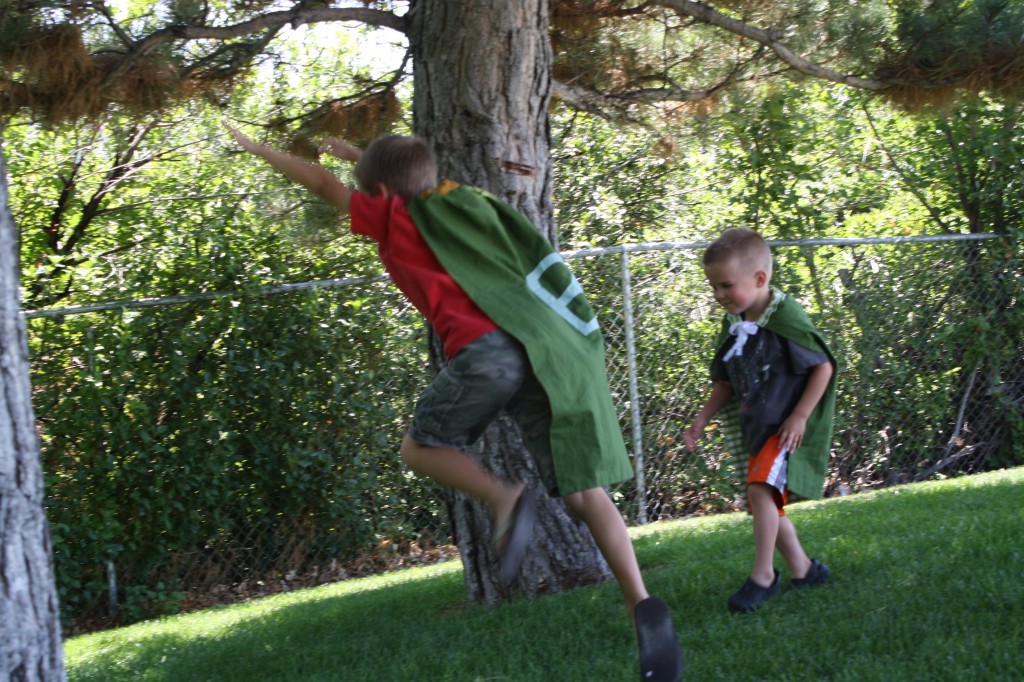
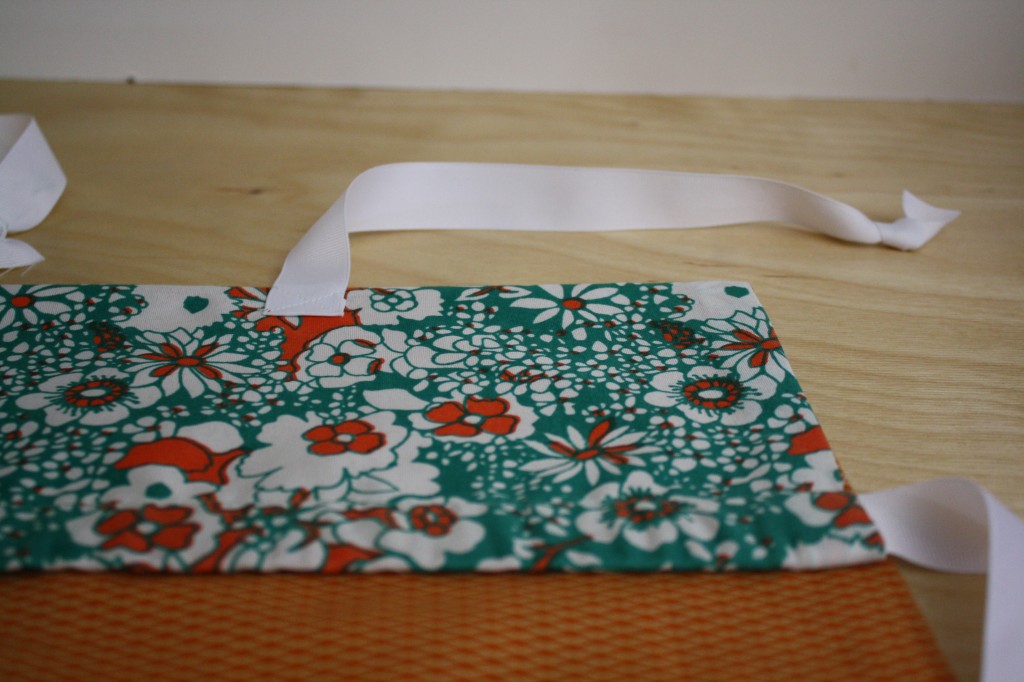
11. Fold the top of the cape down, making the drawstring at the top of the cape a waist strap for an apron. This is why it’s a good idea to make the superhero logo on the top half, because it will completely hide the logo when the cape becomes an apron.
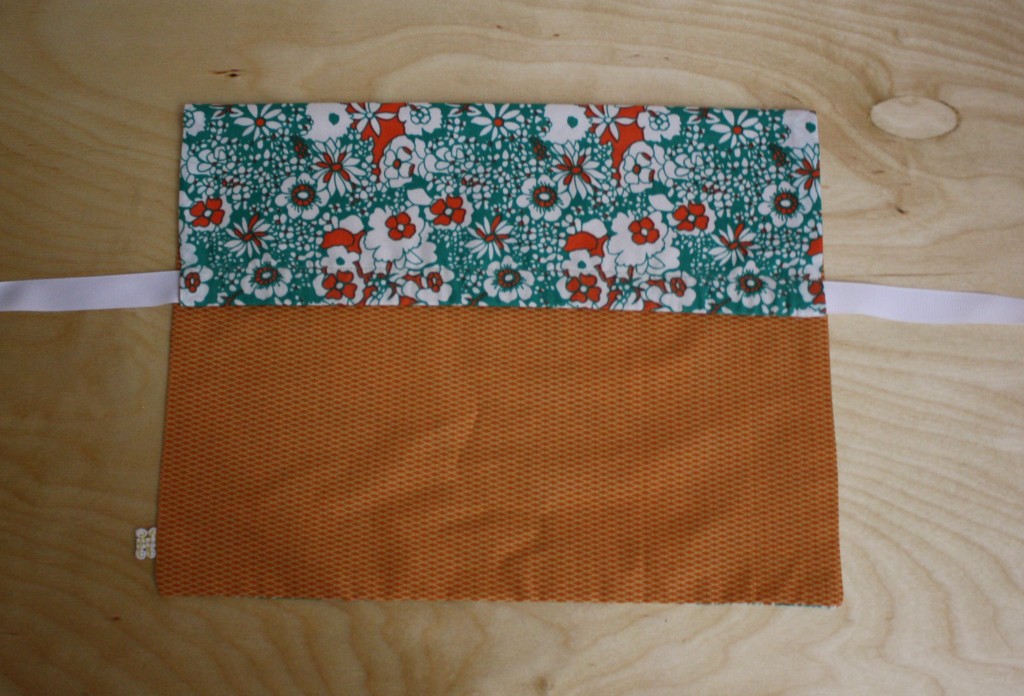
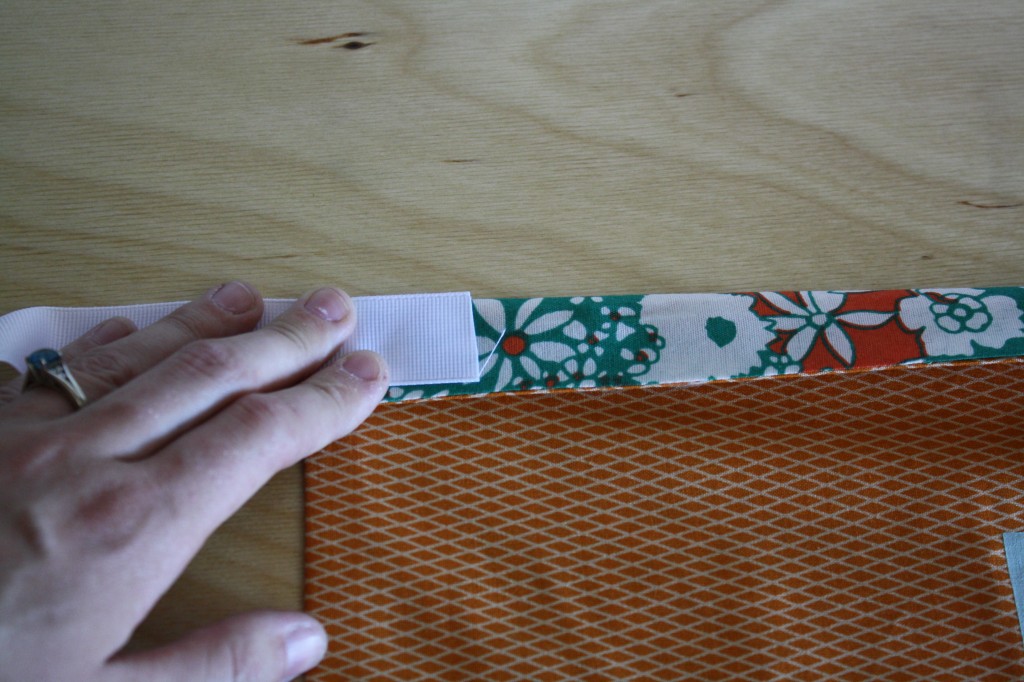
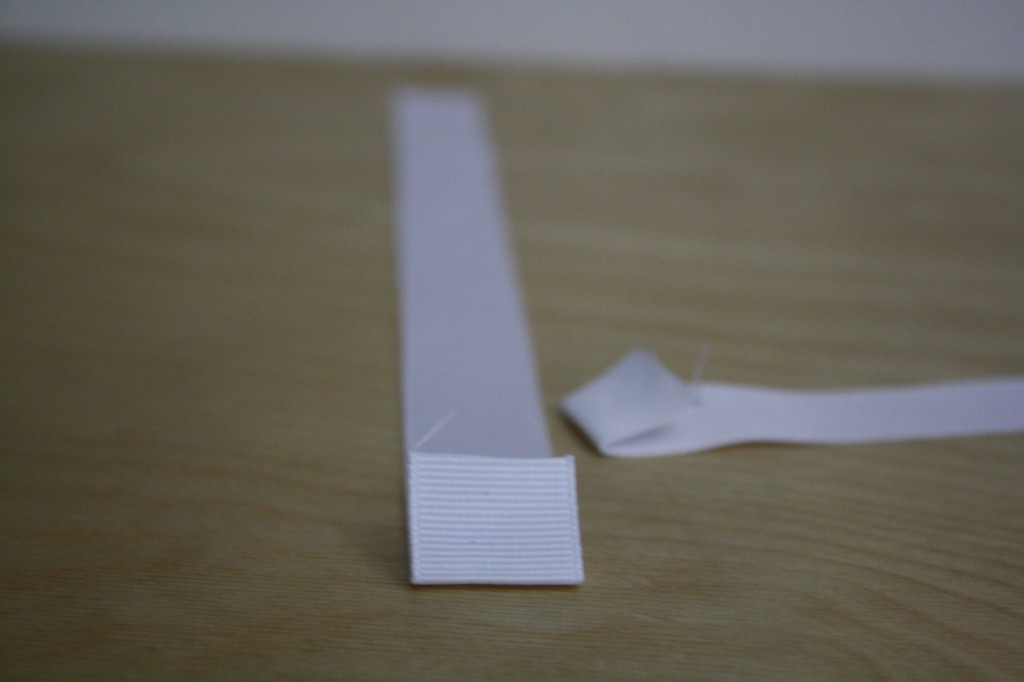
12. Cut two neck straps (long enough to tie at the back of the neck plus some). Iron one end of each strap under about 1″
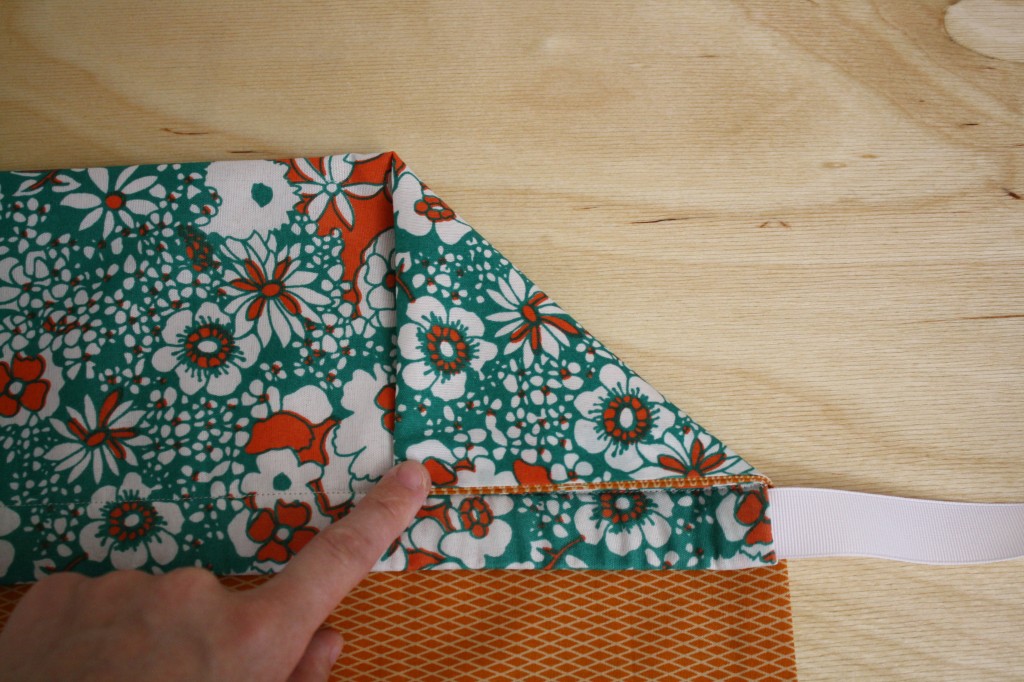
13. With the top of the cape still folded down, fold the corners in, just above the drawstring.
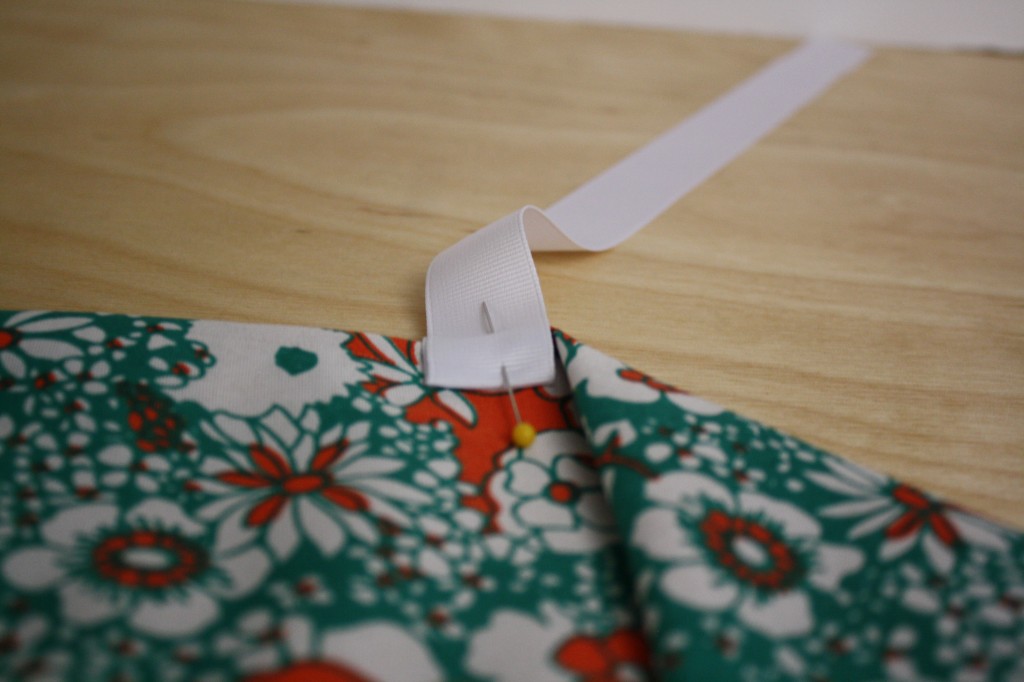
14. This fold will indicate where to place the neck straps. Line the ironed end of the ribbon just inside the corner fold on both sides and pin in place. After the straps are pinned, the corners can be unfolded.
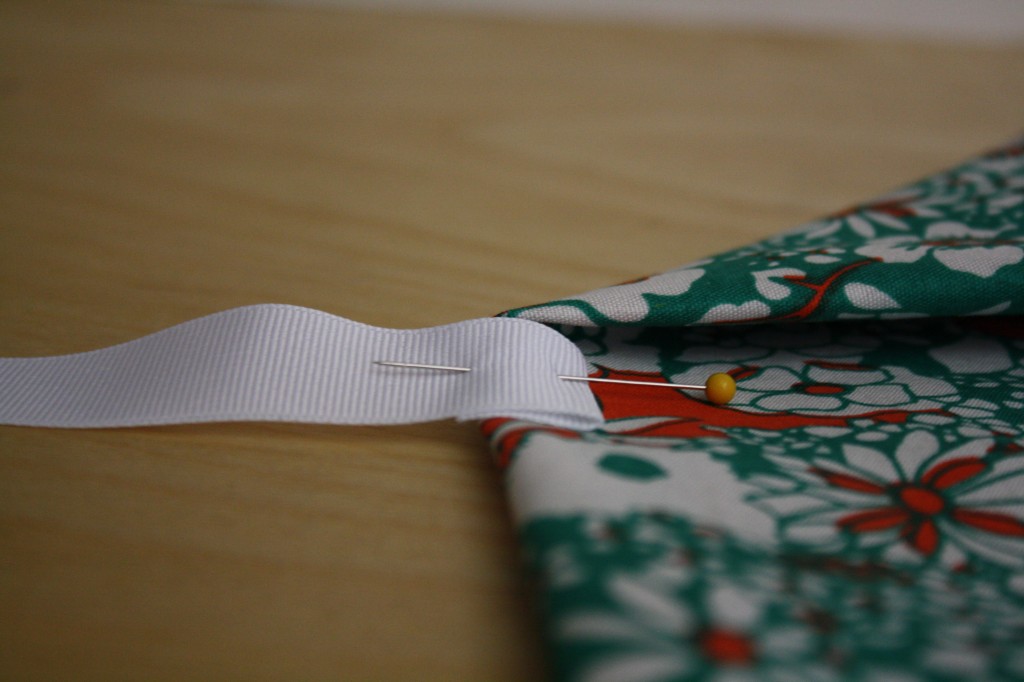
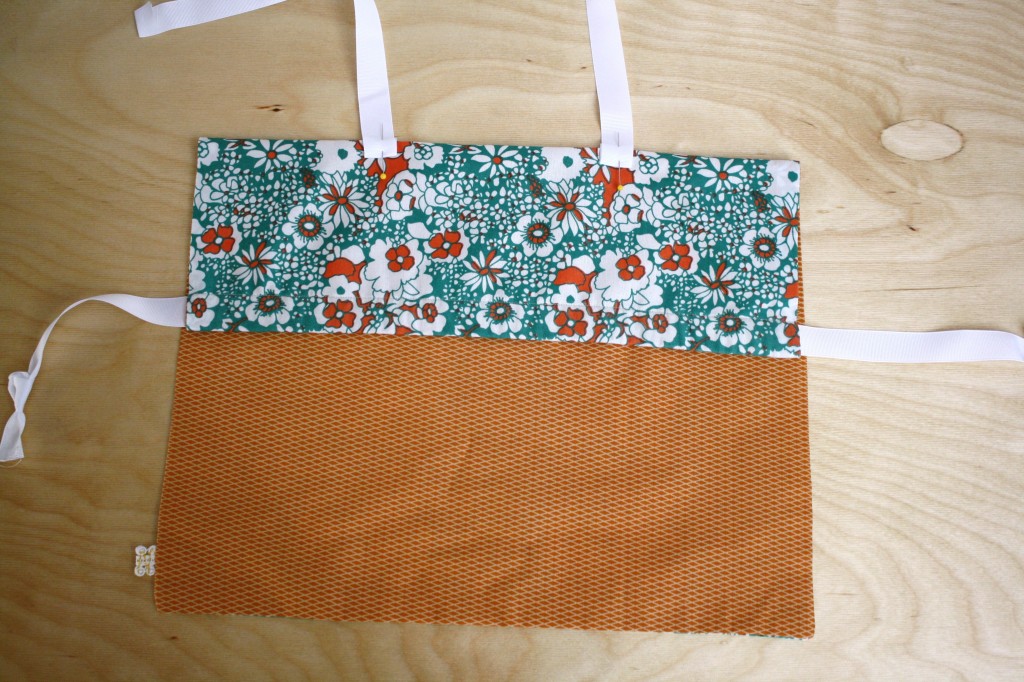
15. Unfold the cape (making sure that the pins didn’t catch the underside of the cape) and sew the neck straps to the cape with an “X”. Be sure to reverse stitch. The upper thread should match the ribbon, and the bottom thread should match the cape.
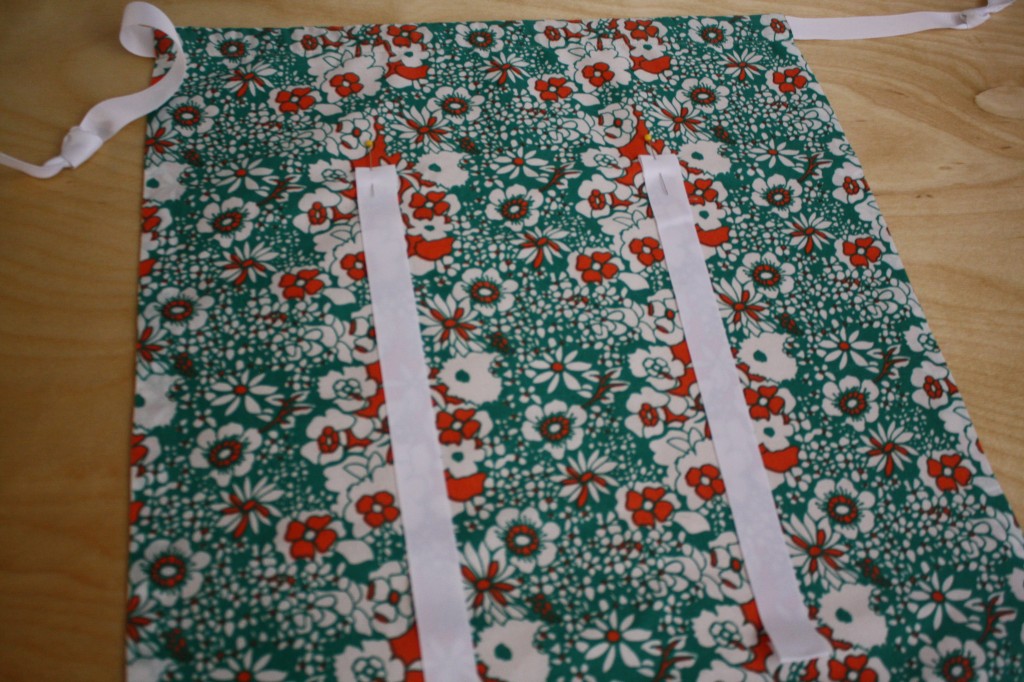
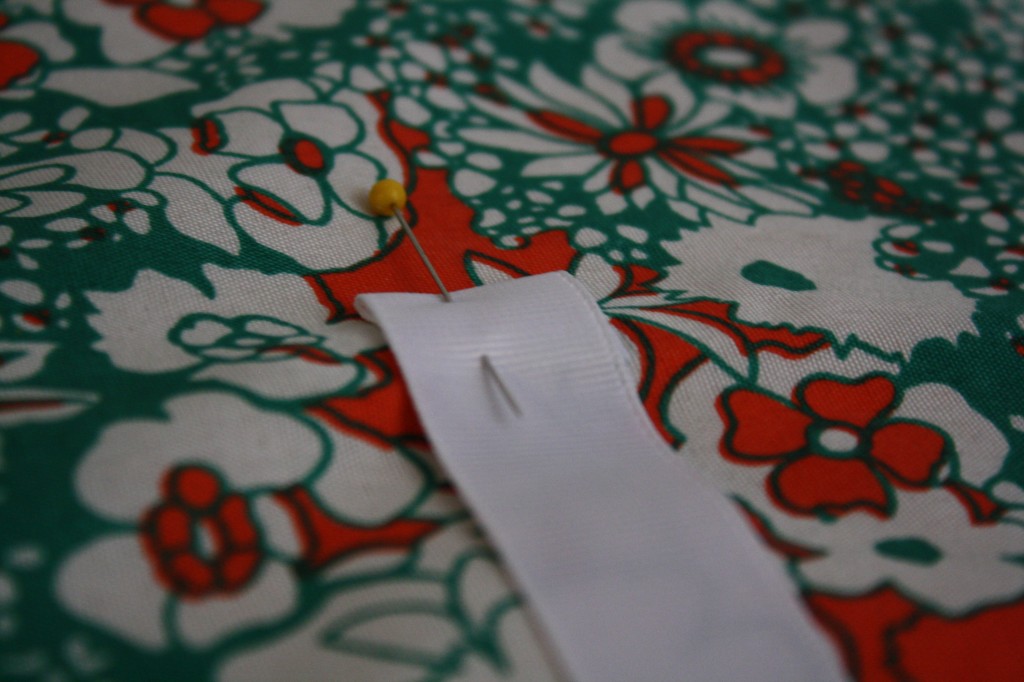
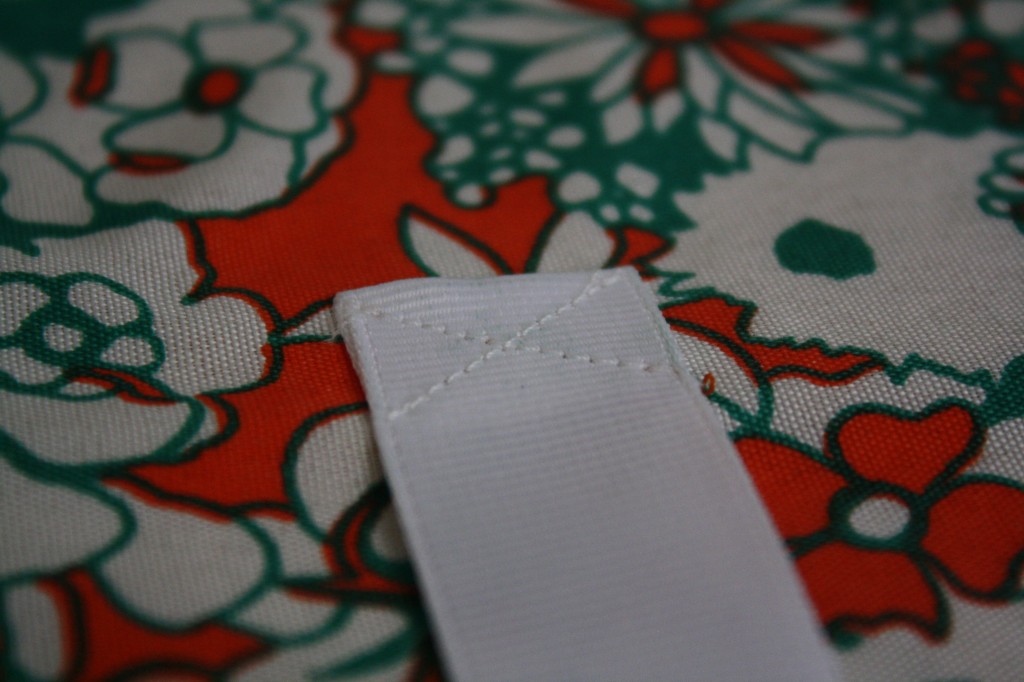
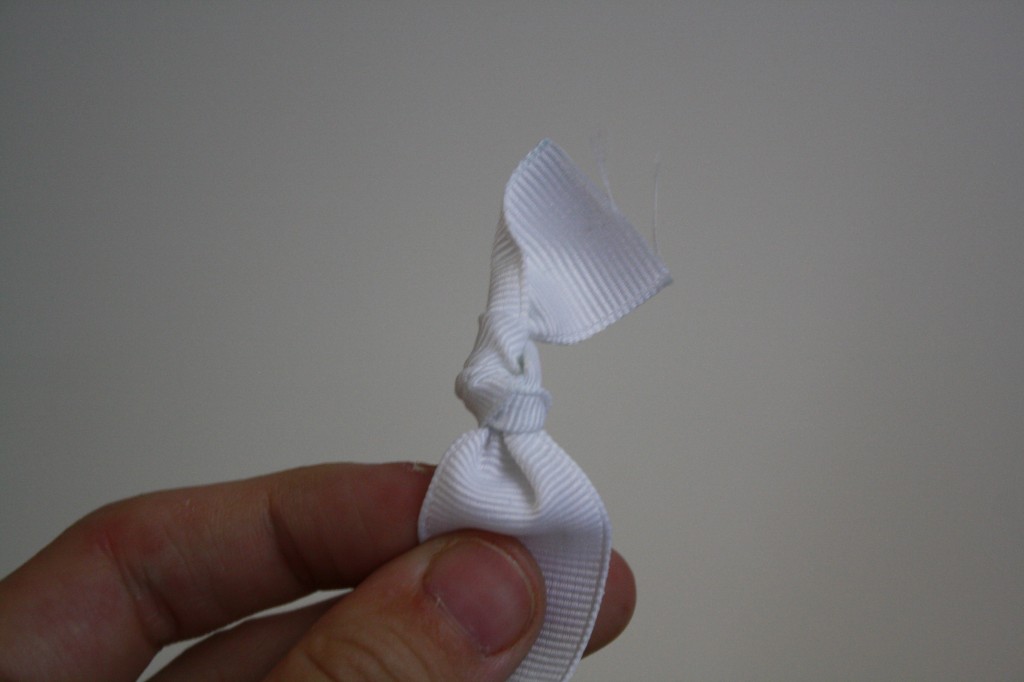
16. Make sure the neck straps are a good length and tie knots at the ends to prevent fraying.
17. Fold the cape down again (you can do this by holding the apron by the neck straps).
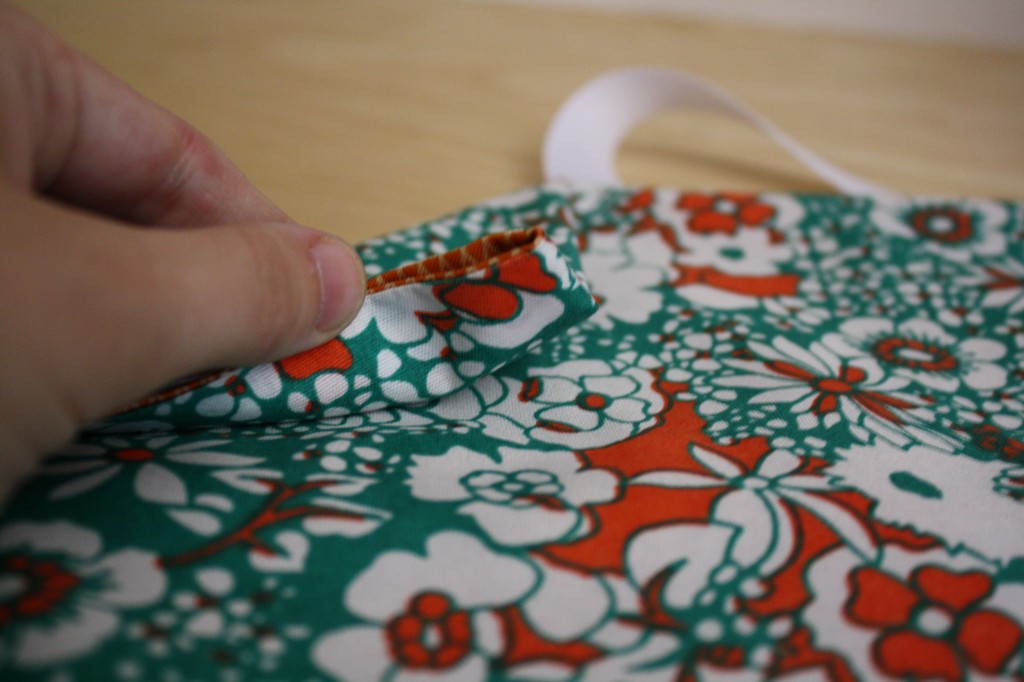
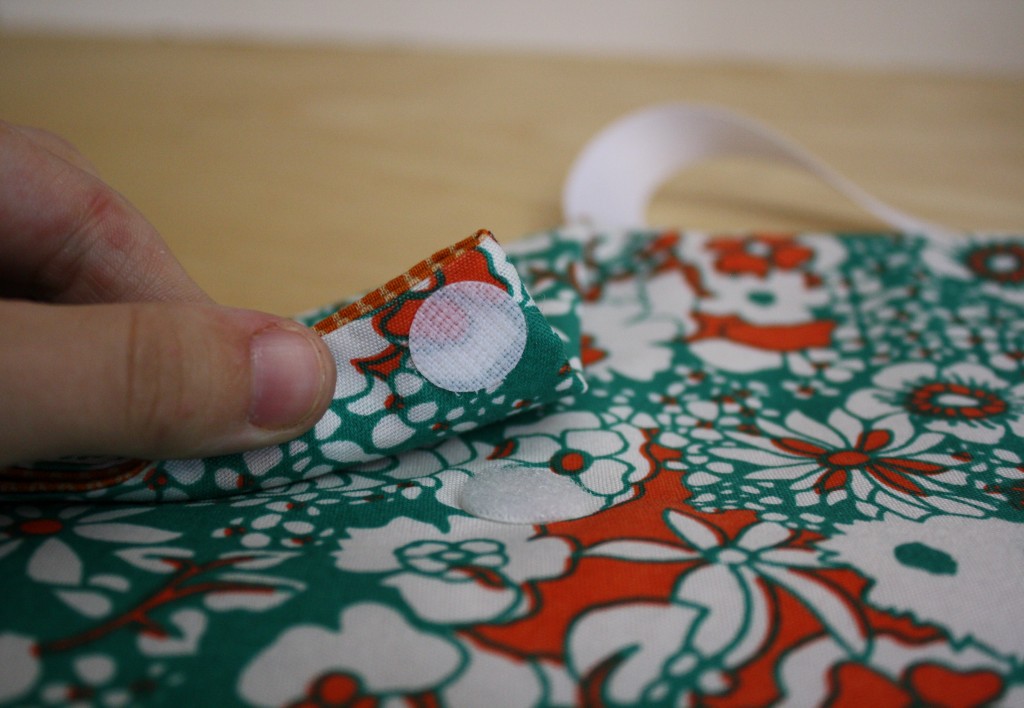
18. With the back side of the cape/apron facing up, fold the corners down once again, creating a triangle just inside the neck straps and the drawstring. This will essentially tuck the corners under to give shape when it’s worn as an apron.
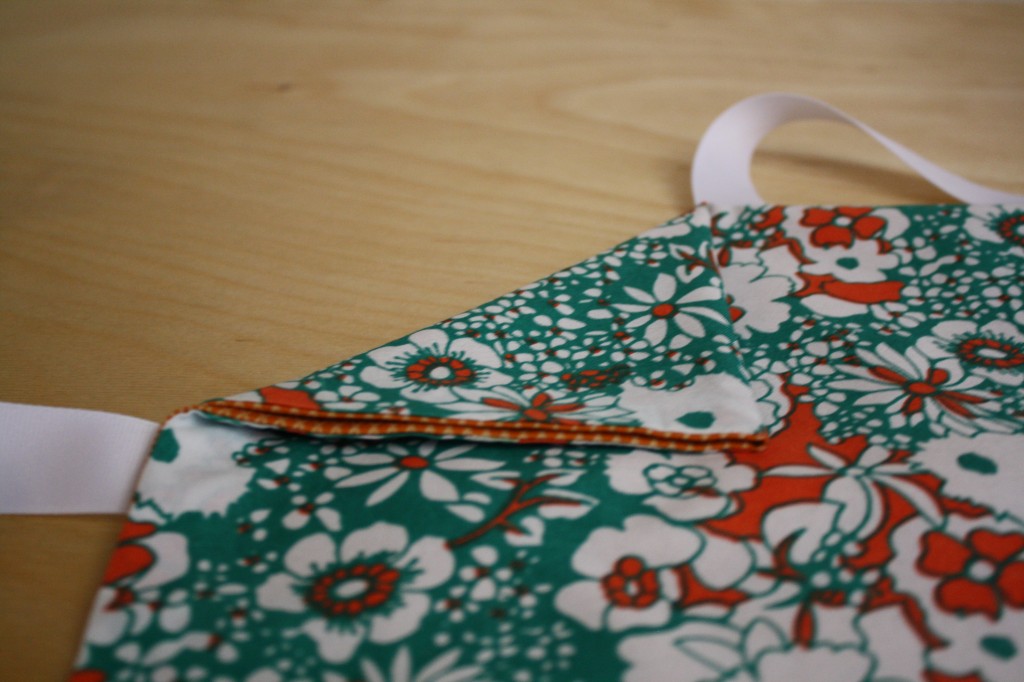
19. Lift each corner up and stick velcro in place.
All that’s left to do now is play!
