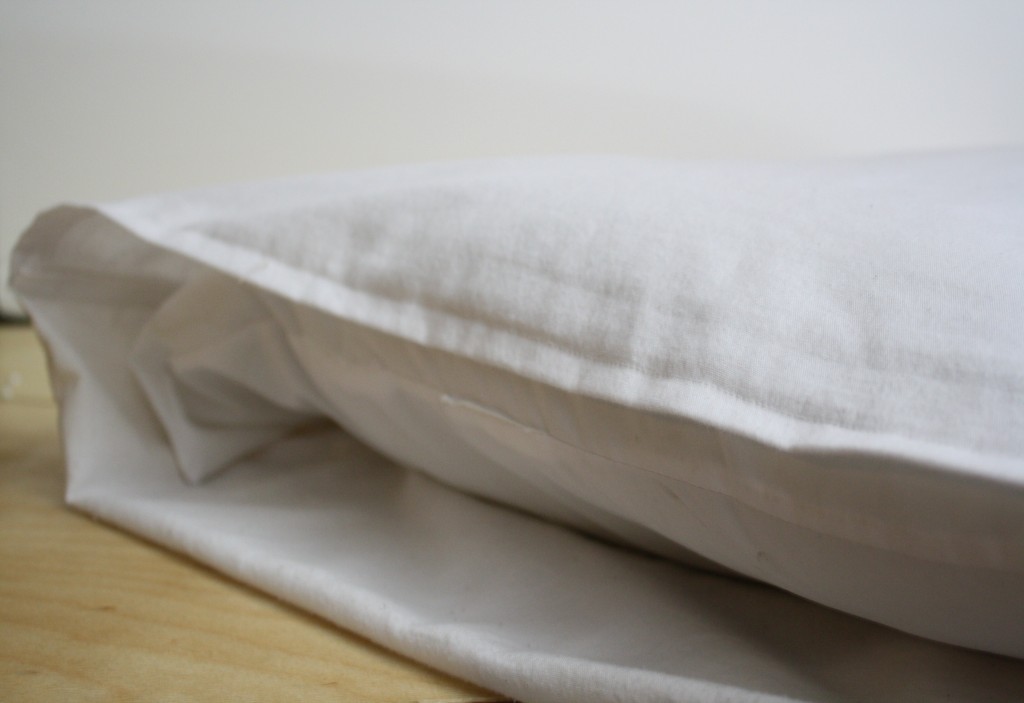
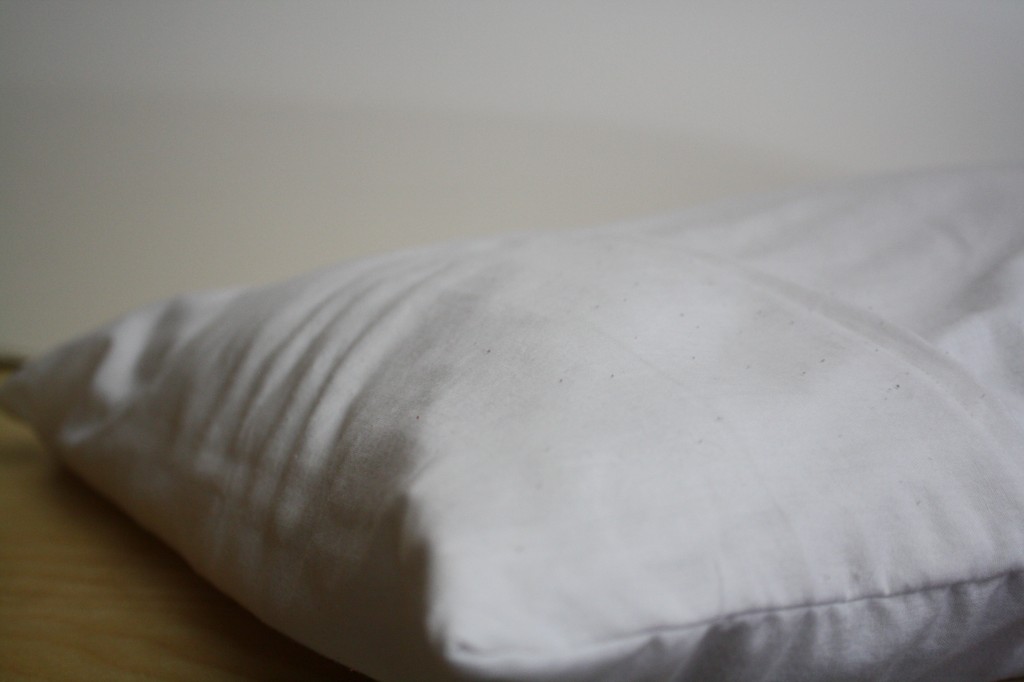
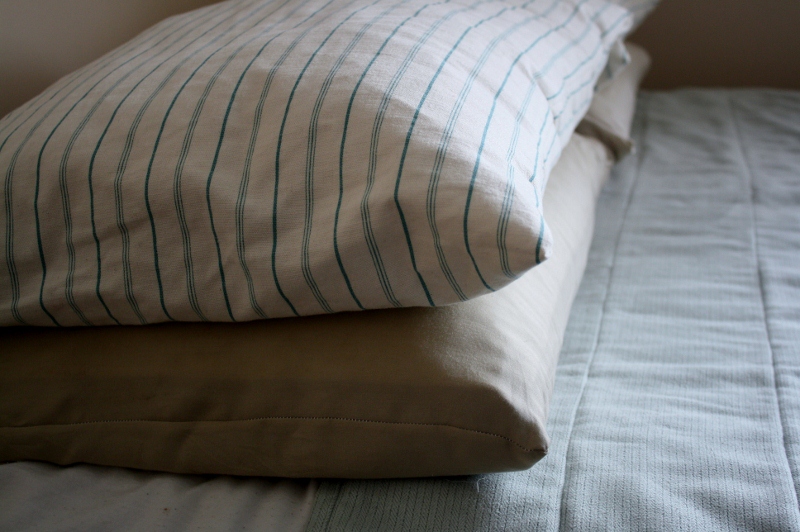
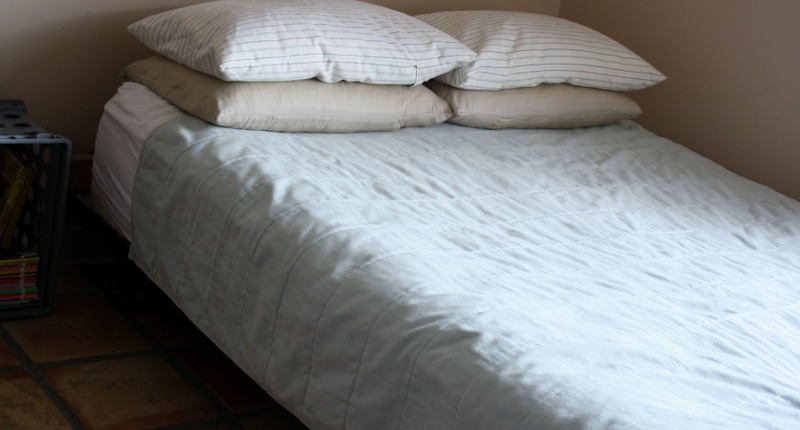
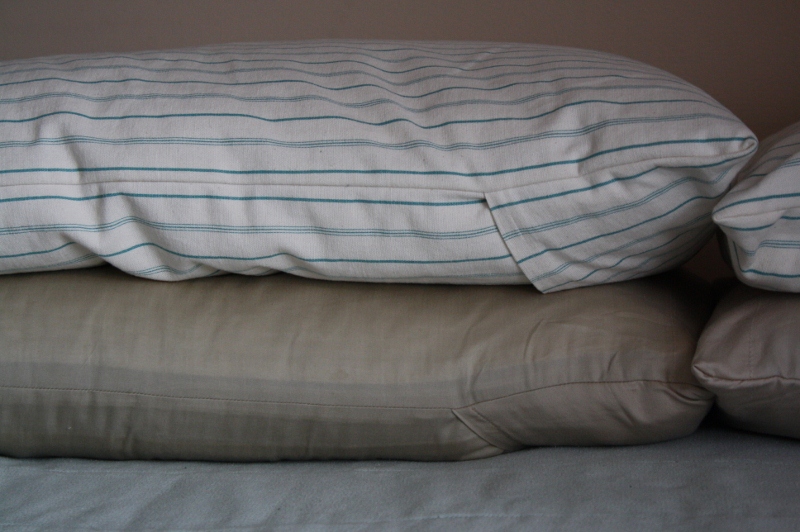
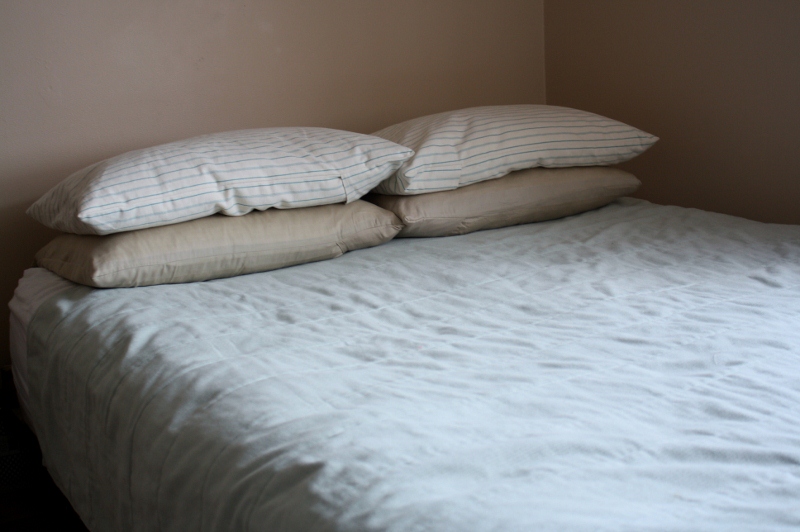
Pillowcases are one of my pet peeves. I know, nobody likes hearing about other peoples’ pet peves, but this time, I actually did something about it. See, I can’t stand it when I can see the pillow form inside of the pillowcase. We have two sets of pillows on our bed, one is more full than the other, and our pillowcases didn’t fit them as well. I let it bug me for 2 years. Silly, really, when I had a simple 30 minute solution waiting for me the whole time. Closed pillowcases that look pretty on BOTH ends of the pillow.
I’m smiling.
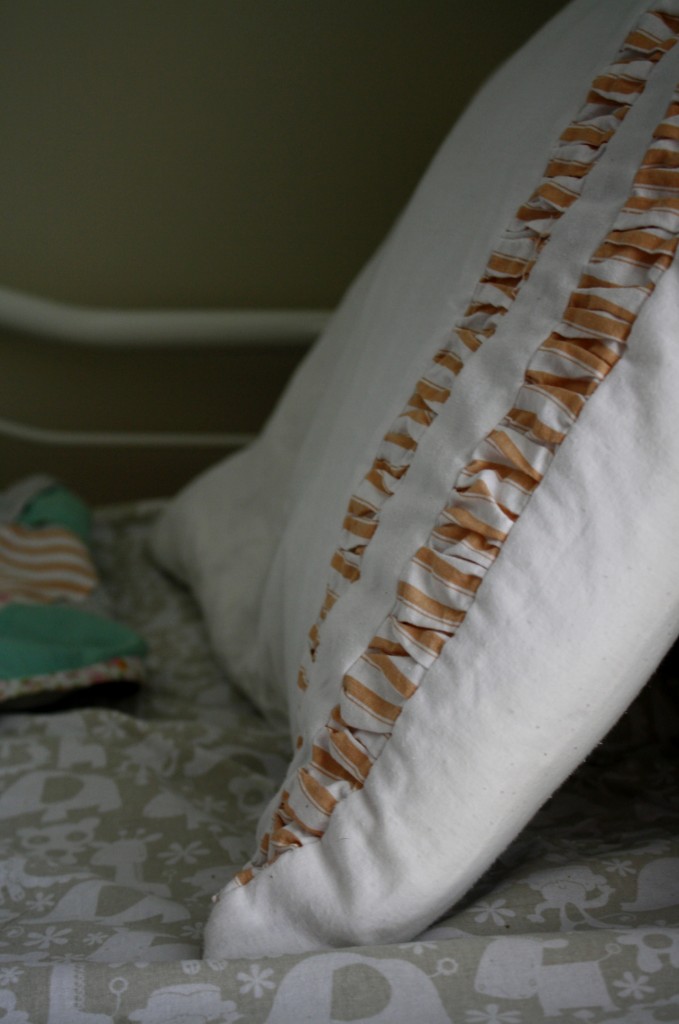
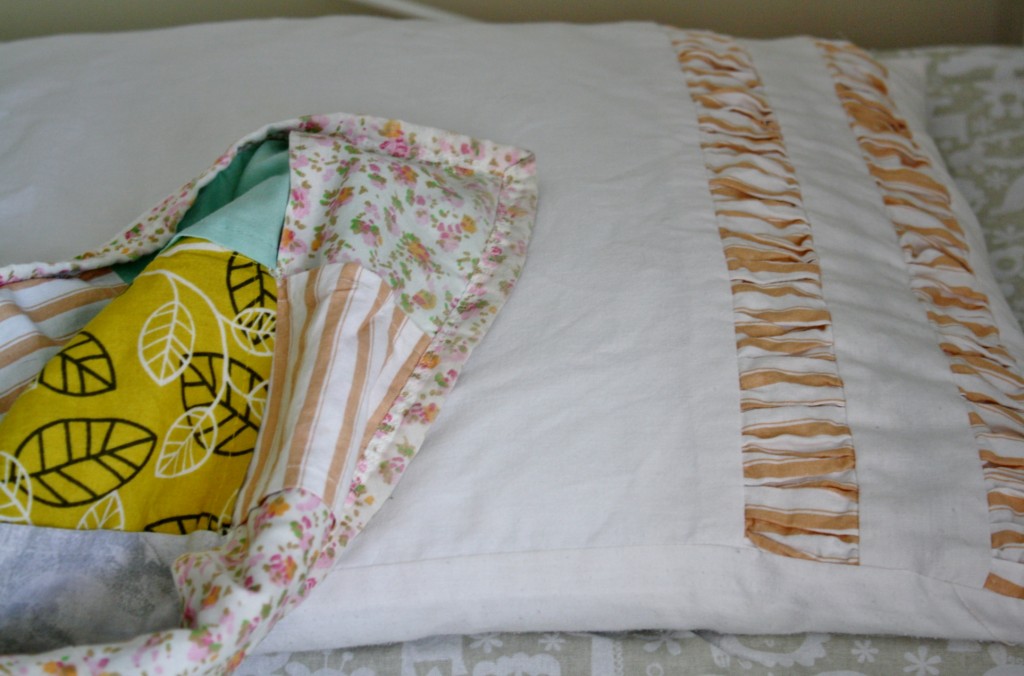
We keep simple, gender nuetral pillows on our bed, but I had some fun with the girls’ pillowcases, and added gathers.
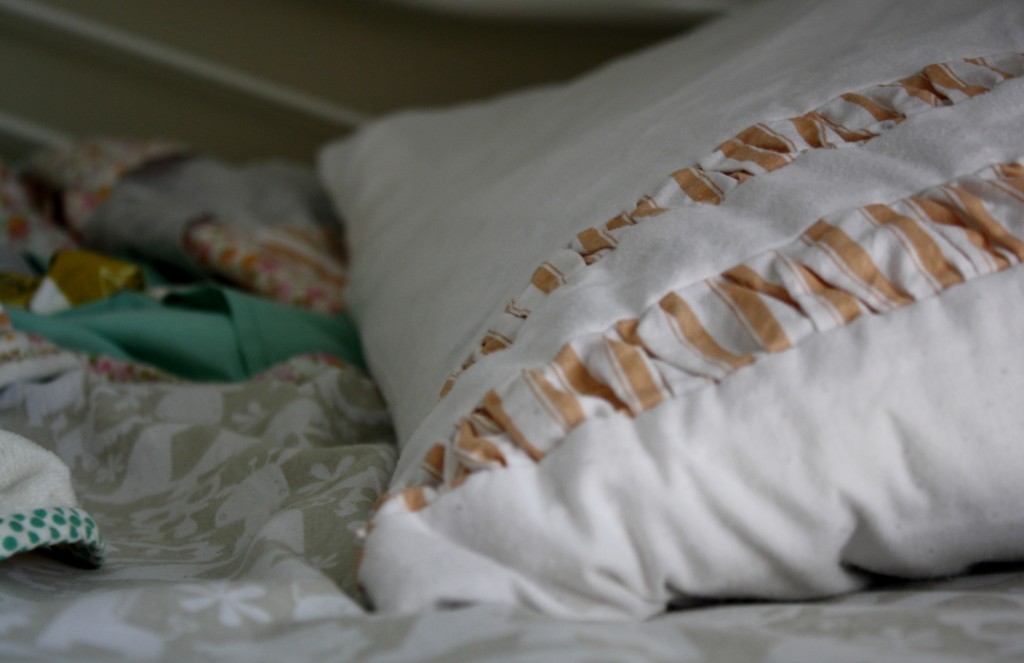
MATERIALS NEEDED
2 yds. fabric (enough for 2 pillowcases)
Matching thread
1/4 yd fabric for gather (optional)
INSTRUCTIONS
***NOTE: steps 1-4 are for the gathered option, if you don’t want a gather, cut your fabric 20″x65″ and skip to step 5***
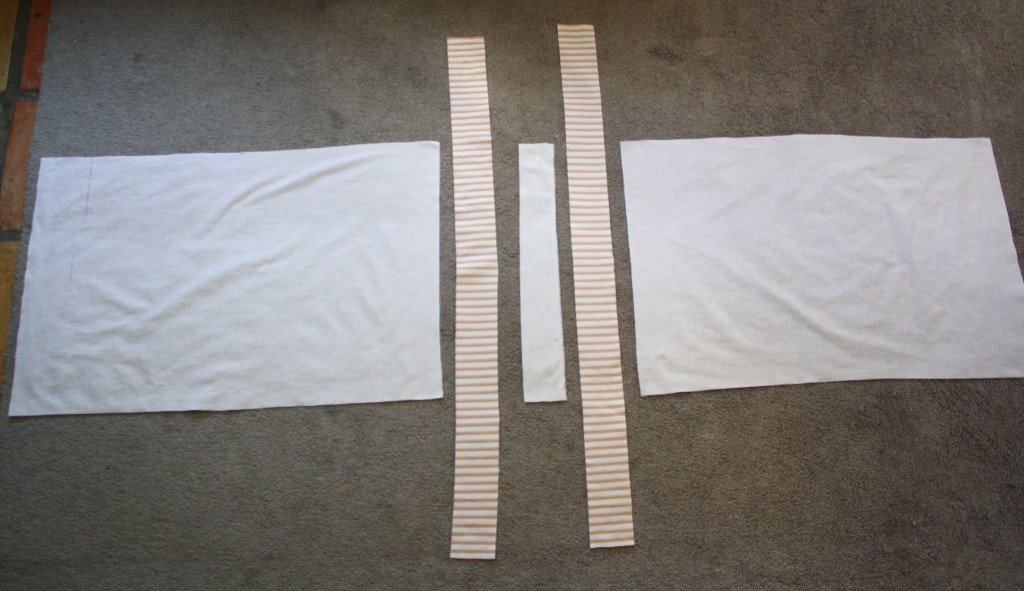
1. Cut 3 pieces for the pillowcase: 20″x30.5″, 20″x30.5, and 20″x3″ (yes, two pieces will be the same size). Cut 2 strips for the gathers: 3″x40″
2. Gather both sides of each ruffle down to 20″ (the same as the width of the other pillowcase pieces)
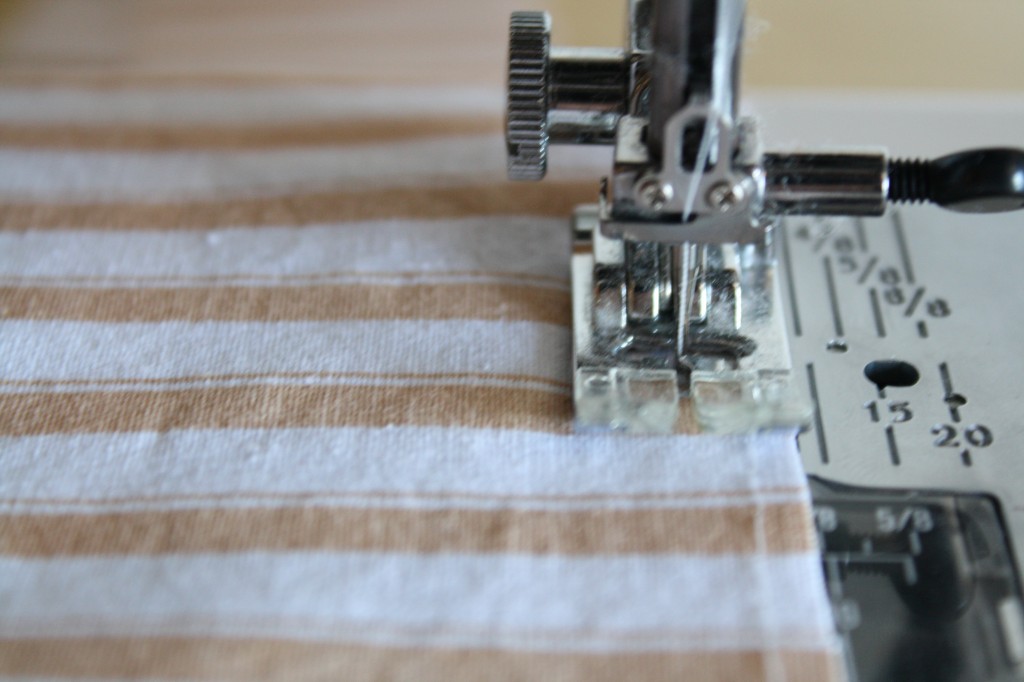
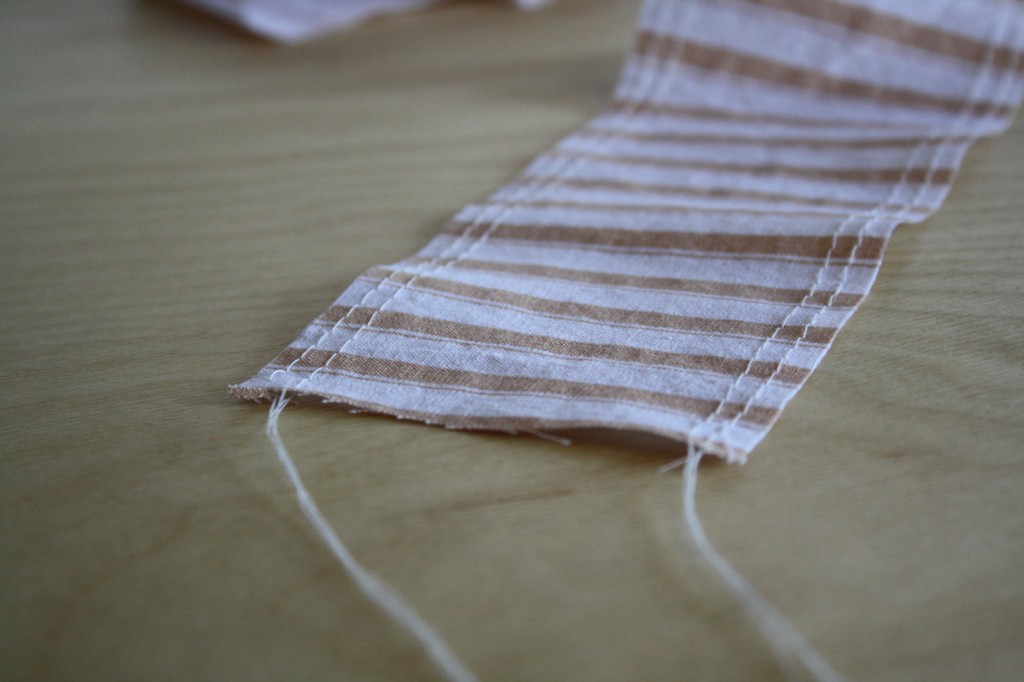
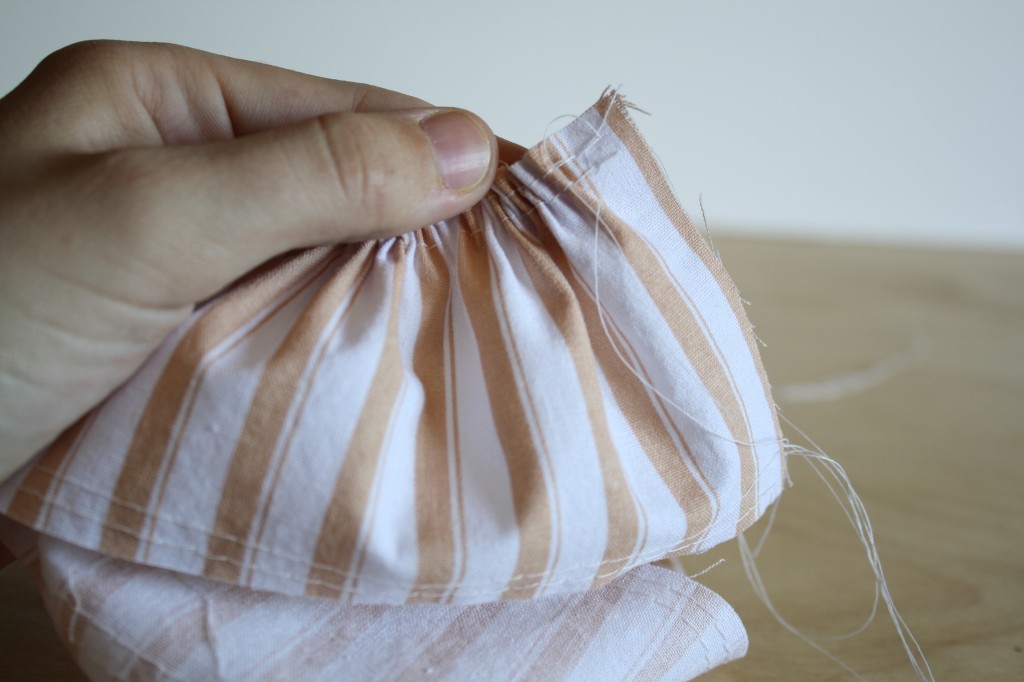
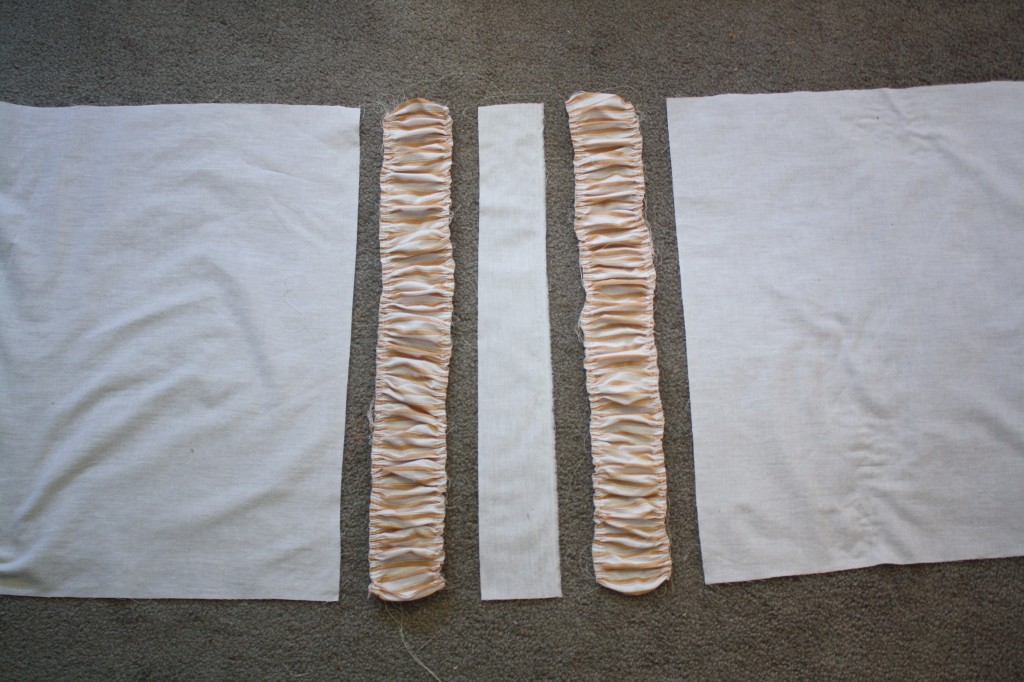
3. Sew the pieces together with a 5/8″ seam allowance from left to right: Large pillow piece, gather, small pillow piece, gather, large pillow piece. It should make one long piece with two gathered stripes.
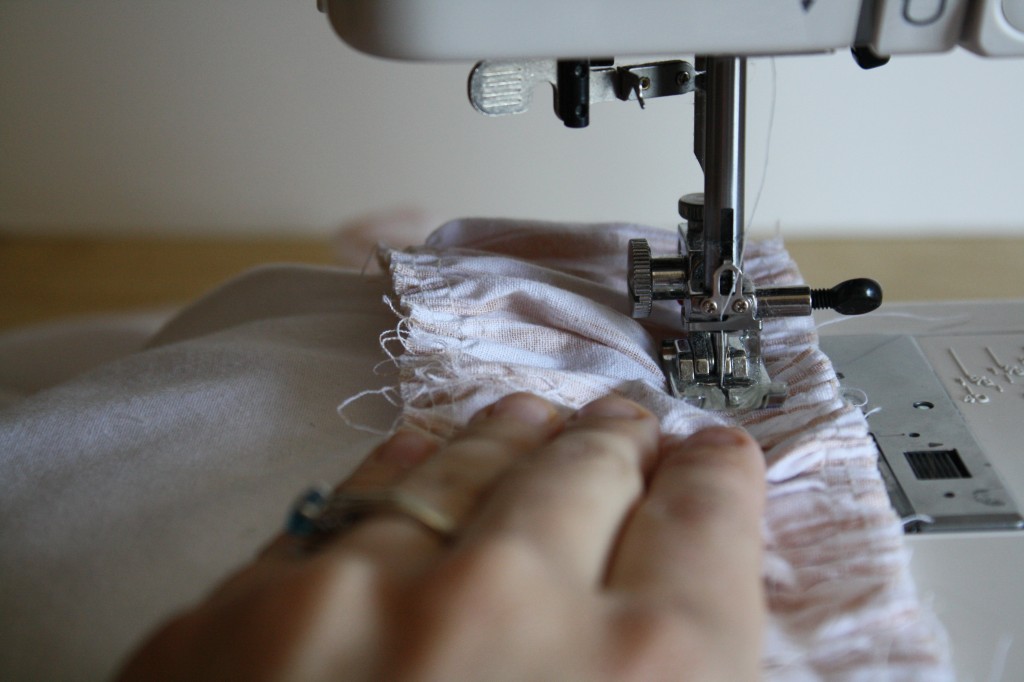
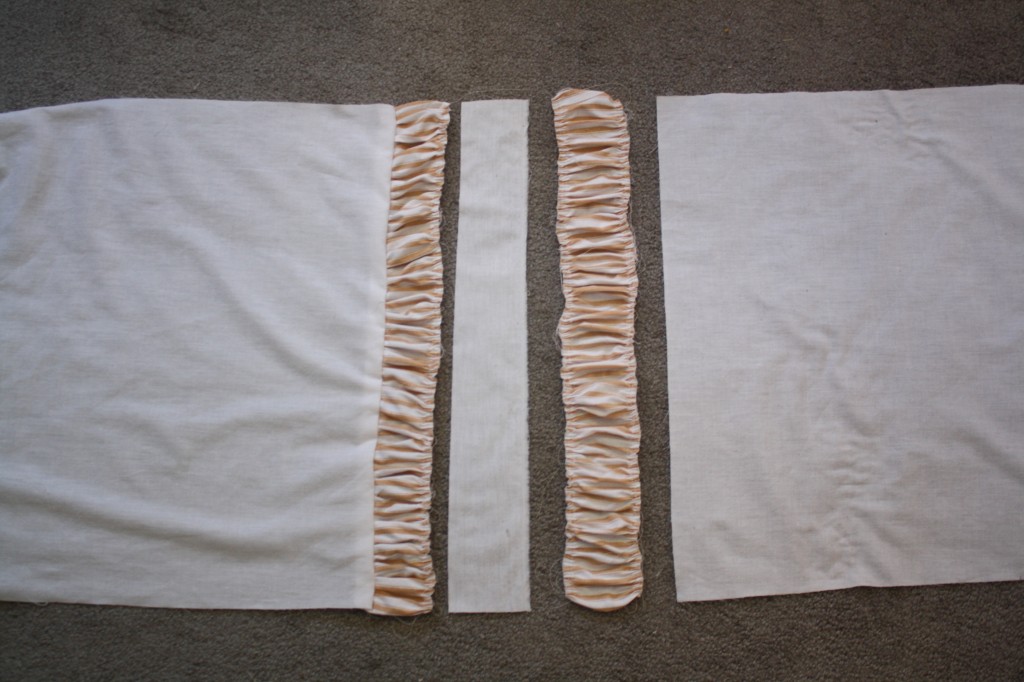
4. Serge or zigzag each seam allowance, creating a seam finish to prevent fray. Press the seams away from each gathered strip.
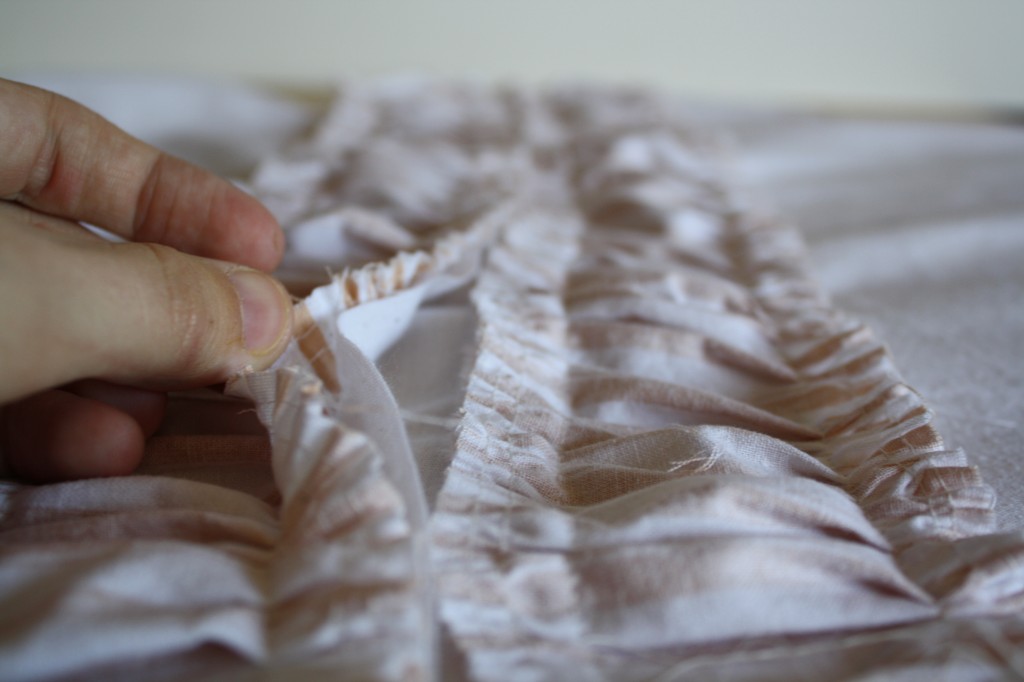
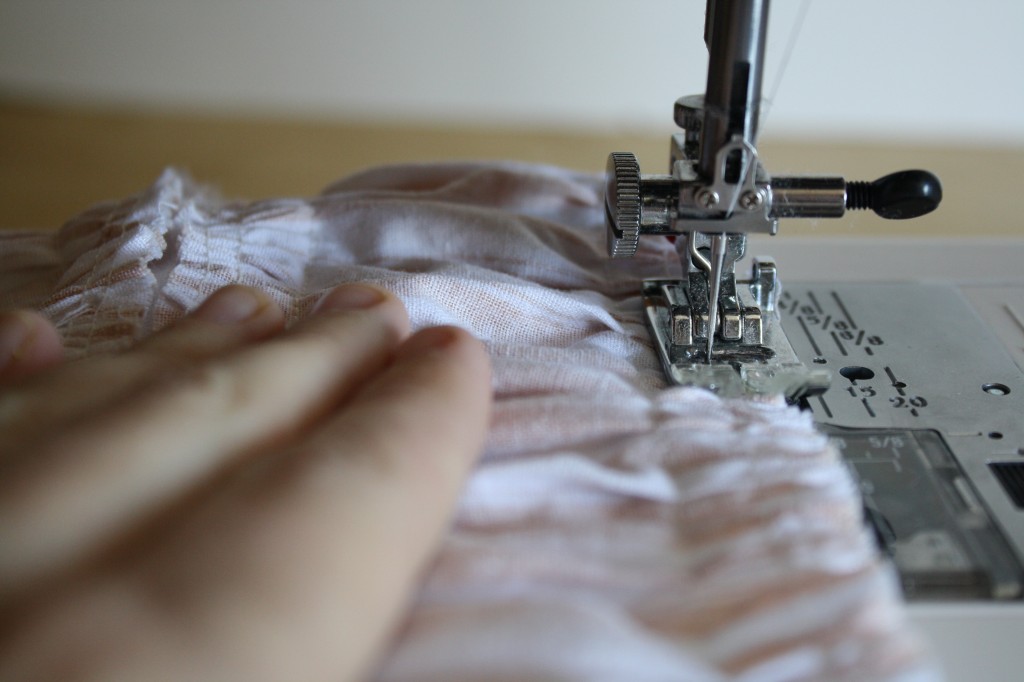
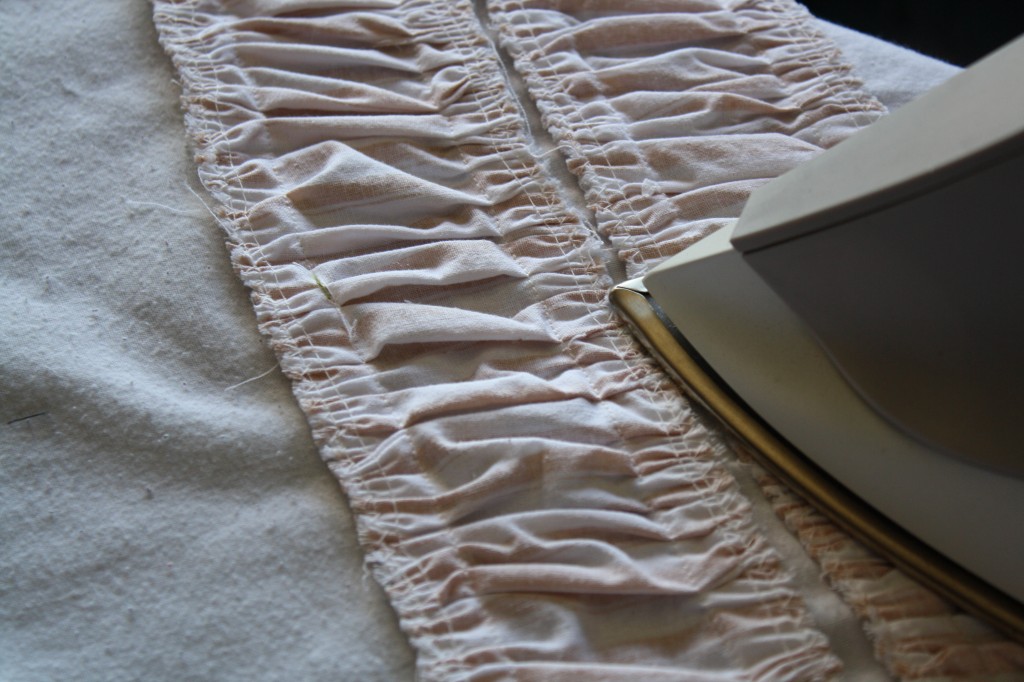
5. Serge or zigzag all four edges of the pillowcase to keep them from fraying and give it a cleaner finish on the inside.
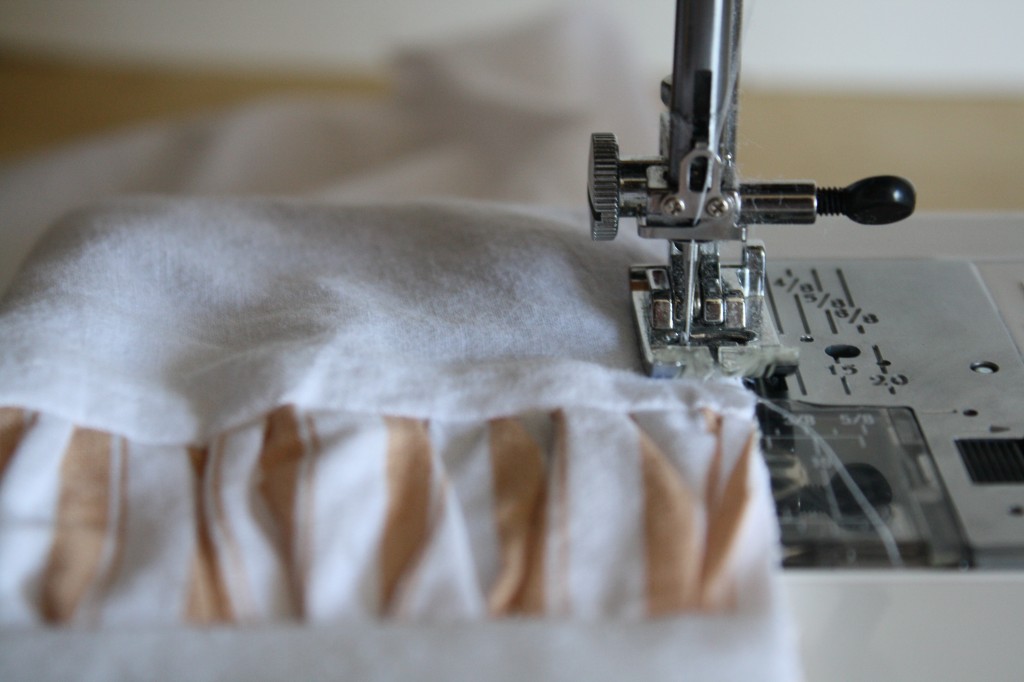
6. Iron the two shorter sides under 1/2″, and top stitch the fold using a straight stitch.
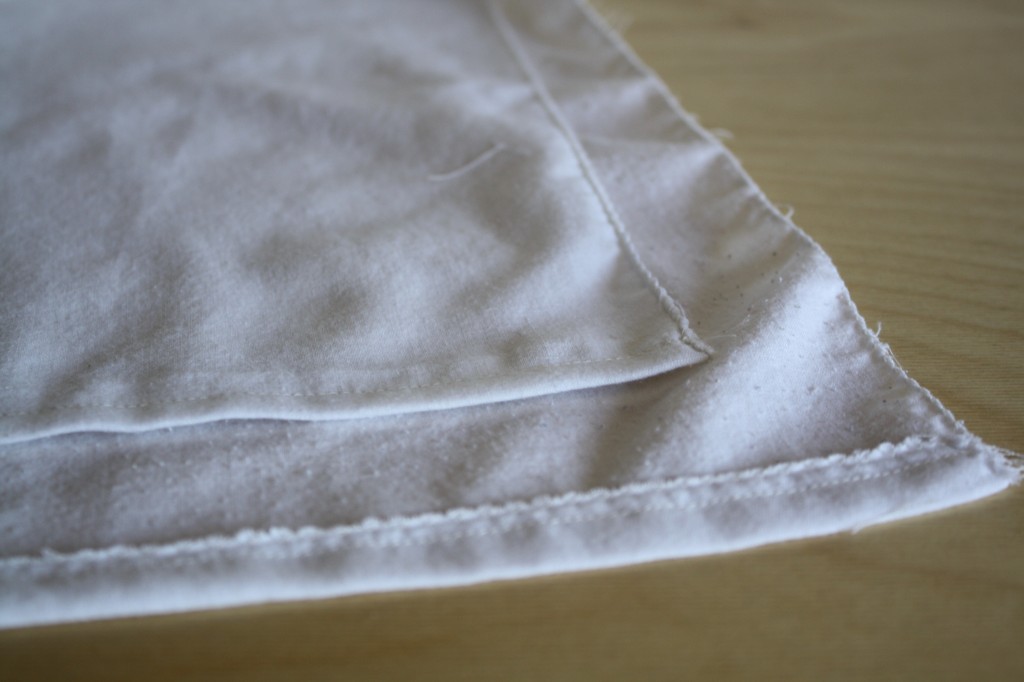
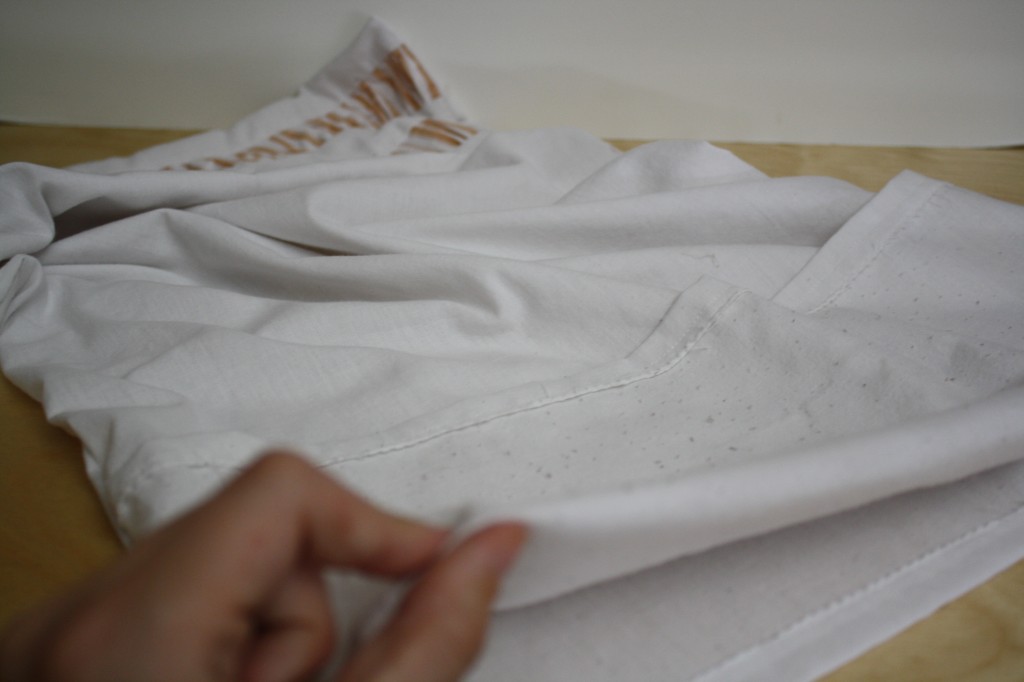
7. Lay the pillowcase out with right-side-up and fold one side over 27″. This leaves an extra 6-8″ on the underside.
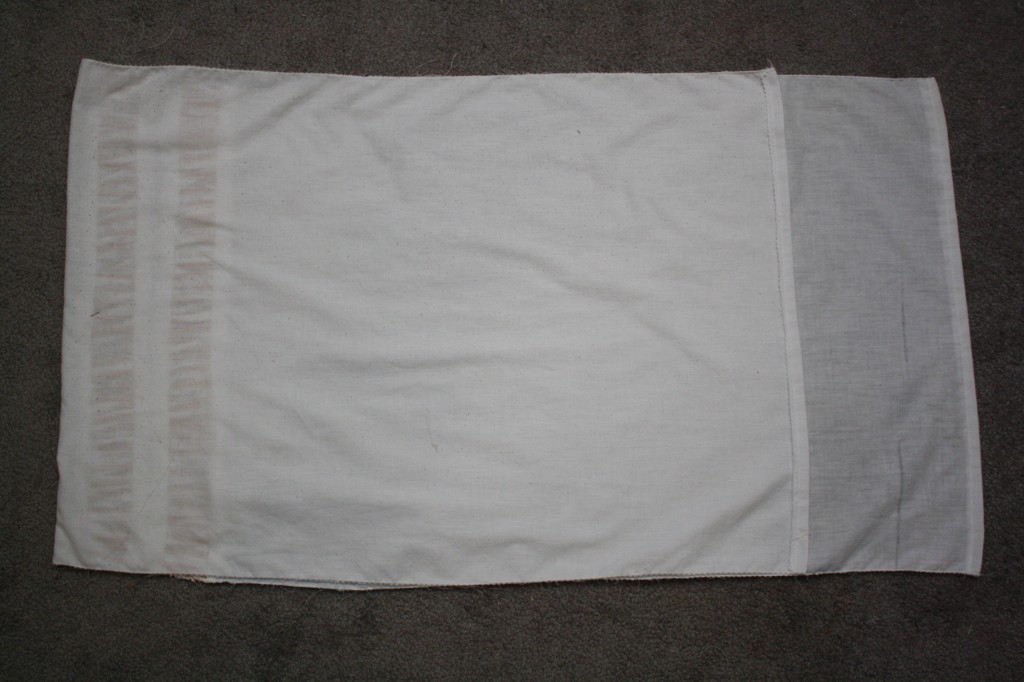
8. Without disturbing your fold, move the top fabric out of the way temporarily and fold the edge over, making a new fold that lines up with the edge of the upper part of the pillowcase.
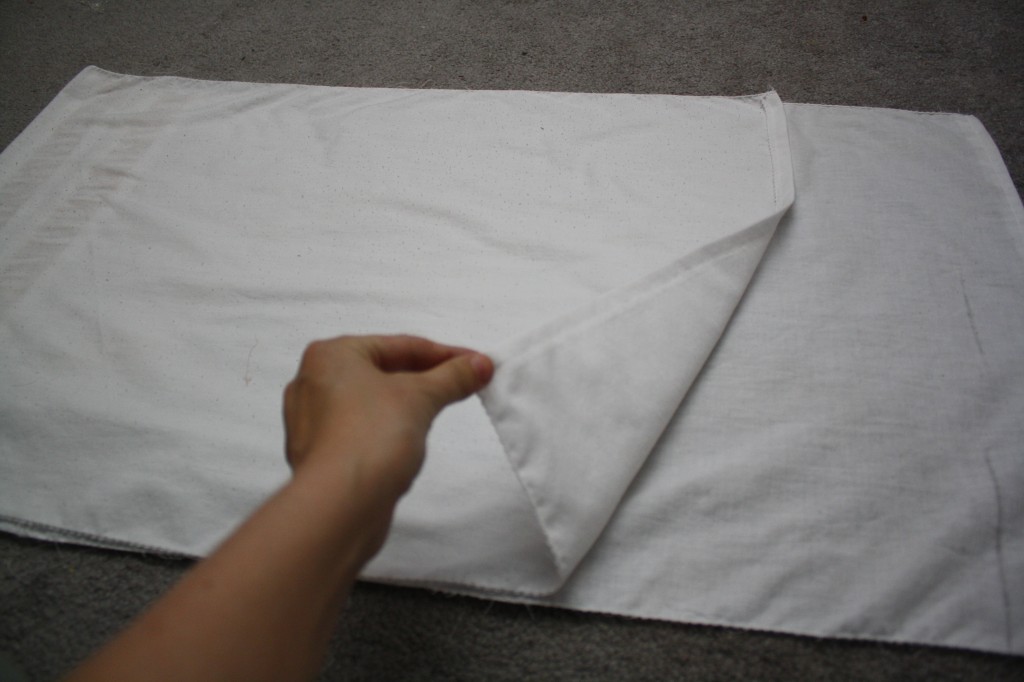
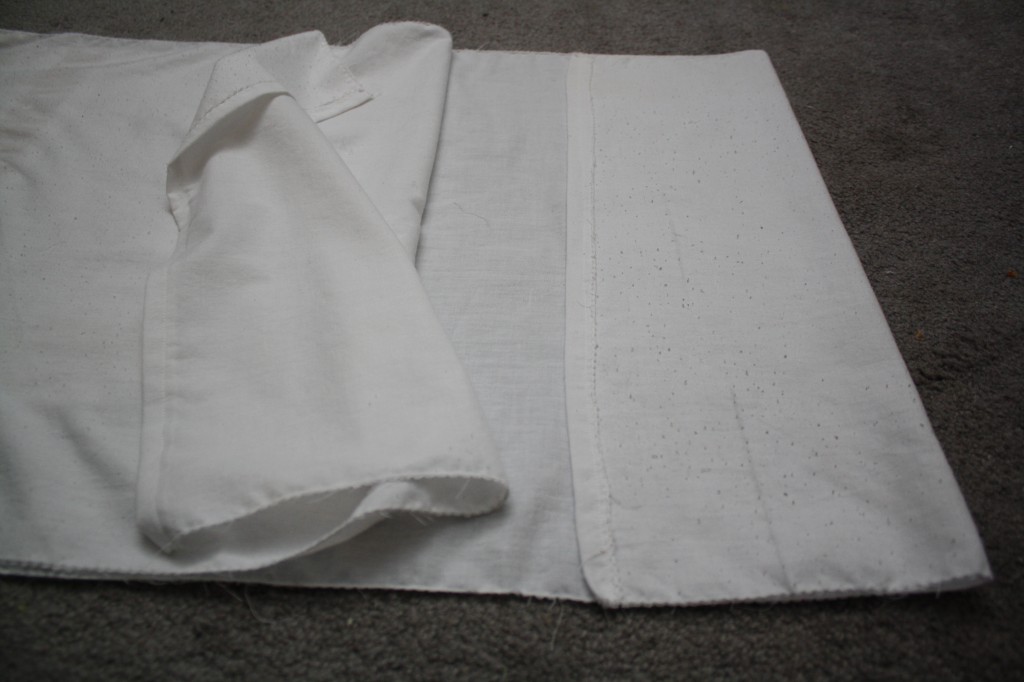
9. Lay the top part of the folded fabric (what you moved out of the way in step 8) back to it’s original position. It should line up evenly there at the edge now, with a fold towards the inside.
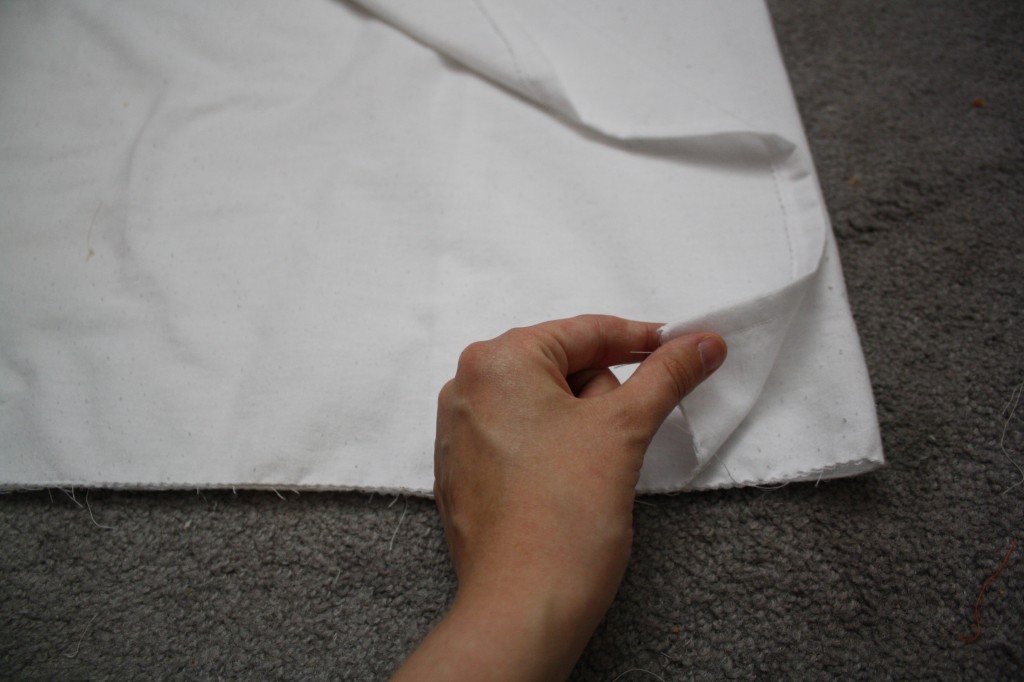
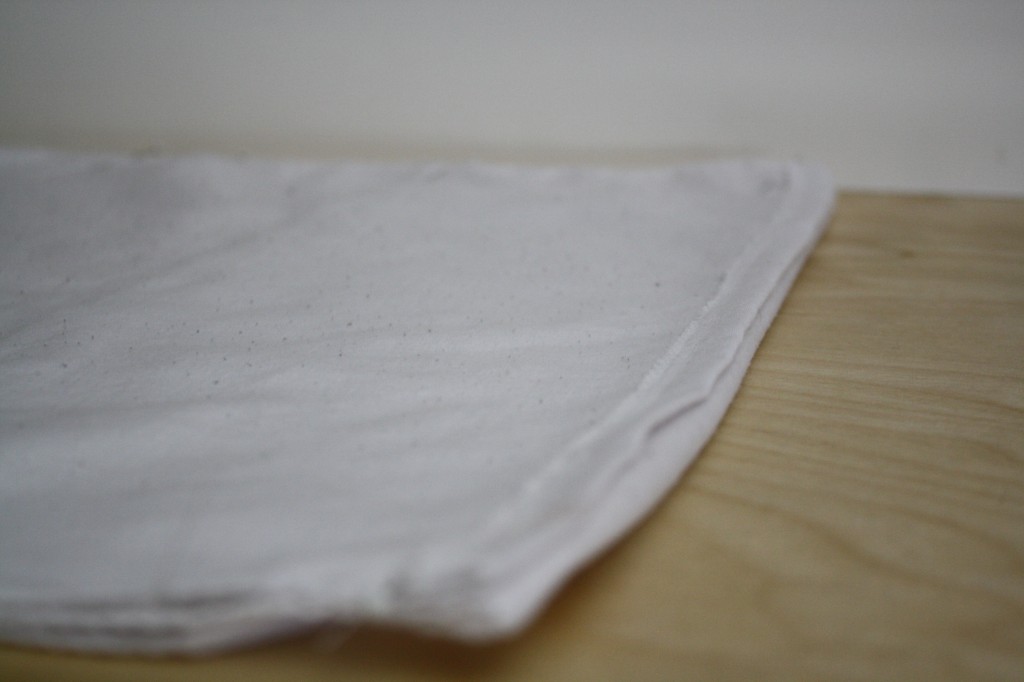
10. Sew using a 5/8″ seam allowance along the two long sides of the pillowcase, reverse stitching at the beginning and end of both seams.
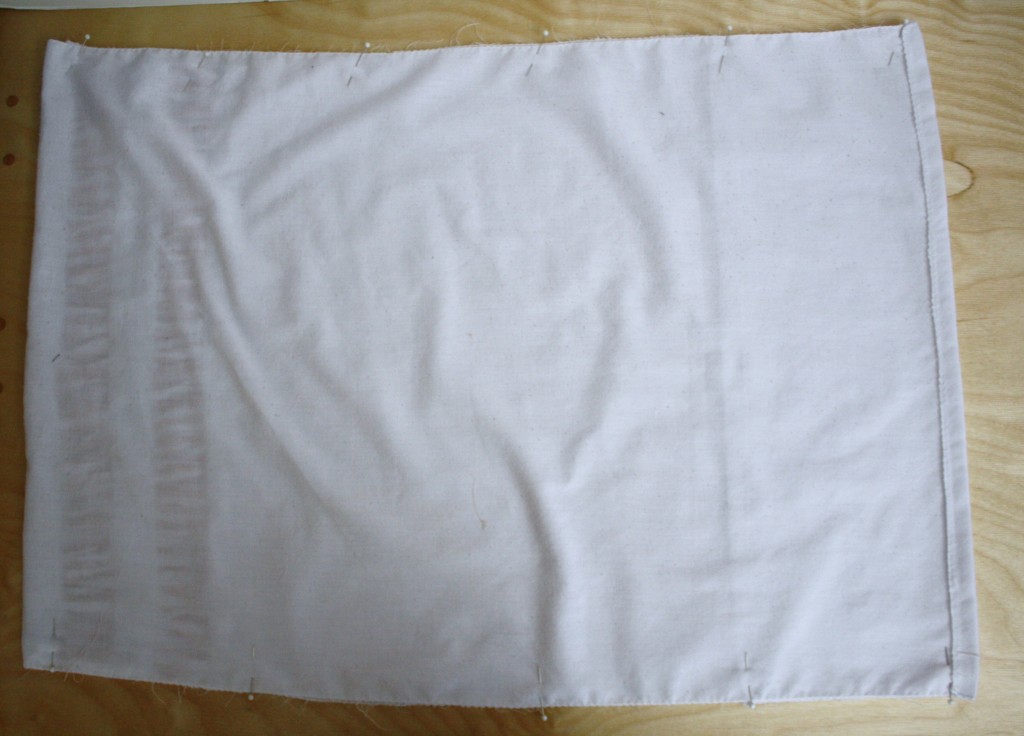
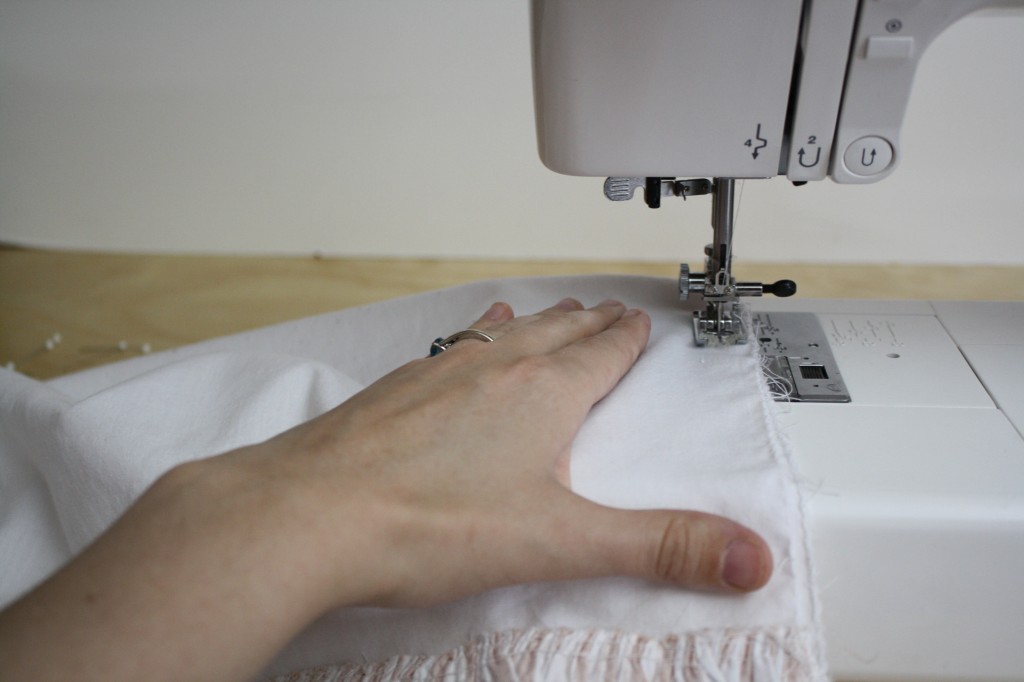
11. Turn the pillowcase right-side-out.
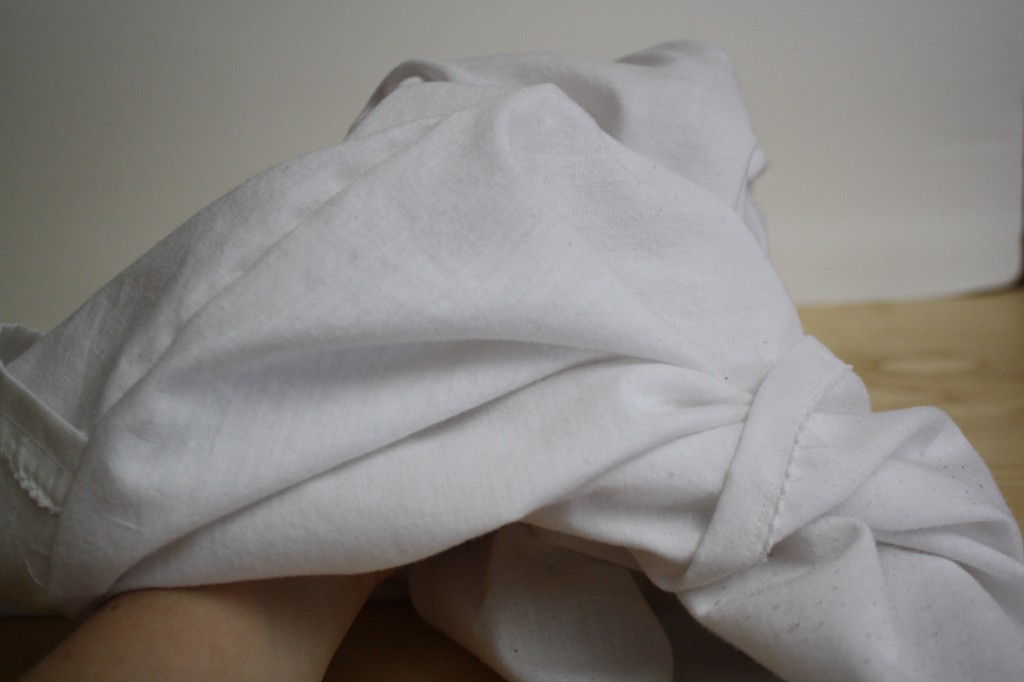
12. Stuff pillow form inside and fold the overlap over to “close” the end of the pillowcase.
You could certainly see your skills in the work you write.
The arena hopes for even more passionate writers like you who aren’t afraid to say how they believe. Always go after your heart.